Support Table for Create Record
If you need to add additional ServiceNow tables for the “Create Record” and “Trigger Workflow,” functionalities, this document uses the Task table as an example. You can follow this guide for any ServiceNow table. Some steps in the guide require a user with the ServiceNow admin role.
Create a Web Service and Transform Map
-
Search for “System Web Services” in the ServiceNow navigation bar, and under
Inboundclick onCreate New.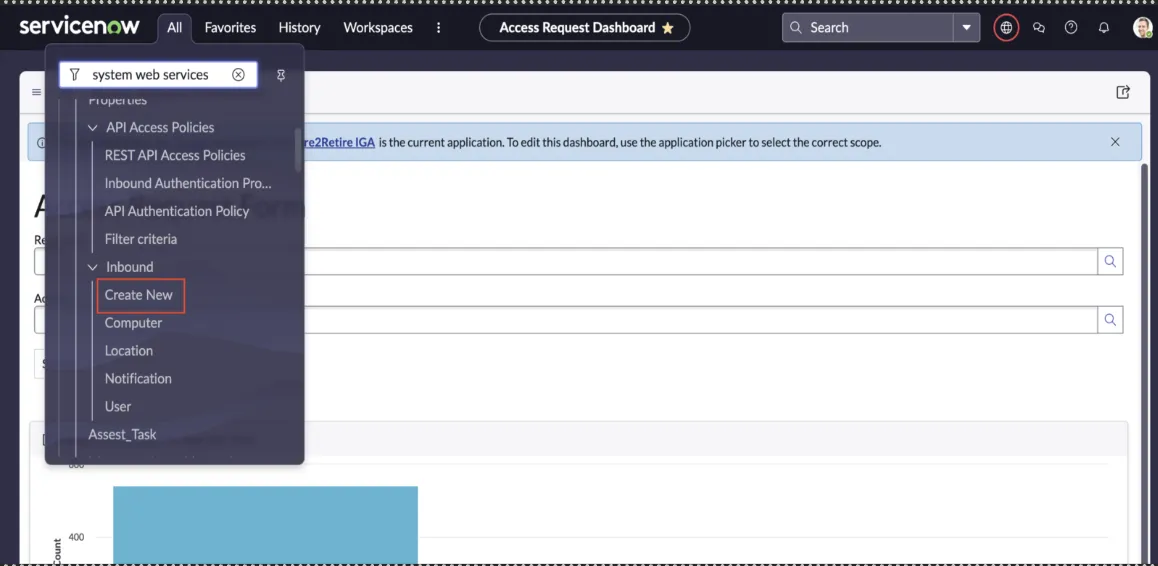 Figure 1. Create New System Web Service
 -
Now, fill in the details to create a Web Service.
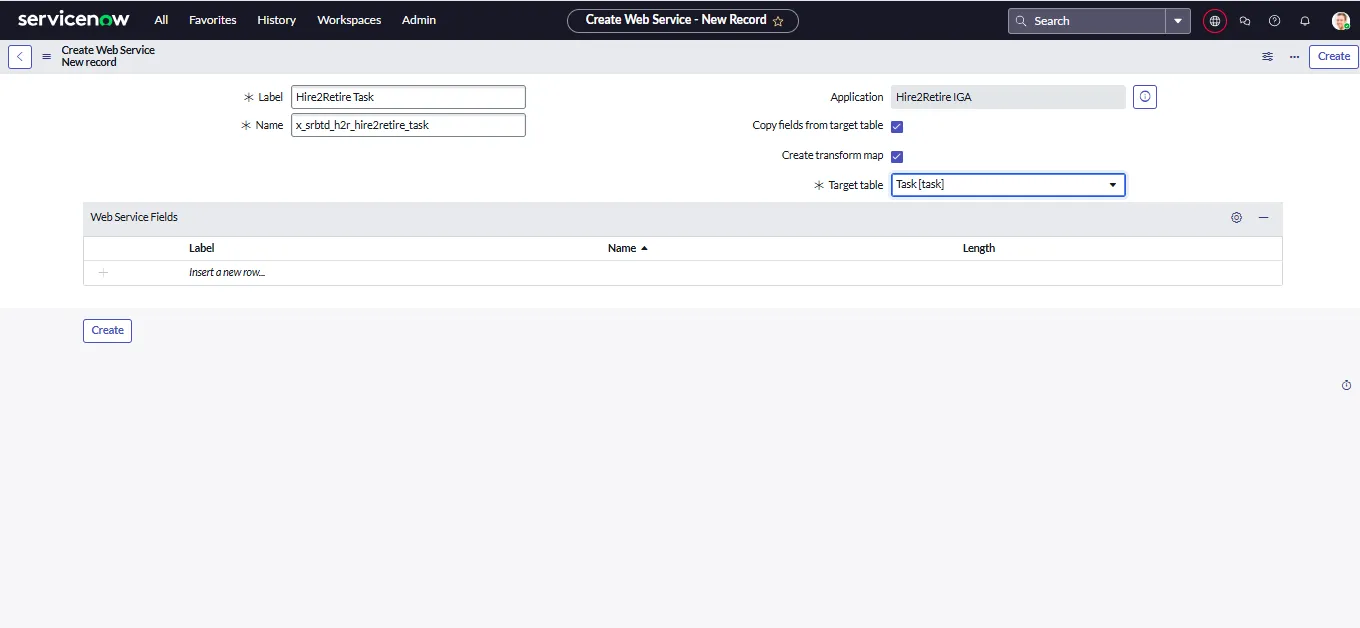
Figure 2. Items in System Web Service- Label: It is the name used to identify this Web Service. For example, Label:
Hire2Retire Task - Name: It is an auto-generated field from the Label. For example, Name:
x_srbtd_h2r_hire2retire_task. - Application: It is the scope of the Web Service. Make sure Application is
ServiceNow App. - Copy fields from target table: Check this field.
- Create Transform Map: Check this field.
- Target Table: Select the table where Hire2Retire will create records, for example,
Task.
- Label: It is the name used to identify this Web Service. For example, Label:
-
Click the Create button. You will be redirected to a new page named “Table Transform Map”.
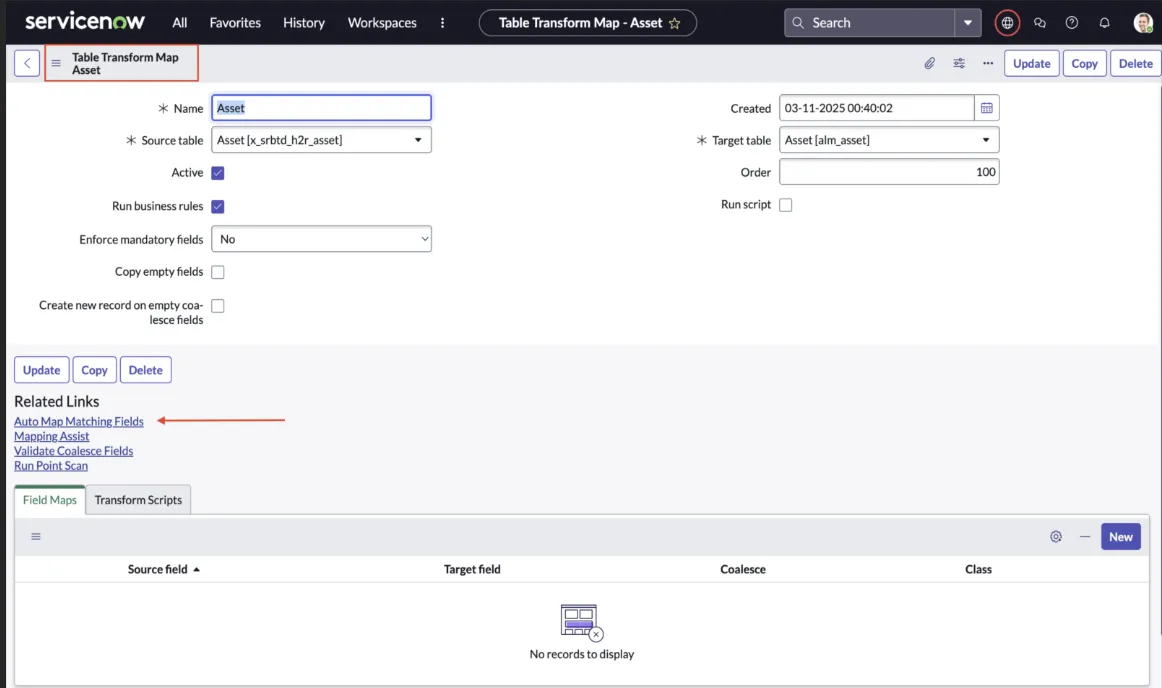
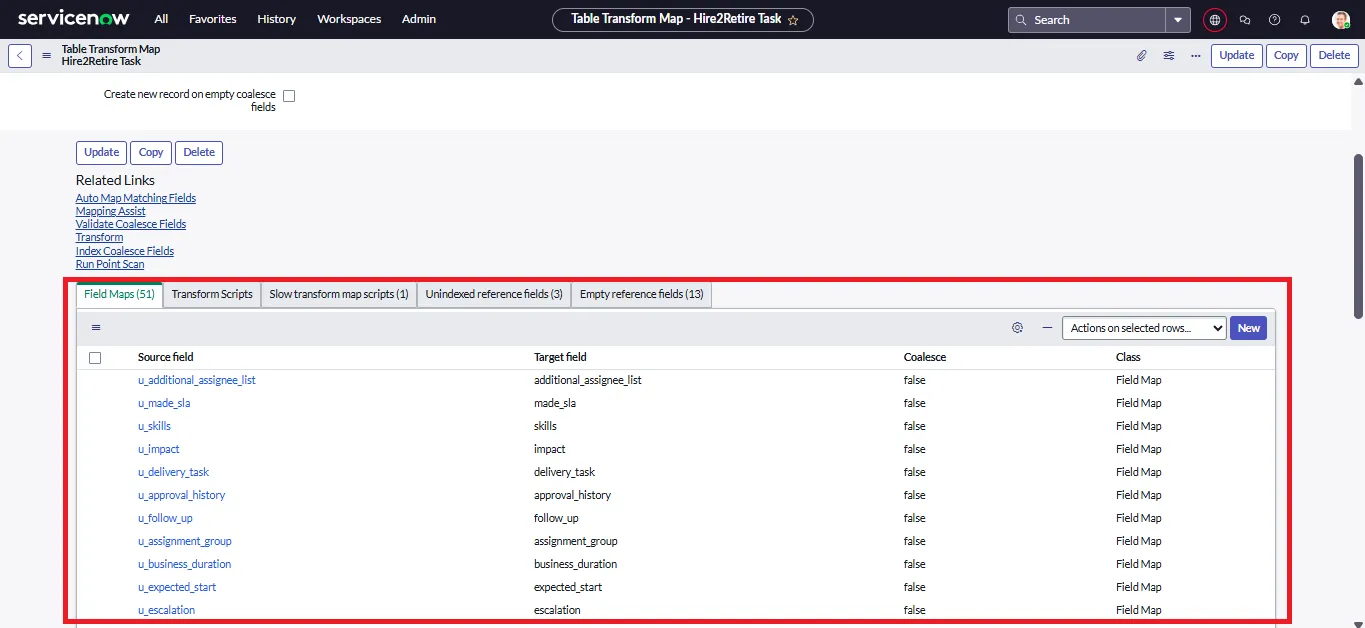
-
Click “Auto Map Matching Fields” to automatically create the default transform map. ServiceNow will take a few seconds to create the transform map. Once it is created, click on
Updatebutton to save the changes.
Create ACL for Web Service
To insert a record using the ServiceNow App on Hire2Retire, you need to create a Create ACL for the Web Service. Below are the steps to create the ACL.
Create ACL on Import Set Web Service
- To create an ACL, go to the navigation bar and search for Access Control (ACL).
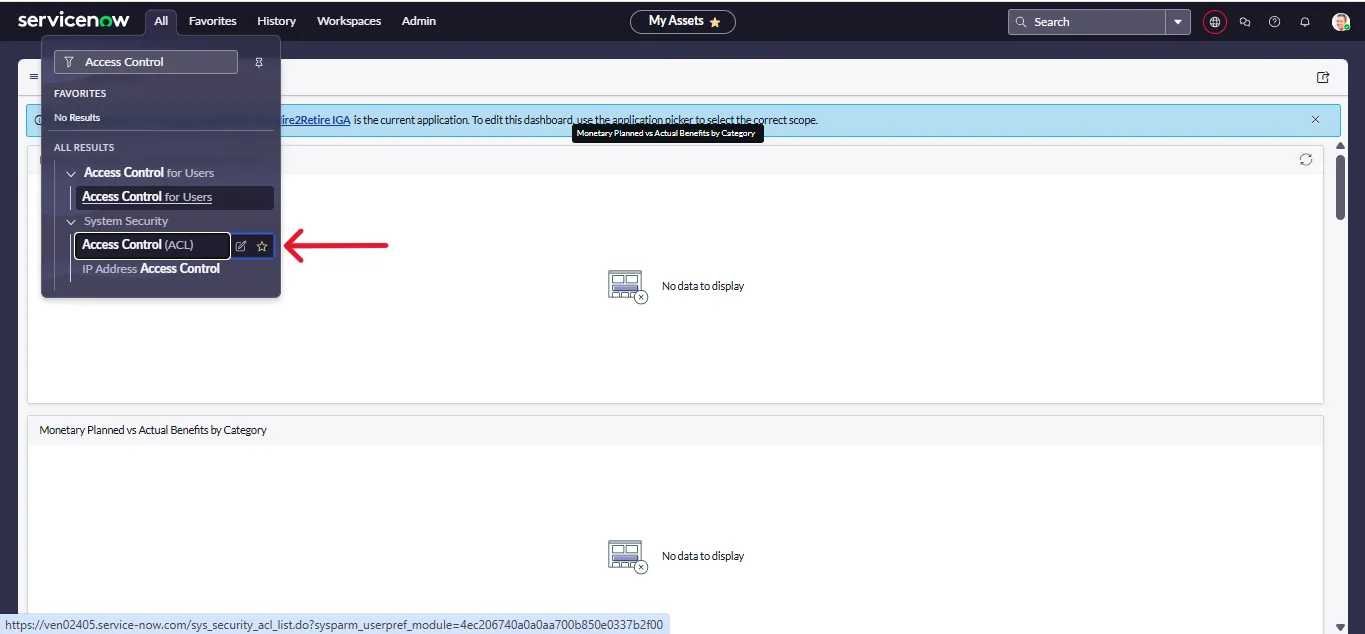 Figure 5.Search ACL on Navigation bar
 - On the top-right corner, Click on New.
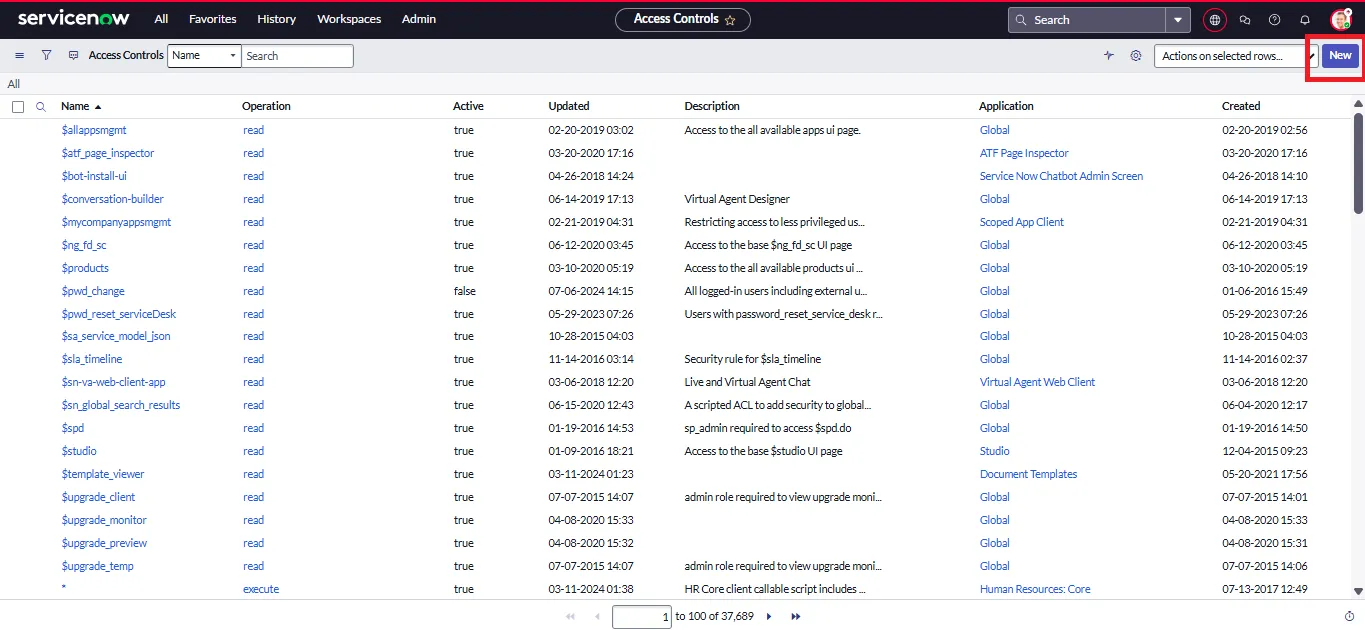 Figure 6.Click on New
 -
After filling in the following details , click on Submit
- Type:
record - Operation:
create - Application:
ServiceNow App - Name: Select the Import Set Web Service that you created in the above steps. eg.
Hire2Retire Tasks[x_srbtd_h2r_hire2retire_tasks] - Fields:
None - Role:
x_srbtd_h2r.hire2retire_integration_admin
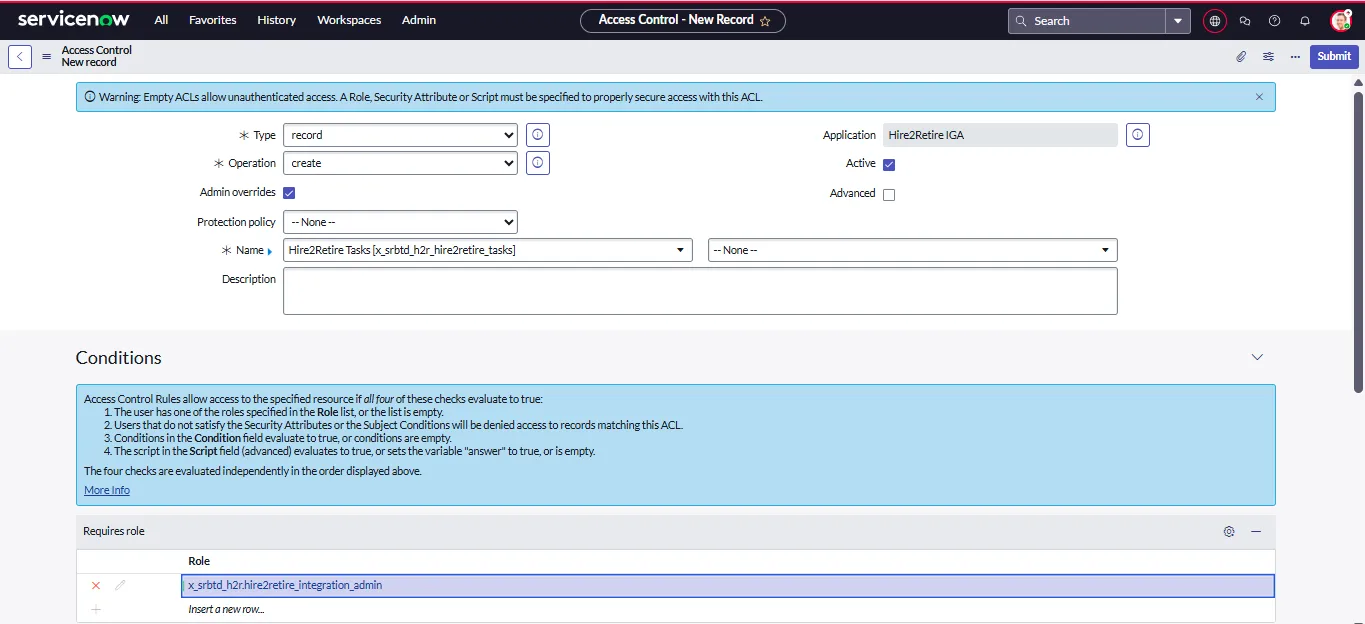 Figure 7. ACL Details
 - Type:
Read ACL on Target Table
- To create a read ACL, go to the navigation bar and search for Access Control (ACL), same as above.
- On top right corner, Click on New
-
After filling in the following details , Click on Submit
- Type:
record - Operation:
read - Application:
Global - Name: Select the target table that you chose in the previous steps. eg.
Task [task] - Fields:
None - Role:
x_srbtd_h2r.hire2retire_integration_admin
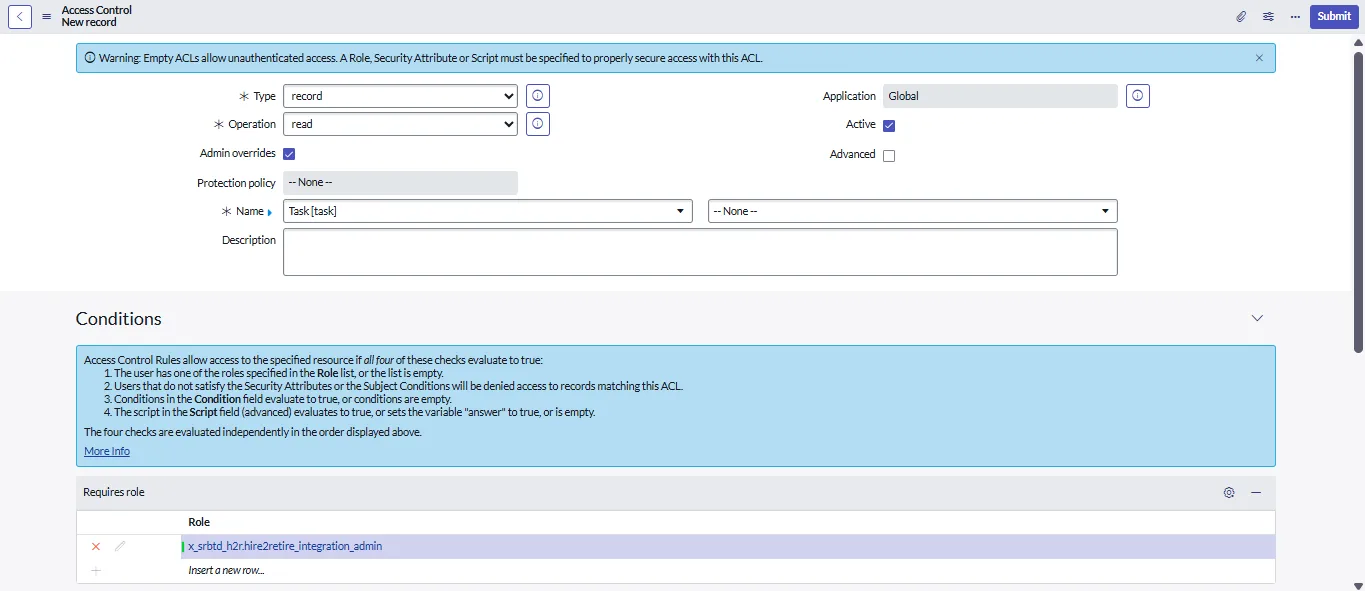 Figure 8. ACL Details
 - Type:
Change Application Access
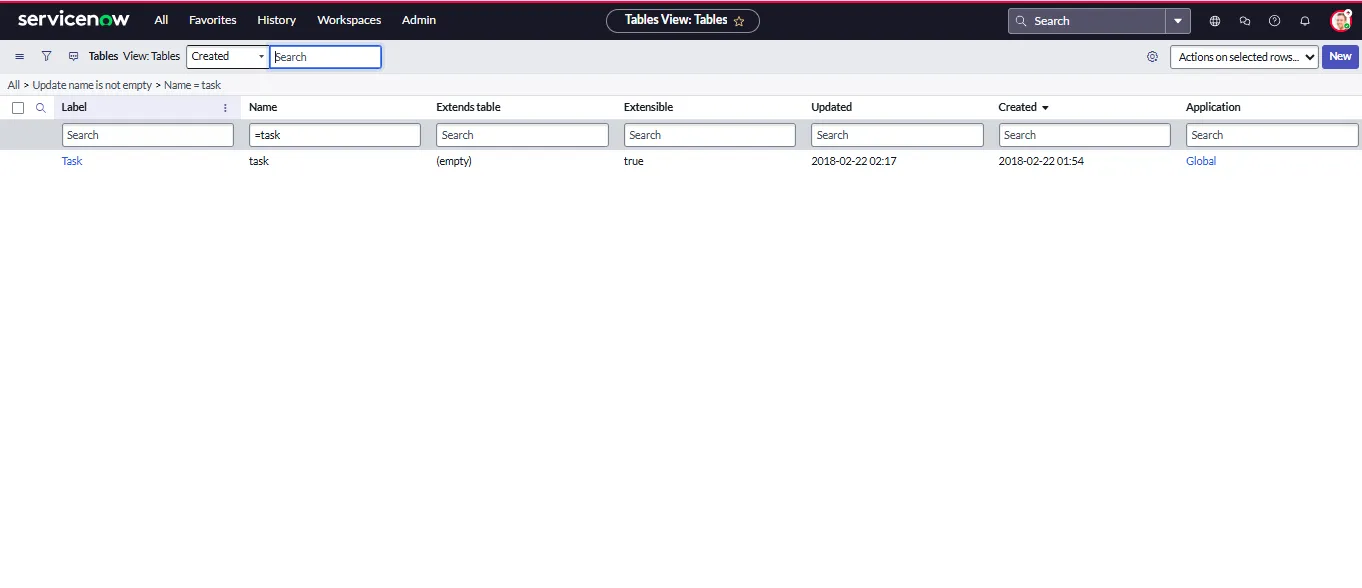
- Go to the navigation bar and search for the table
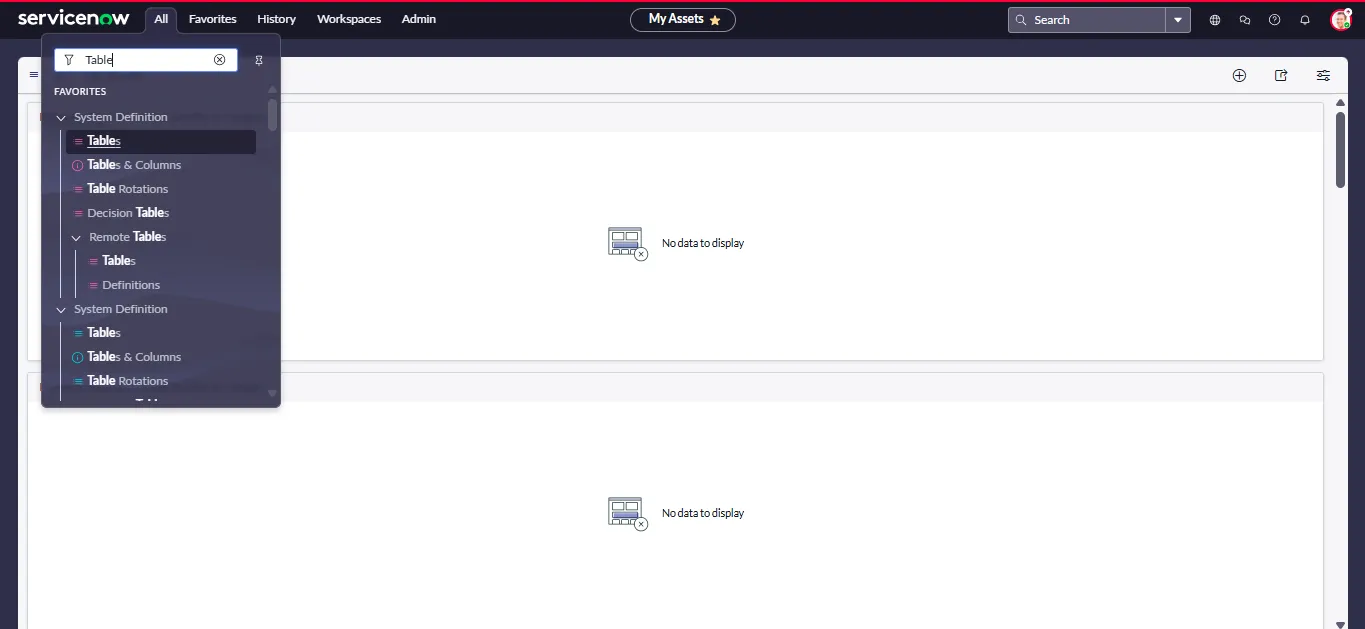
task, and open it
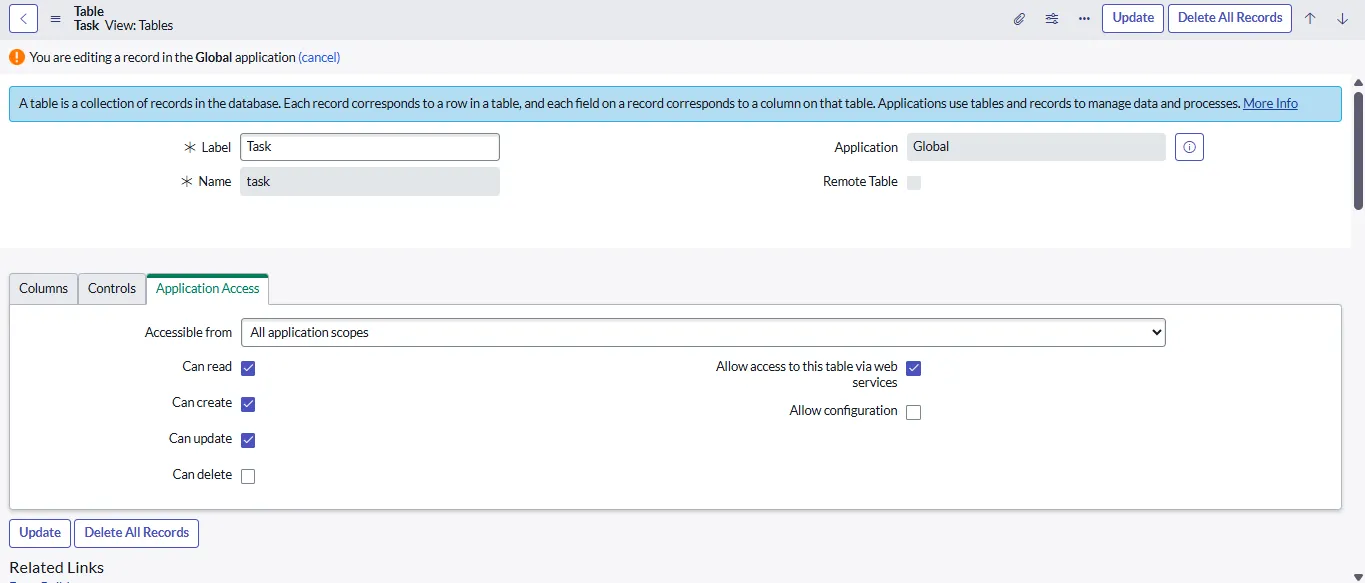
After completing the above steps, he table will be available in the Create Record and Trigger Workflow configuration on Hire2Retire.
The ServiceNow App installation will create the following pre-packaged web services in your instance.
- Hire2Retire Incident
- Hire2Retire User
- Hire2Retire Request
- Hire2Retire Requested Item