Configure OAuth
A ServiceNow admin can configure OAuth by following the steps below. If any of these steps are already completed, you can skip them as needed. Refer to the ServiceNow OAuth Setup guide for more details.
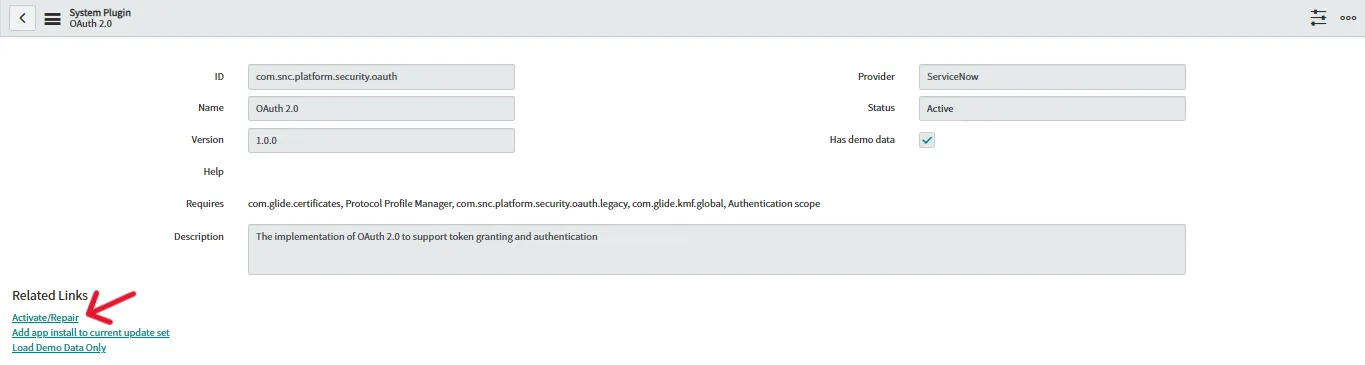
How to Activate OAuth
- Navigate to System Definition > Plugins.
- Search for OAuth 2.0 Plugin
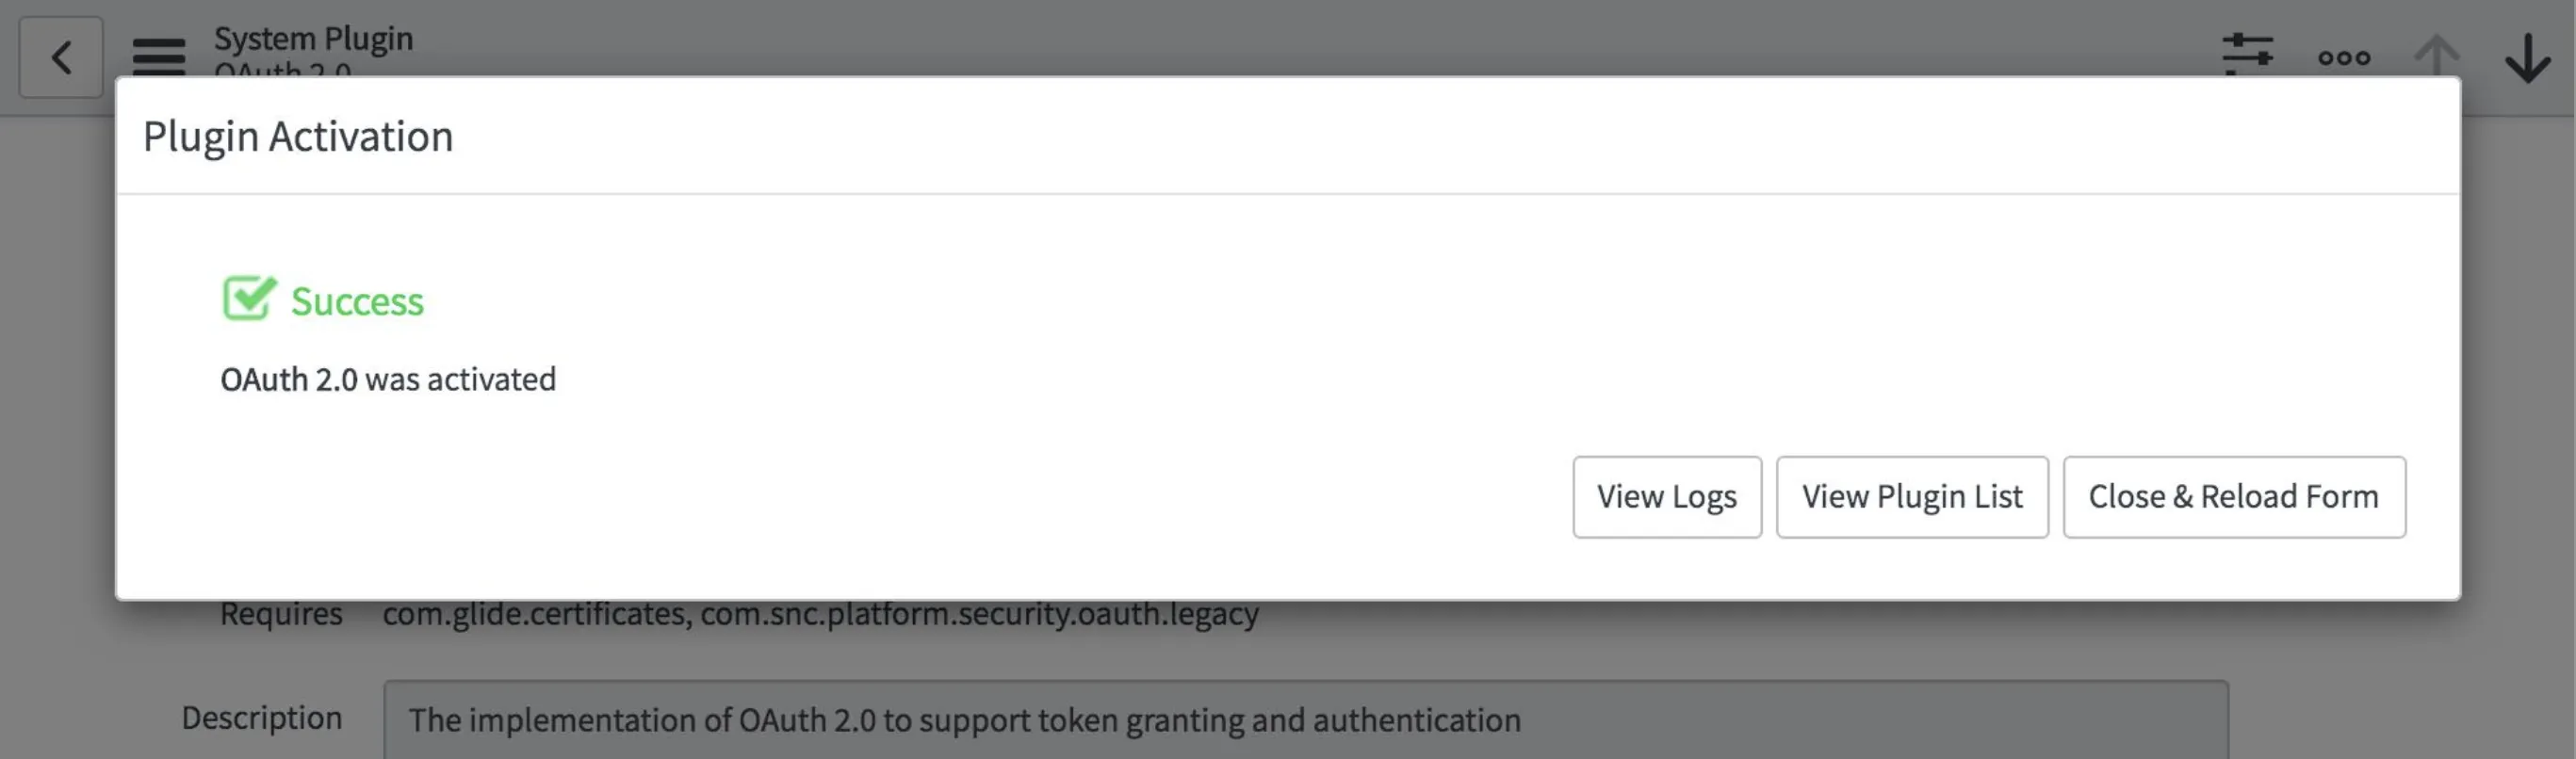
- Click Activate/Upgrade under Related Links
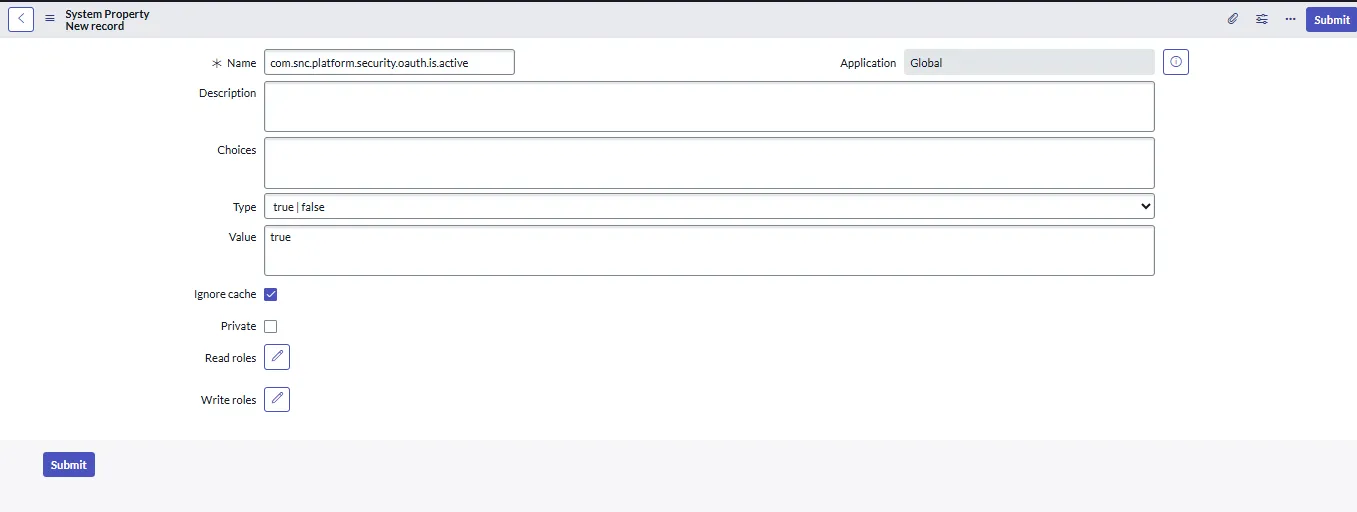
Set OAuth Activation Property
- Type sys_properties.list in the Filter Navigator and then click New
- Fill the form
- Name: com.snc.platform.security.oauth.is.active
- Type: true | false
- Value: true
Create an OAuth Application Registry
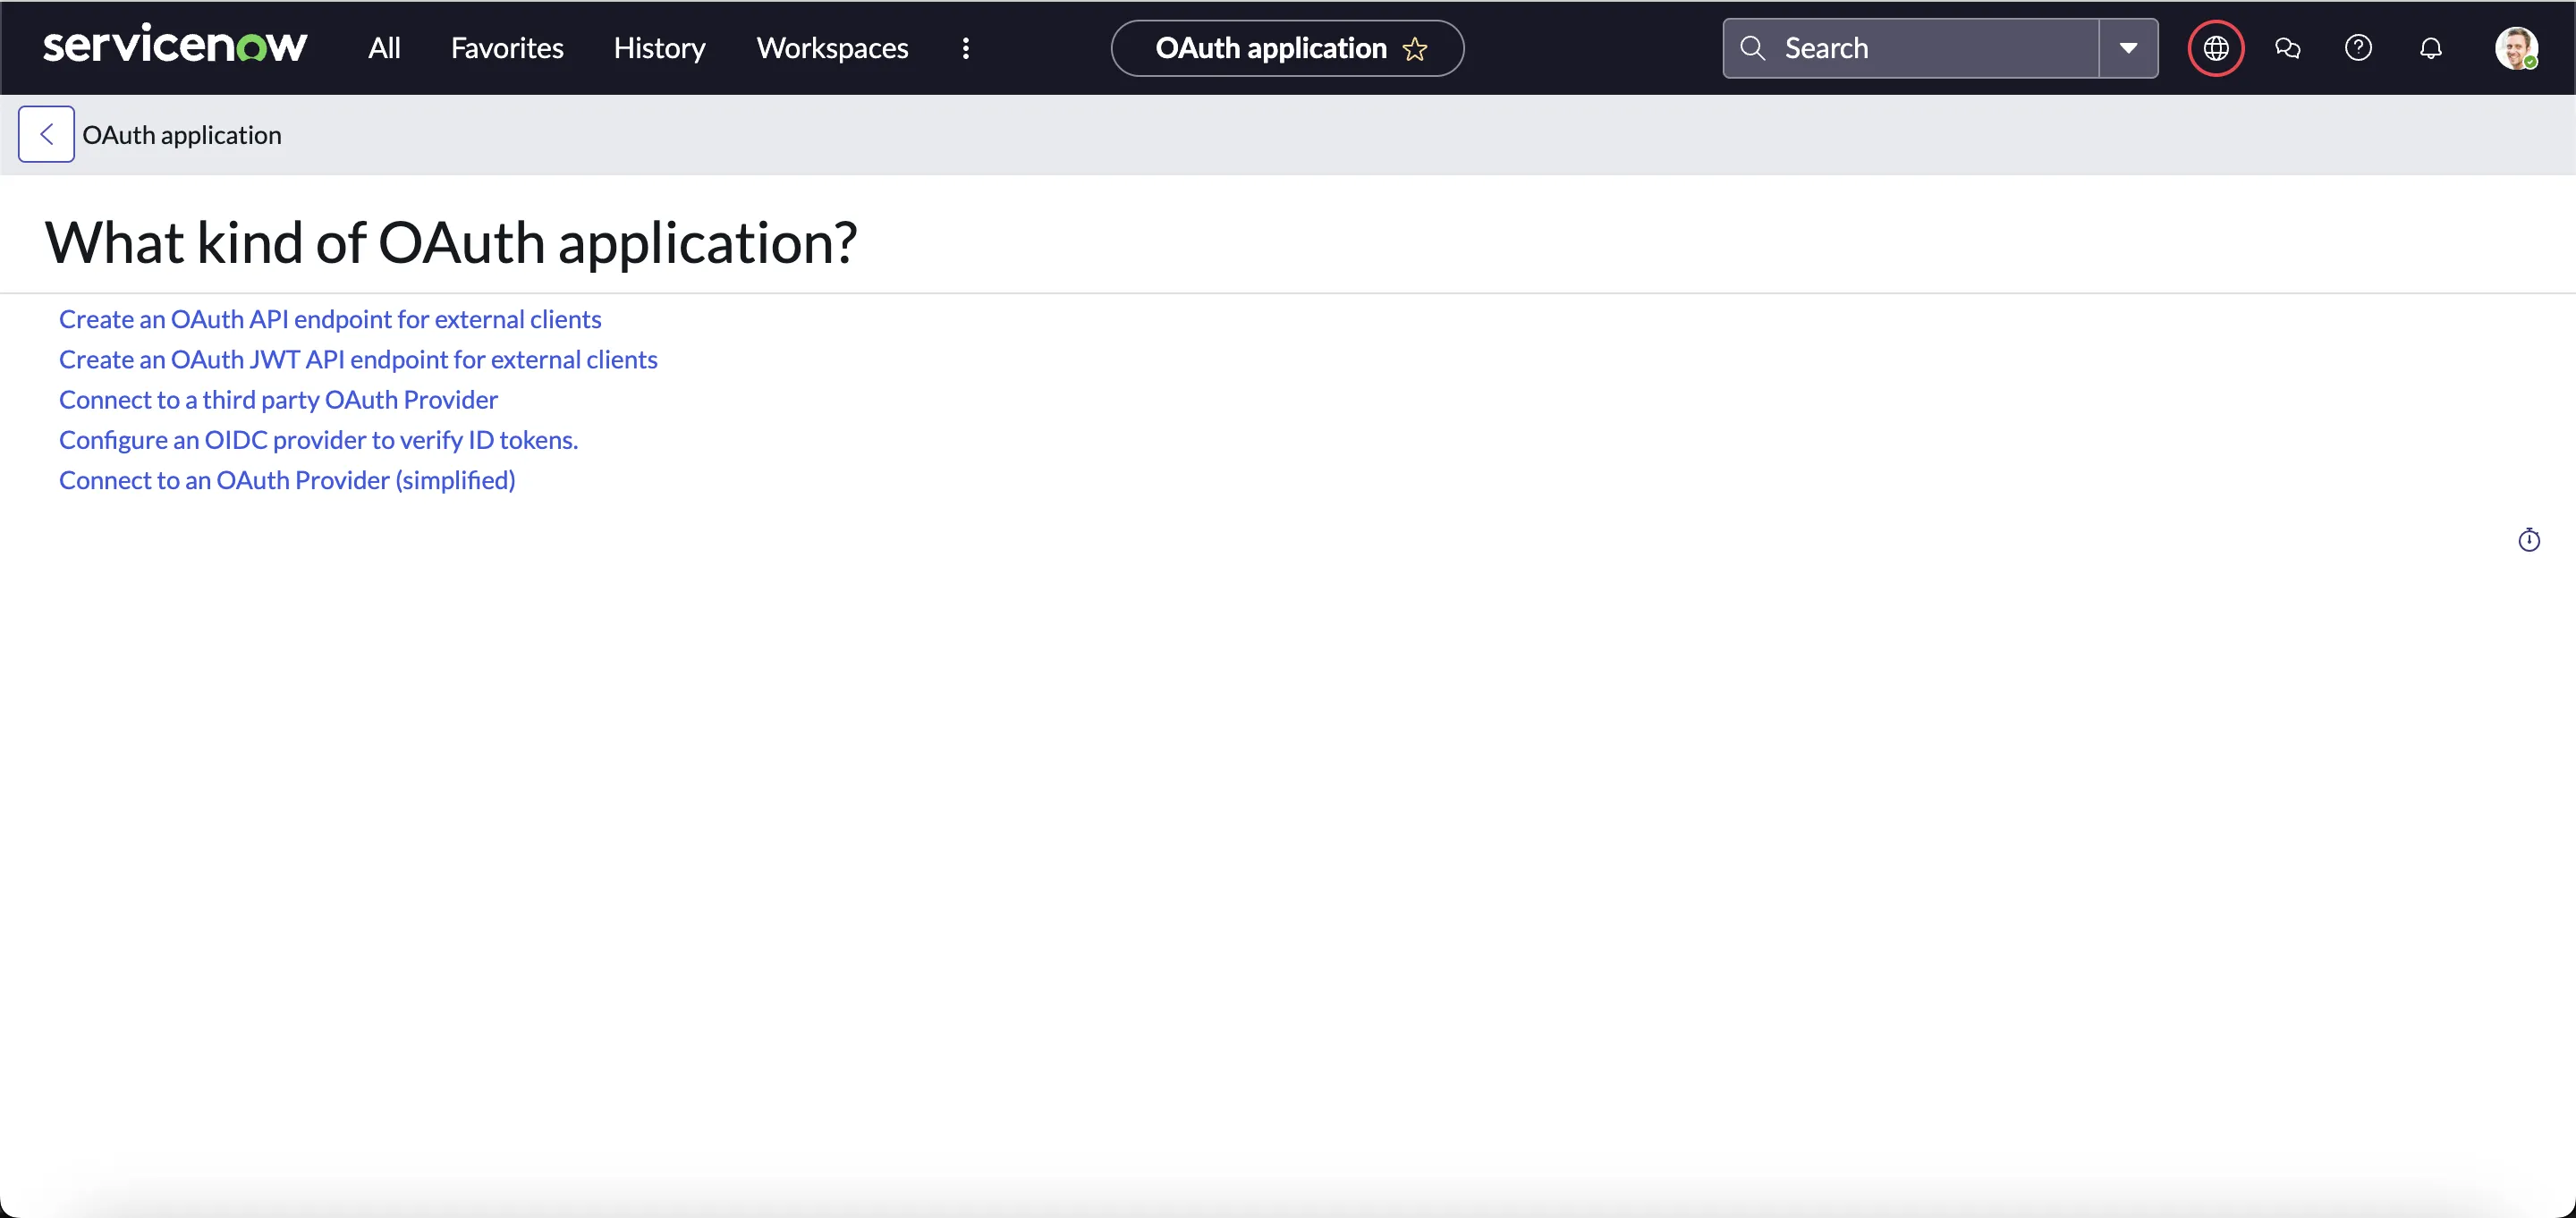
- Navigate to System OAuth > Application Registry and then click New.
- Select 'Create an OAuth API' endpoint for external clients and then fill in the form.
- Click submit.
Next, create an endpoint for a client application to gain access to your ServiceNow App instance. Use the following details to create the client application.
| Fields | Description |
|---|---|
| Name | ServiceNow App |
| Redirect URL | https://pod3.robomq.io/hire2retire/api/auth/callback/Hire2RetireIGA |
| Logo URL | https://www.robomq.io/wp-content/uploads/2018/11/mainlogo.webp |
You can keep the default values for all other fields.
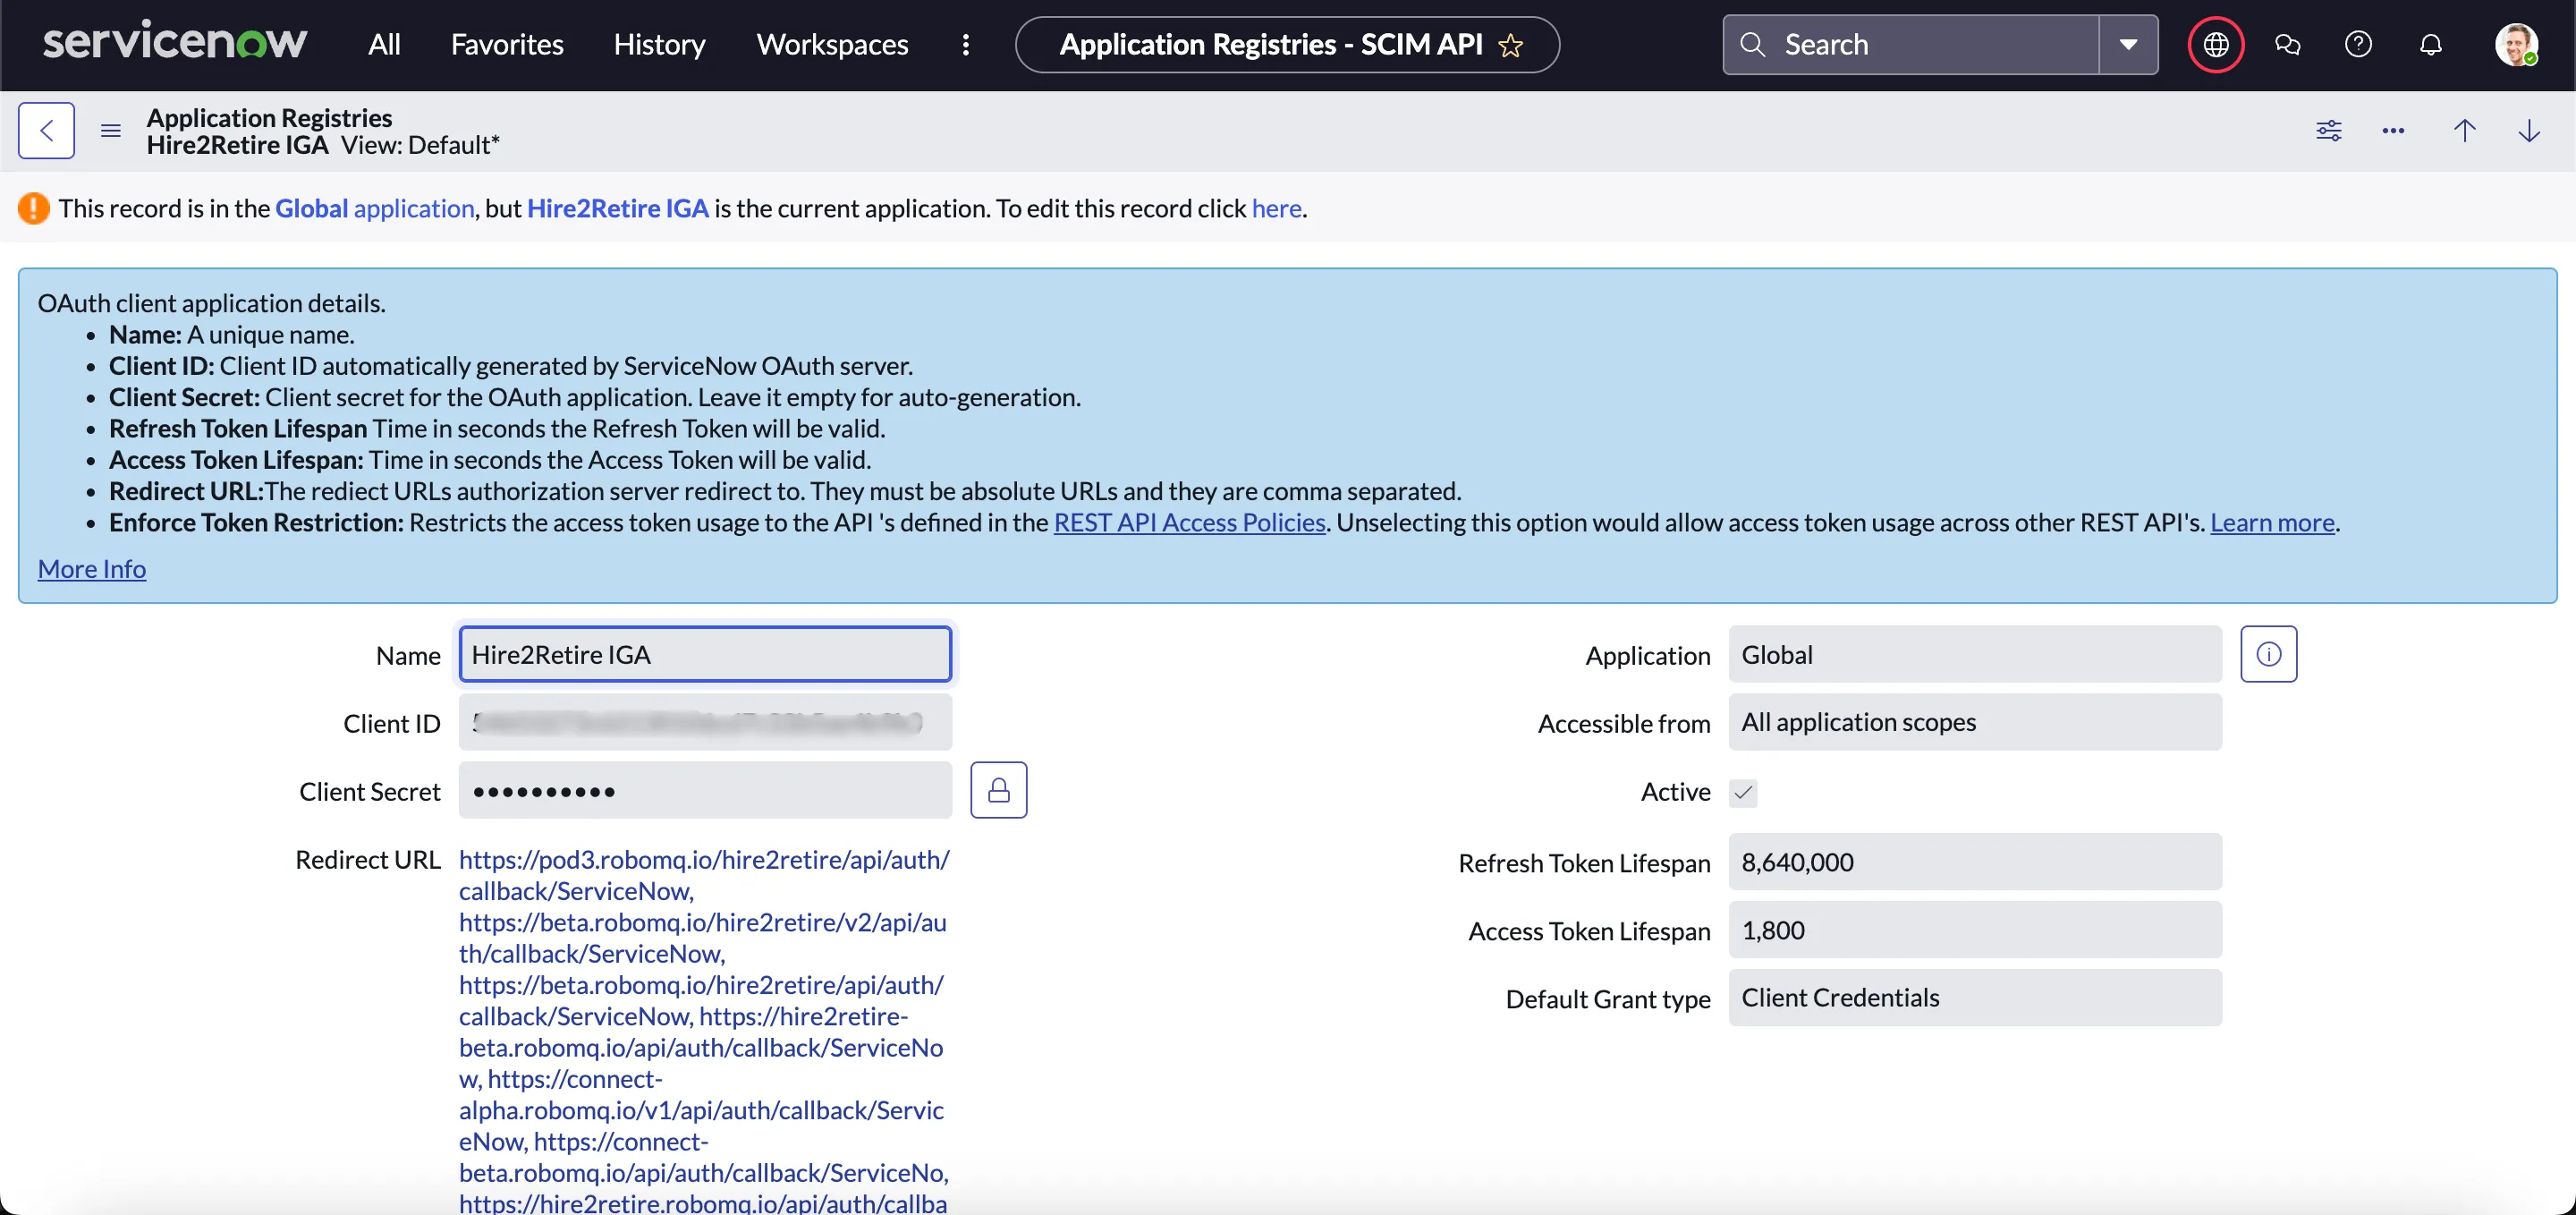
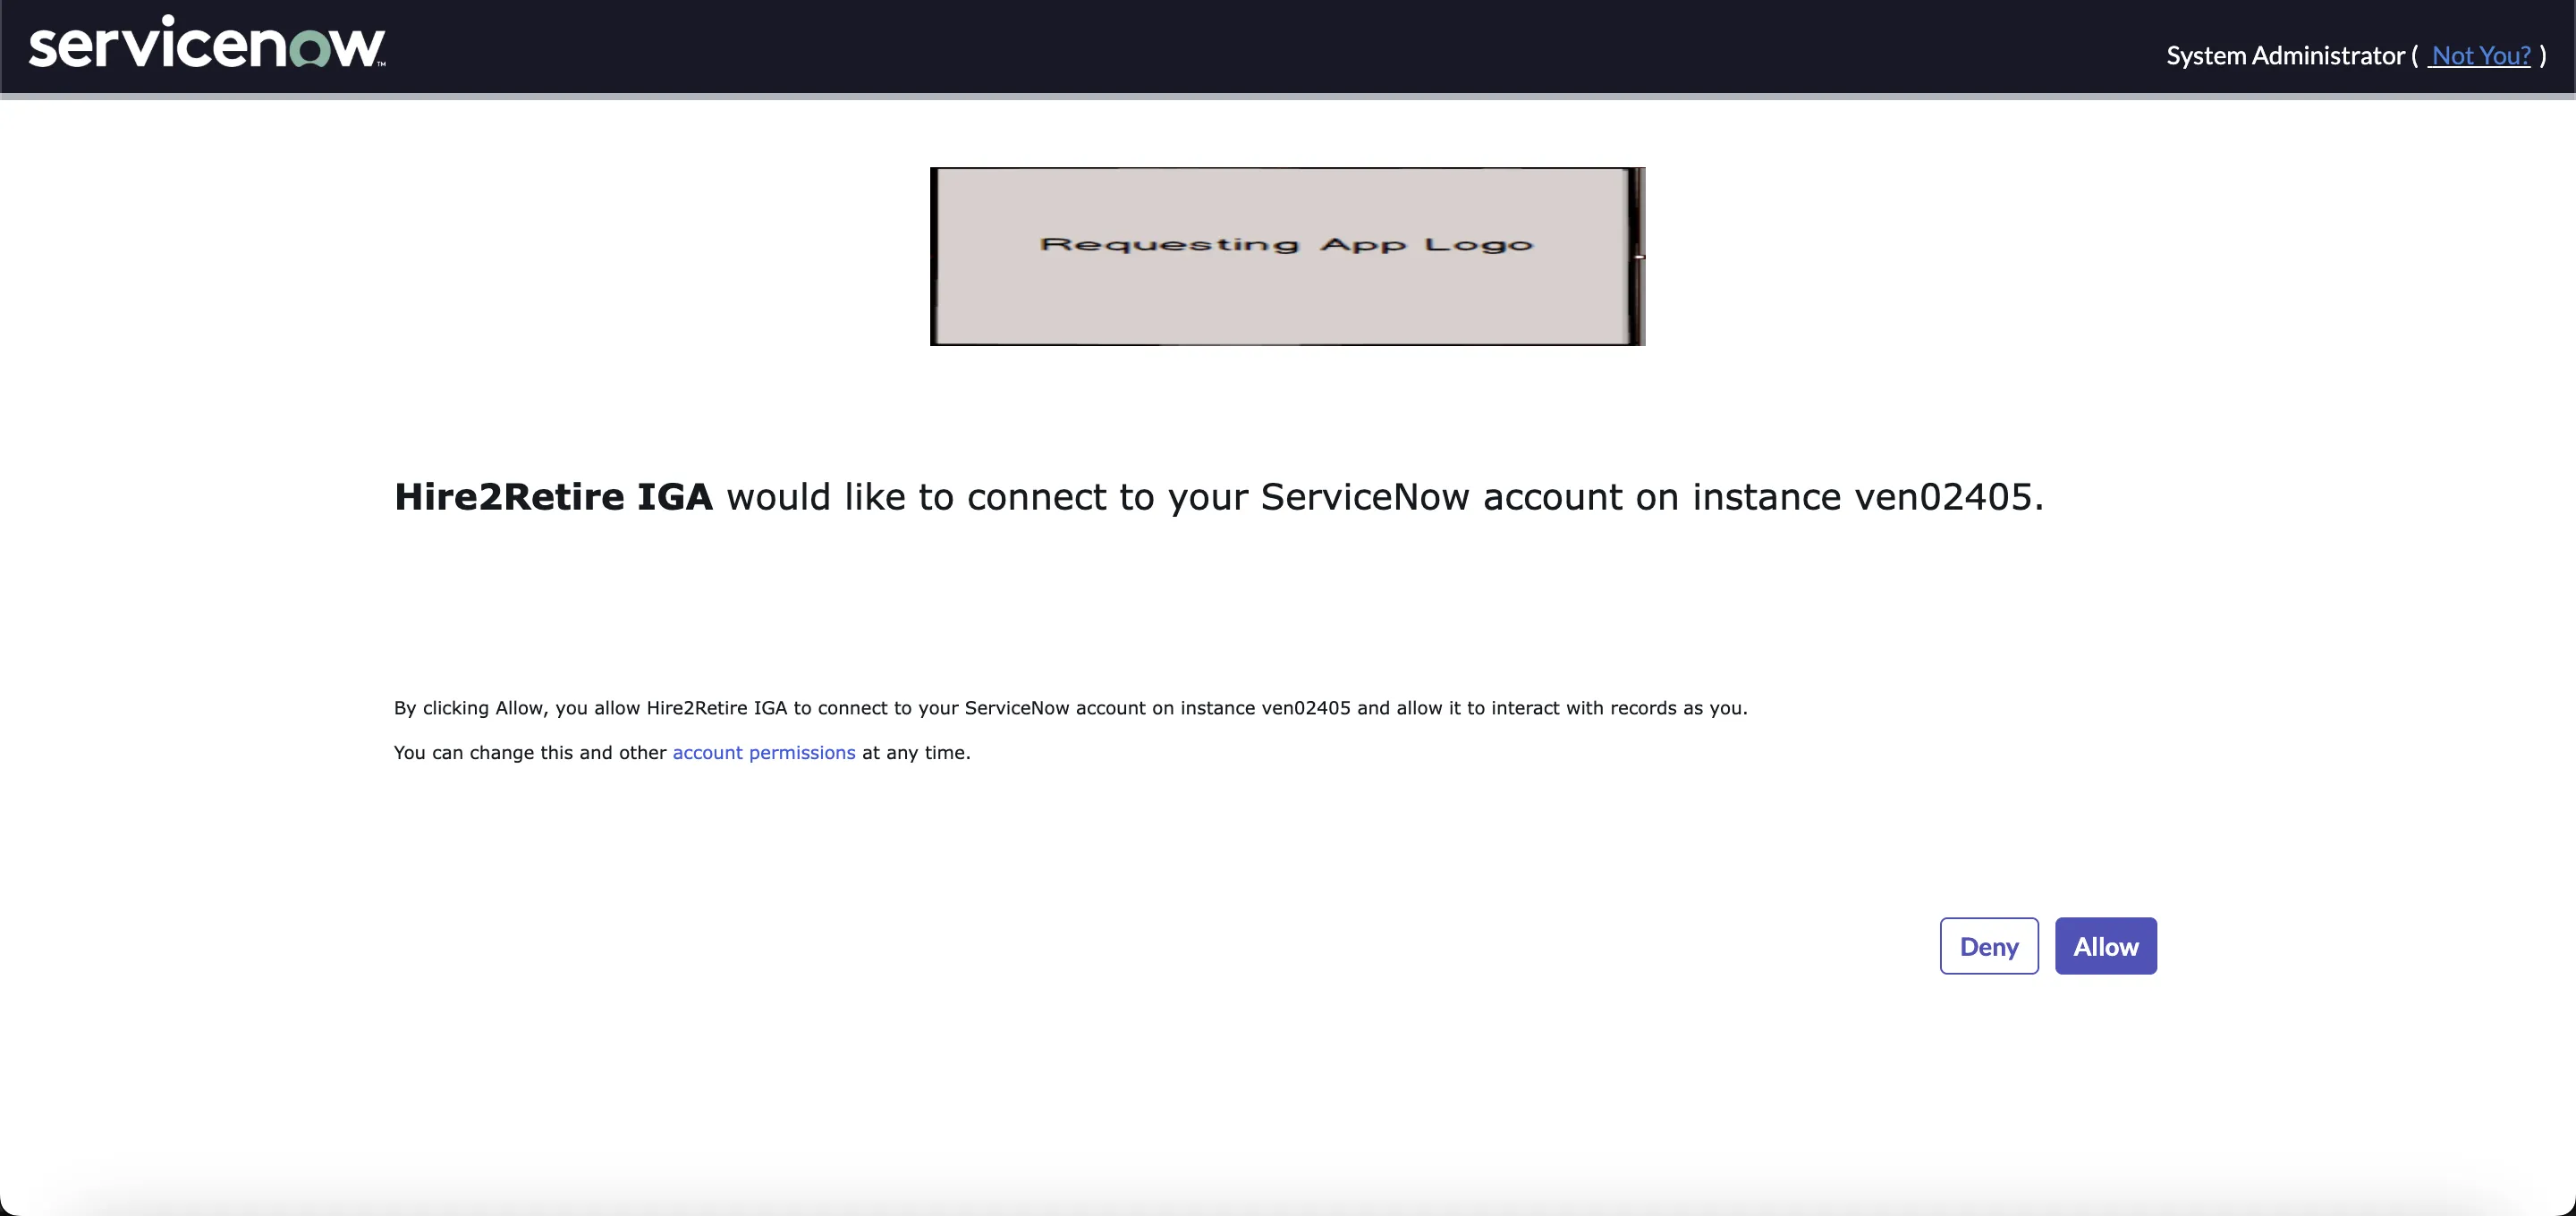
Once the client application is successfully set up, use the Client ID and Client Secret for creating a ServiceNow App connection in Hire2Retire.
When you click on the Link Account button, you will be redirected to the ServiceNow App Authentication screen and then to the application page where you can check permissions and allow RoboMQ to access your account.