Paycor
Paycor is a provider of Human Resources software and services. Its HR (Human Resources) system has been crafted to streamline HR processes and offer a centralized platform for the management of employee data and HR functions. It includes features such as an employee self-service portal, performance management, time tracking, among others.
Paycor Connection Set Up
Hire2Retire will utilize OAuth 2.0 authentication for establishing the connection. You must have a Paycor account for authentication. To setup Paycor as an HR system on Hire2Retire, you have to:
The Hire2Retire platform provides two connection types for Paycor applications:
- Service Provider Application - This option lets you connect using the RoboMQ managed application.
- Customer Owned Application - This option lets you connect using your own Paycor application credentials.
Set up a Paycor Application
Note: These steps are common for both Paycor production and sandbox environment setup.
-
Log into the Paycor Development Portal.
-
Go to the Applications tab and click on
+ Applicationbutton and type your application name.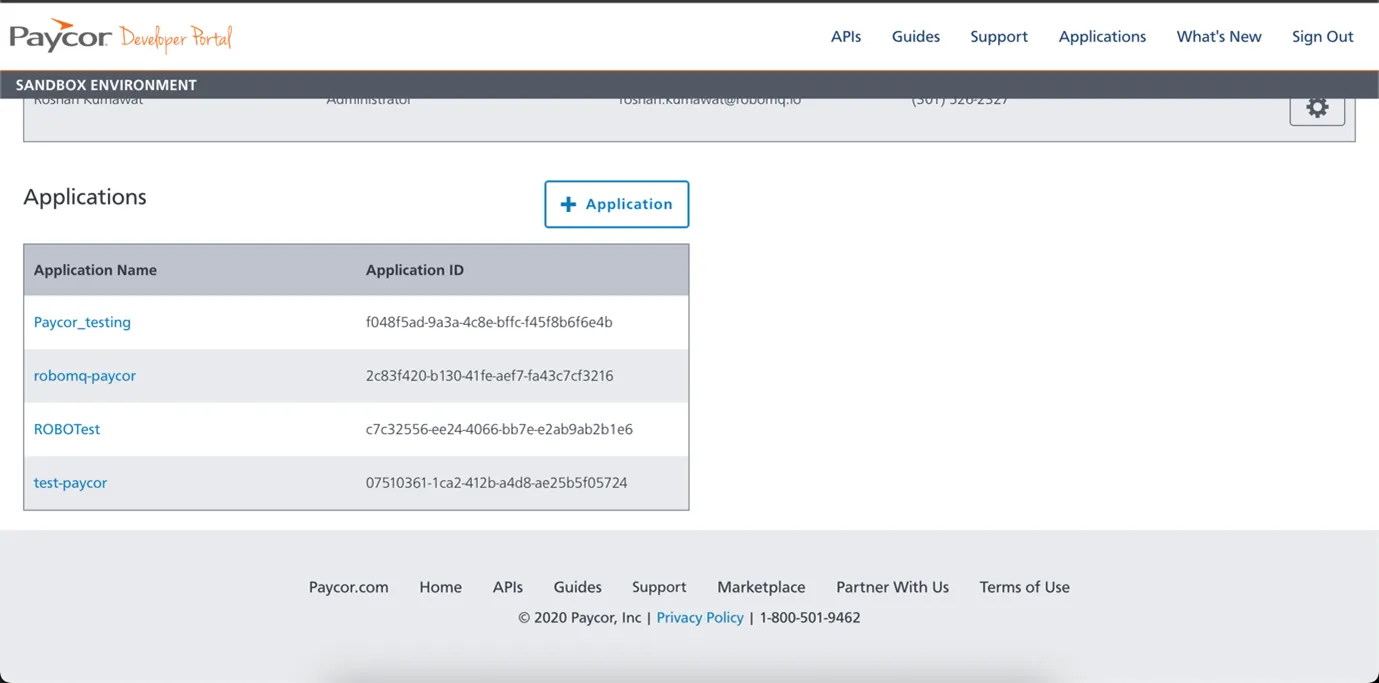 Figure 1. Add Application in Application Tab
 -
You will get the Client ID and Client Secret. These details will be required while creating a connection on Hire2Retire. Once you acknowledge the client ID and Secret, you will be redirected to your newly created application page.
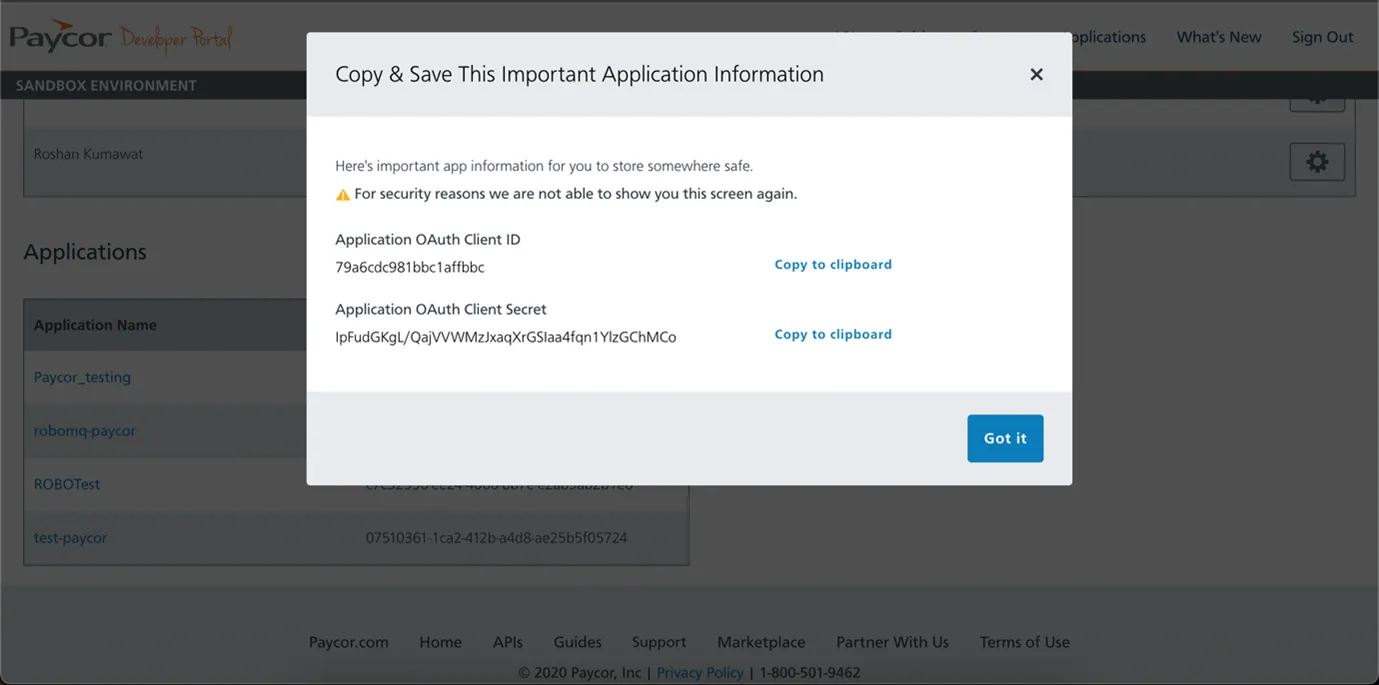 Figure 2. Client ID and Client Secret pop up
 -
Navigate to the
Security Connectiontab, you can find the APIm Subscription Key there. The Subscription Key will be required while setting up connection on Hire2Retire. Add the following URL inside theApproved Return OAuth URL Textbox.https://hire2retire.robomq.io/api/auth/callback/Paycor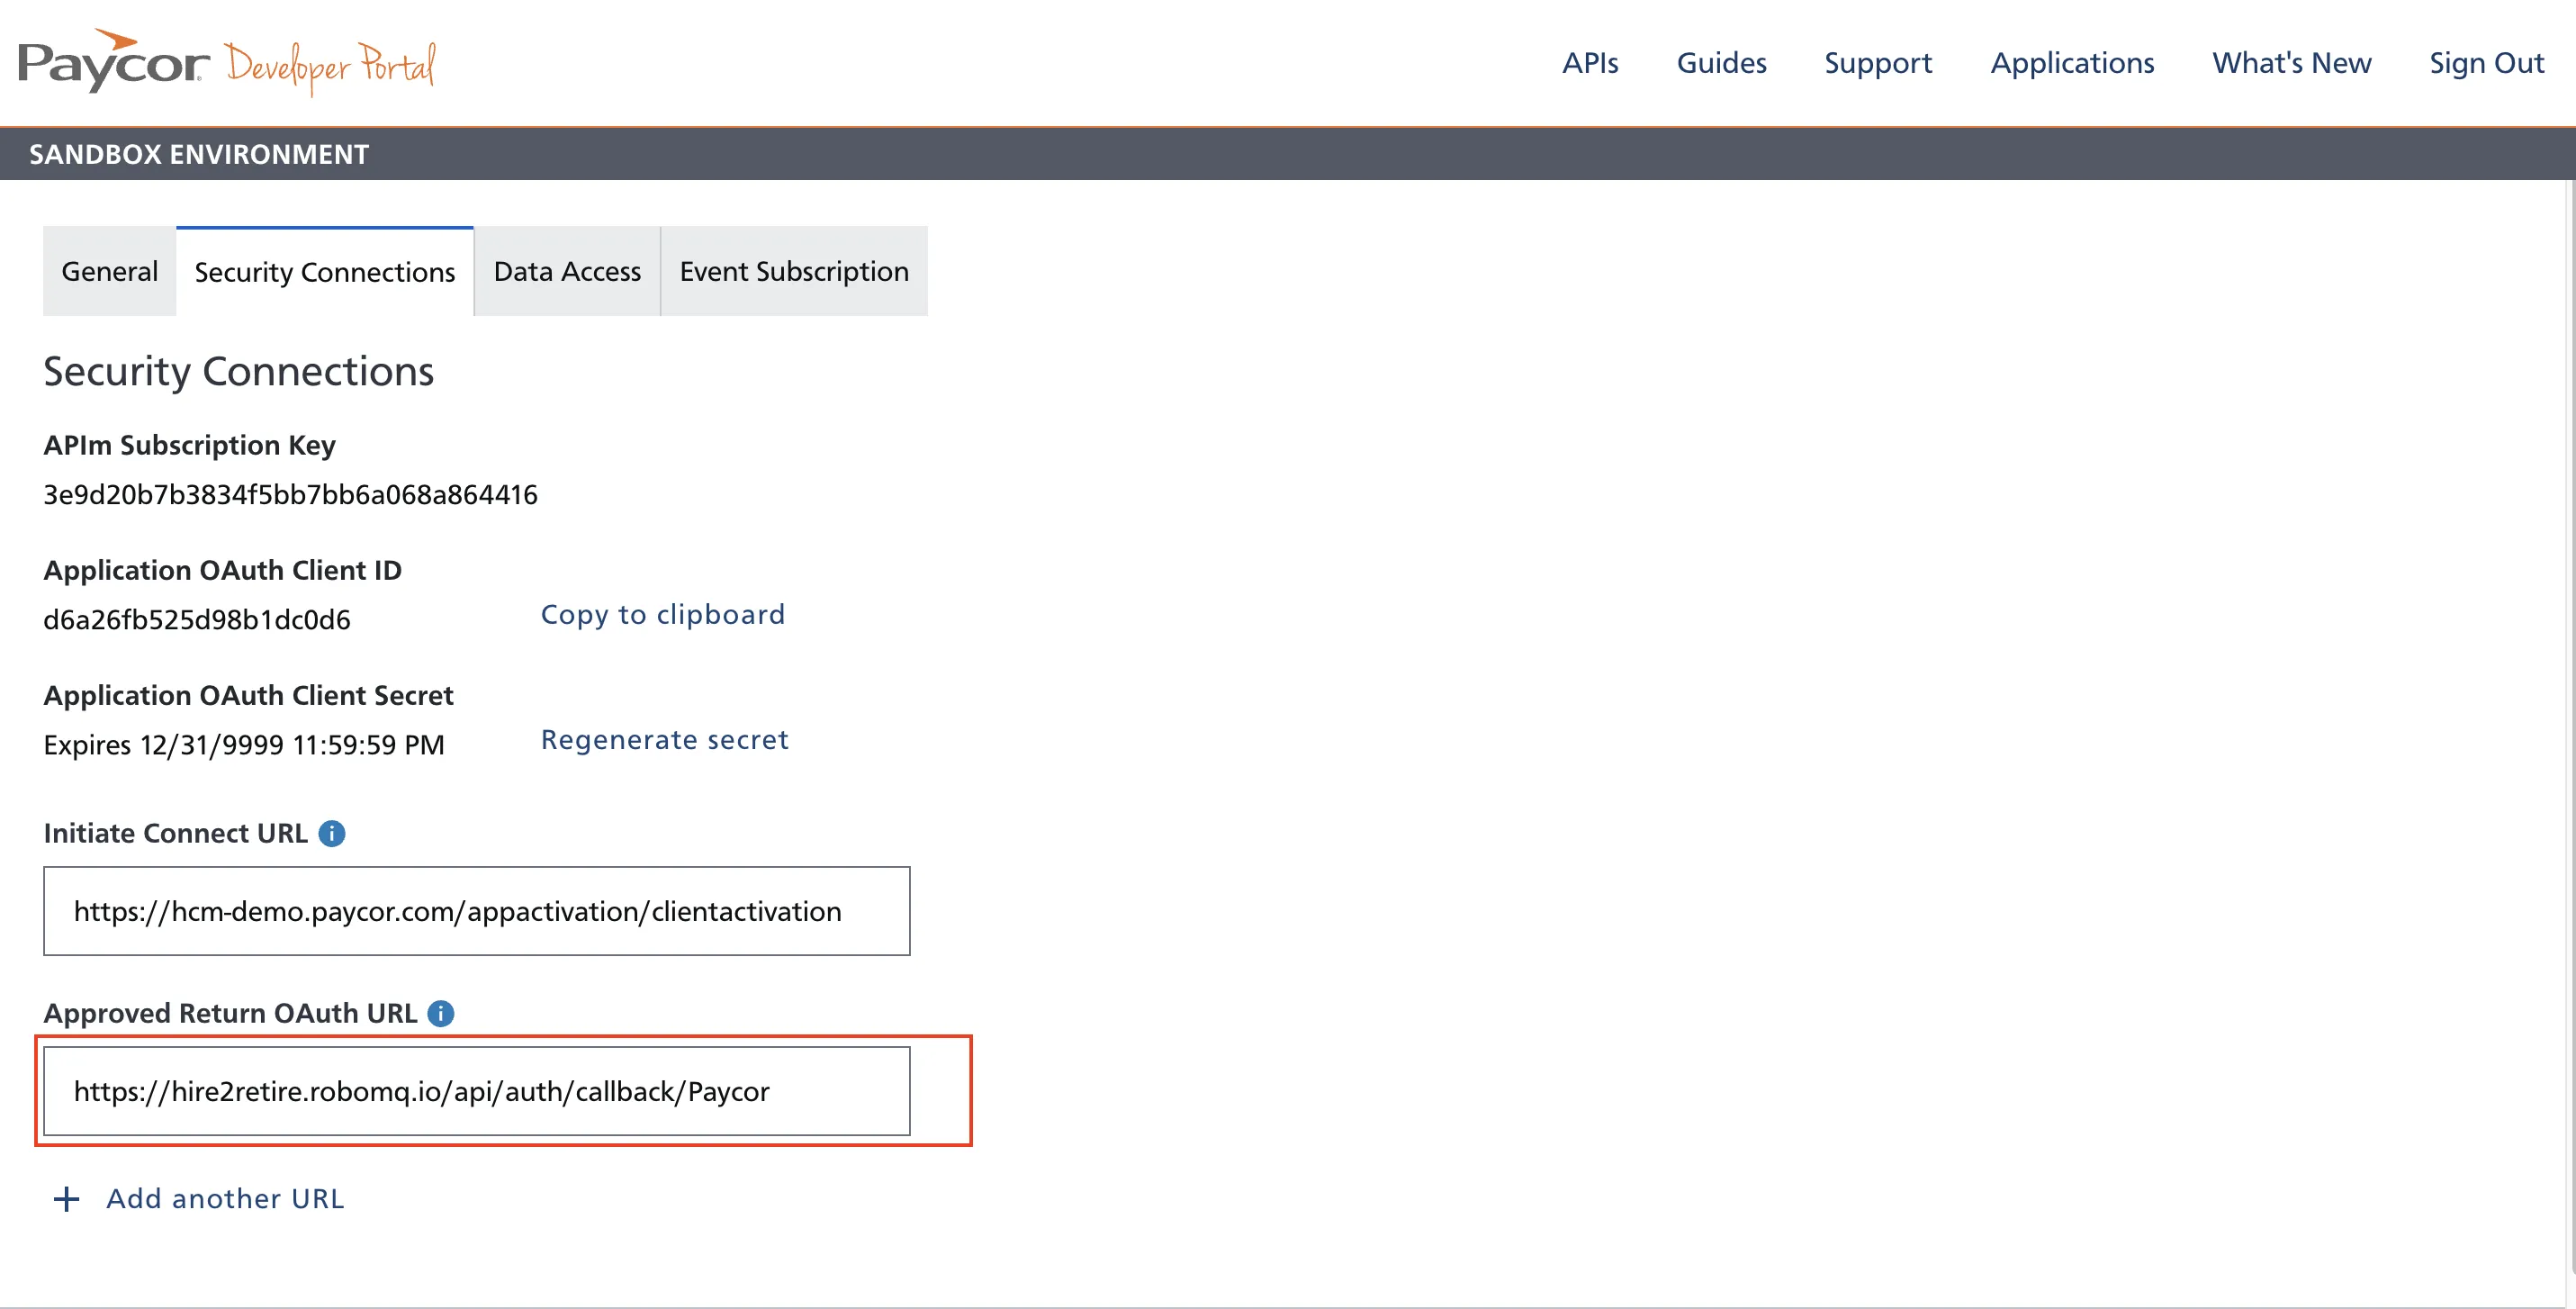 Figure 3. Security Connections Tab of your created connection
 -
Navigate to the Data Access tab and create a scope by giving the following permissions.
- View Legal Entity Employees
- View Legal Entity Employees Employment Dates
- View Legal Entity Employees Manager & Position
- View Legal Entity Employees Position
- View Legal Entity Employees Status
- View Legal Entity Employees Work Location
- View Legal Entity Persons
- View Person Addresses
- View Person Demographic Information
- View Person Email
- View Person Phone
- View Person Information
- View Legal Entity Departments by Department Id
- View Employee Information
- Update Employee Contact: To use Paycor writeback feature.
- View Legal Entity Basic Information
- View Legal Entity Business Names & Addresses
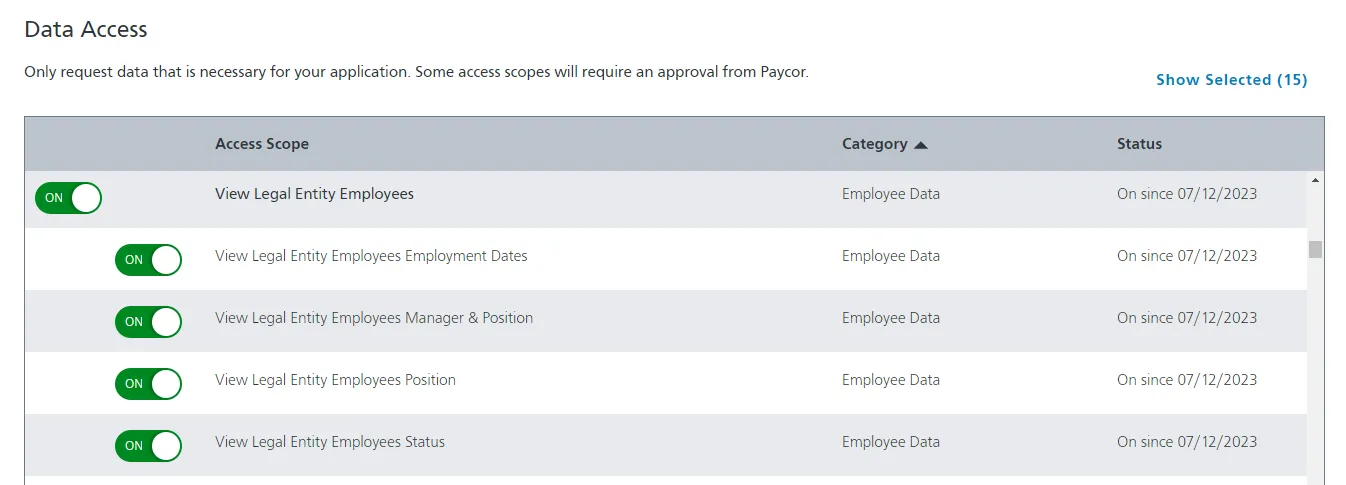 Figure 4. Data Access Tab
To know more about data access scopes, you can refer to Paycor Data Access Scopes.
- View Legal Entity Employees
-
After creating the scope, navigate to the General tab and you can find the name of the scope you just created.
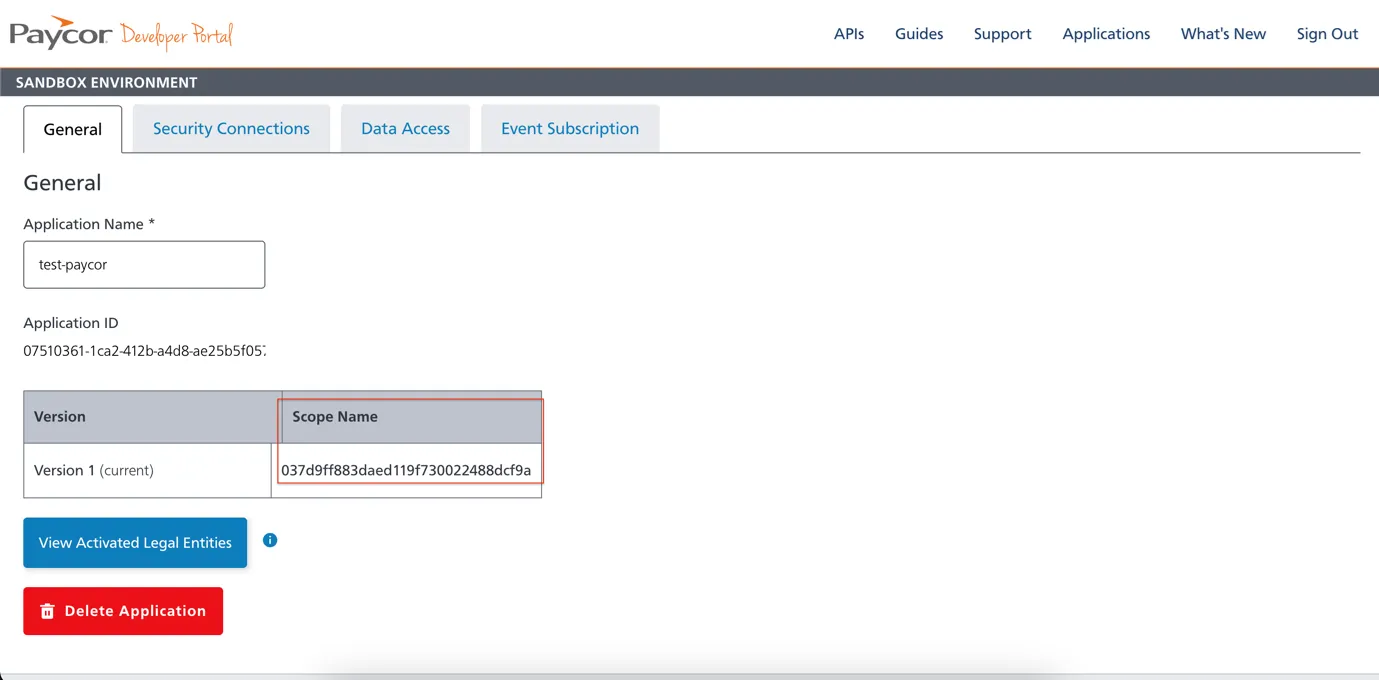 Figure 5. General Tab of Paycor Application
Create Paycor Connection on Hire2Retire
You can configure Paycor in Hire2Retire using either a Service Provider Application connection or a Customer Owned Application connection.
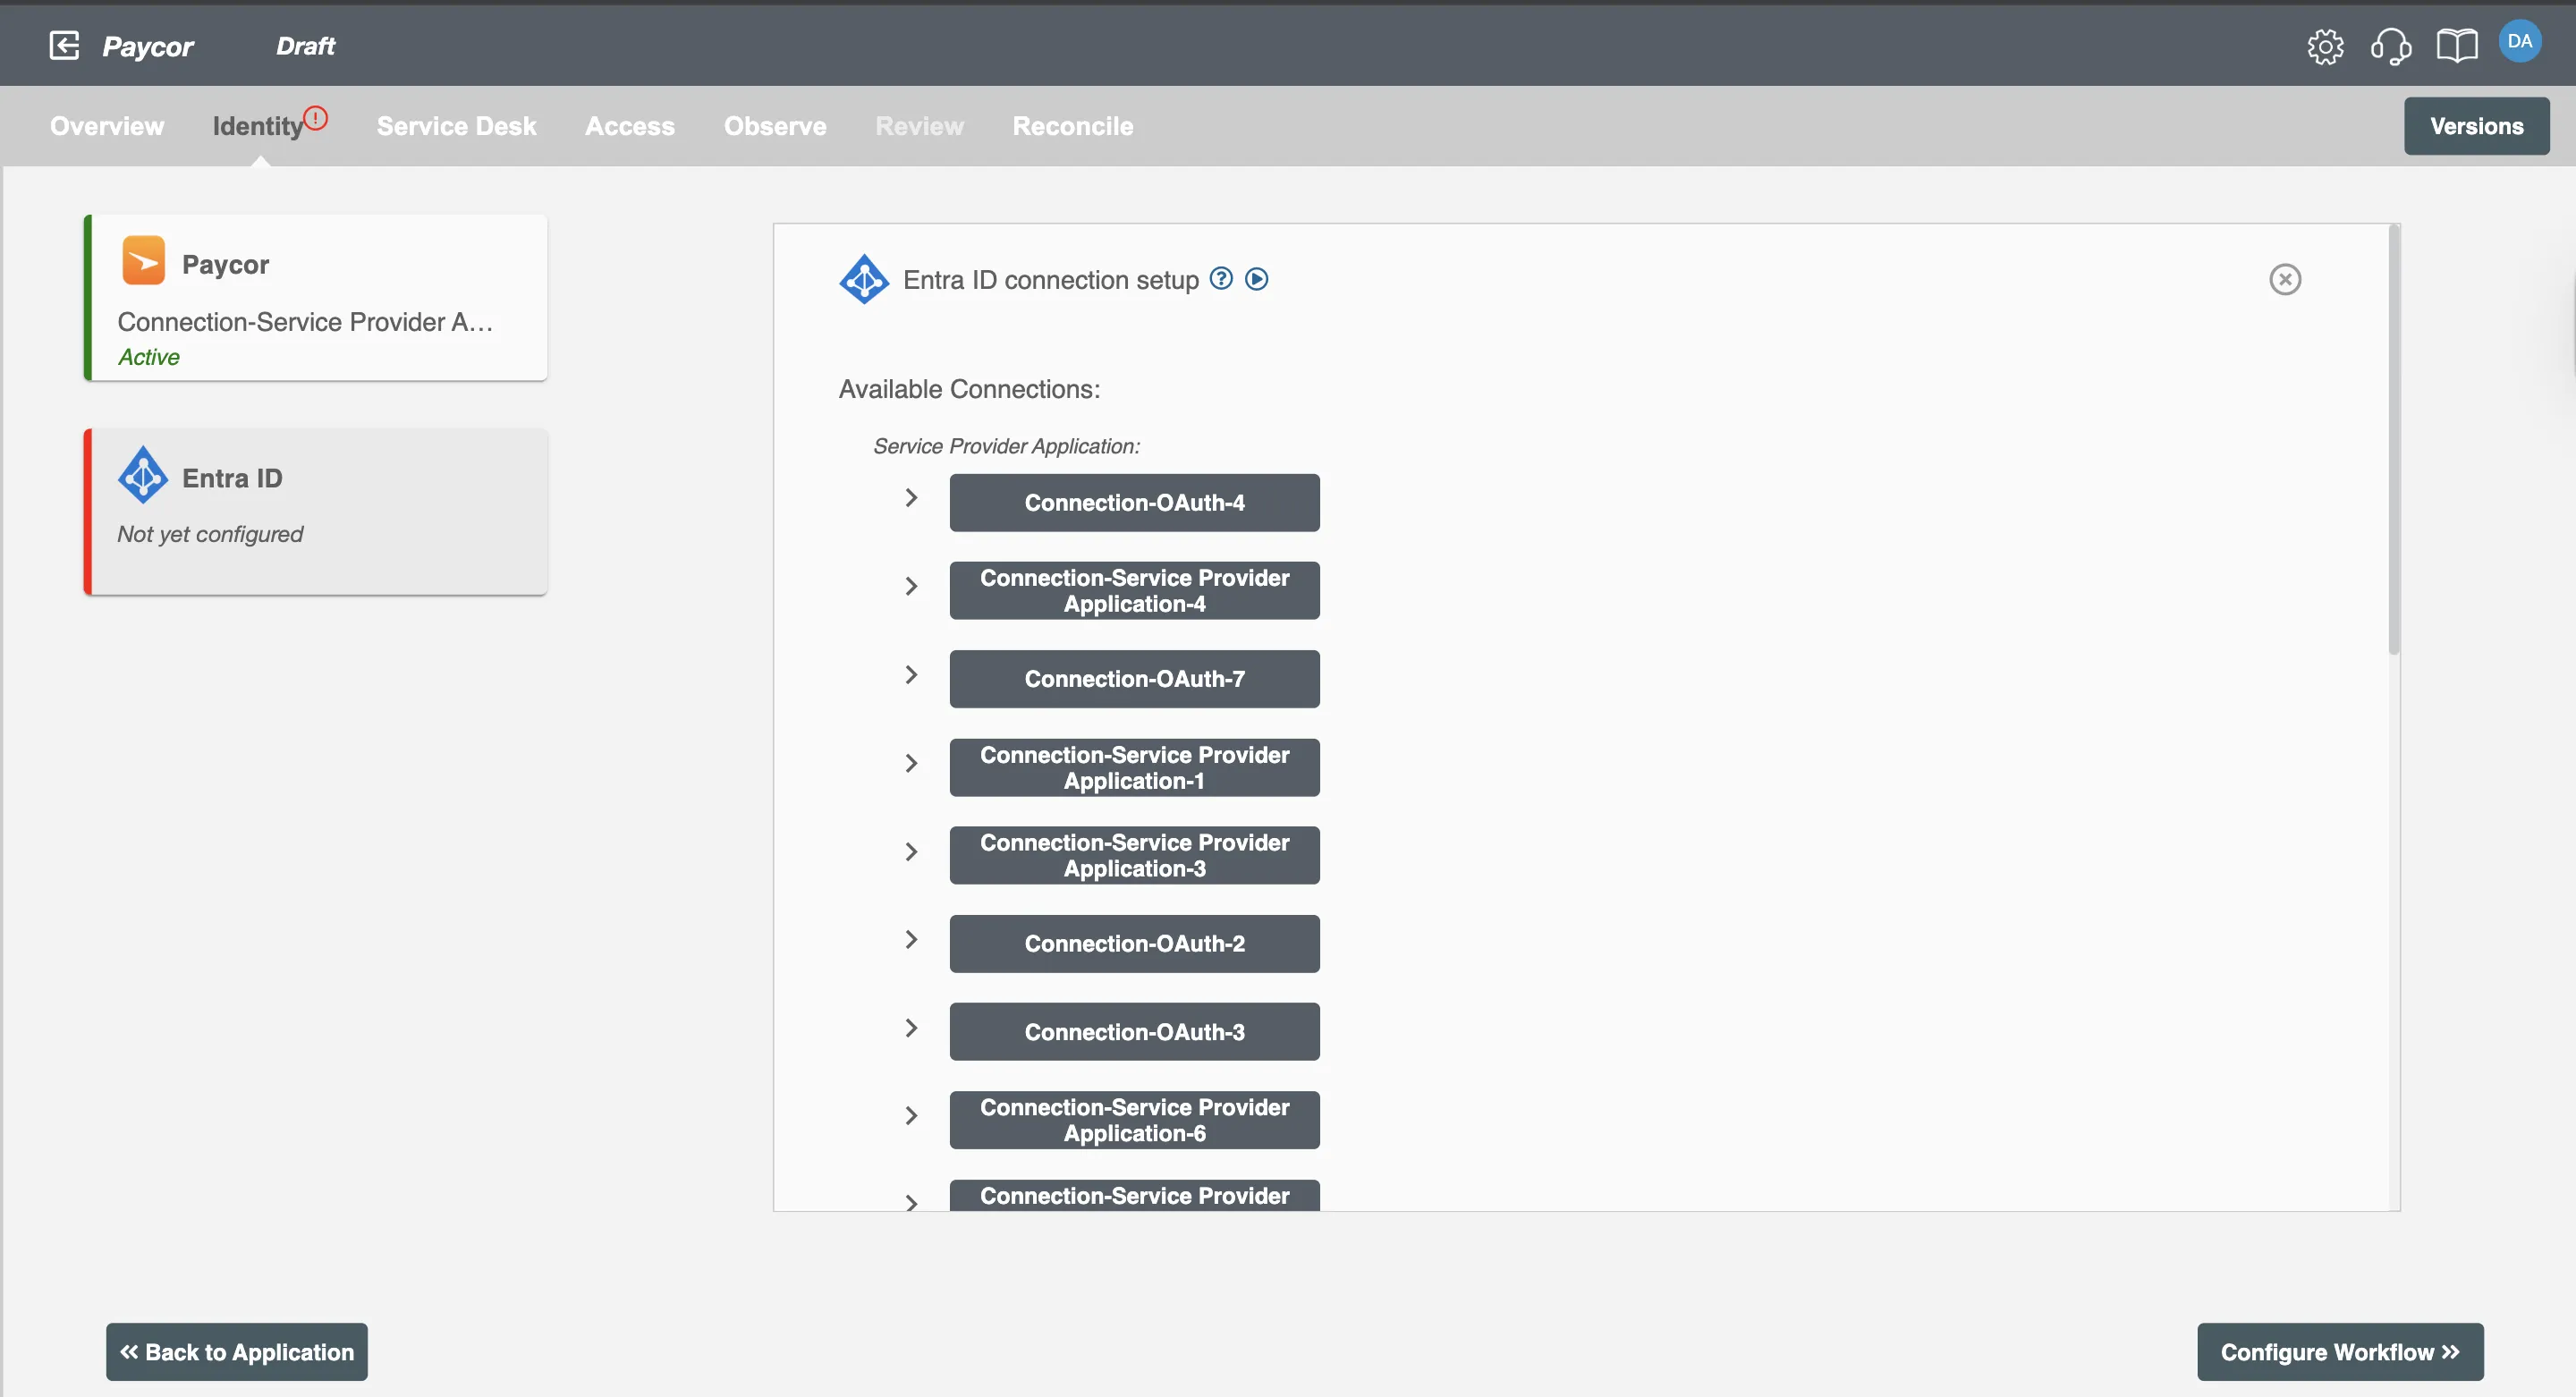
Service Provider Application
Use this option when you want to use the RoboMQ managed Paycor application.
- Connection Name - A user defined nomenclature for your connection. By default, the connection name is
Connection-Service Provider Application-1, you can change it as per your preferences. - Environment - Select the Paycor environment that you want to connect, such as
ProductionorSandbox.
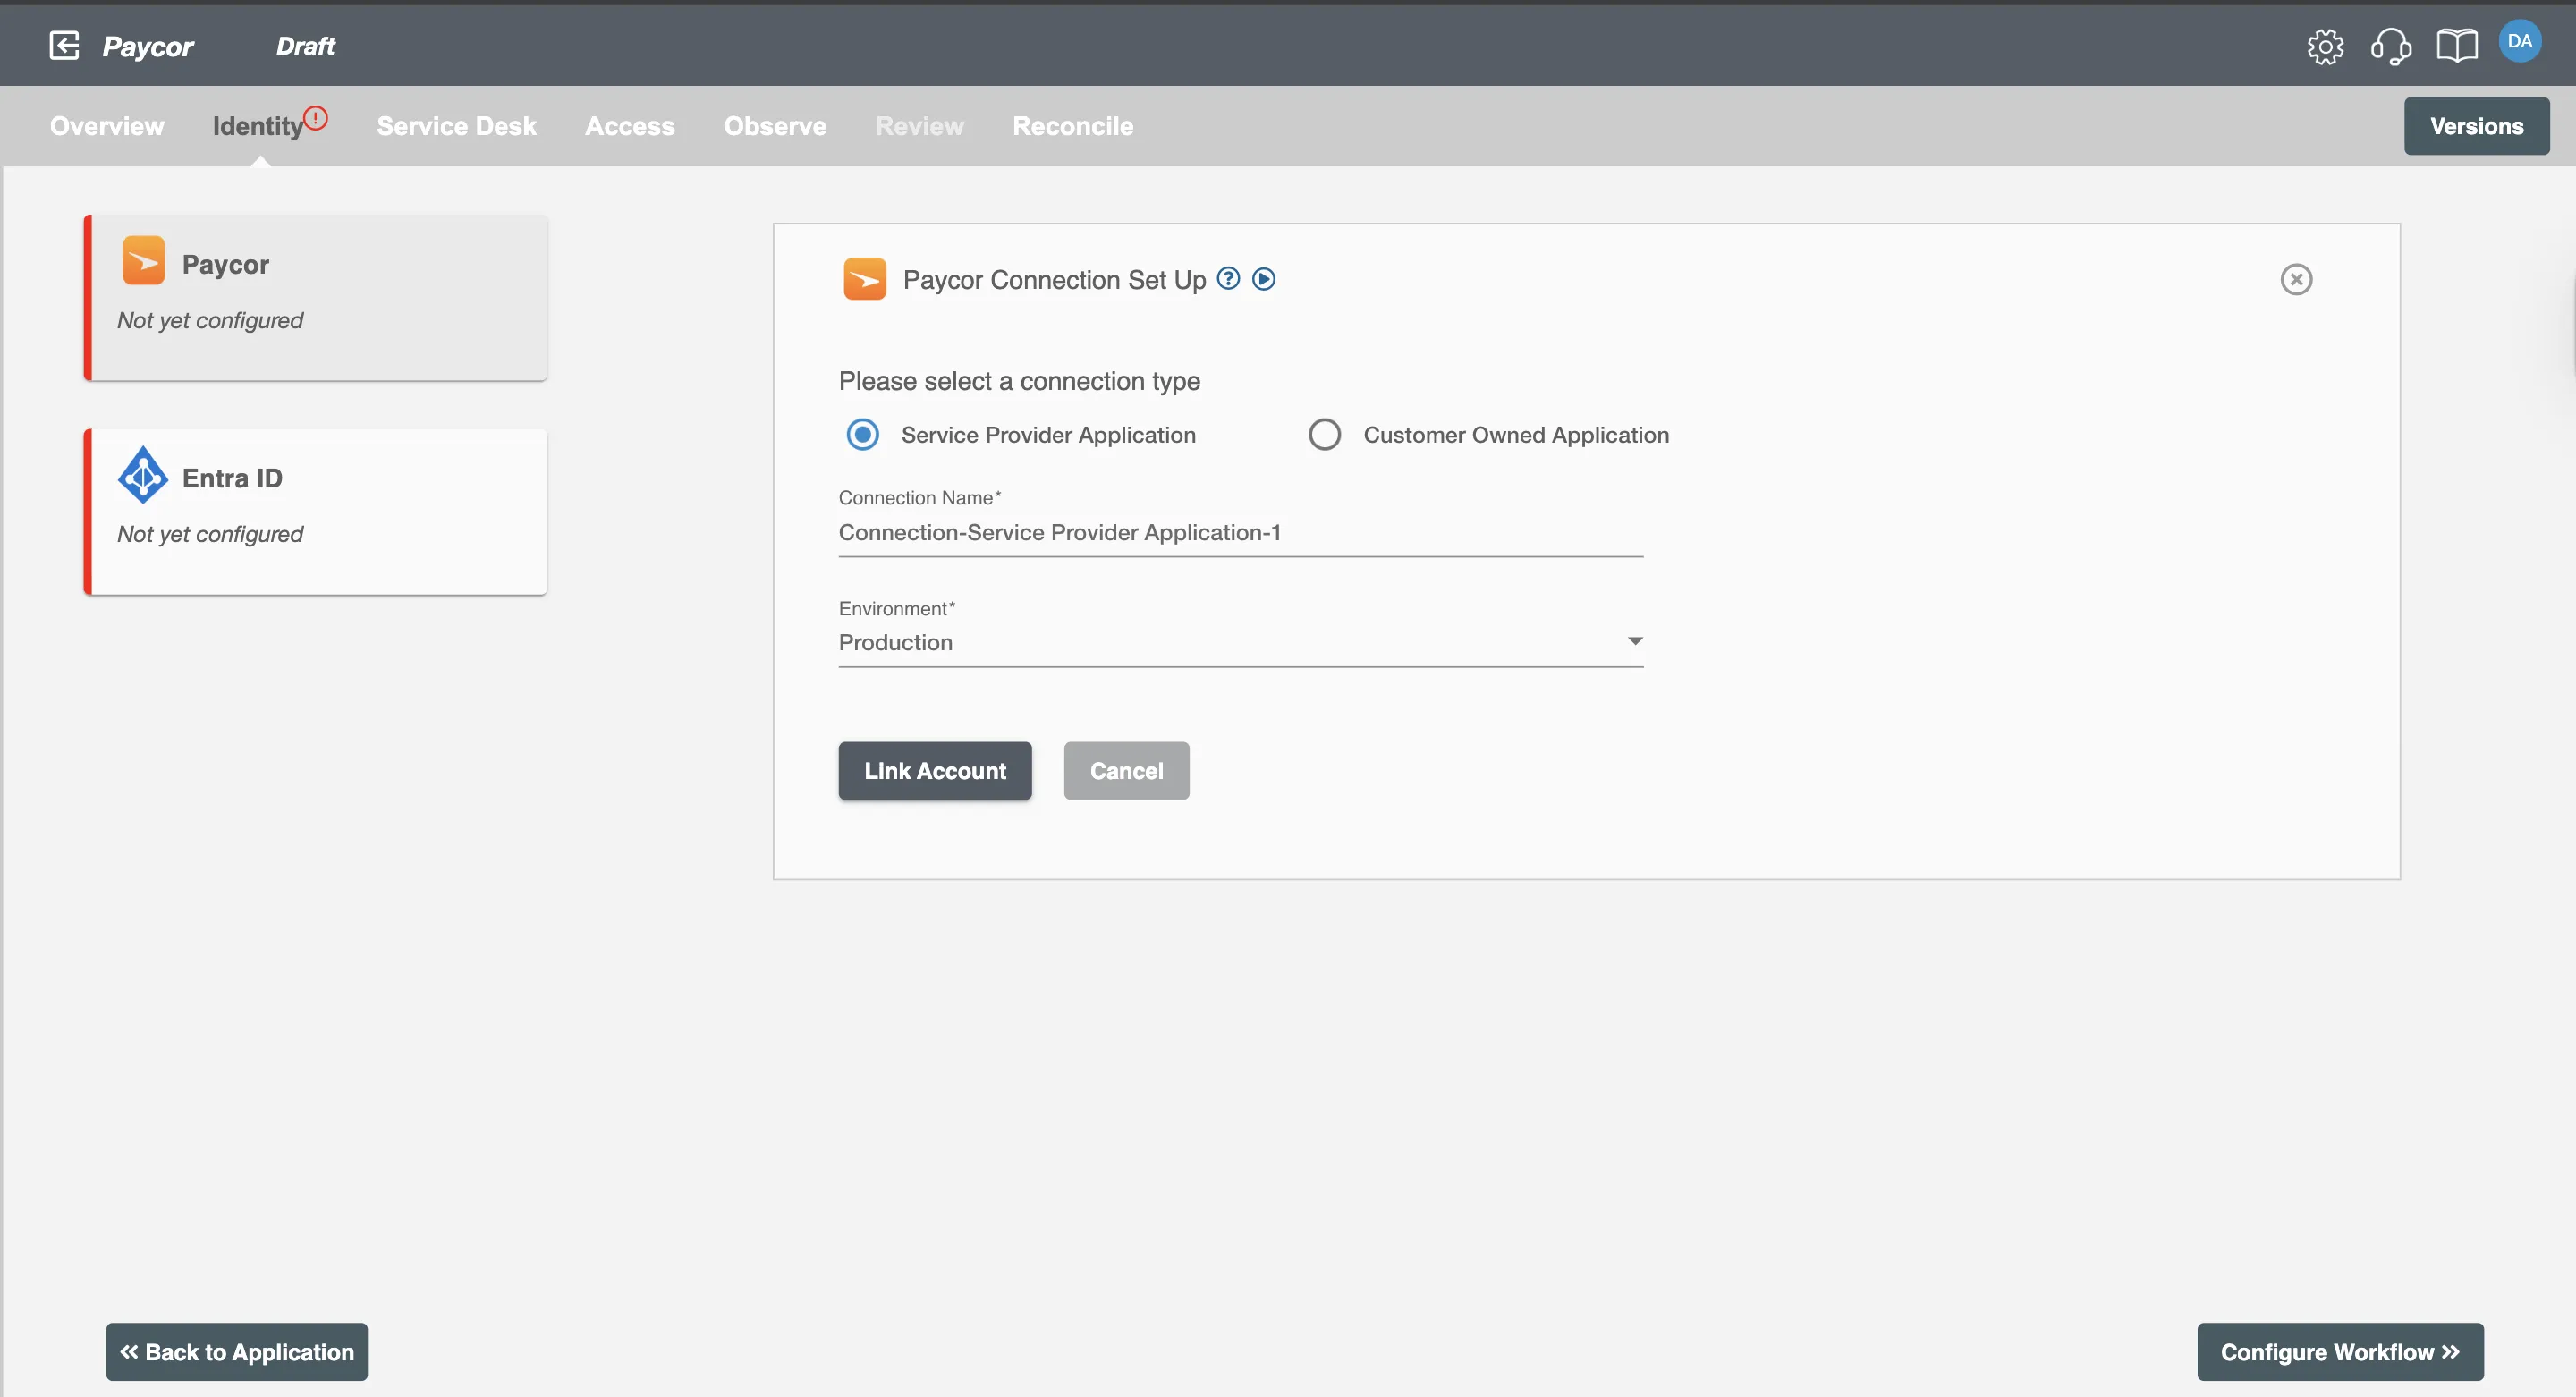
After entering the details, click the Link Account button to continue.
Customer Owned Application
Use this option when you want to use your own Paycor application credentials created in the Paycor developer portal.
- Connection Name - A user defined nomenclature for your connection. By default, the connection name is
Connection-Customer Owned Application-1, you can change it as per your preferences. - Environment - Select the Paycor environment that you want to connect, such as
ProductionorSandbox. - Client ID of Paycor - You will get your client ID after adding the application in Paycor or you can find it on the
Security Connectiontab. - Client Secret - You will get your client secret after adding the application in Paycor or you can regenerate it from the
Security Connectiontab. - Scope ID - You can find it on the
Generaltab once you create scopes on theData Accesstab. - APIM Subscription Key - You can find your subscription key in the Paycor
Security Connectiontab.
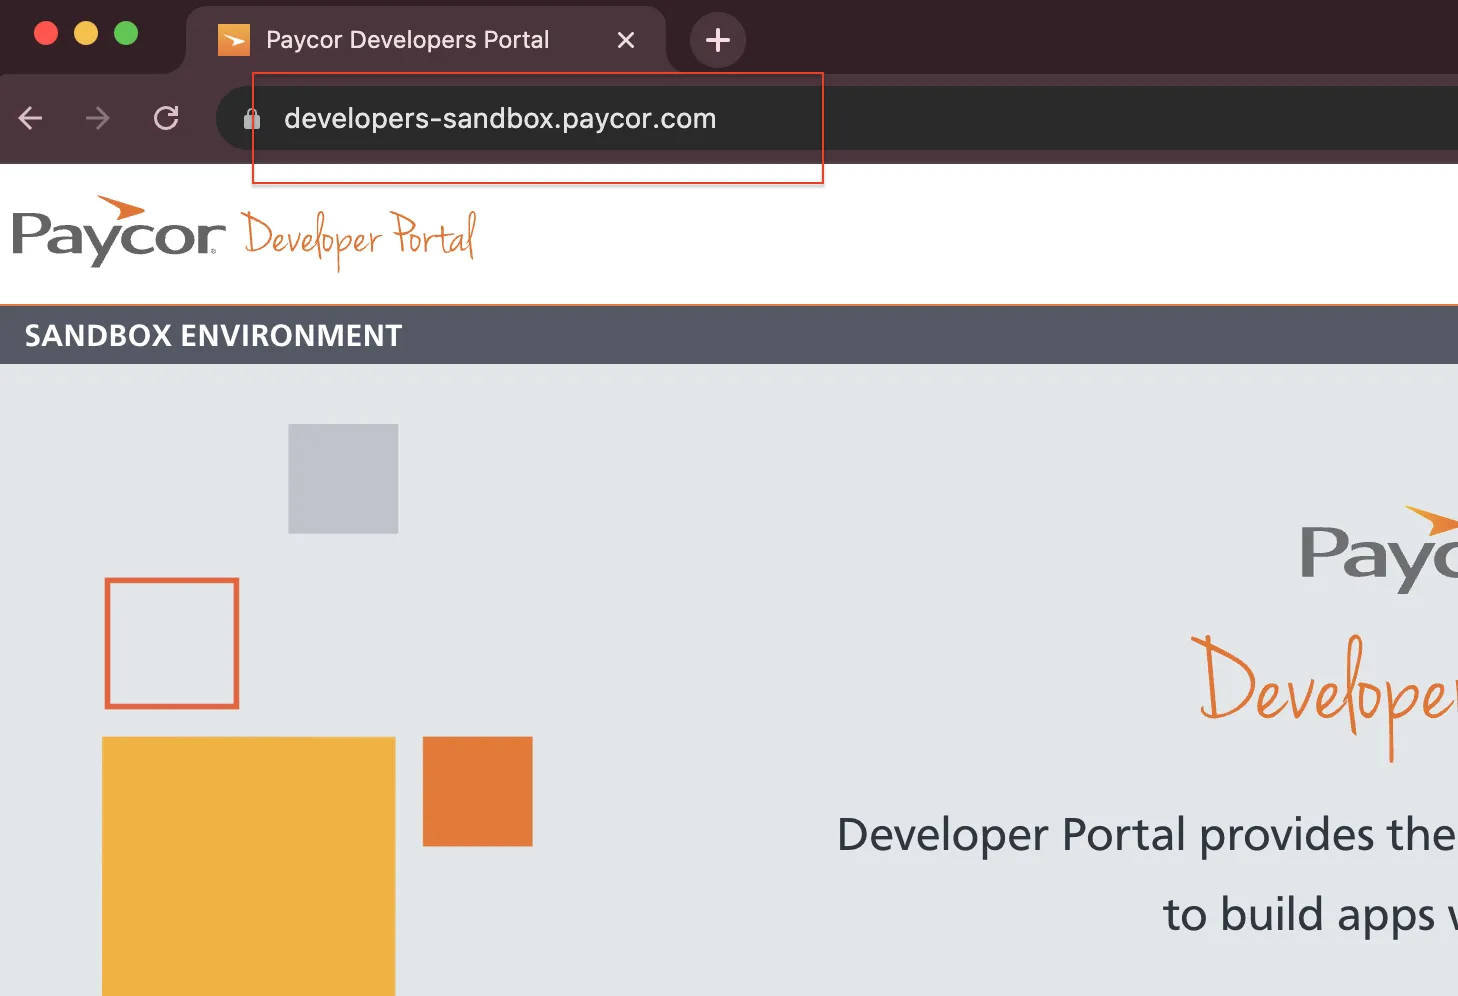
Environment is important when setting up the connection. A sandbox account in Paycor refers to a test environment provided by Paycor for developers and users to experiment. A sandbox account has sandbox in the development portal URL.
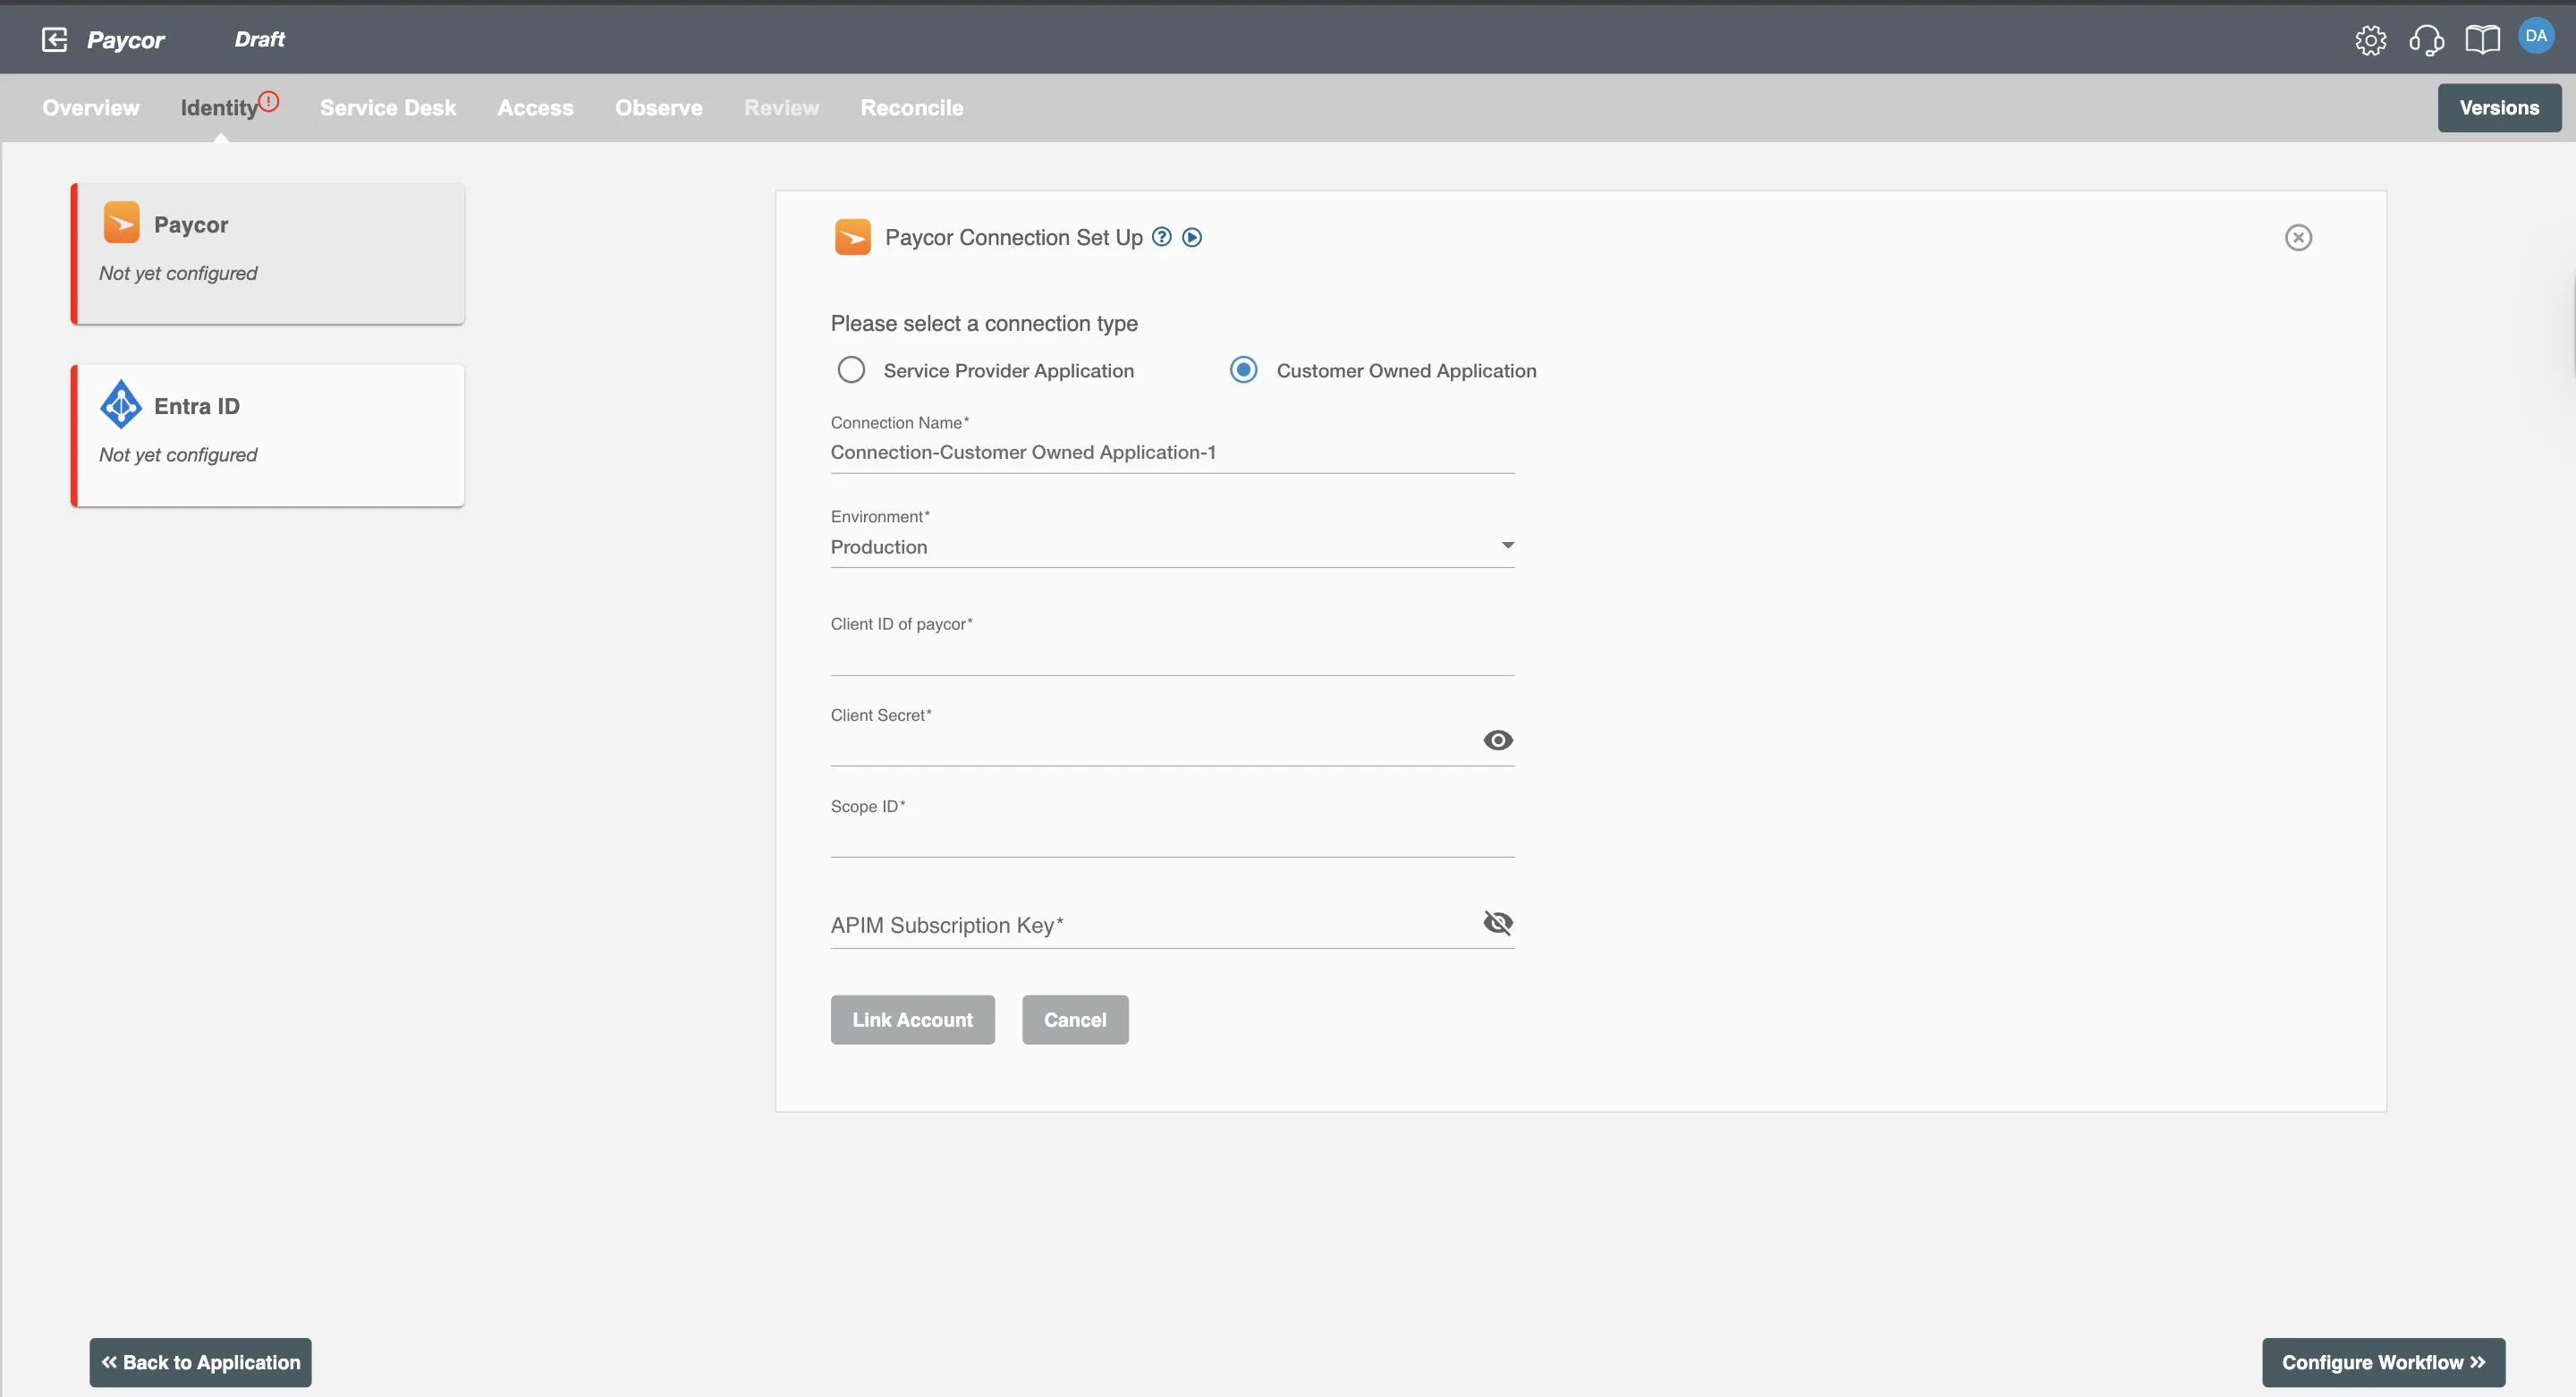
After entering the required details, click the Link Account button to continue.
Complete Paycor Activation
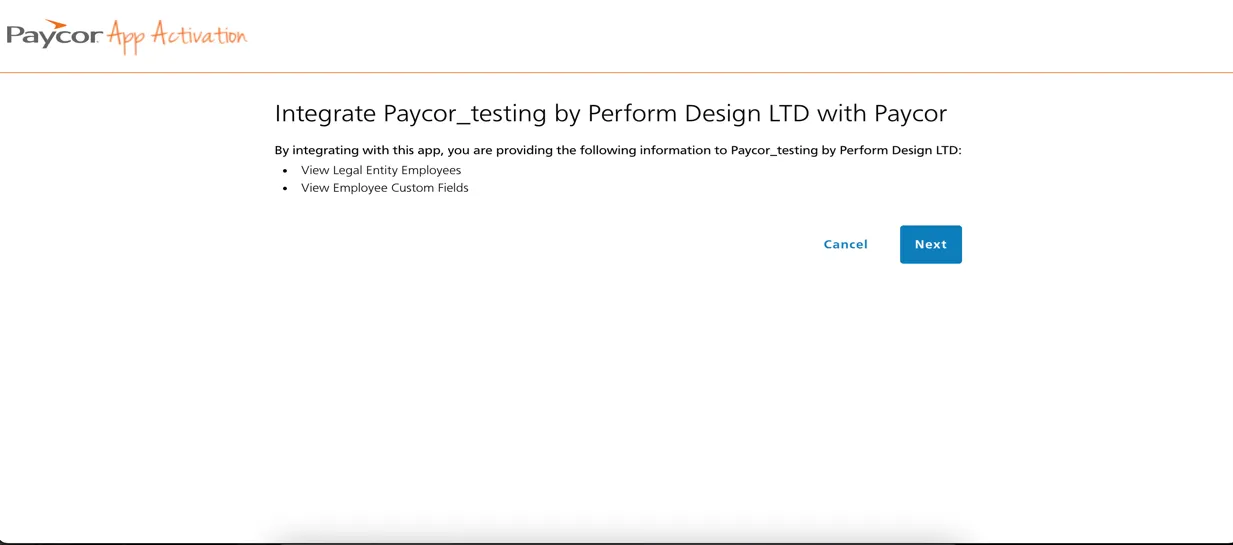
After clicking the Link Account button for either connection type, Hire2Retire will redirect you to Paycor to review the access being requested, based on the application scope and version. You will be prompted to log in to Paycor if you are not already logged in. In this case, enter your Company/HR/Payroll Administrator credentials, as once the application is created, the Company/HR/Payroll Administrator role is required to complete the activation process in the production environment.
Select the Paycor Legal Entity ID that you want to integrate. This gives your application access to the client's data.
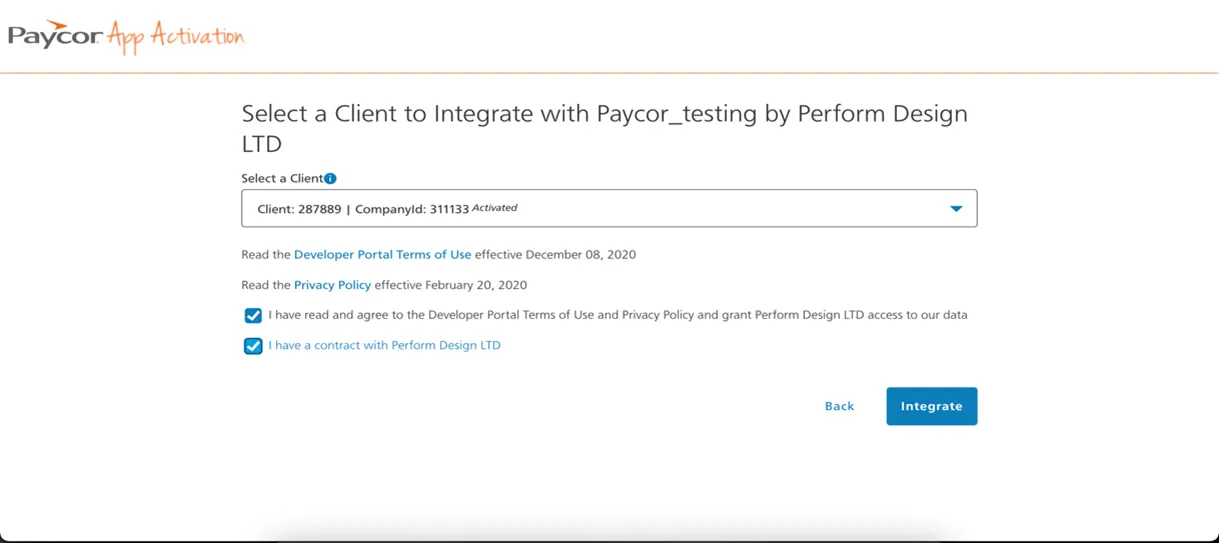
When the connection is created successfully, it becomes active in Hire2Retire and is available for dependent application configurations.
Note: While setting up connection on Hire2Retire if you see a "403" message. It indicates that the logged-in Paycor user doesn't have access to complete the Activation process. User requires "Company/HR/Payroll Administrator" role to complete this. Your Sandbox credentials already have this access, but Production will need to be done by an authorized user.