Lever
Lever is a popular applicant tracking system (ATS) and recruiting software used by companies to manage their hiring processes.
Lever Connection Setup
Hire2Retire leverages OAuth 2.0 authentication to establish a secure connection with Lever. To enable this integration, you must have an active Lever account.
Create A Lever Connection on Hire2Retire
- Connection Name - A user-defined nomenclature for your connection. By default, the connection name is "Connection-OAuth-1", you can change the name as per your preferences.
Steps For Creating A Connection :
-
Go to the Connections page on Hire2Retire. Click the
Link Accountbutton.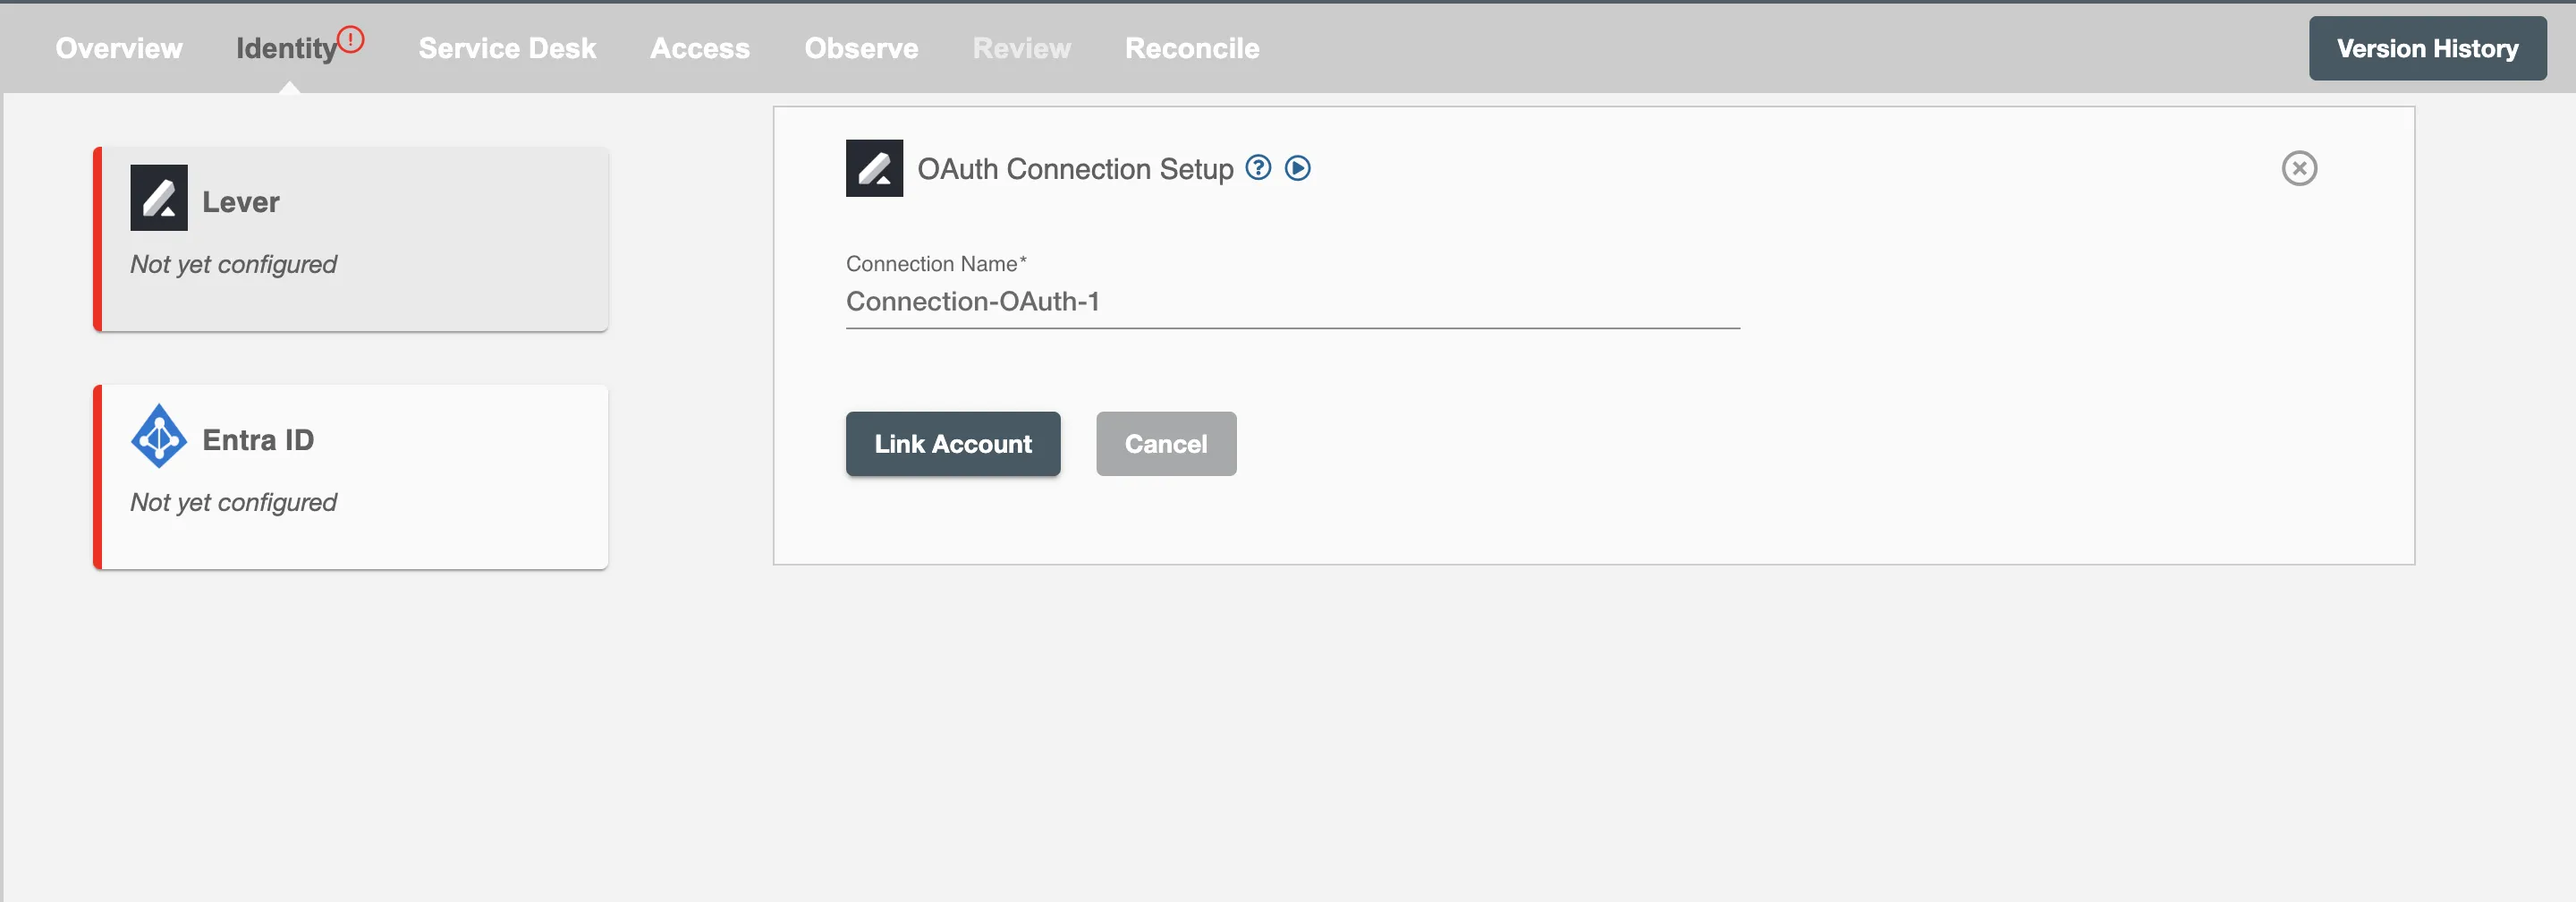 Figure 1. Lever connection page in Hire2Retire
 -
You will be redirected to log in to Lever.
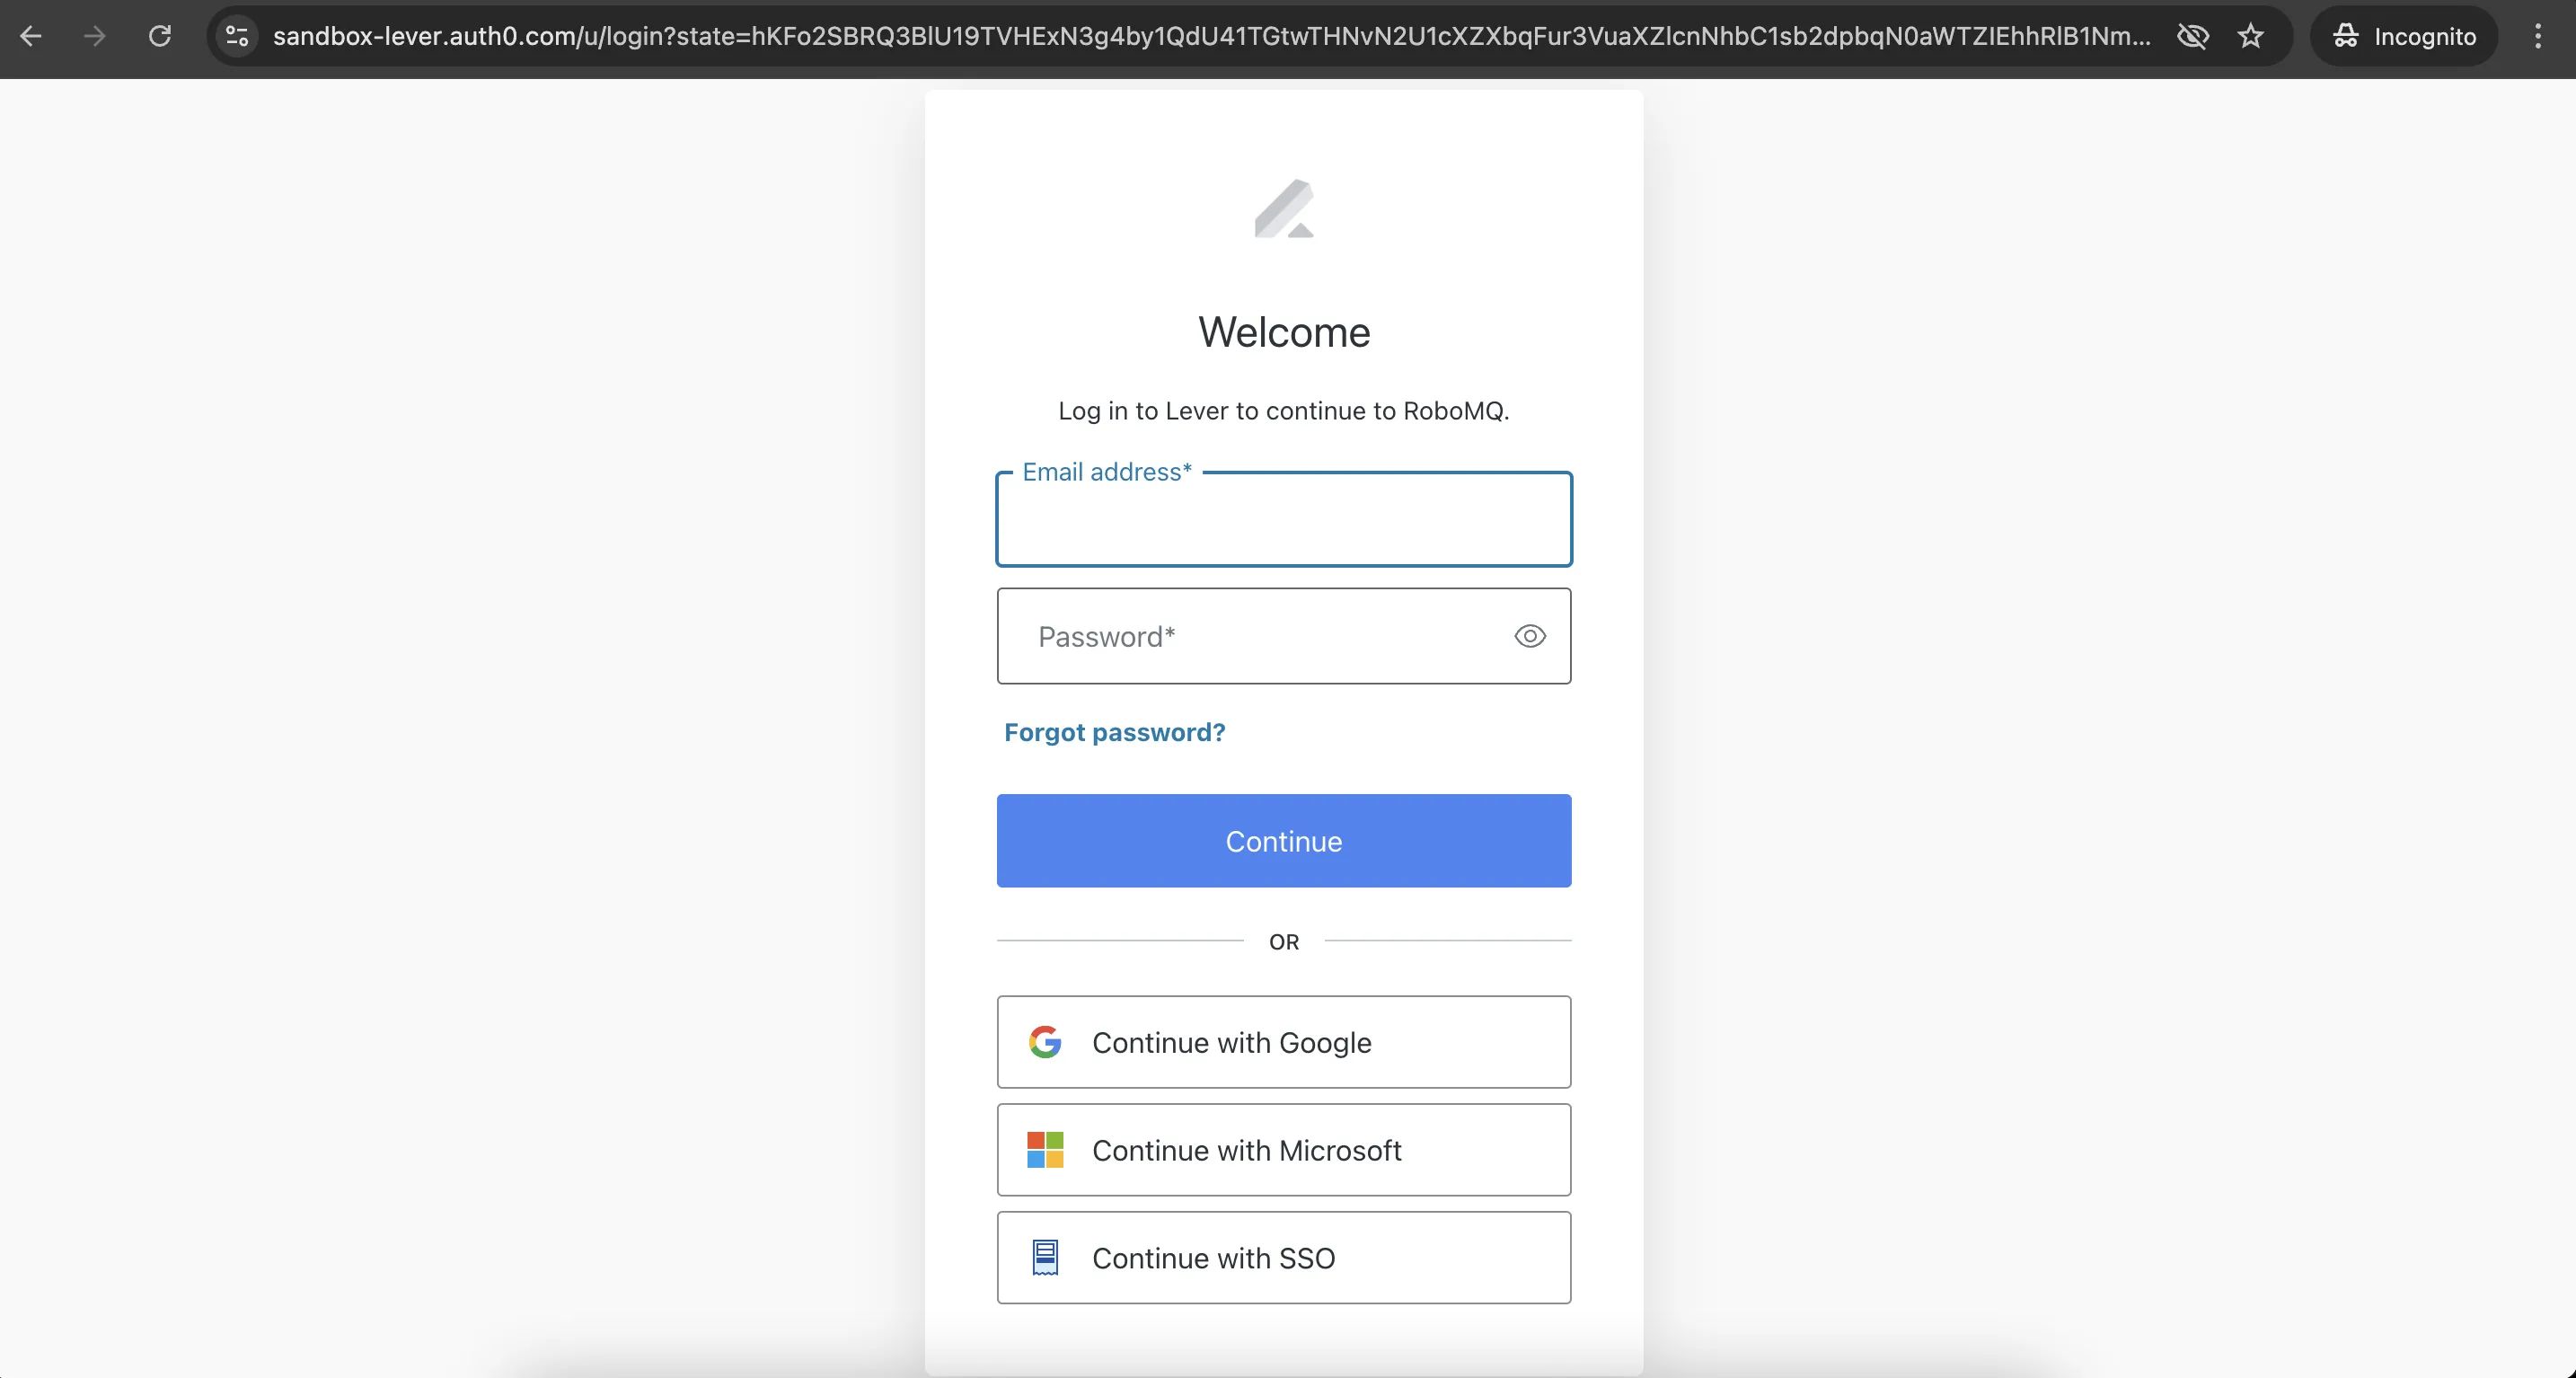 Figure 2. Lever log in
 -
Now grant the required permissions by clicking on Accept.
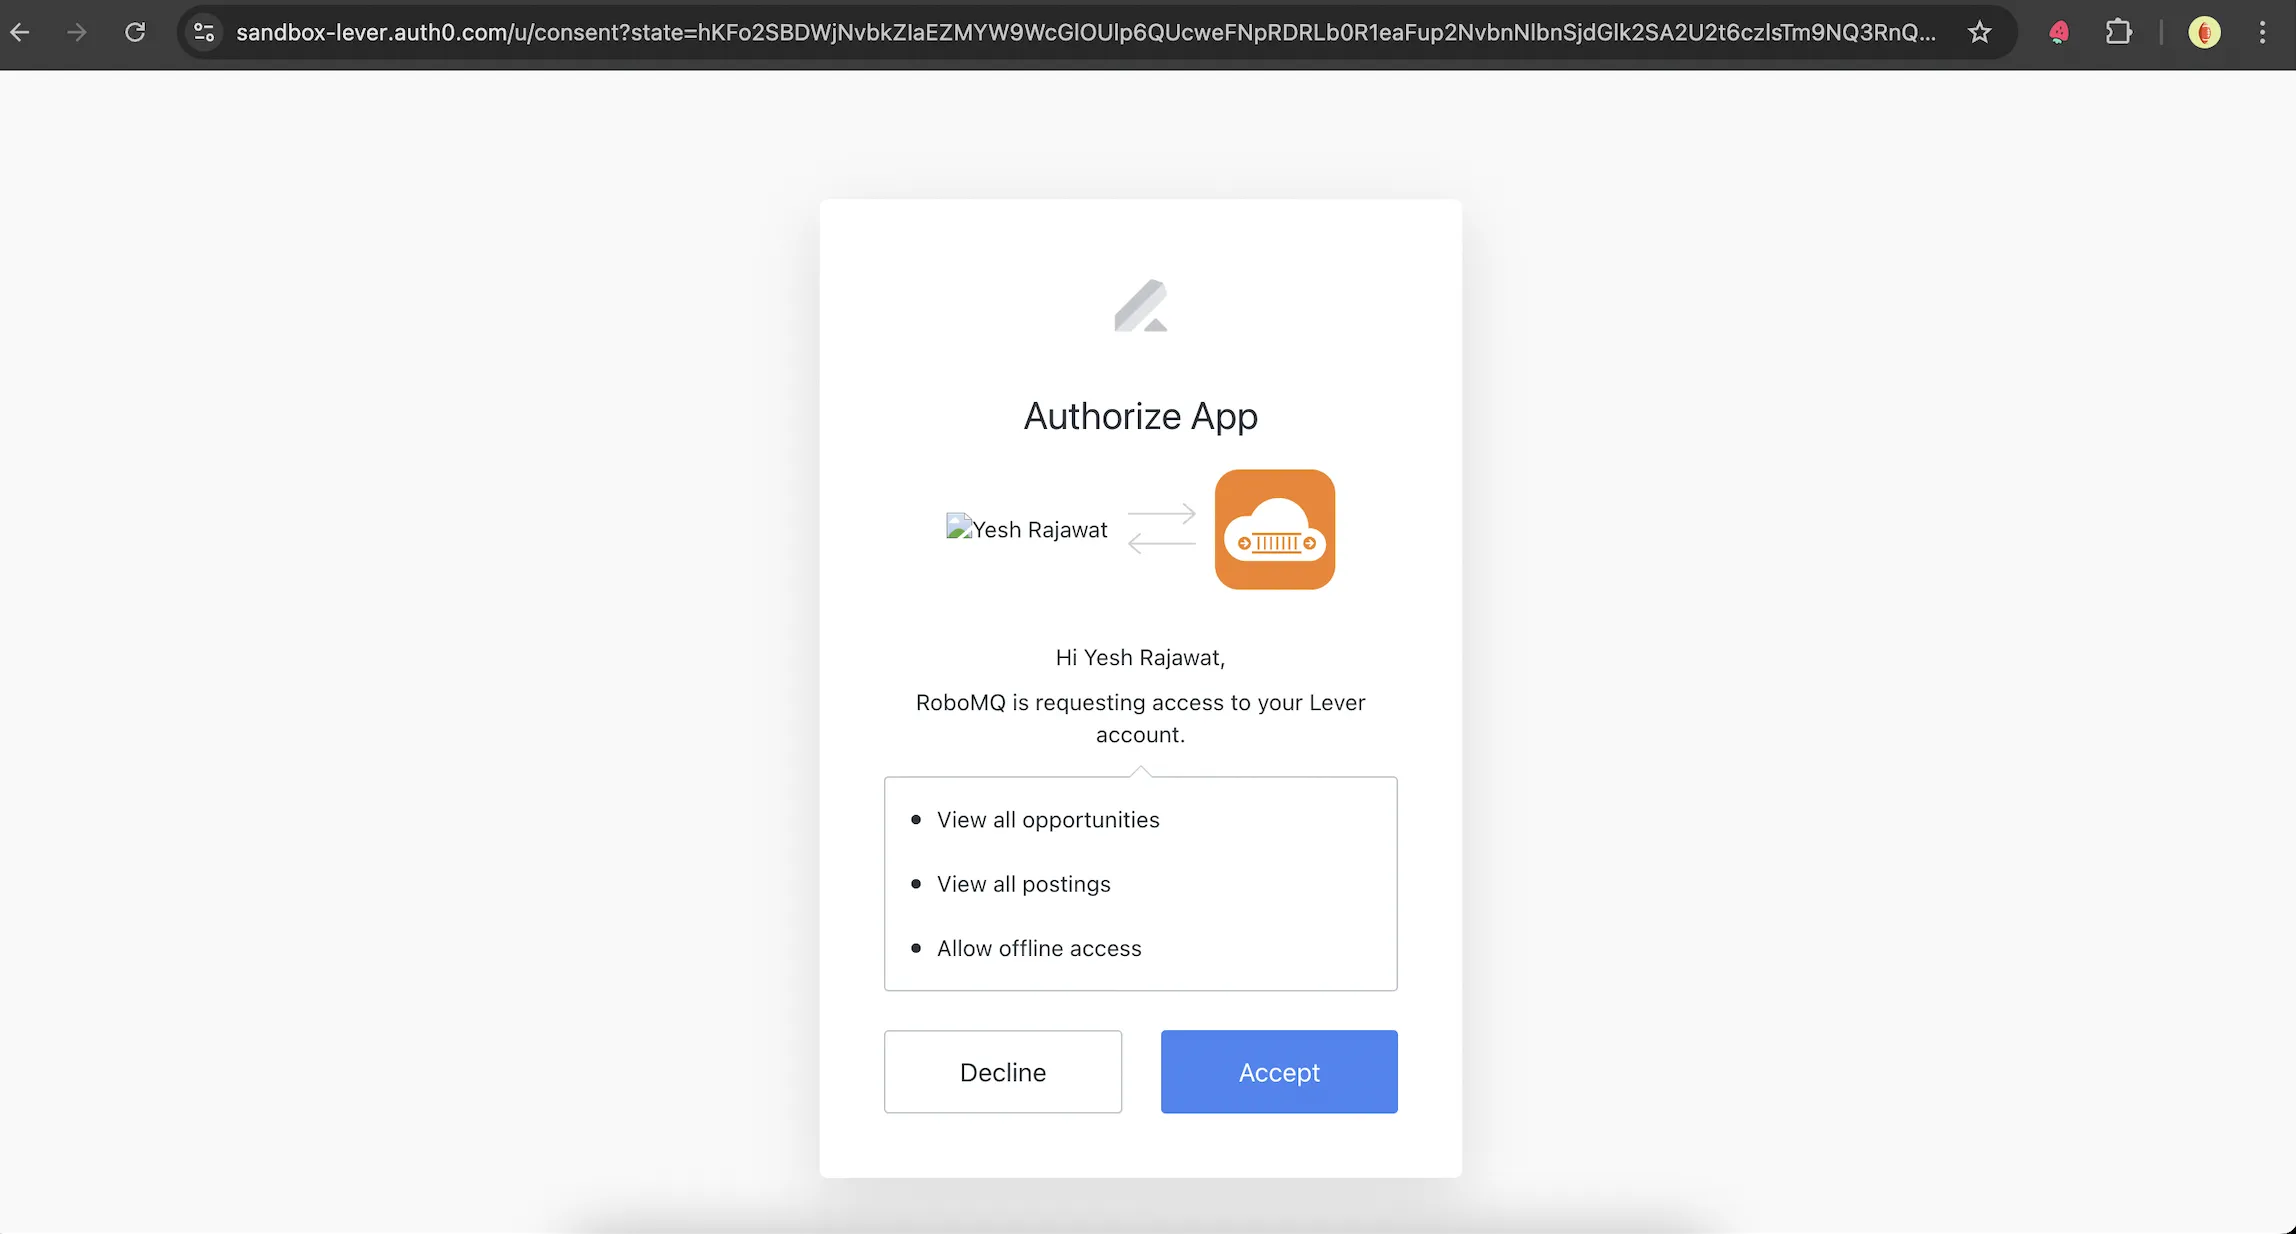 Figure 3. Lever consent form
 -
You will be redirected to Hire2Retire's
Connectionspage. Your connection is successfully set up.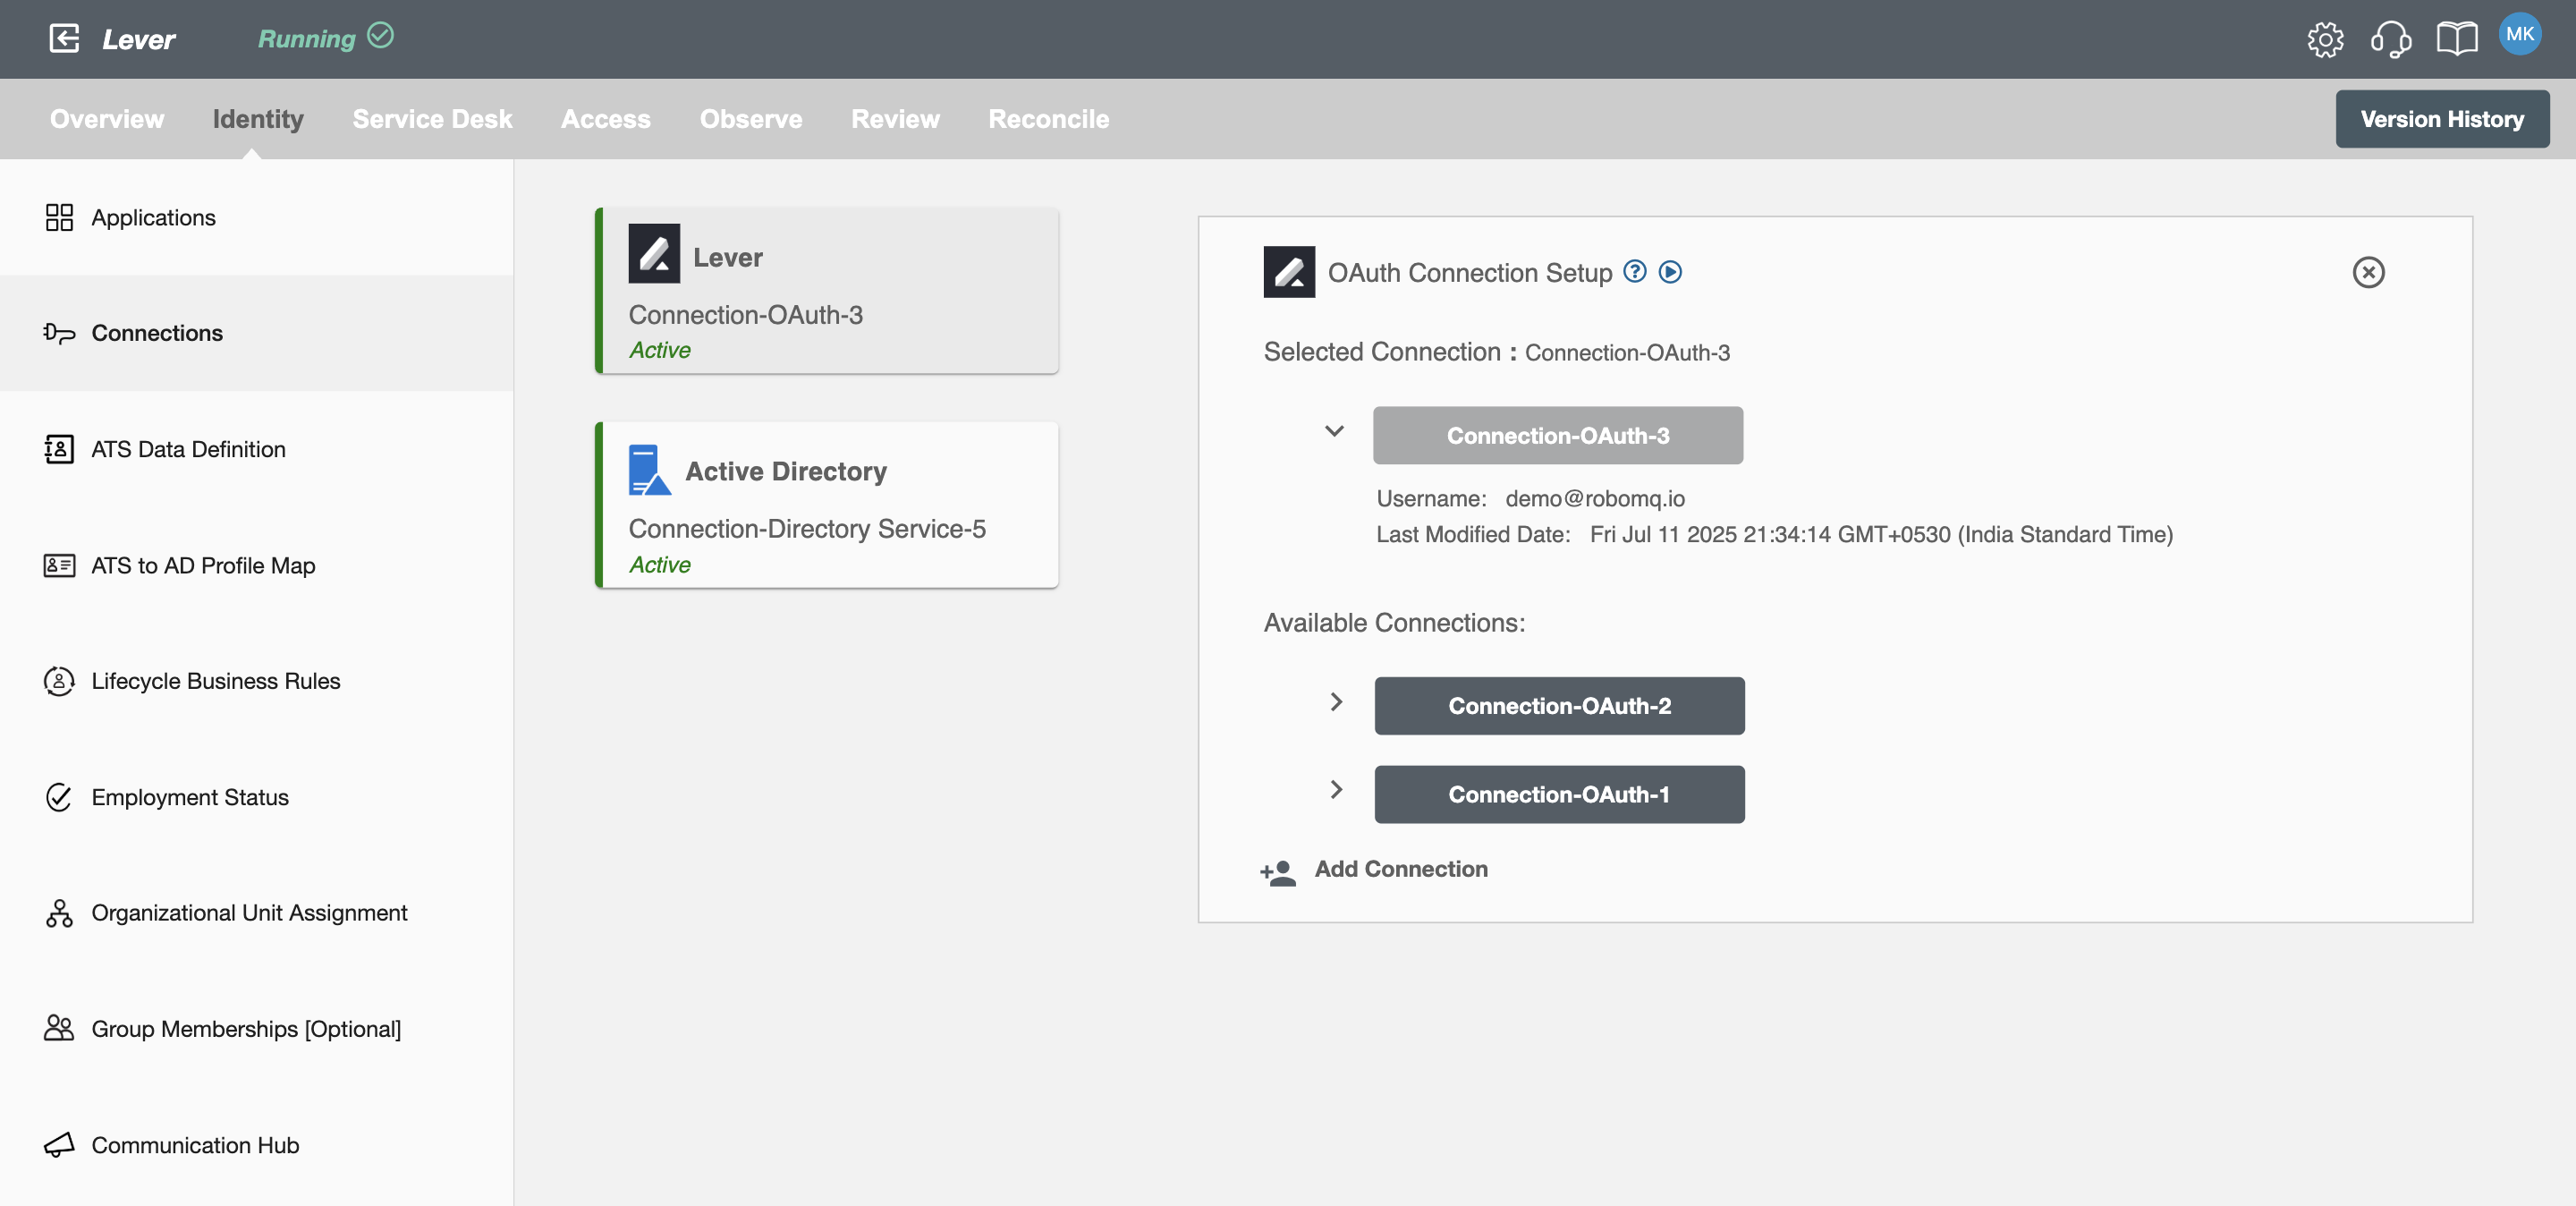 Figure 4. Lever Connection Successful in Hire2Retire
Configuration
Once you have successfully configured the connections, you can continue with the Design section to configure the rest of the workflow following these steps in order.
- ATS Data Definition
- ATS to AD Profile Map
- Lifecycle Business Rules
- Employment Status
- Organizational Unit Assignment - Only defined in on-premise Active Directory
- Group Memberships
- Security Group Memberships
- Distribution List Memberships
- Microsoft 365 Groups Memberships - Only defined in Hybrid (with Exchange Online Services) and Entra ID
- Entra ID Distribution List Memberships - Only defined in Entra ID and Hybrid, when Exchange Online Services is configured
- Entra ID Security Groups - Only defined in Hybrid (with Enable Entra ID Security Groups) and Entra ID
- Mail Enabled Security Group Memberships - Only defined in Entra ID and Hybrid, when Exchange Online Services is configured
- Mailing List Assignment - Provided in Google Workspace
- Communication Hub
Deployment
Once your workflow has been setup, you can optionally setup notifications and archival for your workflow.
- Compliance and Audit Trail
- Run Mode
- Error Notifications
- Monitor Receipt of Scheduled HR Extract
- Environment
Otherwise, you can proceed to deploy and test it on the Hire2Retire platform, see Deploy and Test Flow.