Sending Mail through Gmail
Access Request now supports sending emails through your Gmail account using an OAuth-based and a certificate-based authentication mechanism.
Service Provider Application
Google application on Access Request uses OAuth authorization. By linking your Google account with Access Request, you can authorise the RoboMQ application to have delegated access to send mail on your behalf for which you will be provided with a consent window to provide the required permission by Access Request. RoboMQ needs the following permissions on your account to provide a seamless integration experience
| Scopes | Explanation |
|---|---|
| auth/userinfo.email | See your primary Google Account email address |
| auth/userinfo.profile | See your personal info, including any personal info you've made publicly available |
| auth/gmail.send | Send email on your behalf. |
Create a Connection
You need to have a Google account with a mailbox enabled before using Gmail services on Access Request.
-
To authenticate your account, you need to click the
Link accountbutton, which will redirect you to the Google sign-in page.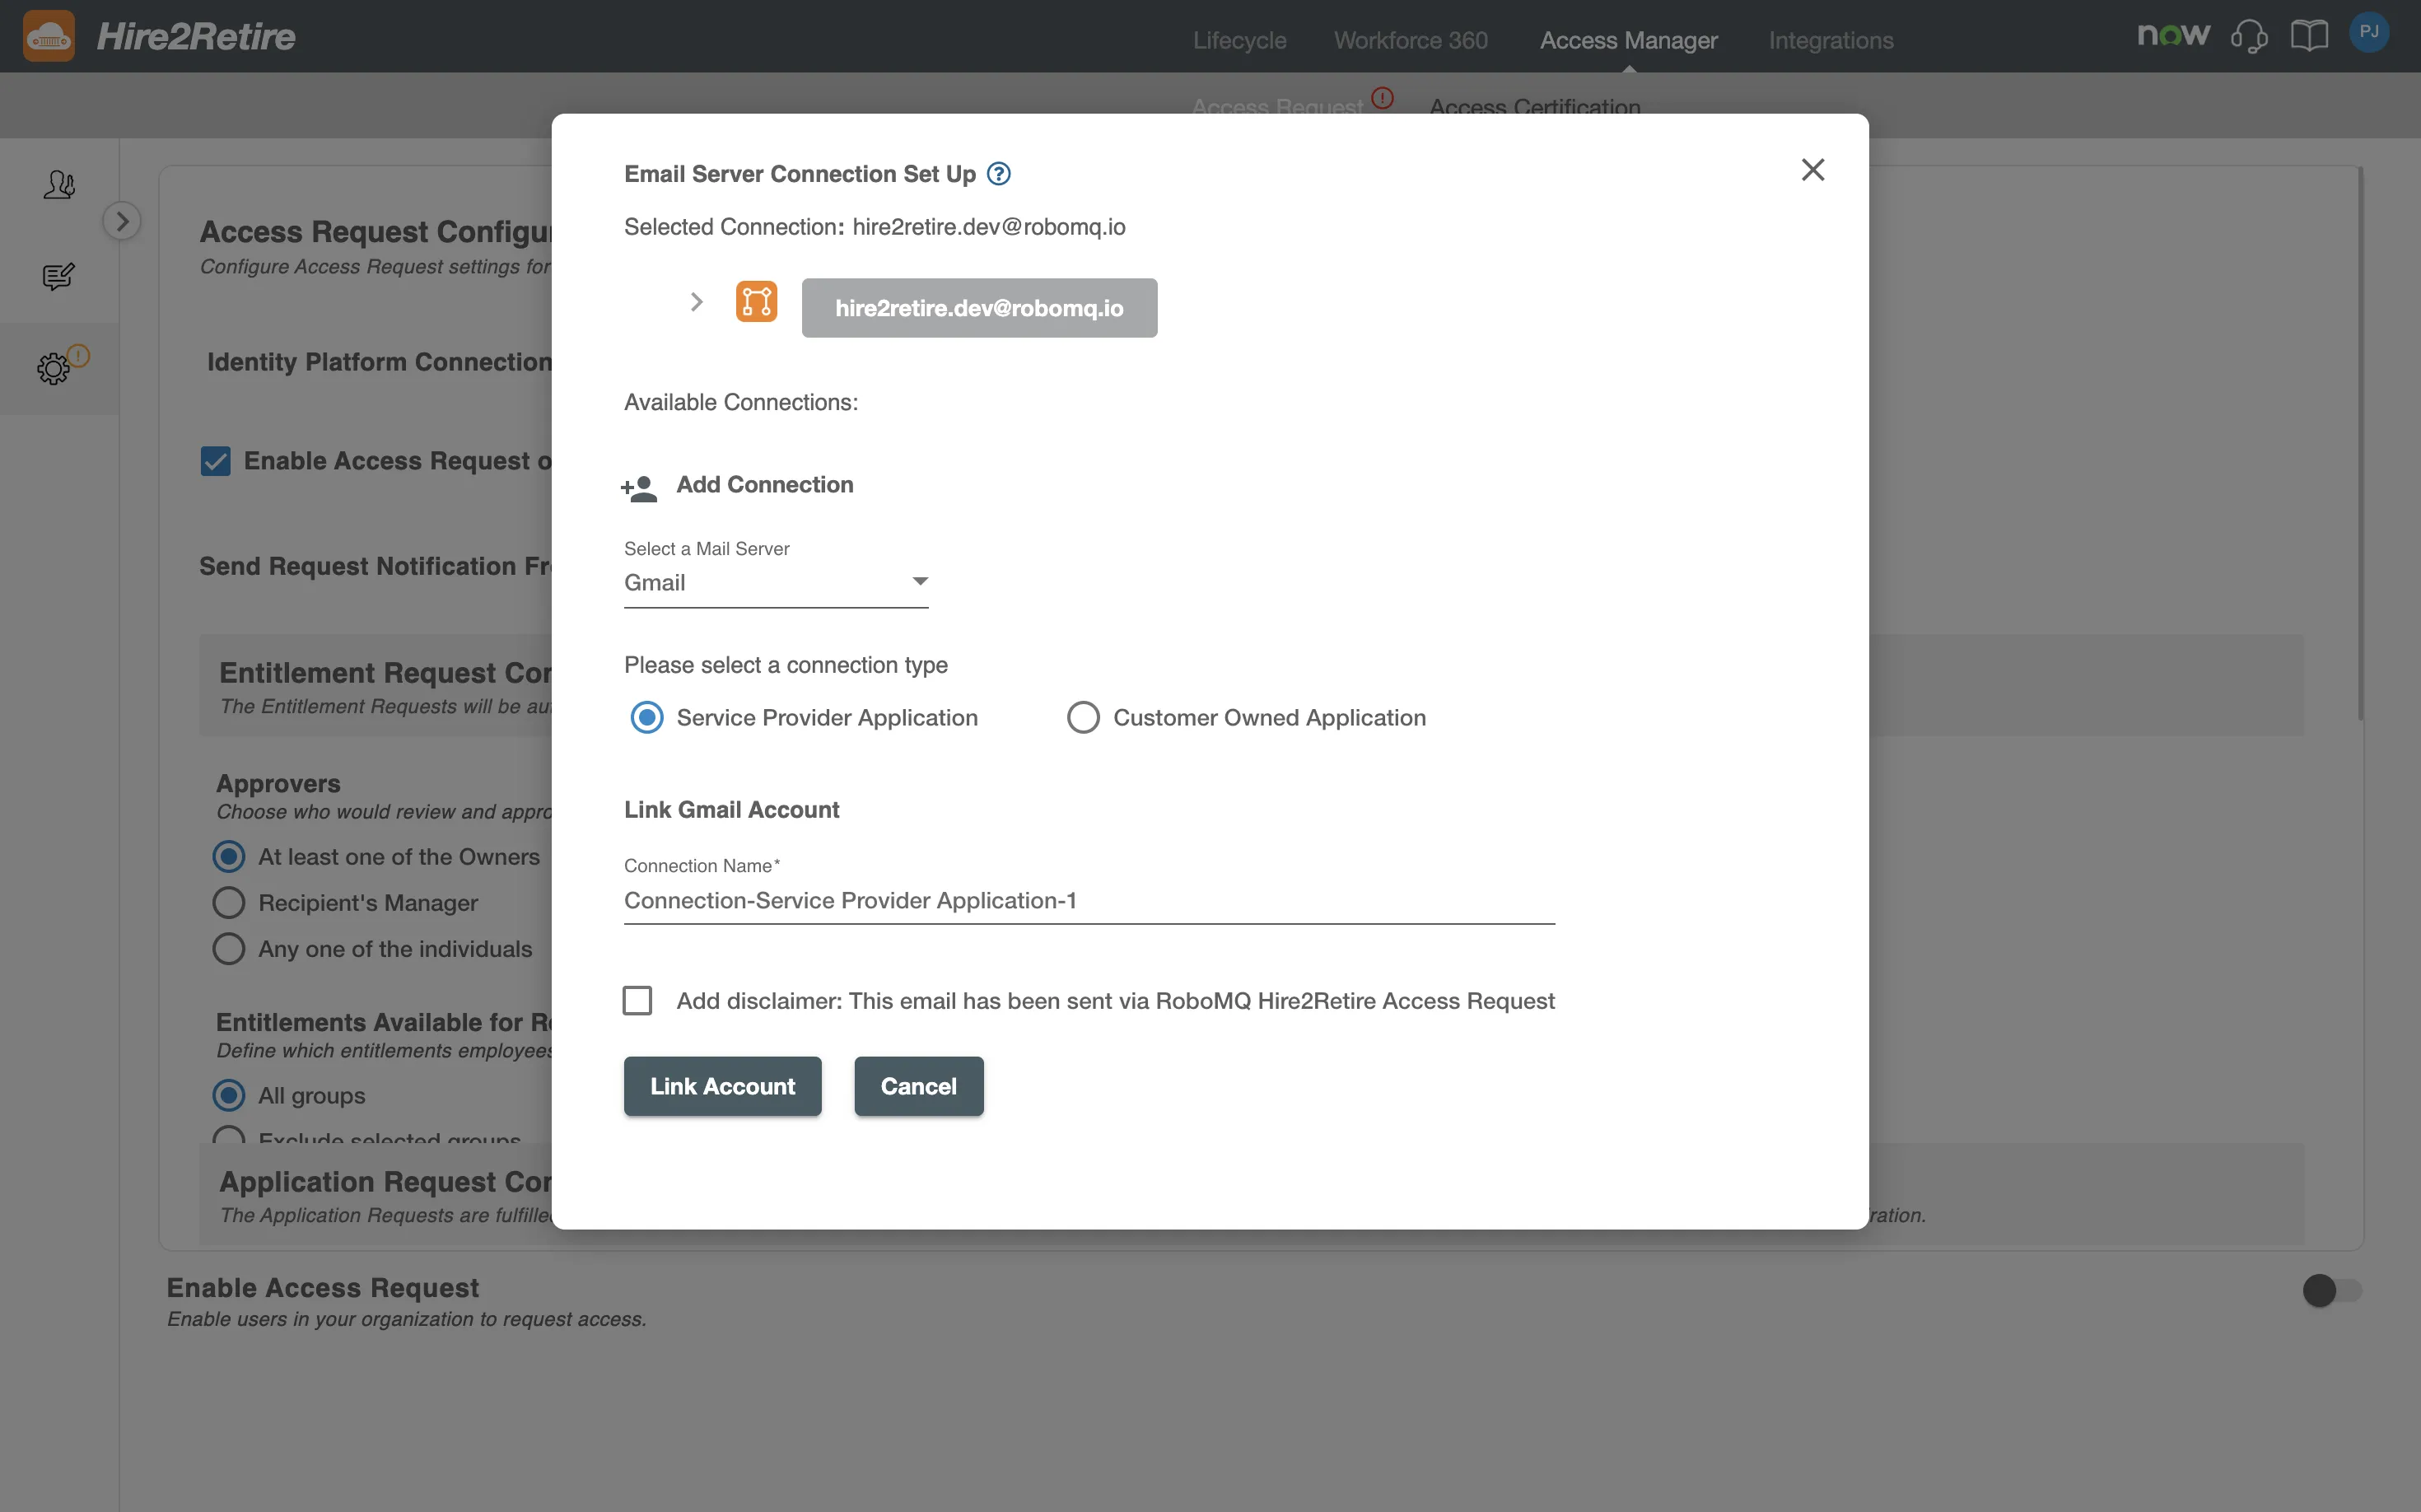
-
Here, you can select an existing account or add a new Google account.
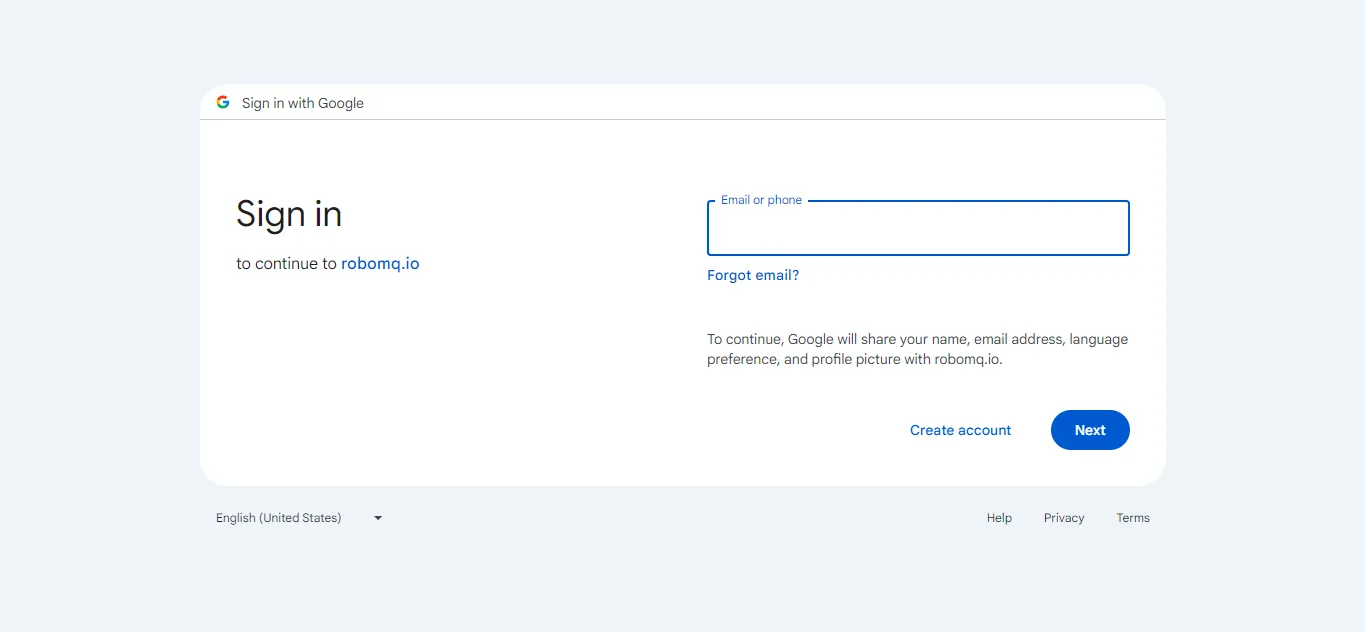
-
Following successful signup or account selection, Google presents you with a permissions page. On this page, you will be asked to provide certain permissions that are required by Access Request to send emails on your behalf.
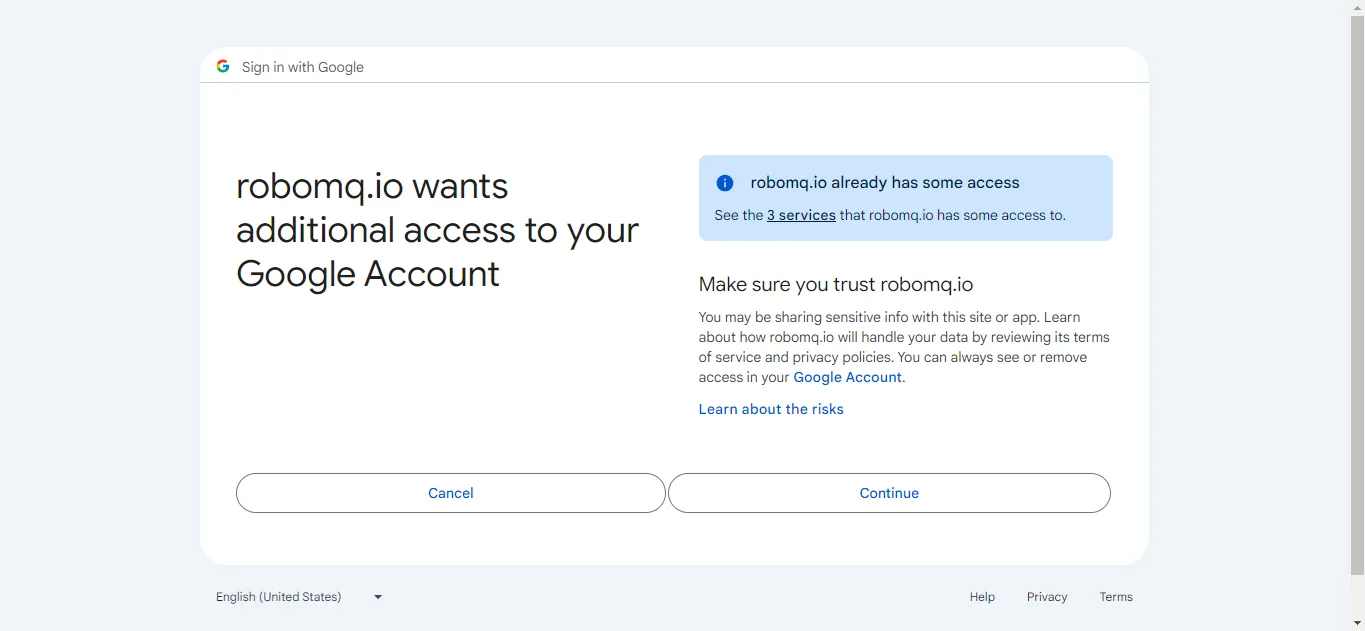
-
Once you've consented to the permissions, you will be redirected back to the Access Request Configuration Page.
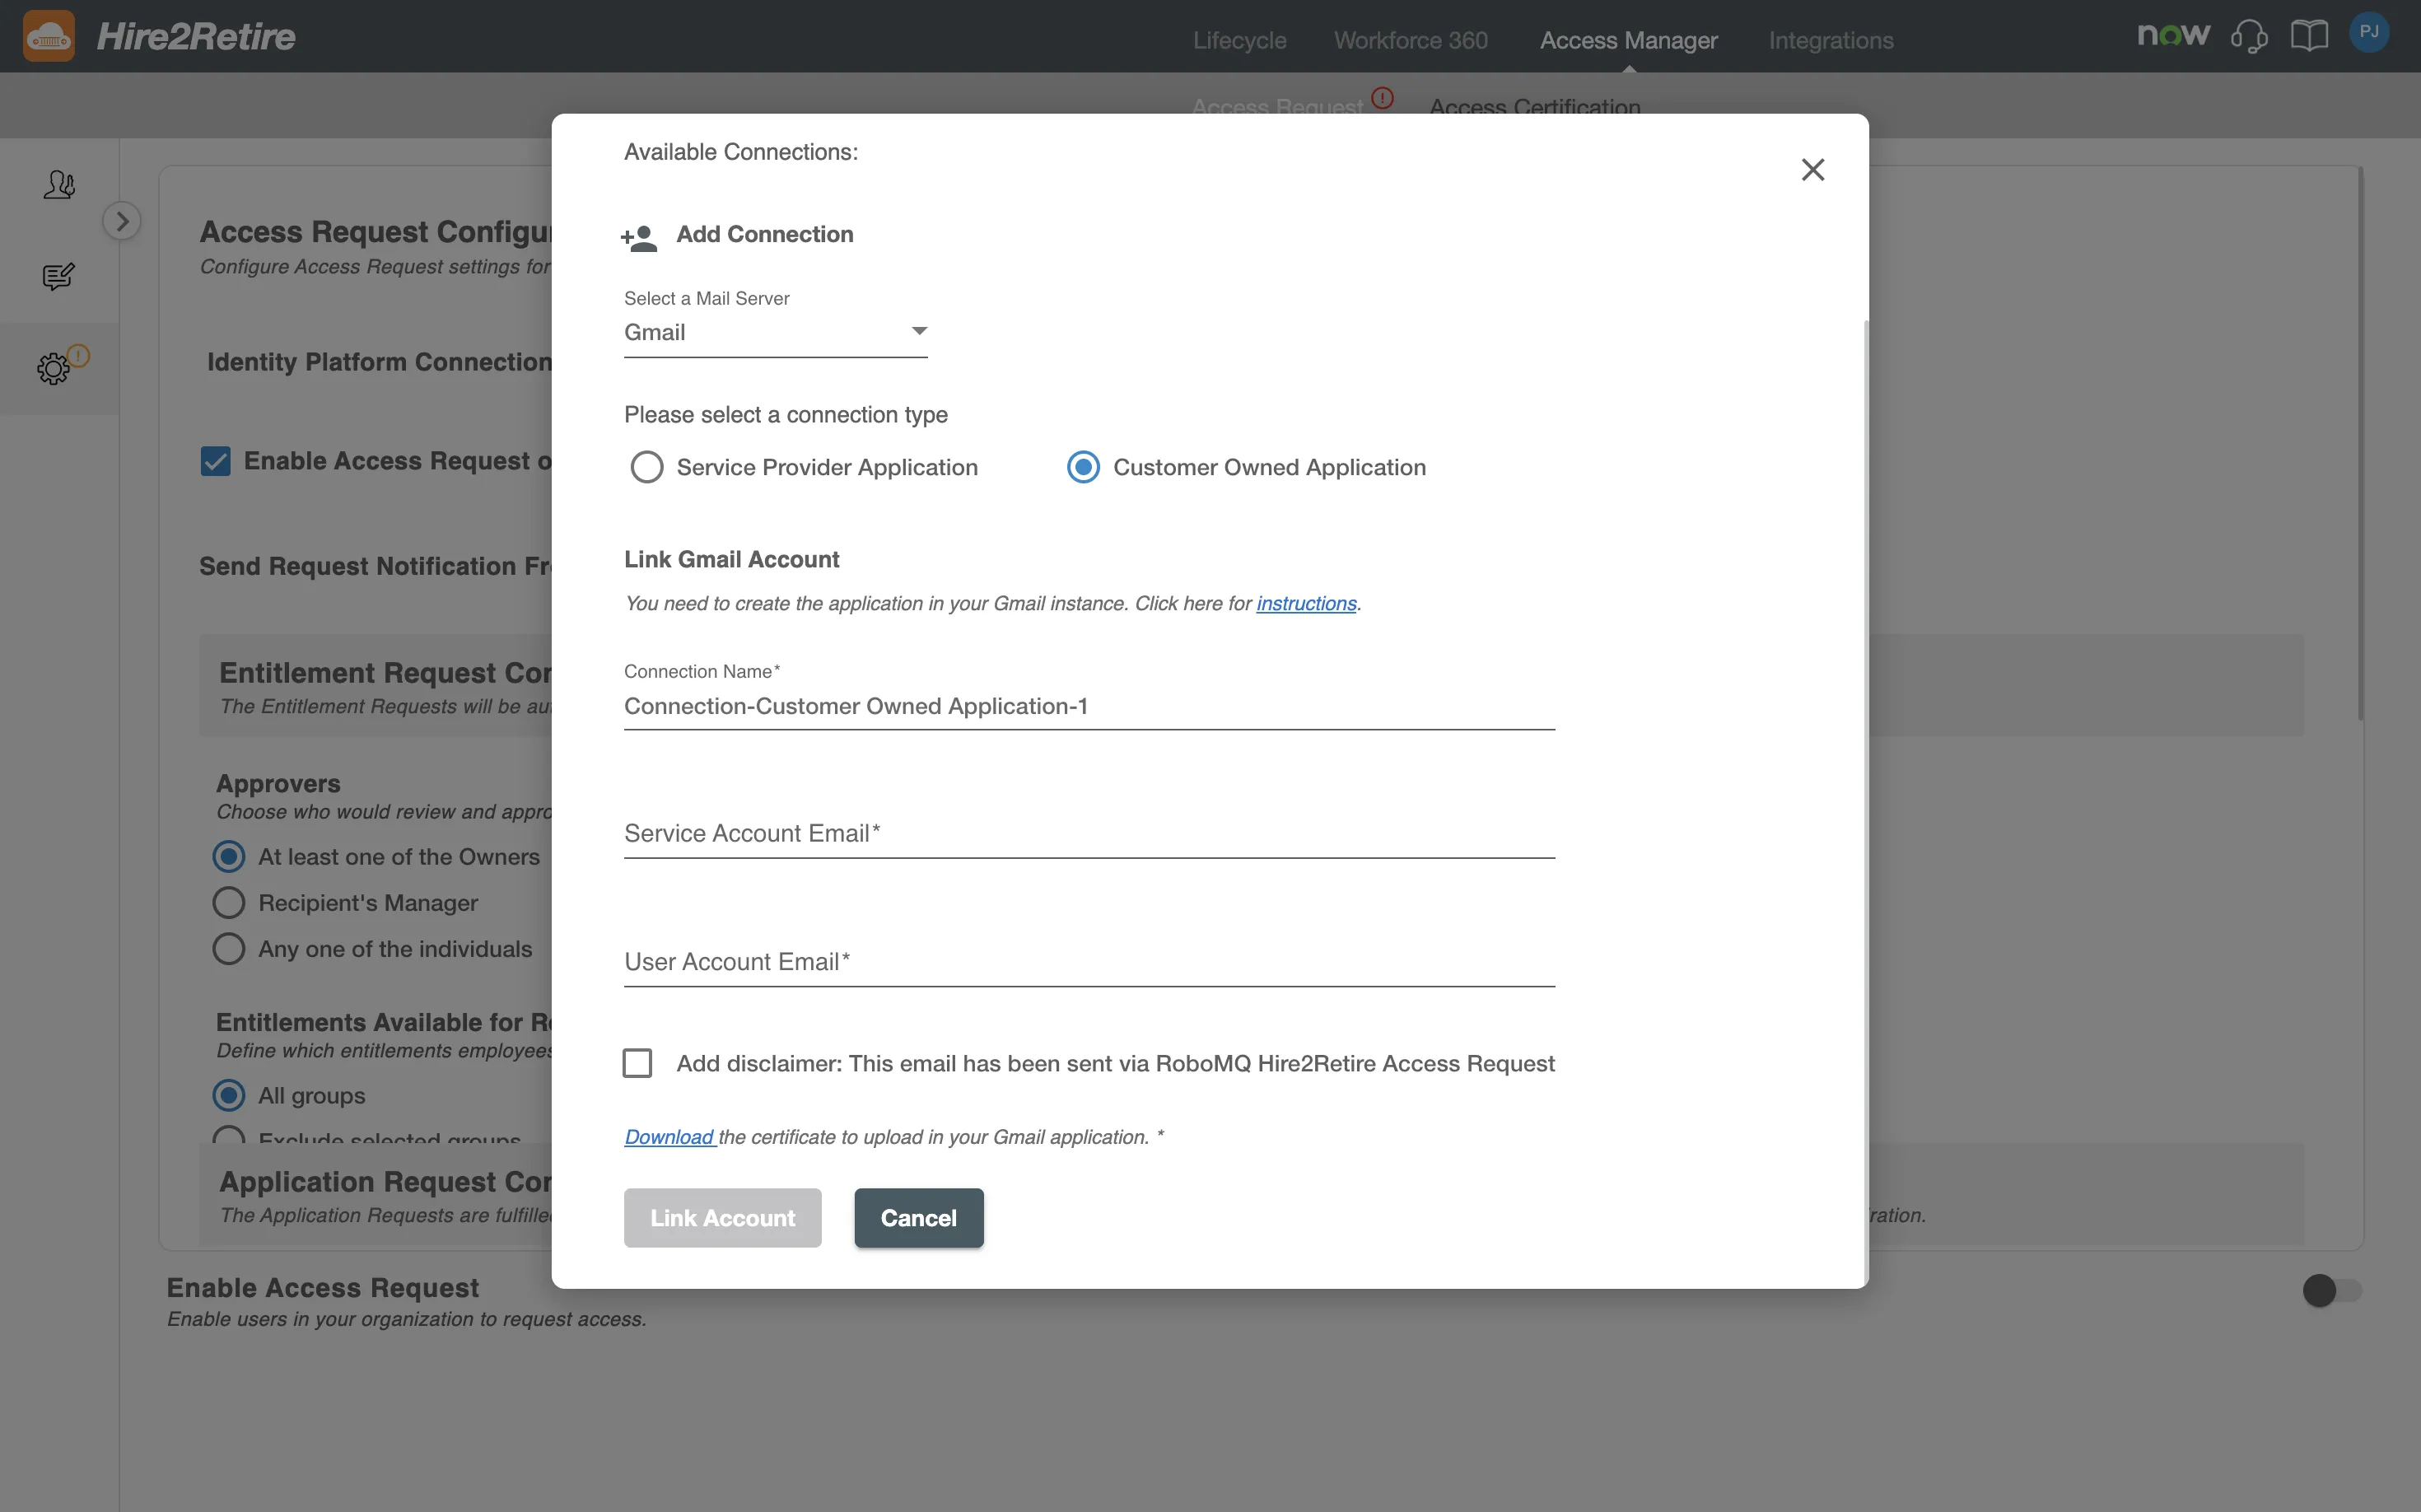
Customer Owned Application
Access Request does not require the user to sign in for this connection. Instead, for automation purposes, it will use your application service account to impersonate a user account. Choosing this connection requires you to manage your service account's Application Permission in your Google instance.
Create a Connection
-
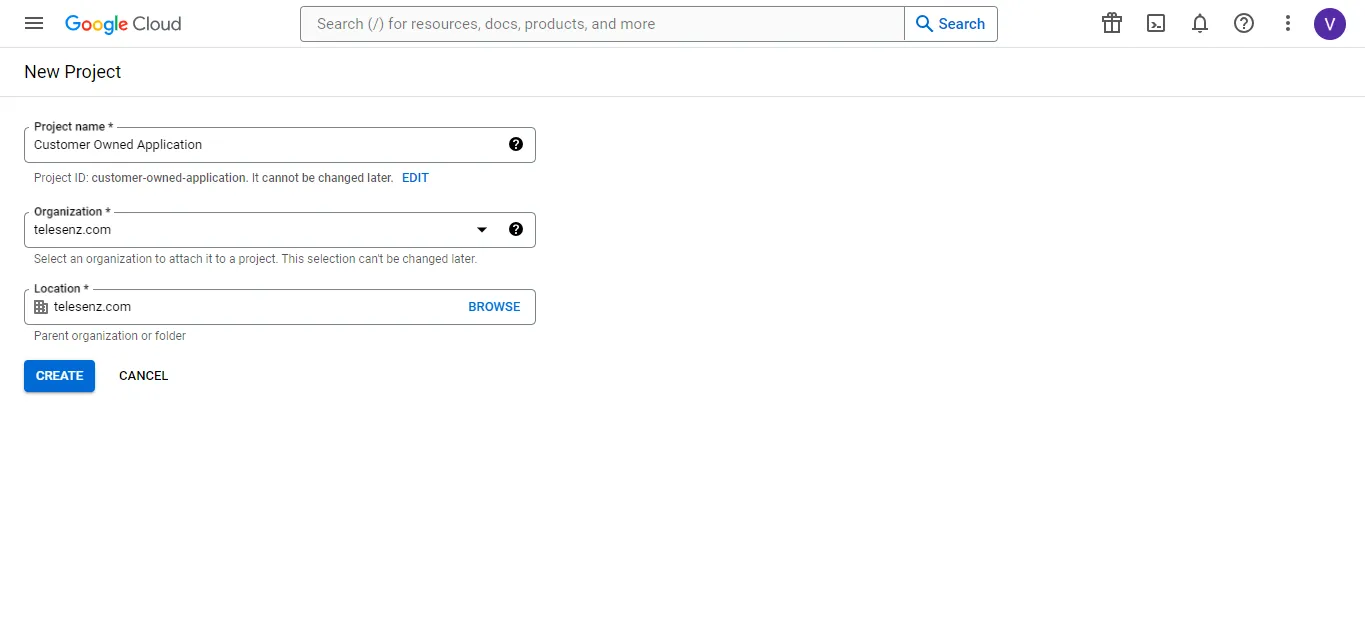
Firstly, create a project in the Google Cloud Platform.
-
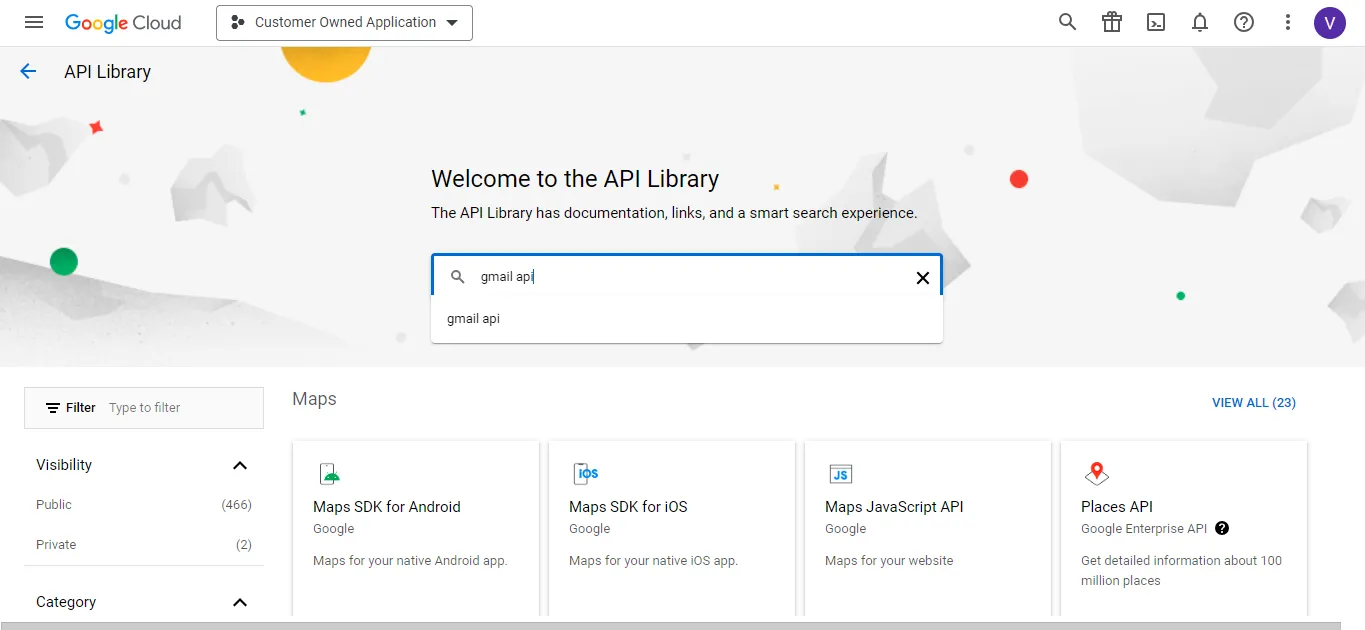
Enable Gmail API for that project by following the steps mentioned below:
- Go to API’s and services from the side menu bar, then select Enabled API’s and services
- Click enable API’s and services from the top menu bar.
- Search Gmail and enable the Gmail API for the project.
-
Create a Service Account for that project
- Go to the Service Account section by selecting the IAM & admin from the side menu bar and selecting the service account.
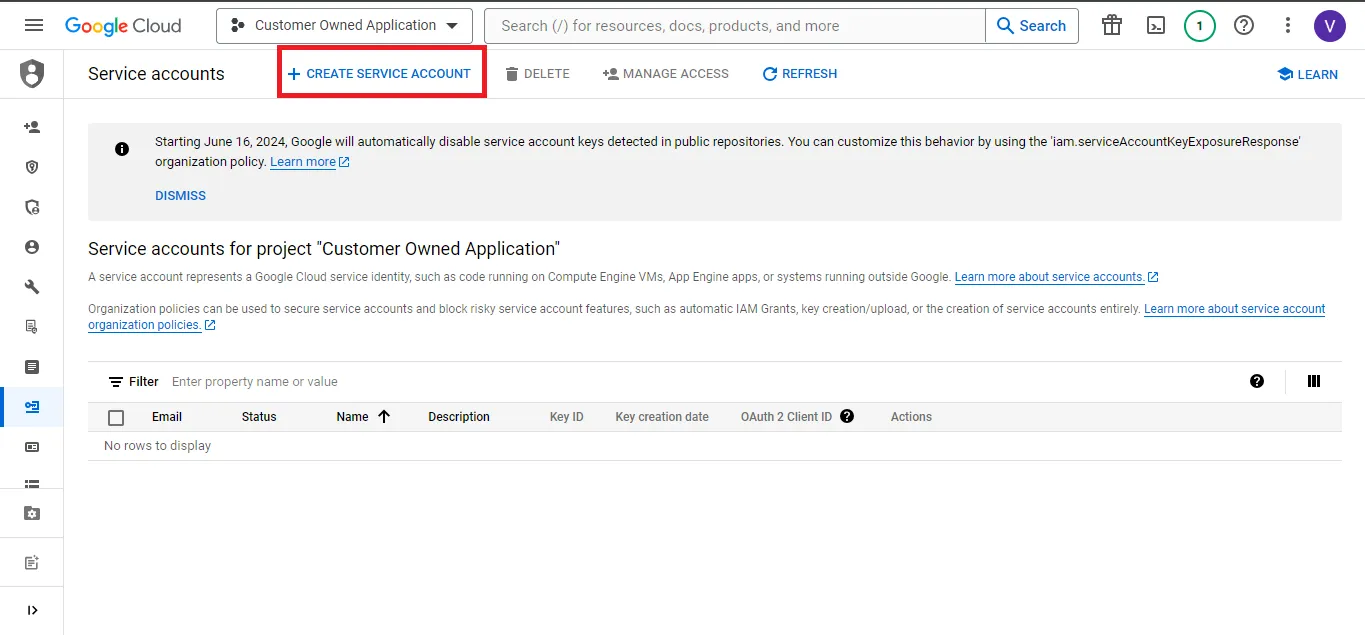
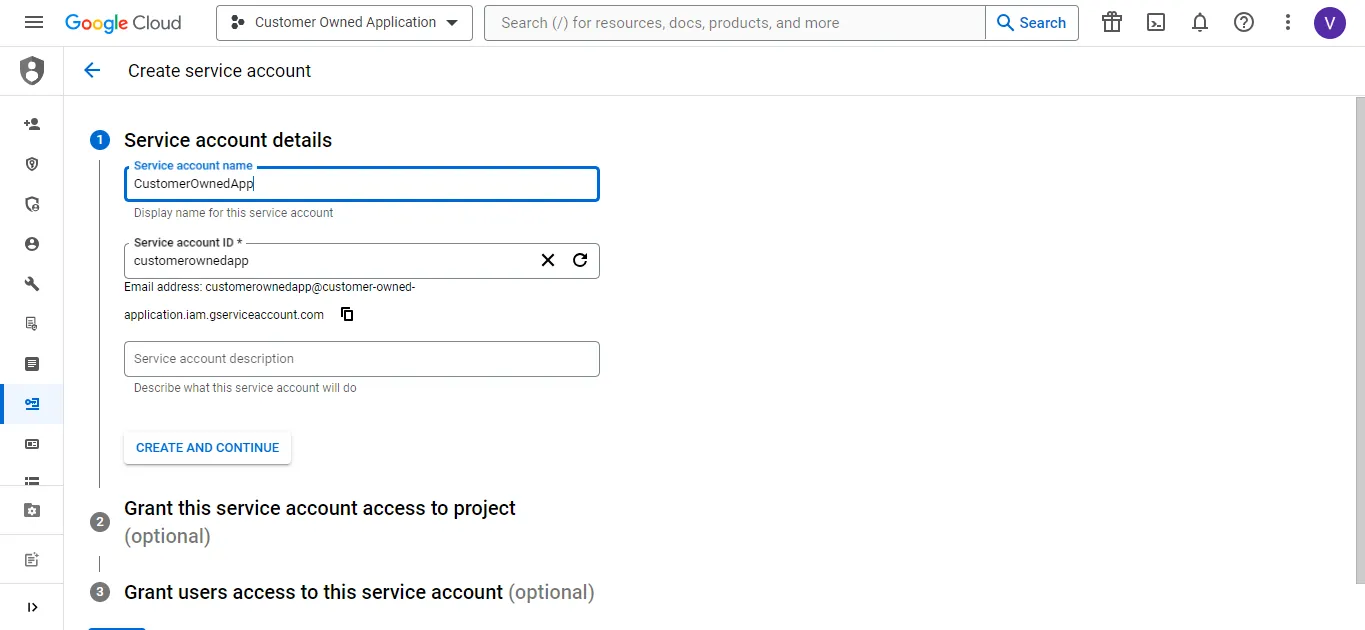
- Click on CREATE SERVICE ACCOUNT from the top menu bar and fill the account name field, and click
Create and Continue
-
Go to Google Admin Console to give your service account domain-wide delegation by following the instructions below
- Select
API controlsby going toSecurity>Access and data Controlfrom the side menu bar.

- Click
Add Newand enter the client ID and addhttps://www.googleapis.com/auth/gmail.sendas the scope.
- Select
-
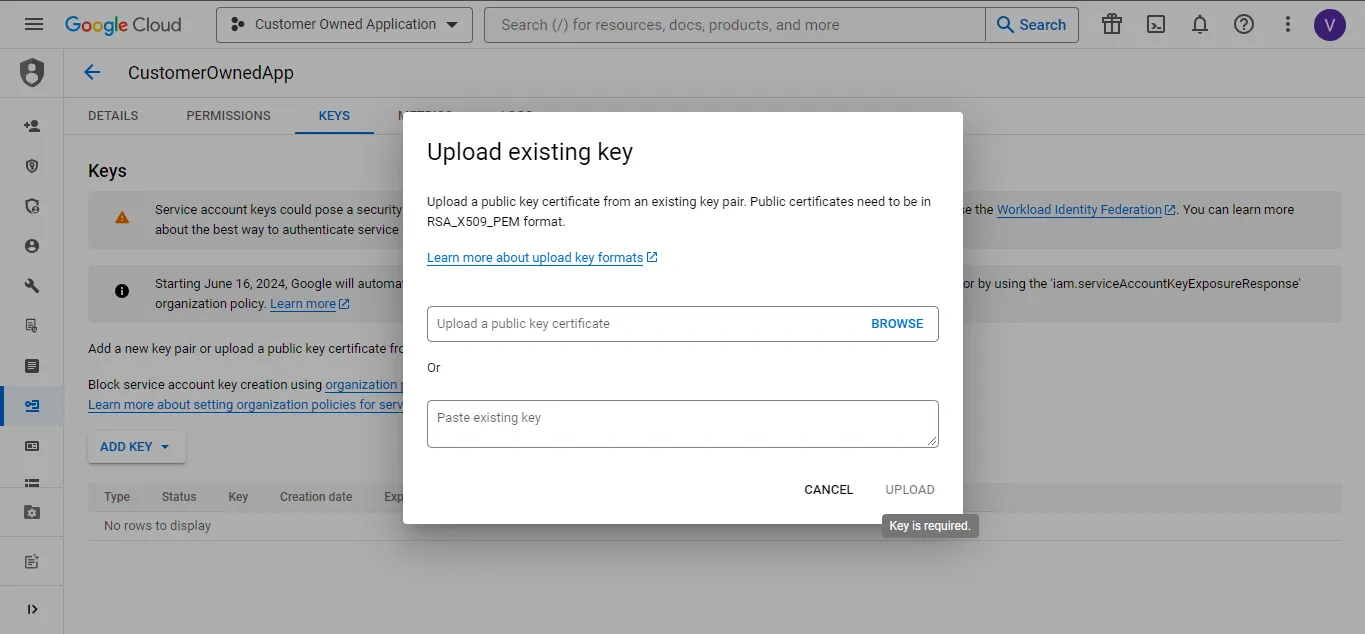
Download the certificate from the UI and add that certificate to the service account created in the Google Console by following the steps below:
- Select the service account and go to the keys section from the top navigation menu
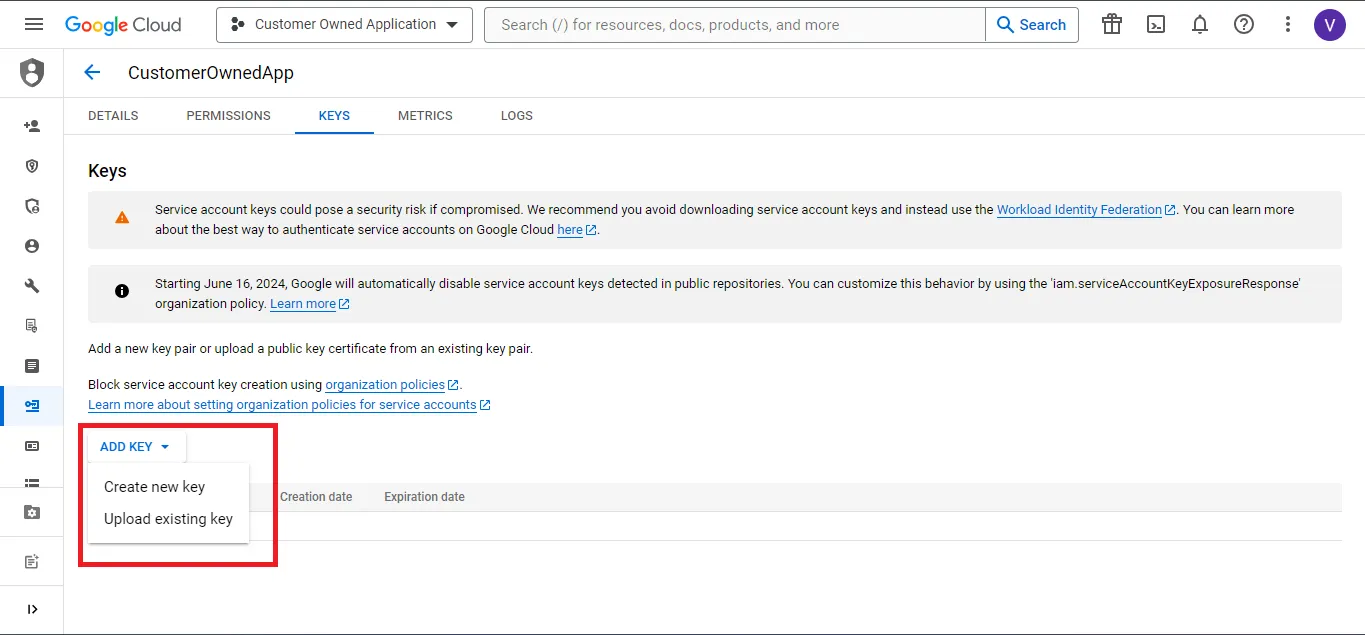
- Select Upload existing key, browse the certificate that you downloaded from the UI, and upload it.
-
Enter the service account and the user account of your organization through which you want the emails to be sent, and link the account.