Jira Service Management Connection
Hire2Retire integrates with Jira Service Management using Basic Authentication.
Please refer to this document Basic auth for rest APIs to know more about Basic Authentication in Jira Service Management.
We at RoboMQ pay utmost attention to keep your account secure. See our Security and Privacy Policies to understand how your account access is protected.
| Permission | Description |
|---|---|
| ASSIGNABLE USER | Ability to be assigned to issues |
| ASSIGN ISSUES | Ability to assign issues to other users |
| CREATE ISSUES | Ability to create issues |
| MODIFY REPORTER | Ability to modify the reporter while creating or editing an issue |
Learn about all permissions required to use Jira Service Management on Access Manager.
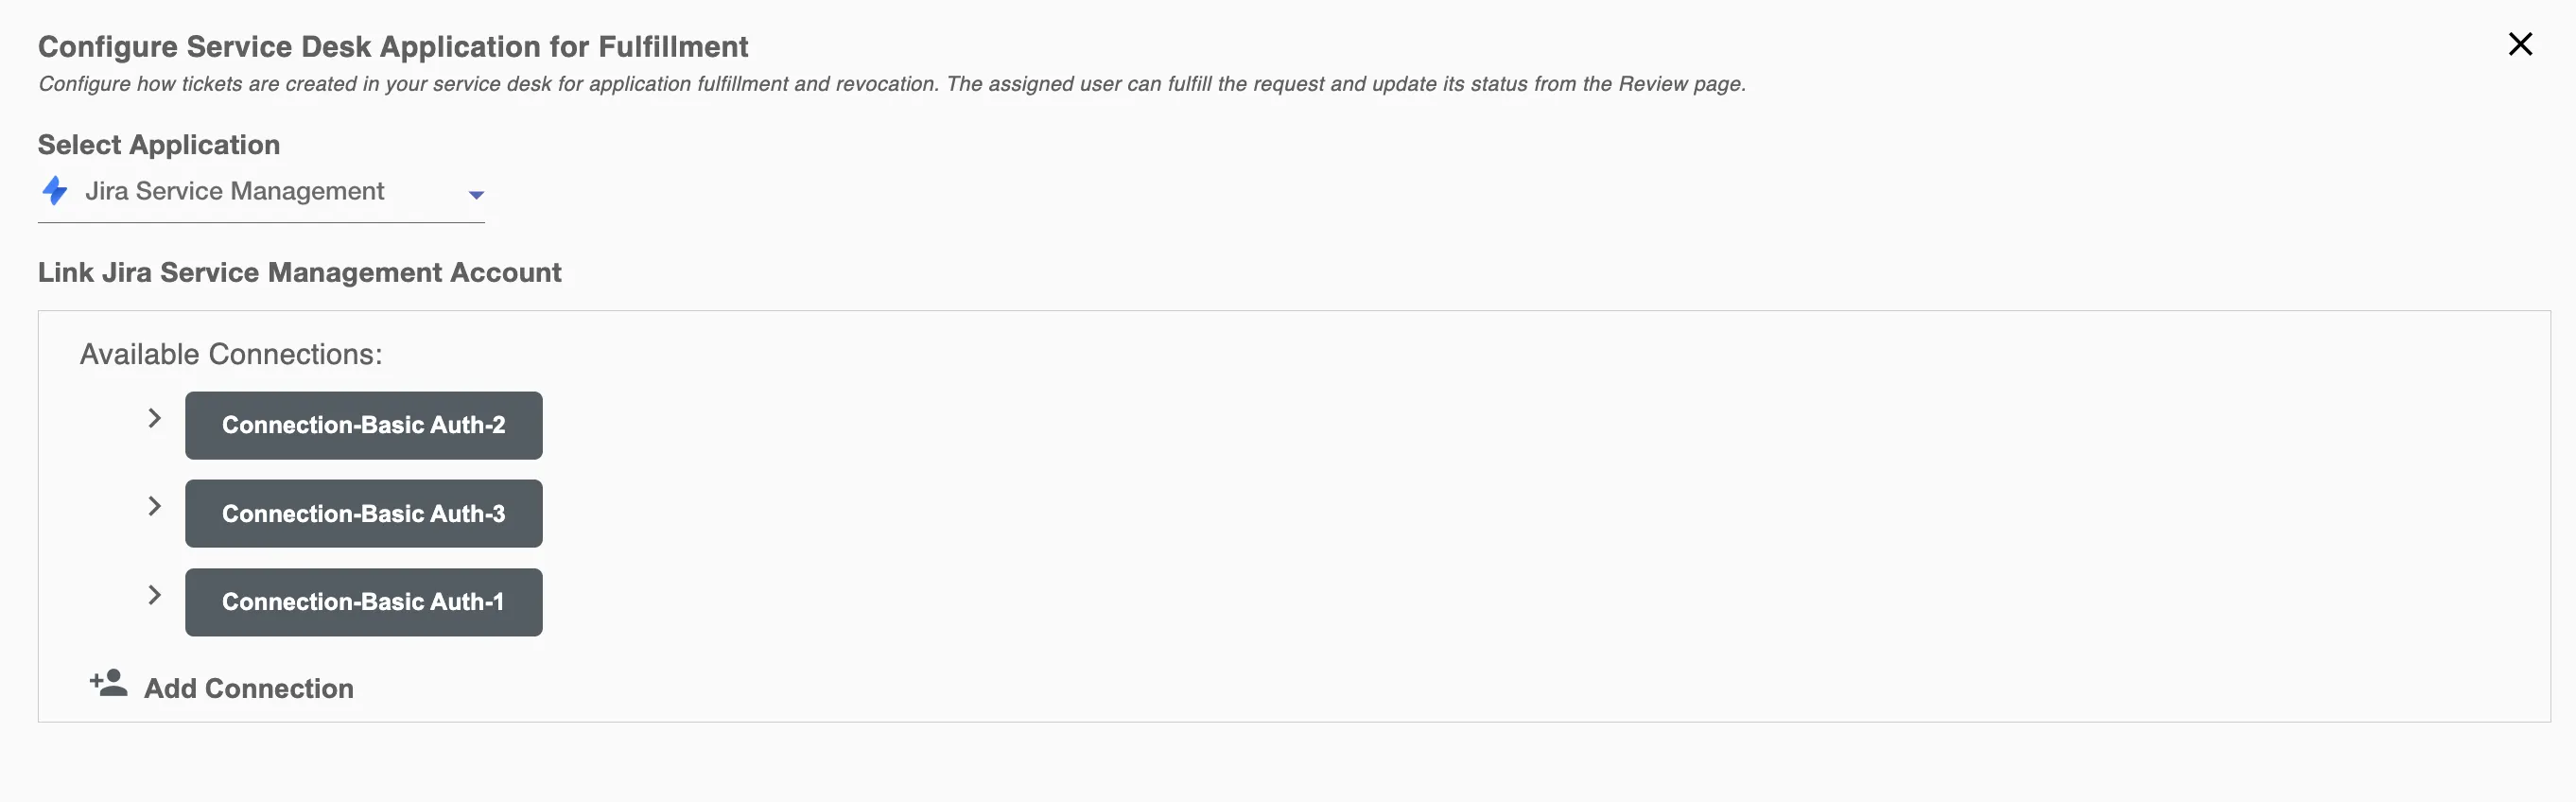
Link Jira Service Management Account
This step allows you to view all Jira Service Management connections created during the Lifecycle configuration steps in all accounts in your tenant. You can either select an existing connection or create a new Jira Service Management account from here.
Step 1. Specify your Jira Site URL. When you open your Jira Service Management account in the browser, you can find the Jira Site URL as https://myDomainName.atlassian.net.
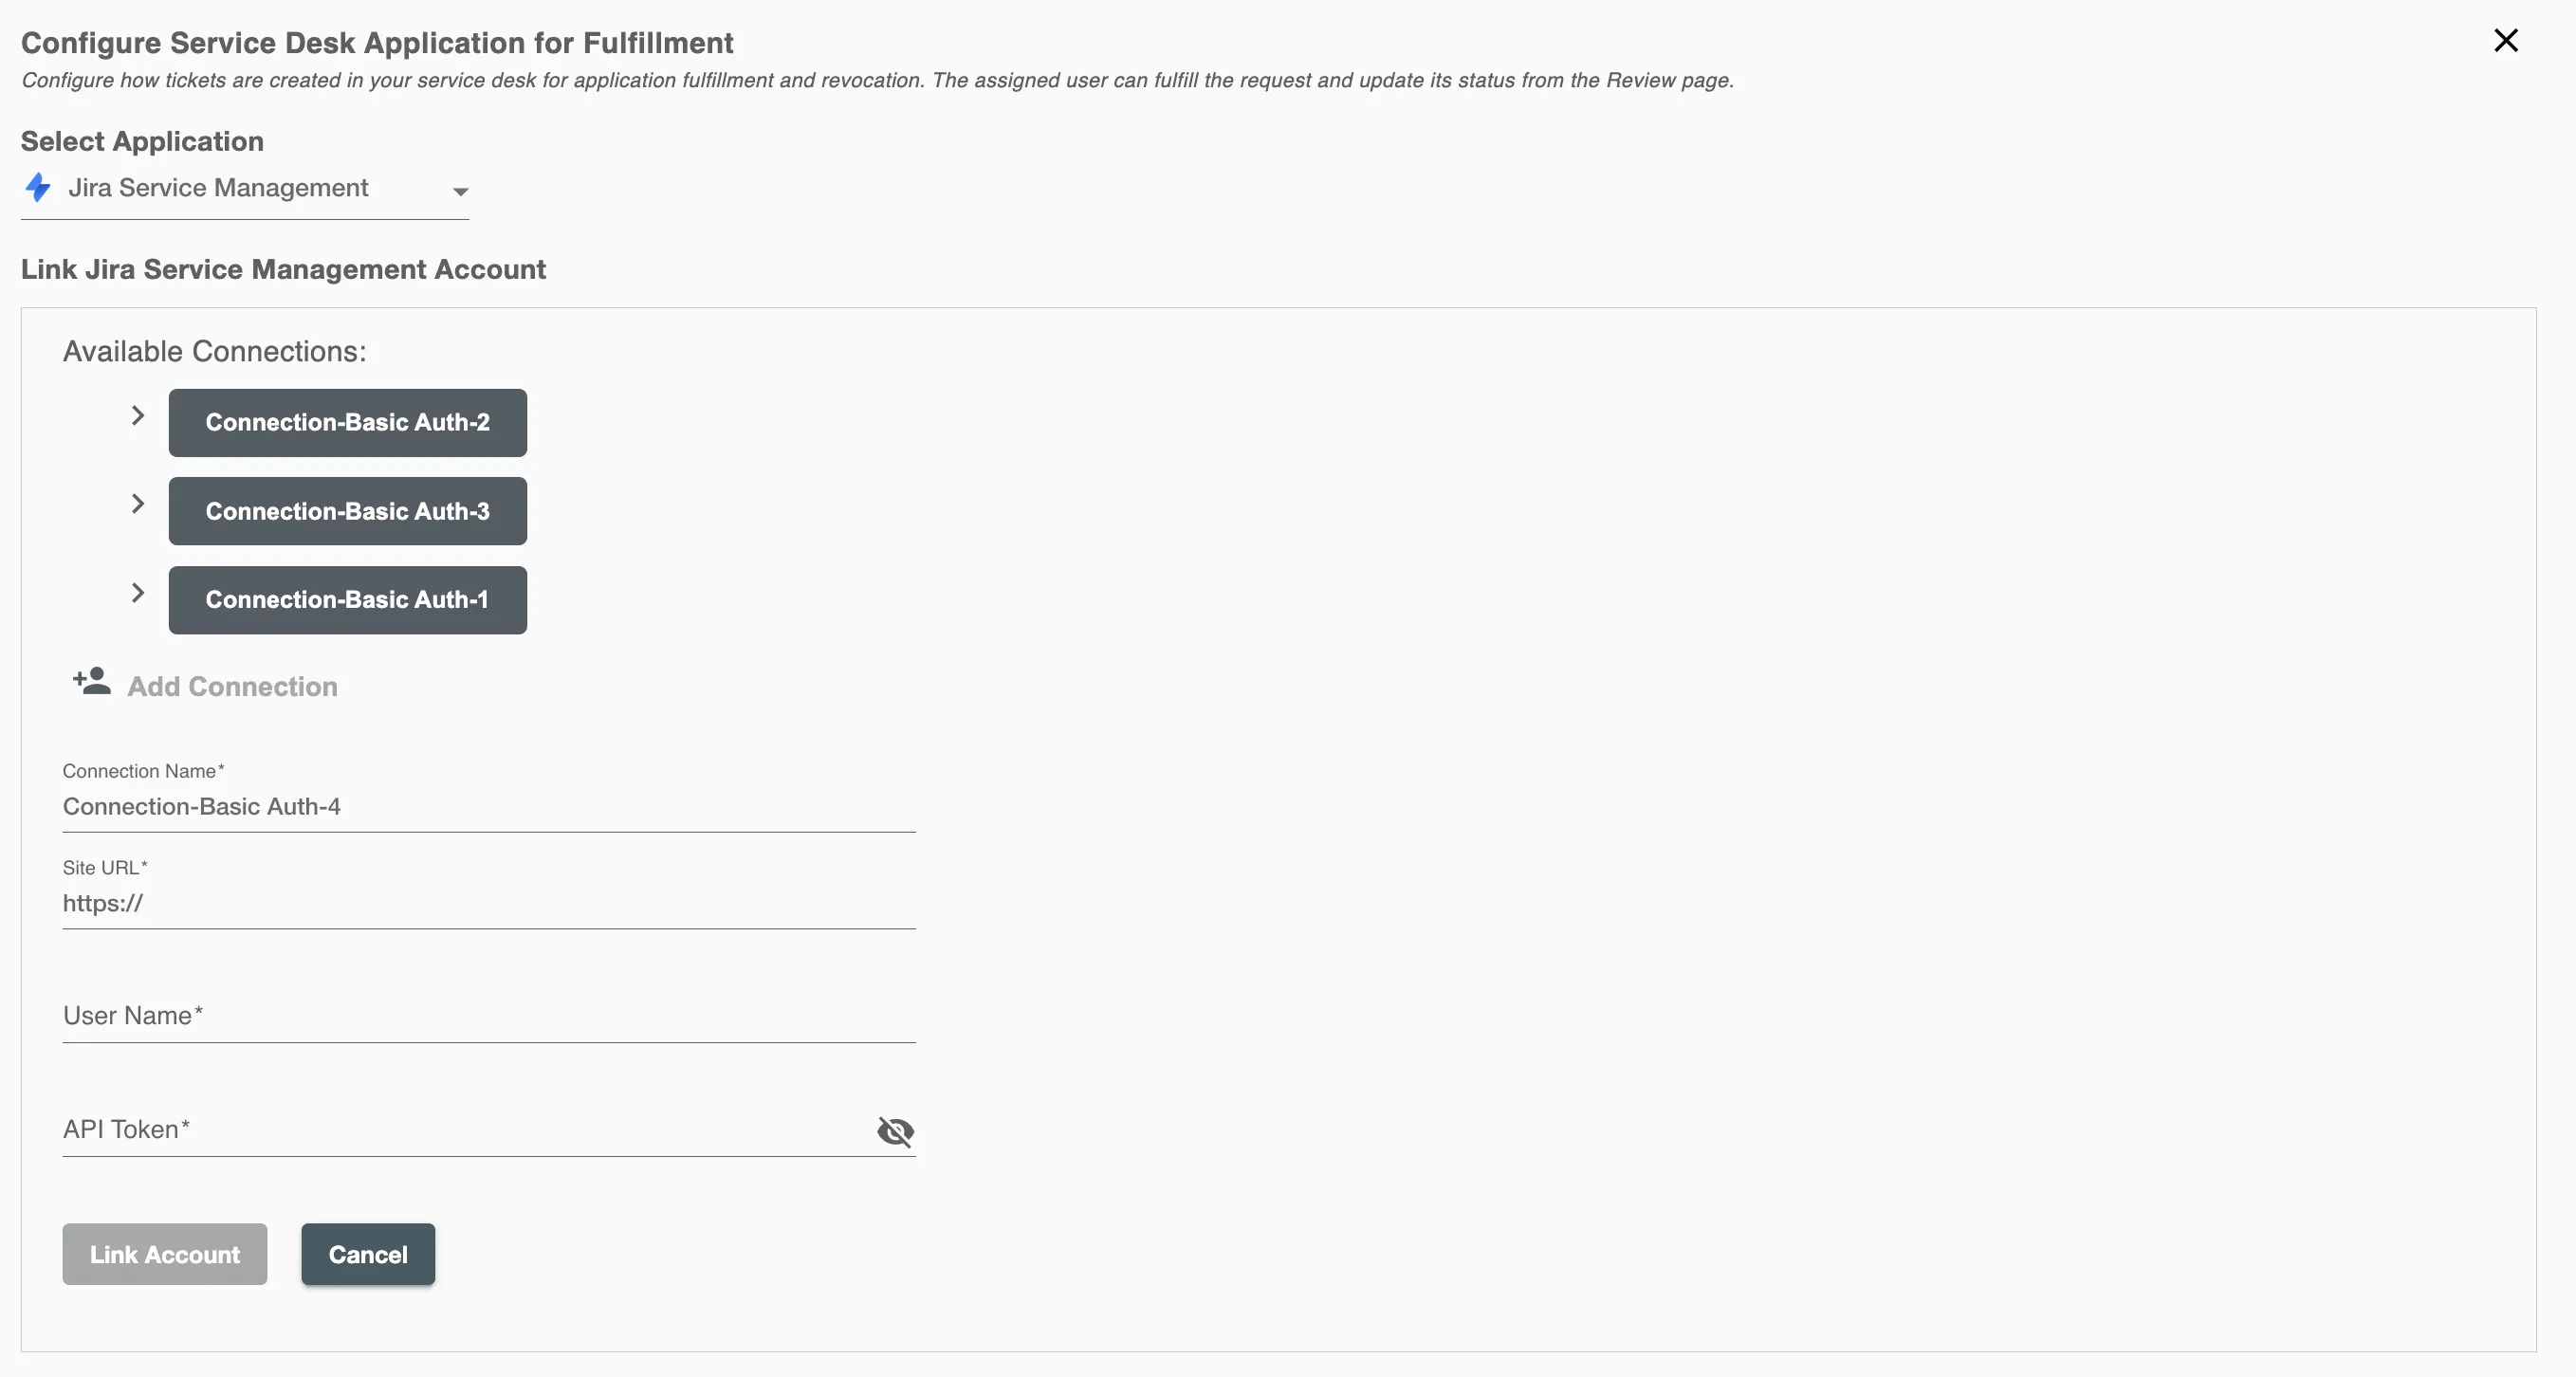
Step 2 Enter your Jira Service Management Username, which is typically the email address associated with your Jira account.
Step 3 Enter your Jira Service Management Auth Token.
How to get Auth Token?
-
Log in to your Jira Service Management Console.
-
Click on
Create API tokenbutton.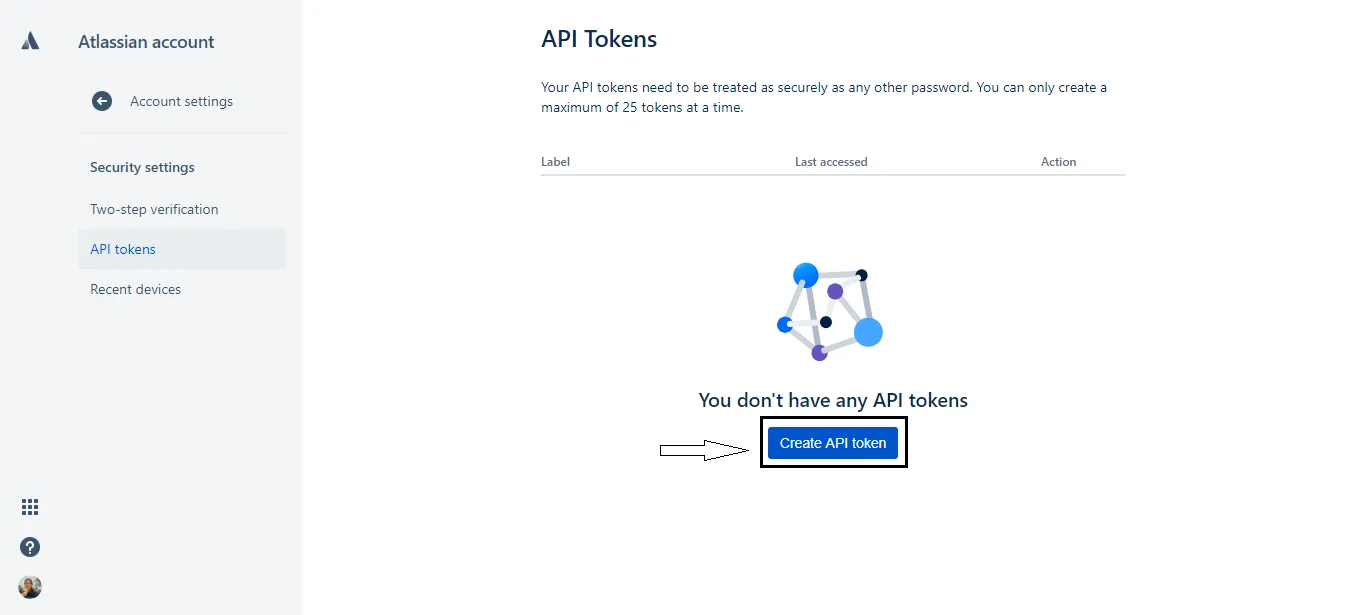 Figure 2. API Token generation for Jira Service Management
 -
Enter a label for the token (any descriptive name) in the dialog box on screen, then click
Create. -
Click Copy, then paste the token into the Hire2Retire Access Manager connection form.
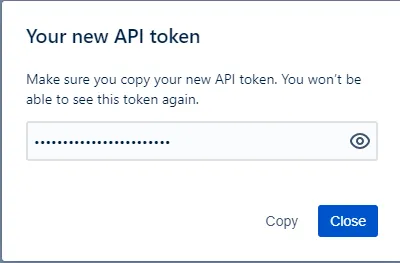 Figure 3. API Token for Jira Service Management