Connection
Invgate on Hire2Retire uses OAuth2.0 authentication. Please refer to the invgate documentation to know more about OAuth Authentication in invgate.
We at RoboMQ pay utmost attention to keep your account secure. See our Security and Privacy Policies to learn more about how RoboMQ handles your account access.
By linking your invgate account with Hire2Retire, you can authorize RoboMQ to have a delegated access on your behalf. RoboMQ needs the following permissions on your account to provide a seamless integration experience:
| Scopes | Explanation |
|---|---|
| api.v1.incident:post | Allows the system to submit a new issue or request. |
| api. v1.users:get | Retrieves users so you can assign a creator or customer to the request. |
| api. v1.categories:get | Gets the list of categories available for the request. |
| api.v1.cf.fields.by.category:get | Fetches field IDs related to a specific category. |
| api.v1.cf.fields.all:get | Uses the field IDs to retrieve the names and other details of each custom field. |
| api.v1.incident.attributes.type:get | Provides the list of available request (incident) types. |
| api.v1.locations:get | Retrieves a list of locations for the request. |
| api.v1.incident.attributes.priority:get | Fetches available priority levels for the request |
| api.v1.incident.custom_field:post | Allows setting values for custom fields in a request. |
| api.v1.wf.initialfields.by.category:get | Gets required initial fields based on the selected category. |
| api.v1.cf.fields.types:get | Retrieves a list of custom field types for the request. |
| api.v1.cf.field.options.list:get | Retrieves the valus in list type custom fields for request. |
Steps to Generate OAuth Client Credentials in Invgate
Step 1. Login to your invgate Console.
Step 2. Click on the Settings icon on the bottom left corner of your portal.
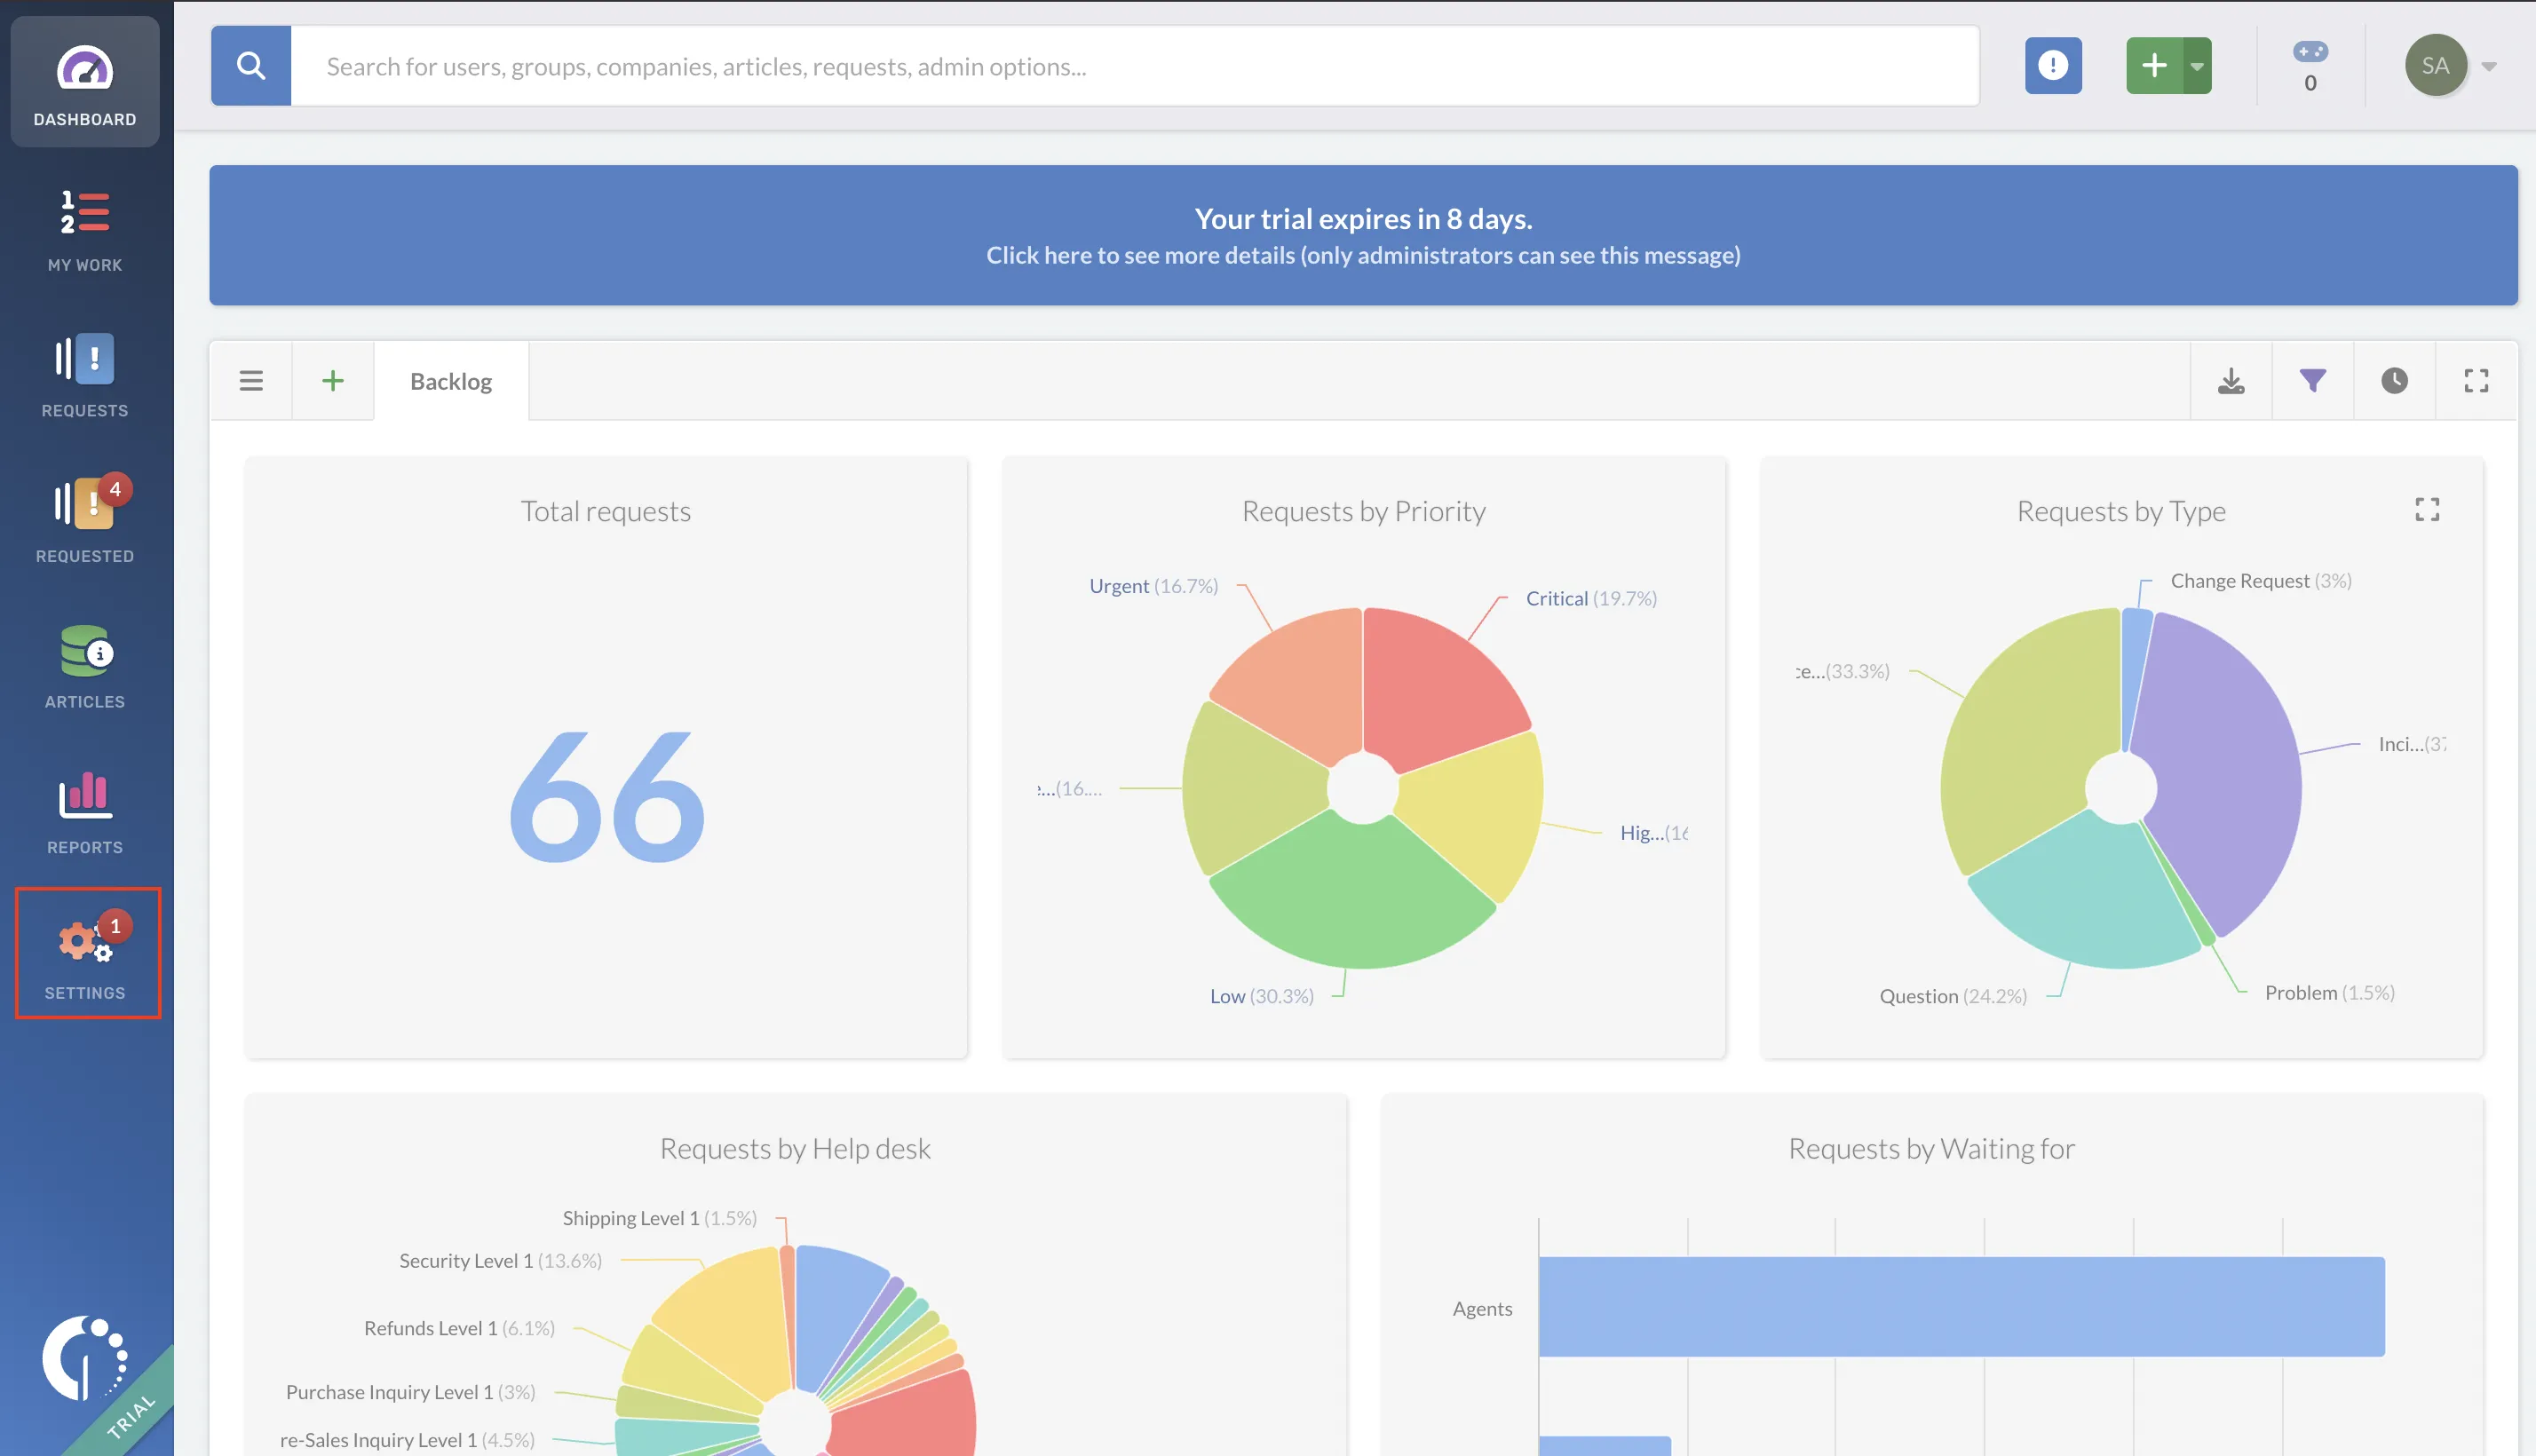
Step 3. Click on the 'Integrations' option.
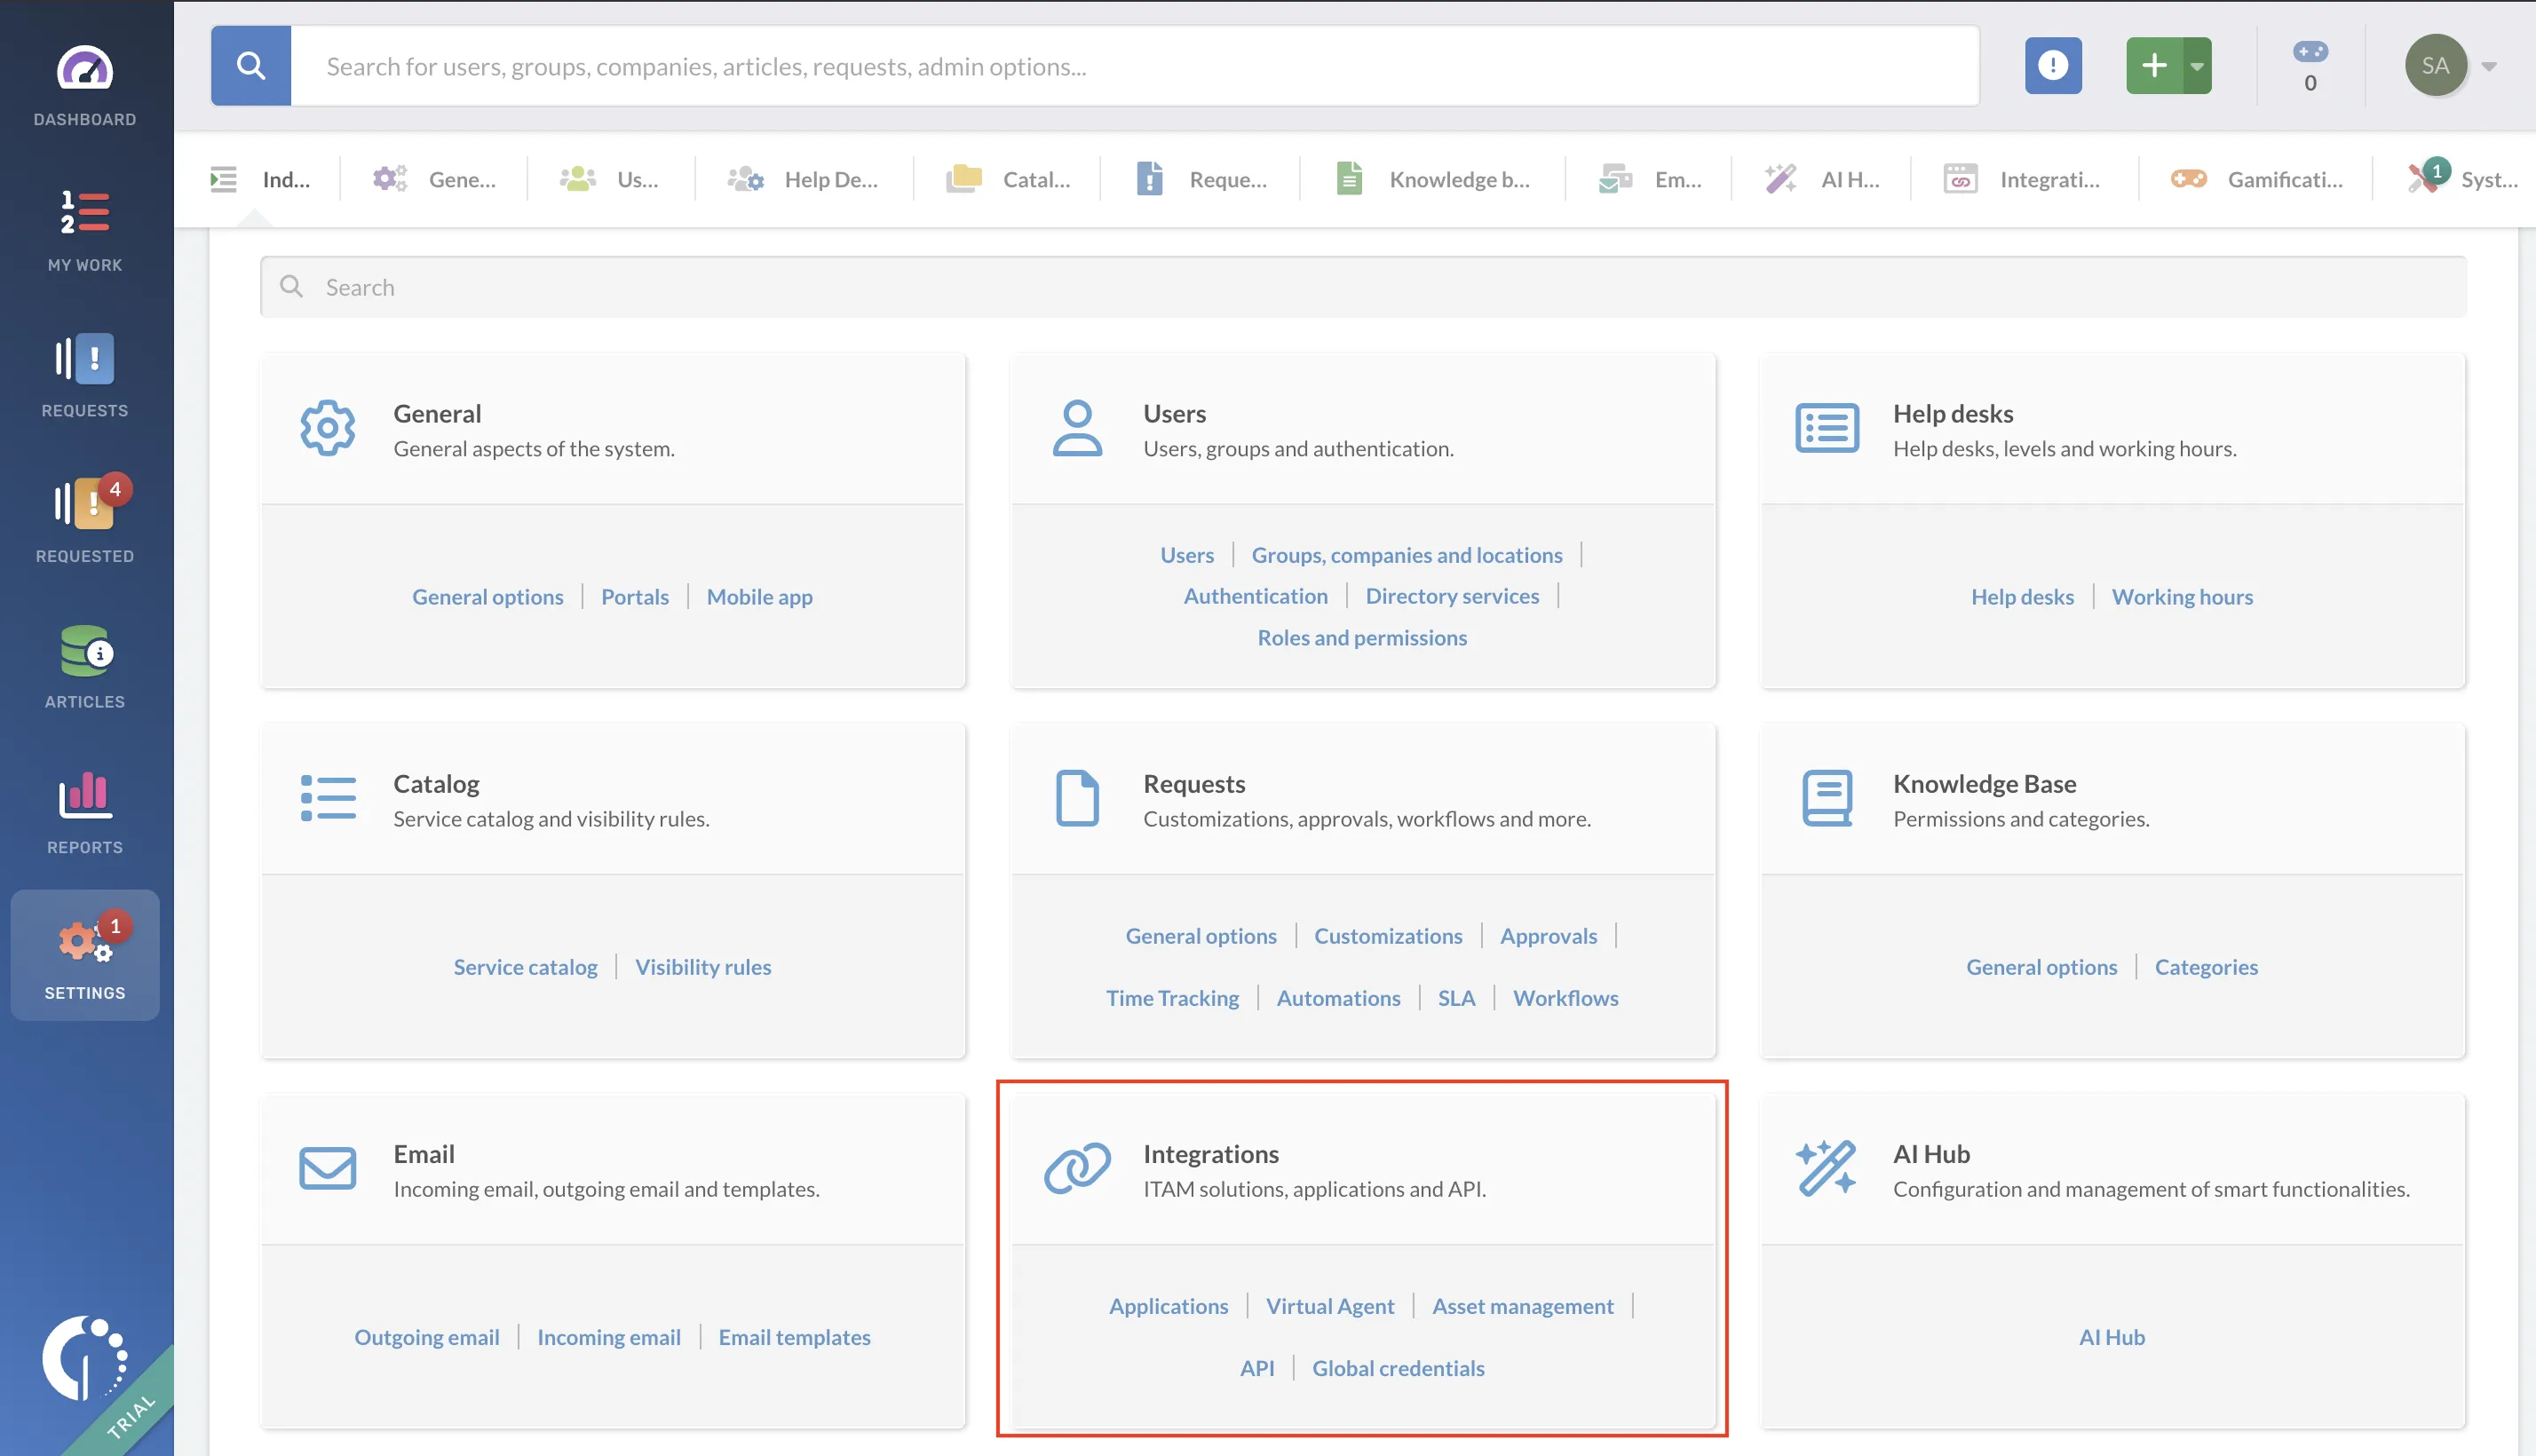
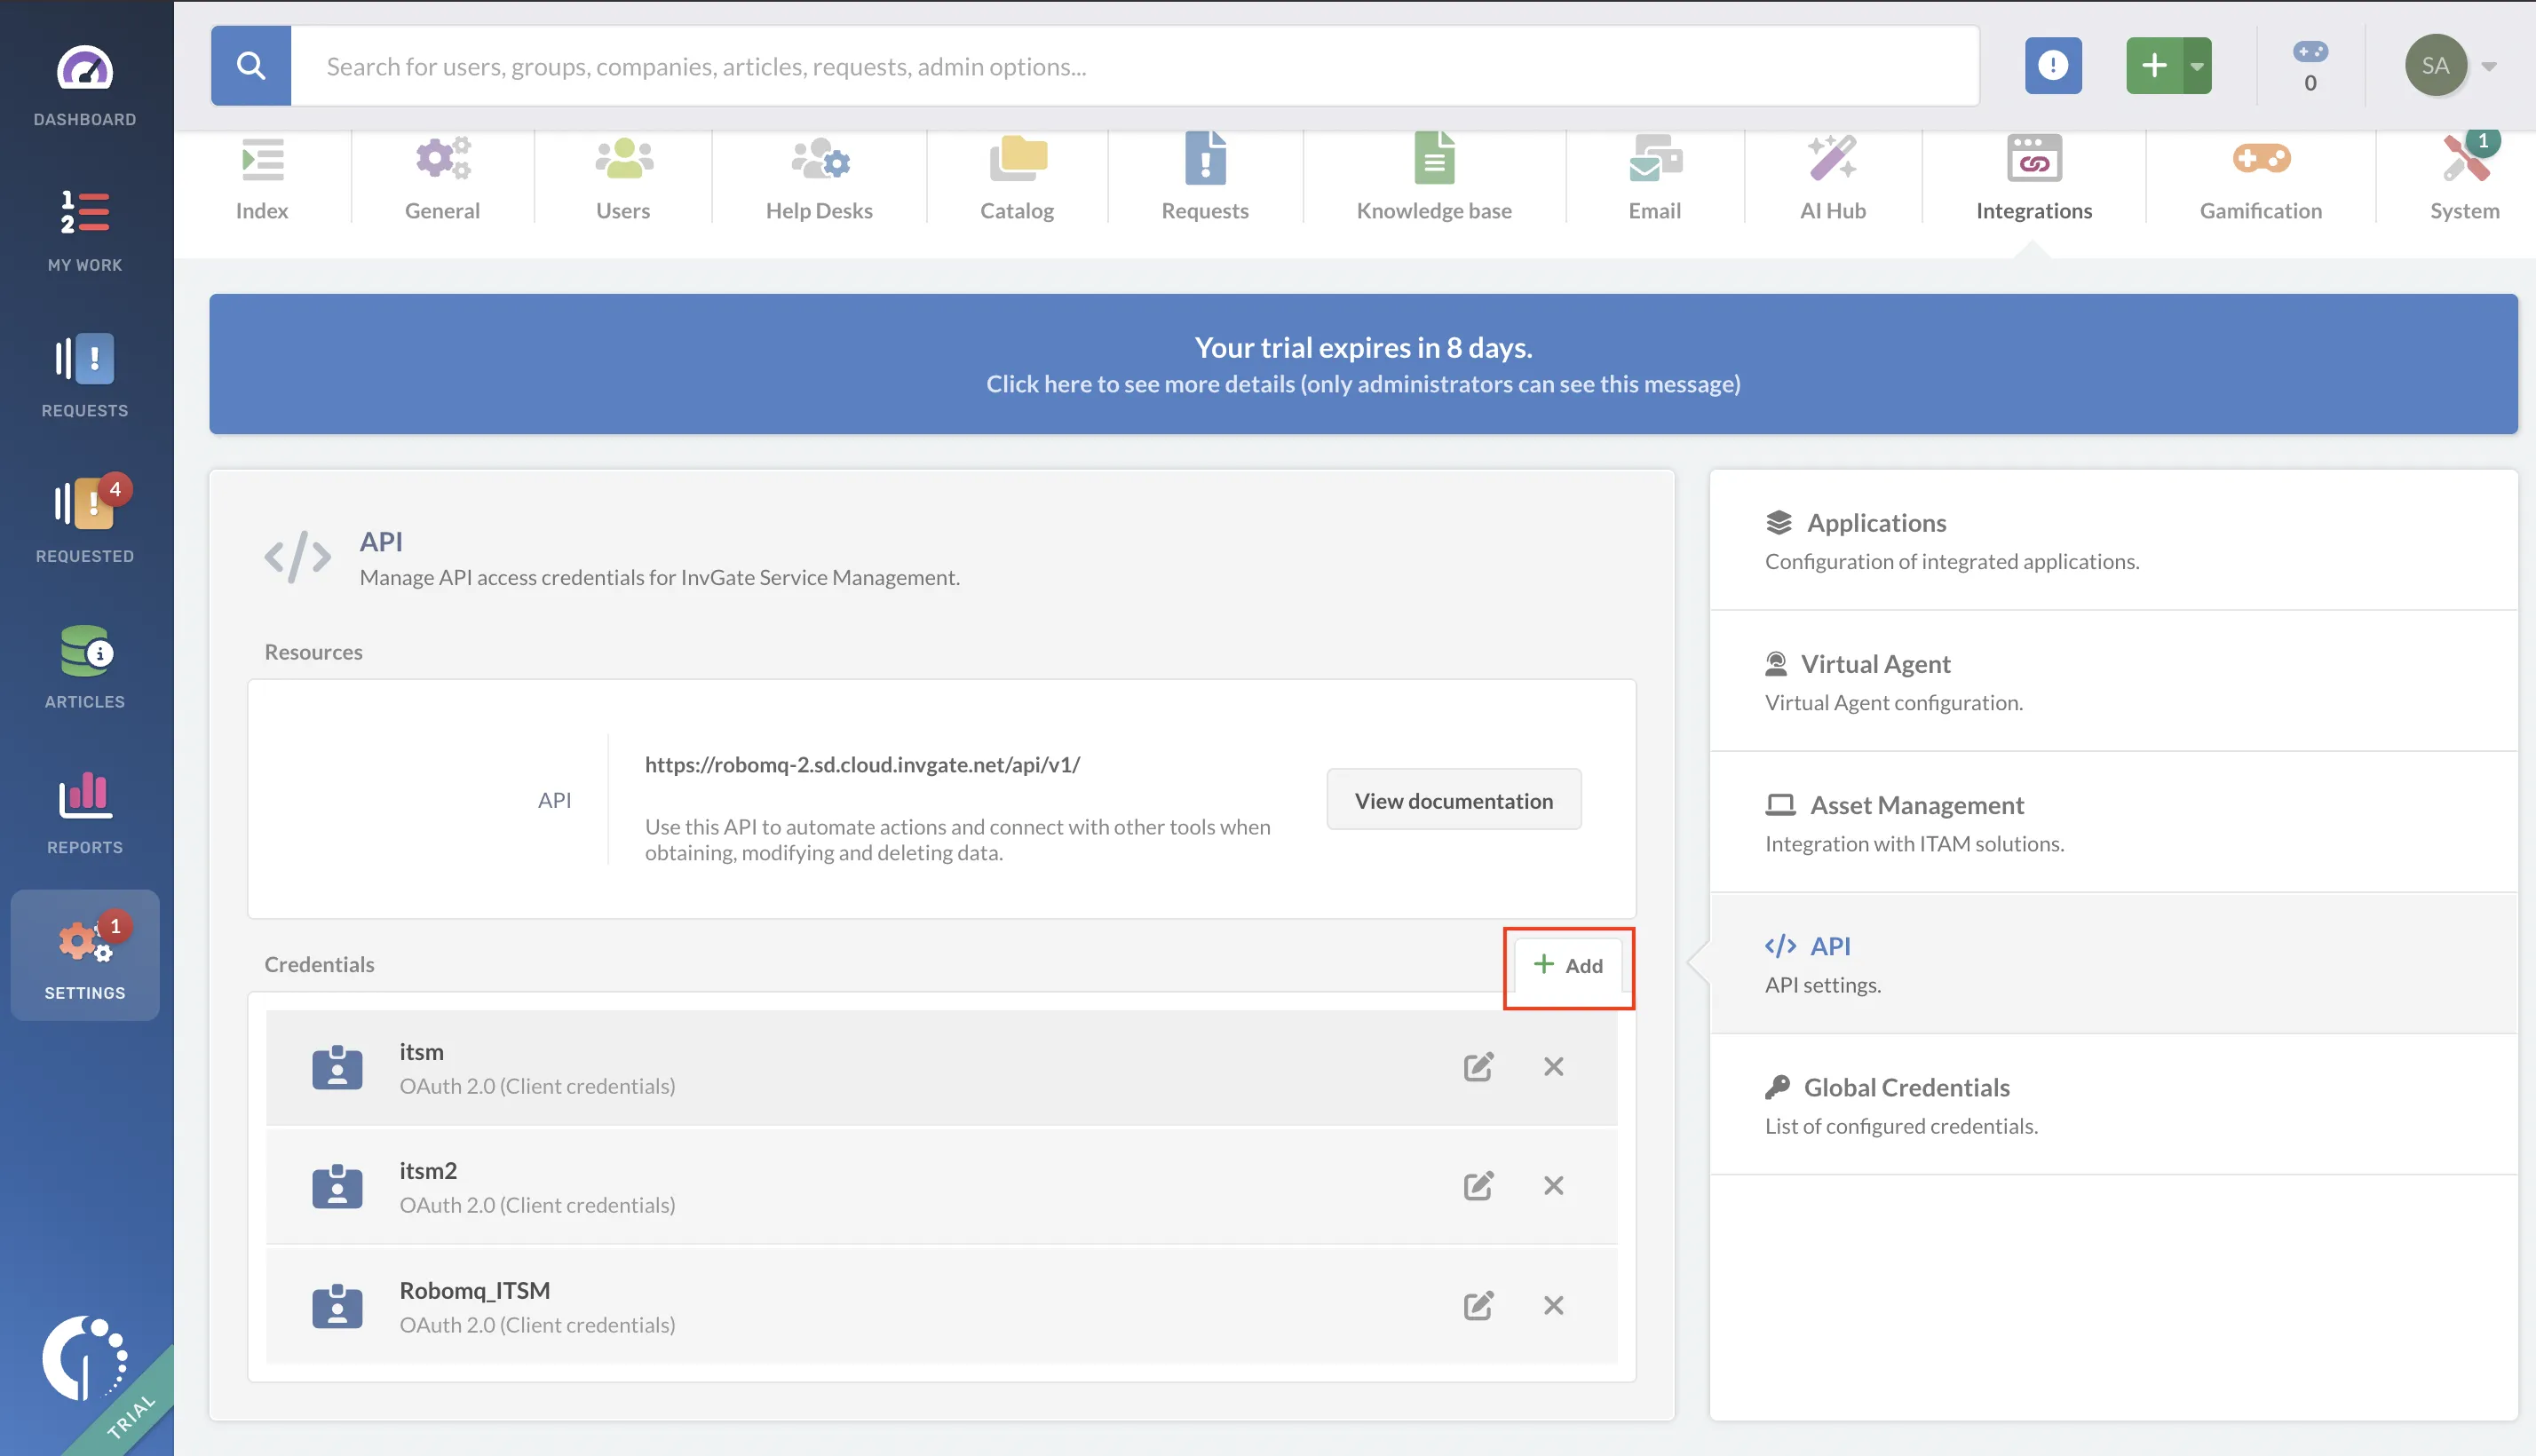
Step 4. Click on the 'API' option.
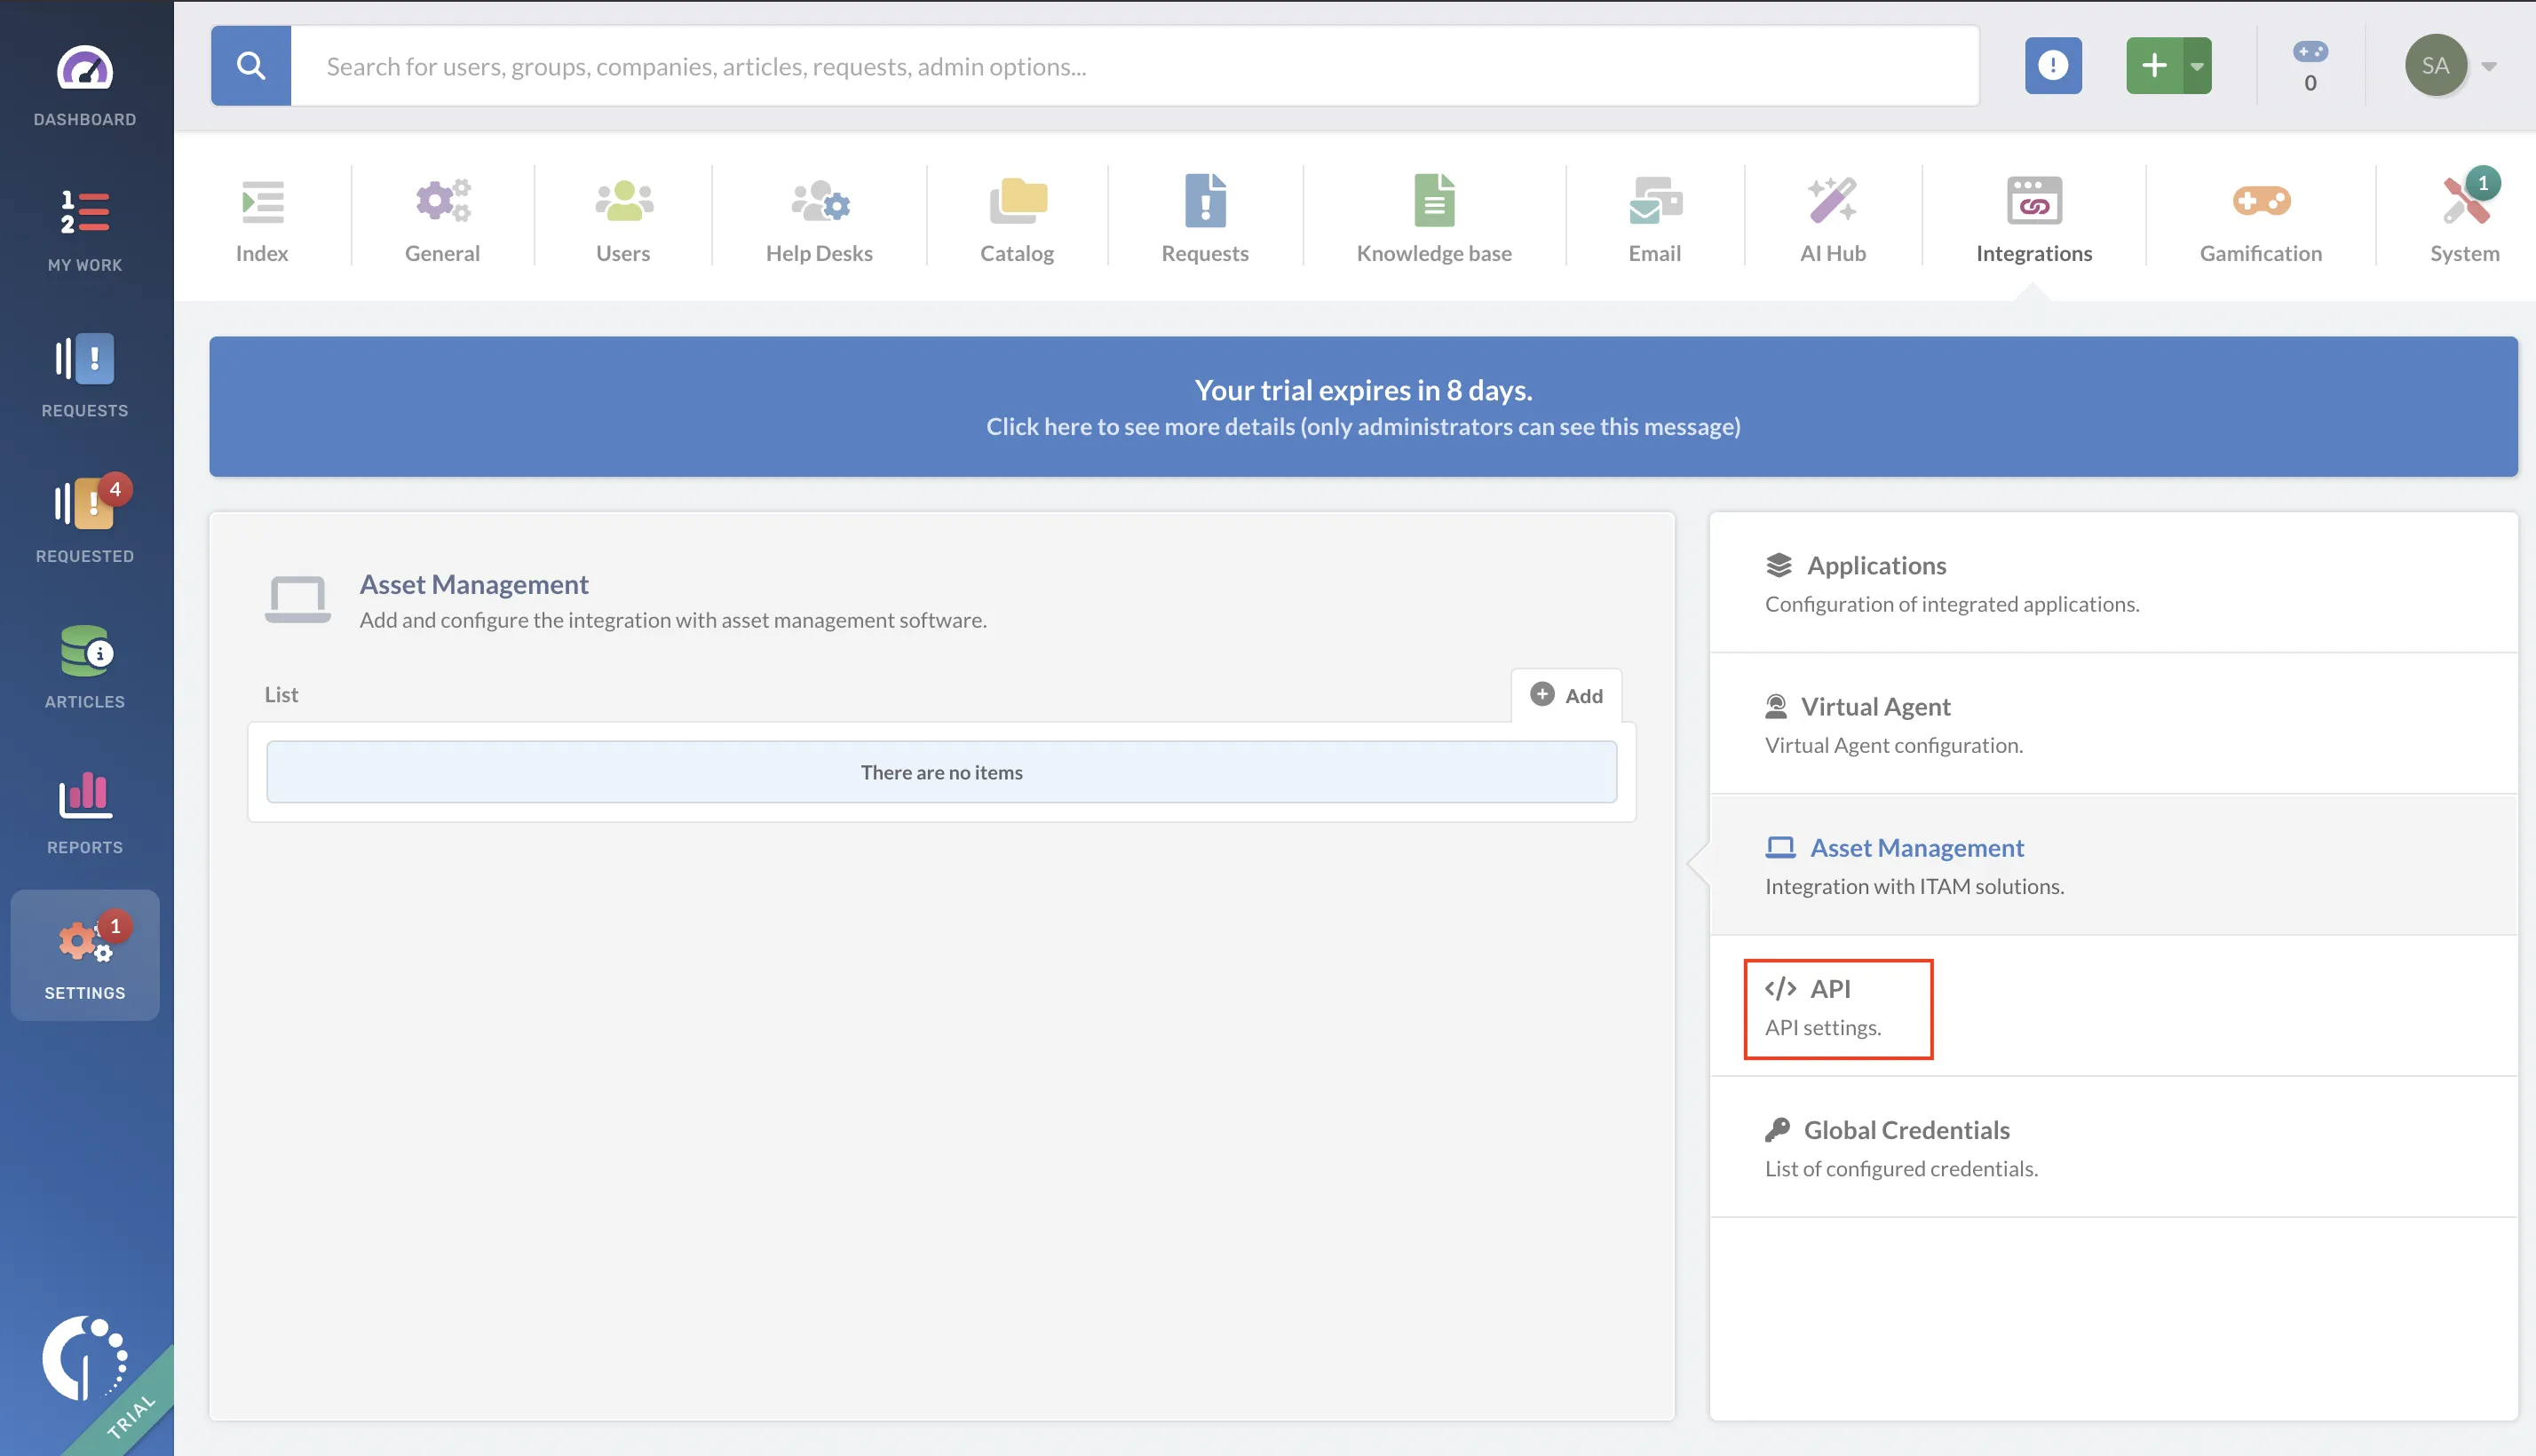
Step 5. Click on the 'Add' button to generate your client credentials.
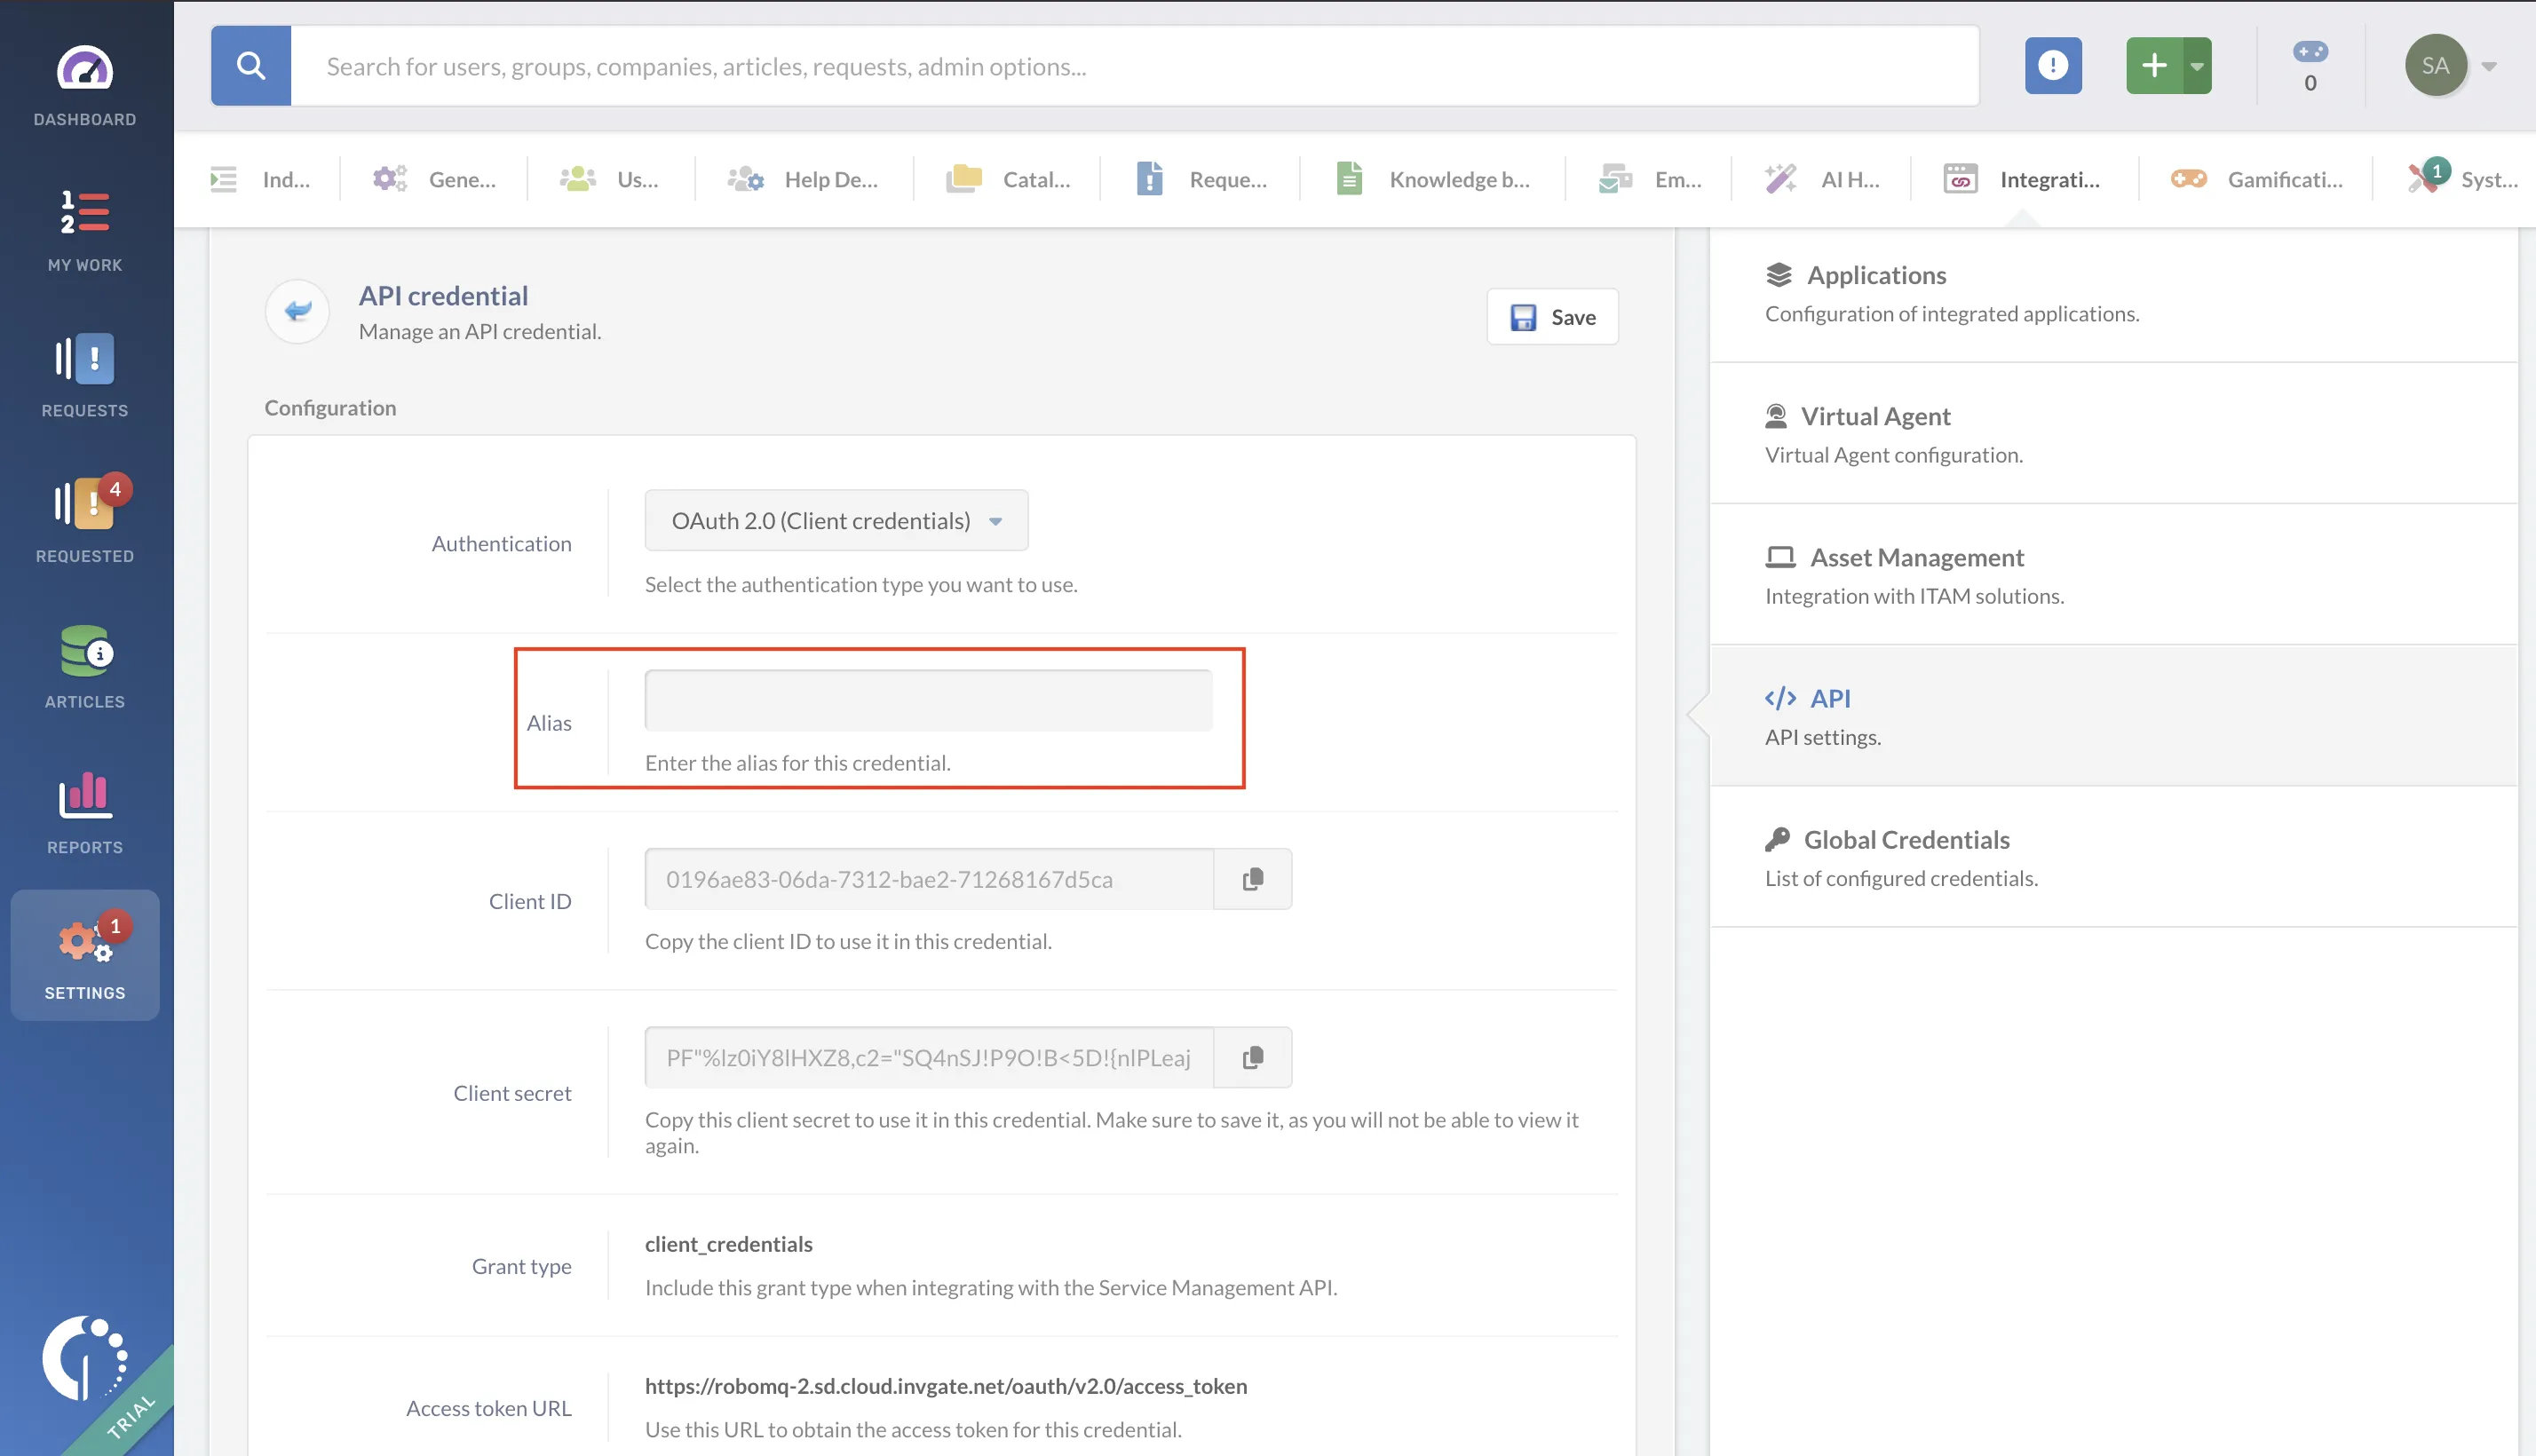
Step 6. Enter the alias for this credential.
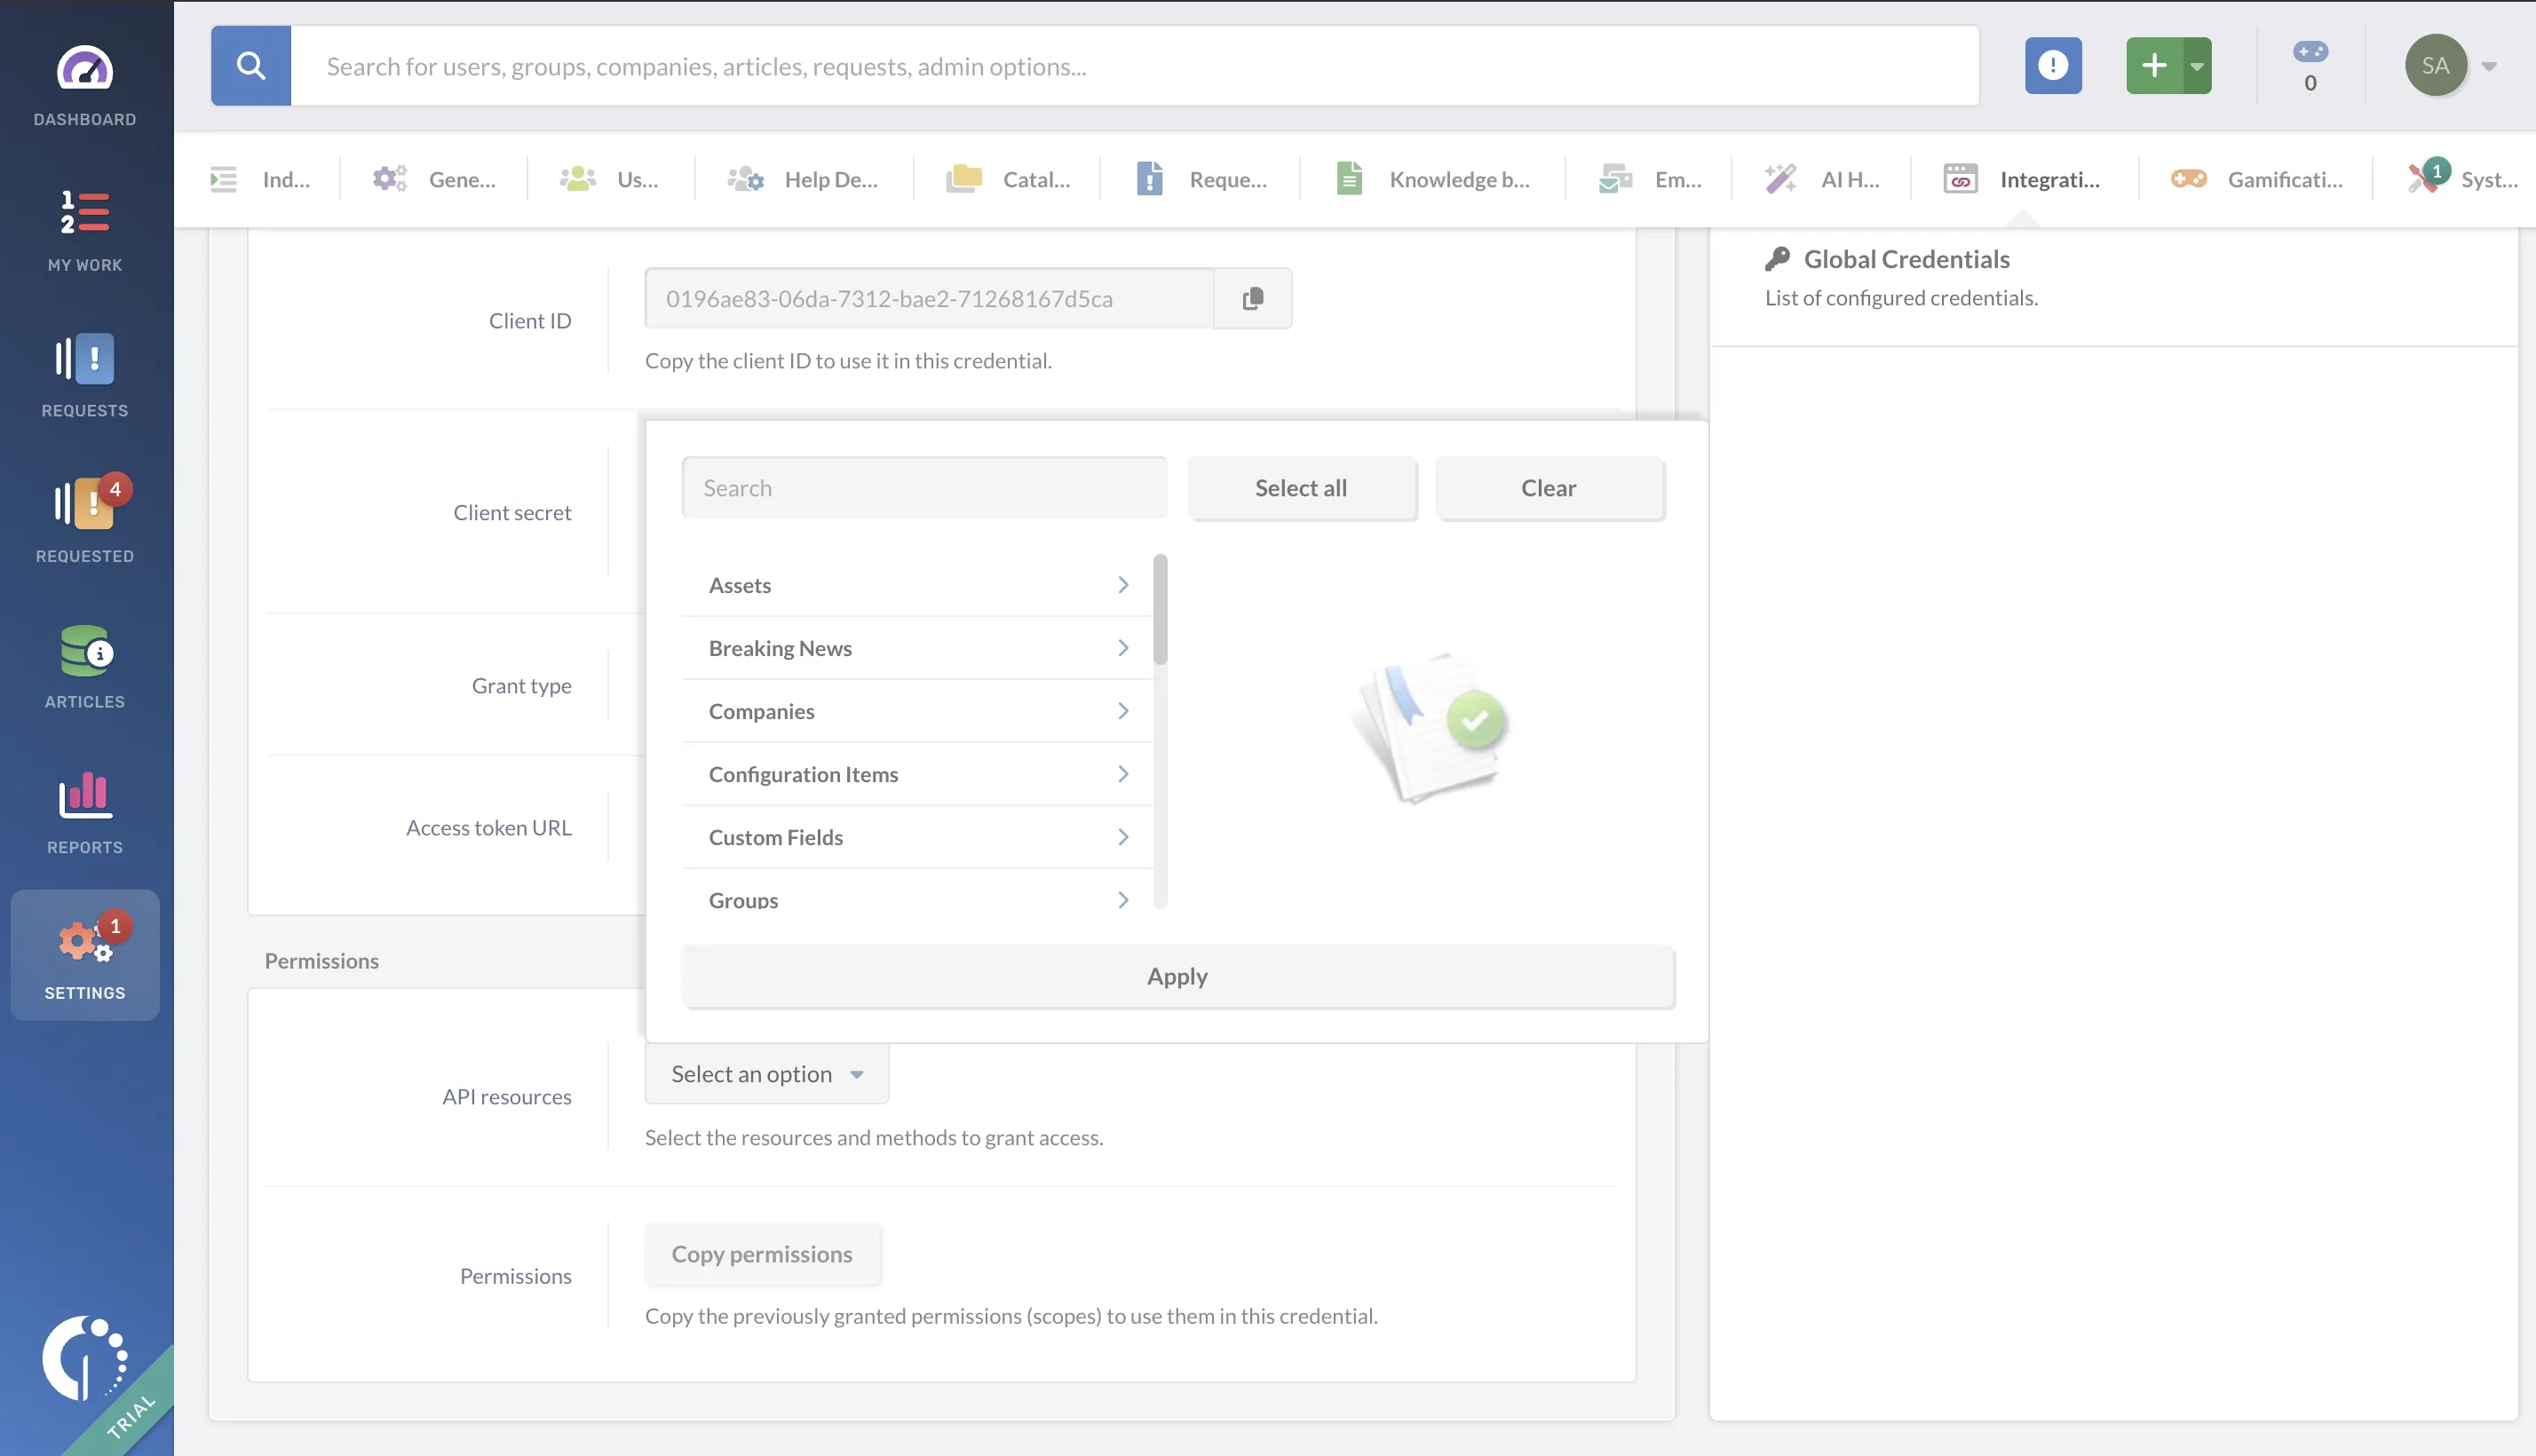
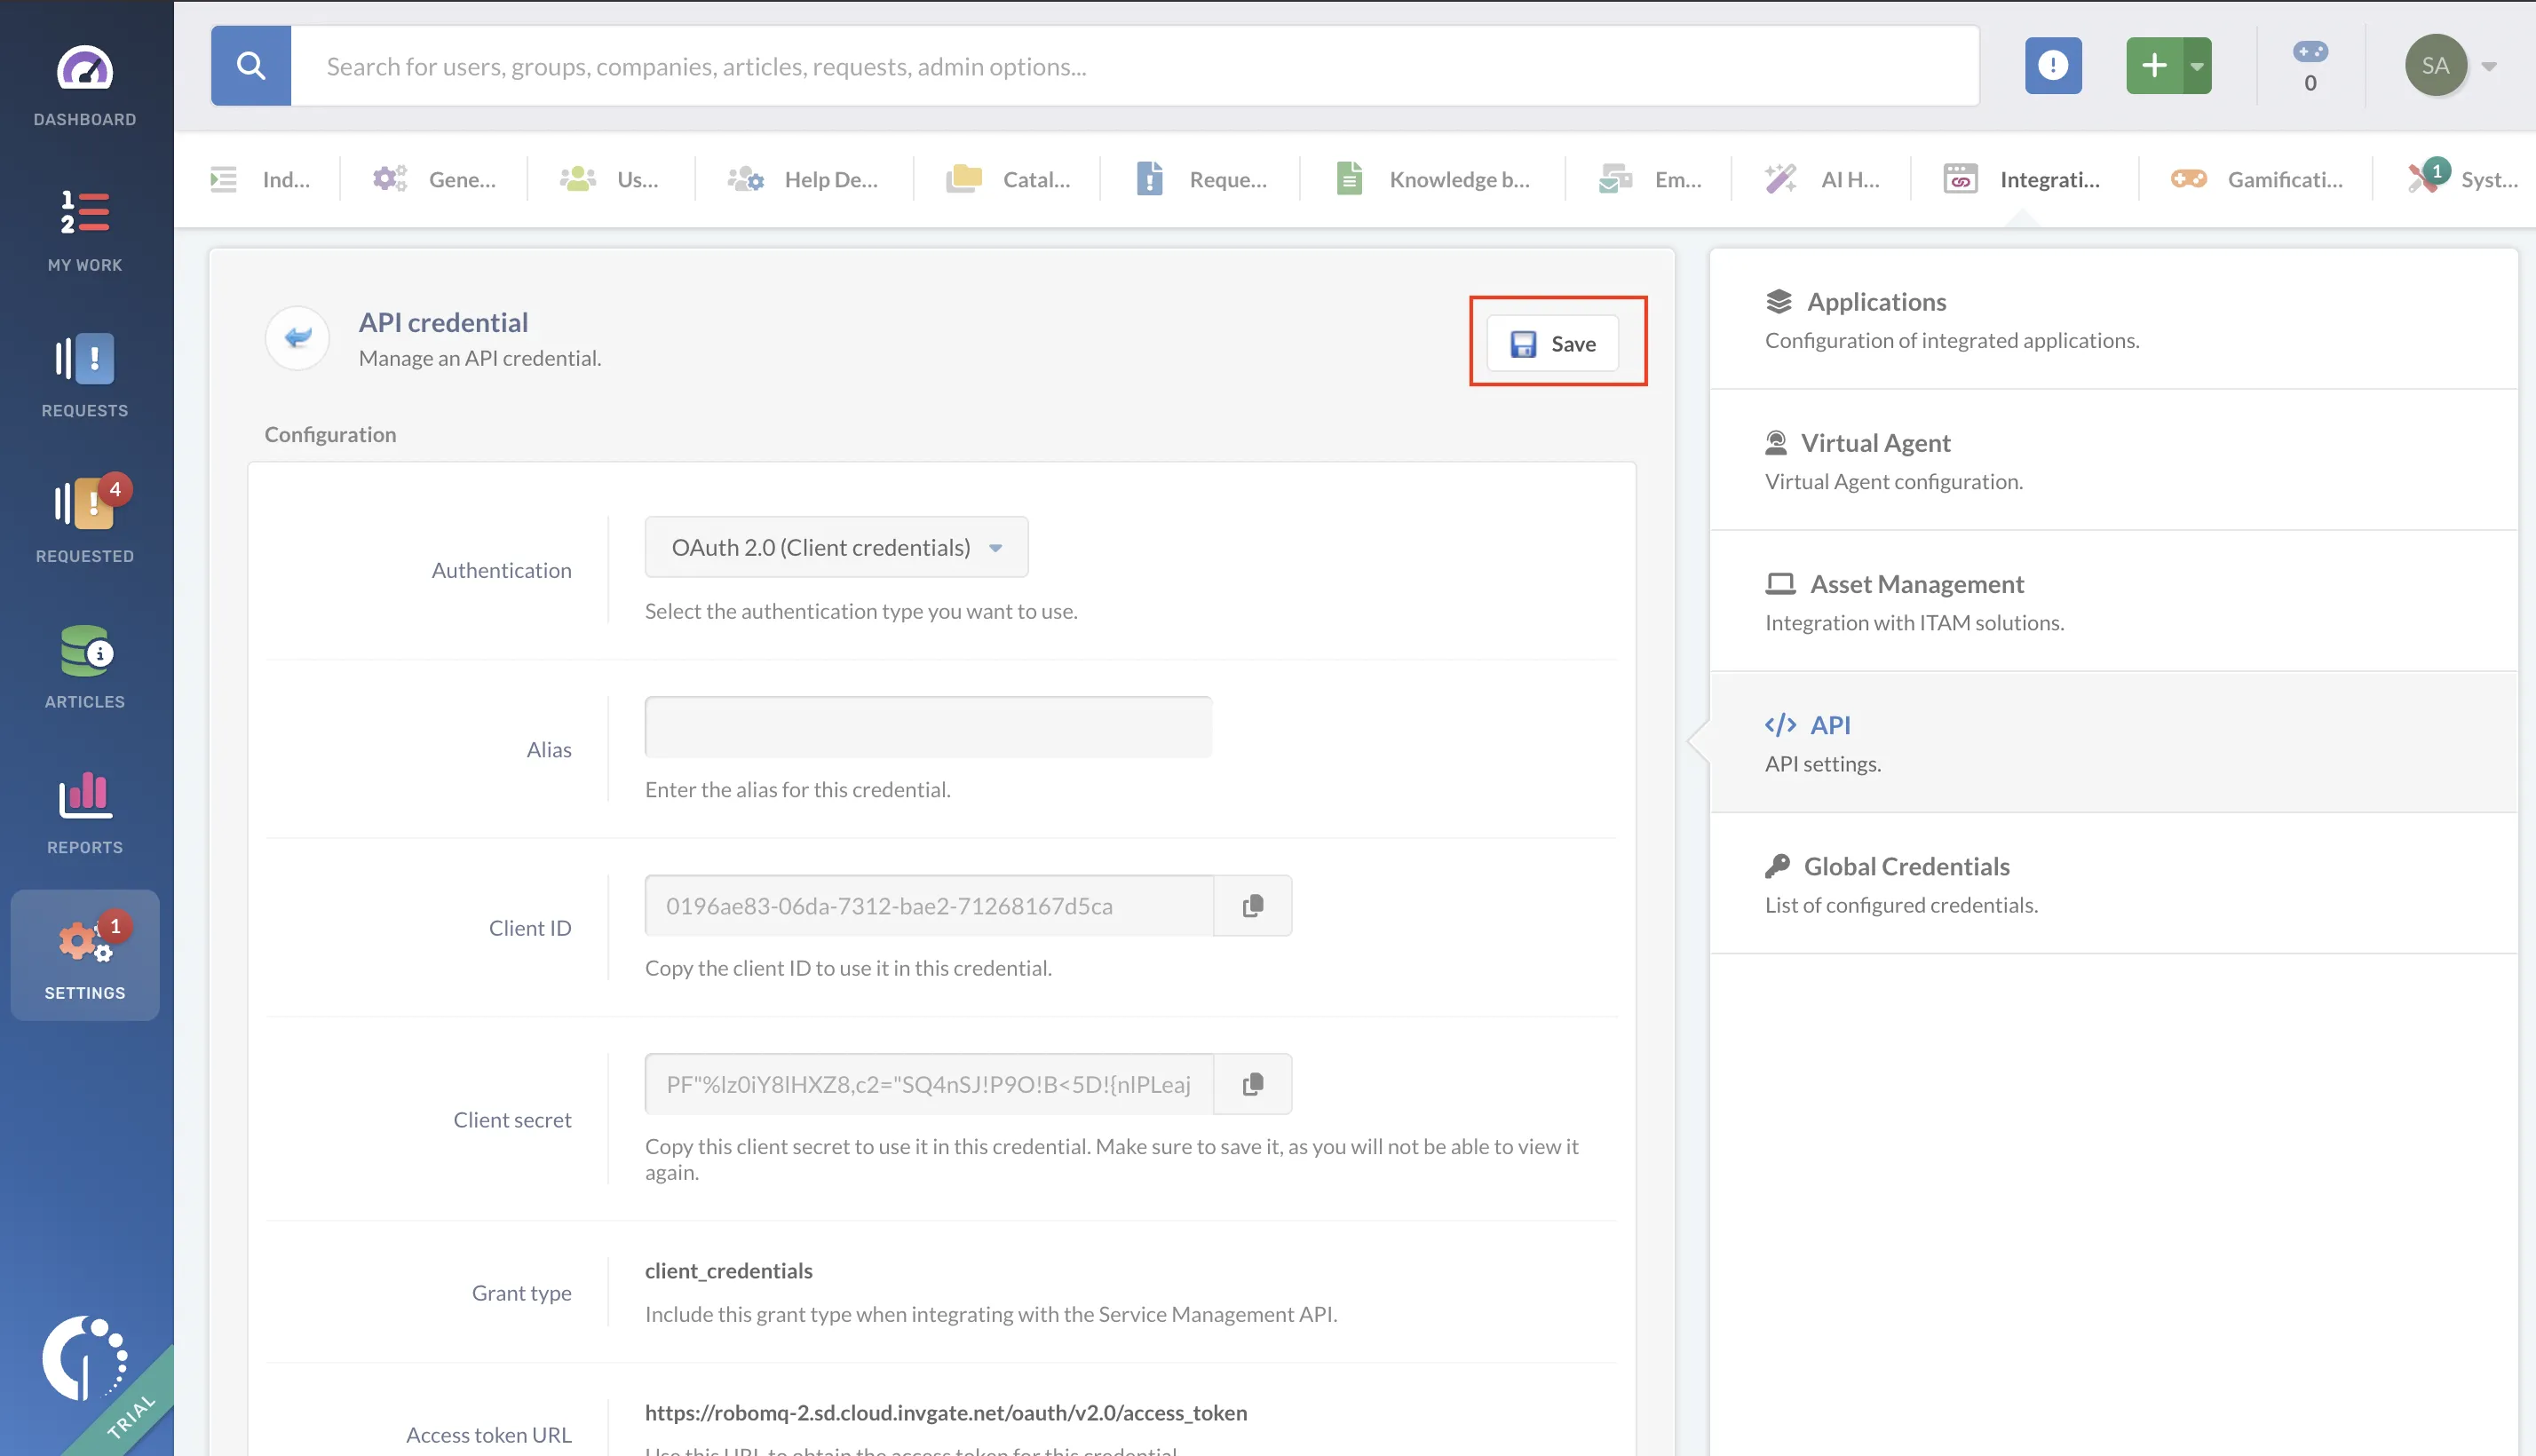
Step 7. Choose the resources and methods to grant access, copy the assigned permissions (scopes) to use them with this credential, and then click the 'Save' button.
Link invgate account on Hire2Retire
To connect your invgate instance using OAuth Client Credentials, provide the Instance URL, Client ID, Client Secret, and required Scopes.
Step 1. Enter your invgate Instance URL. You can find it in your browser's address bar when logged into invgate, typically in the format: https://YourDomain.invgate.net.

Step 2. Fill in the Client ID, Client Secret, and Scopes, then click on link account.