Connection
Hire2Retire connects to Halo using OAuth Authentication. Please refer to the document Halo API documentation to know more about OAuth Authentication in Halo.
We, at RoboMQ, pay utmost attention to keep your account secure. See our Security and Privacy Policies to learn more about how RoboMQ handles your account access.
Link Halo account on Hire2Retire
Step 1 Create an Application in Halo
How to Create the application?
-
Log into Halo admin center with appropriate permissions to configure API integrations Halo Admin Center
-
On the Home screen, click the
Configurationbutton (gear icons). -
Click
Integrationsunder Advanced.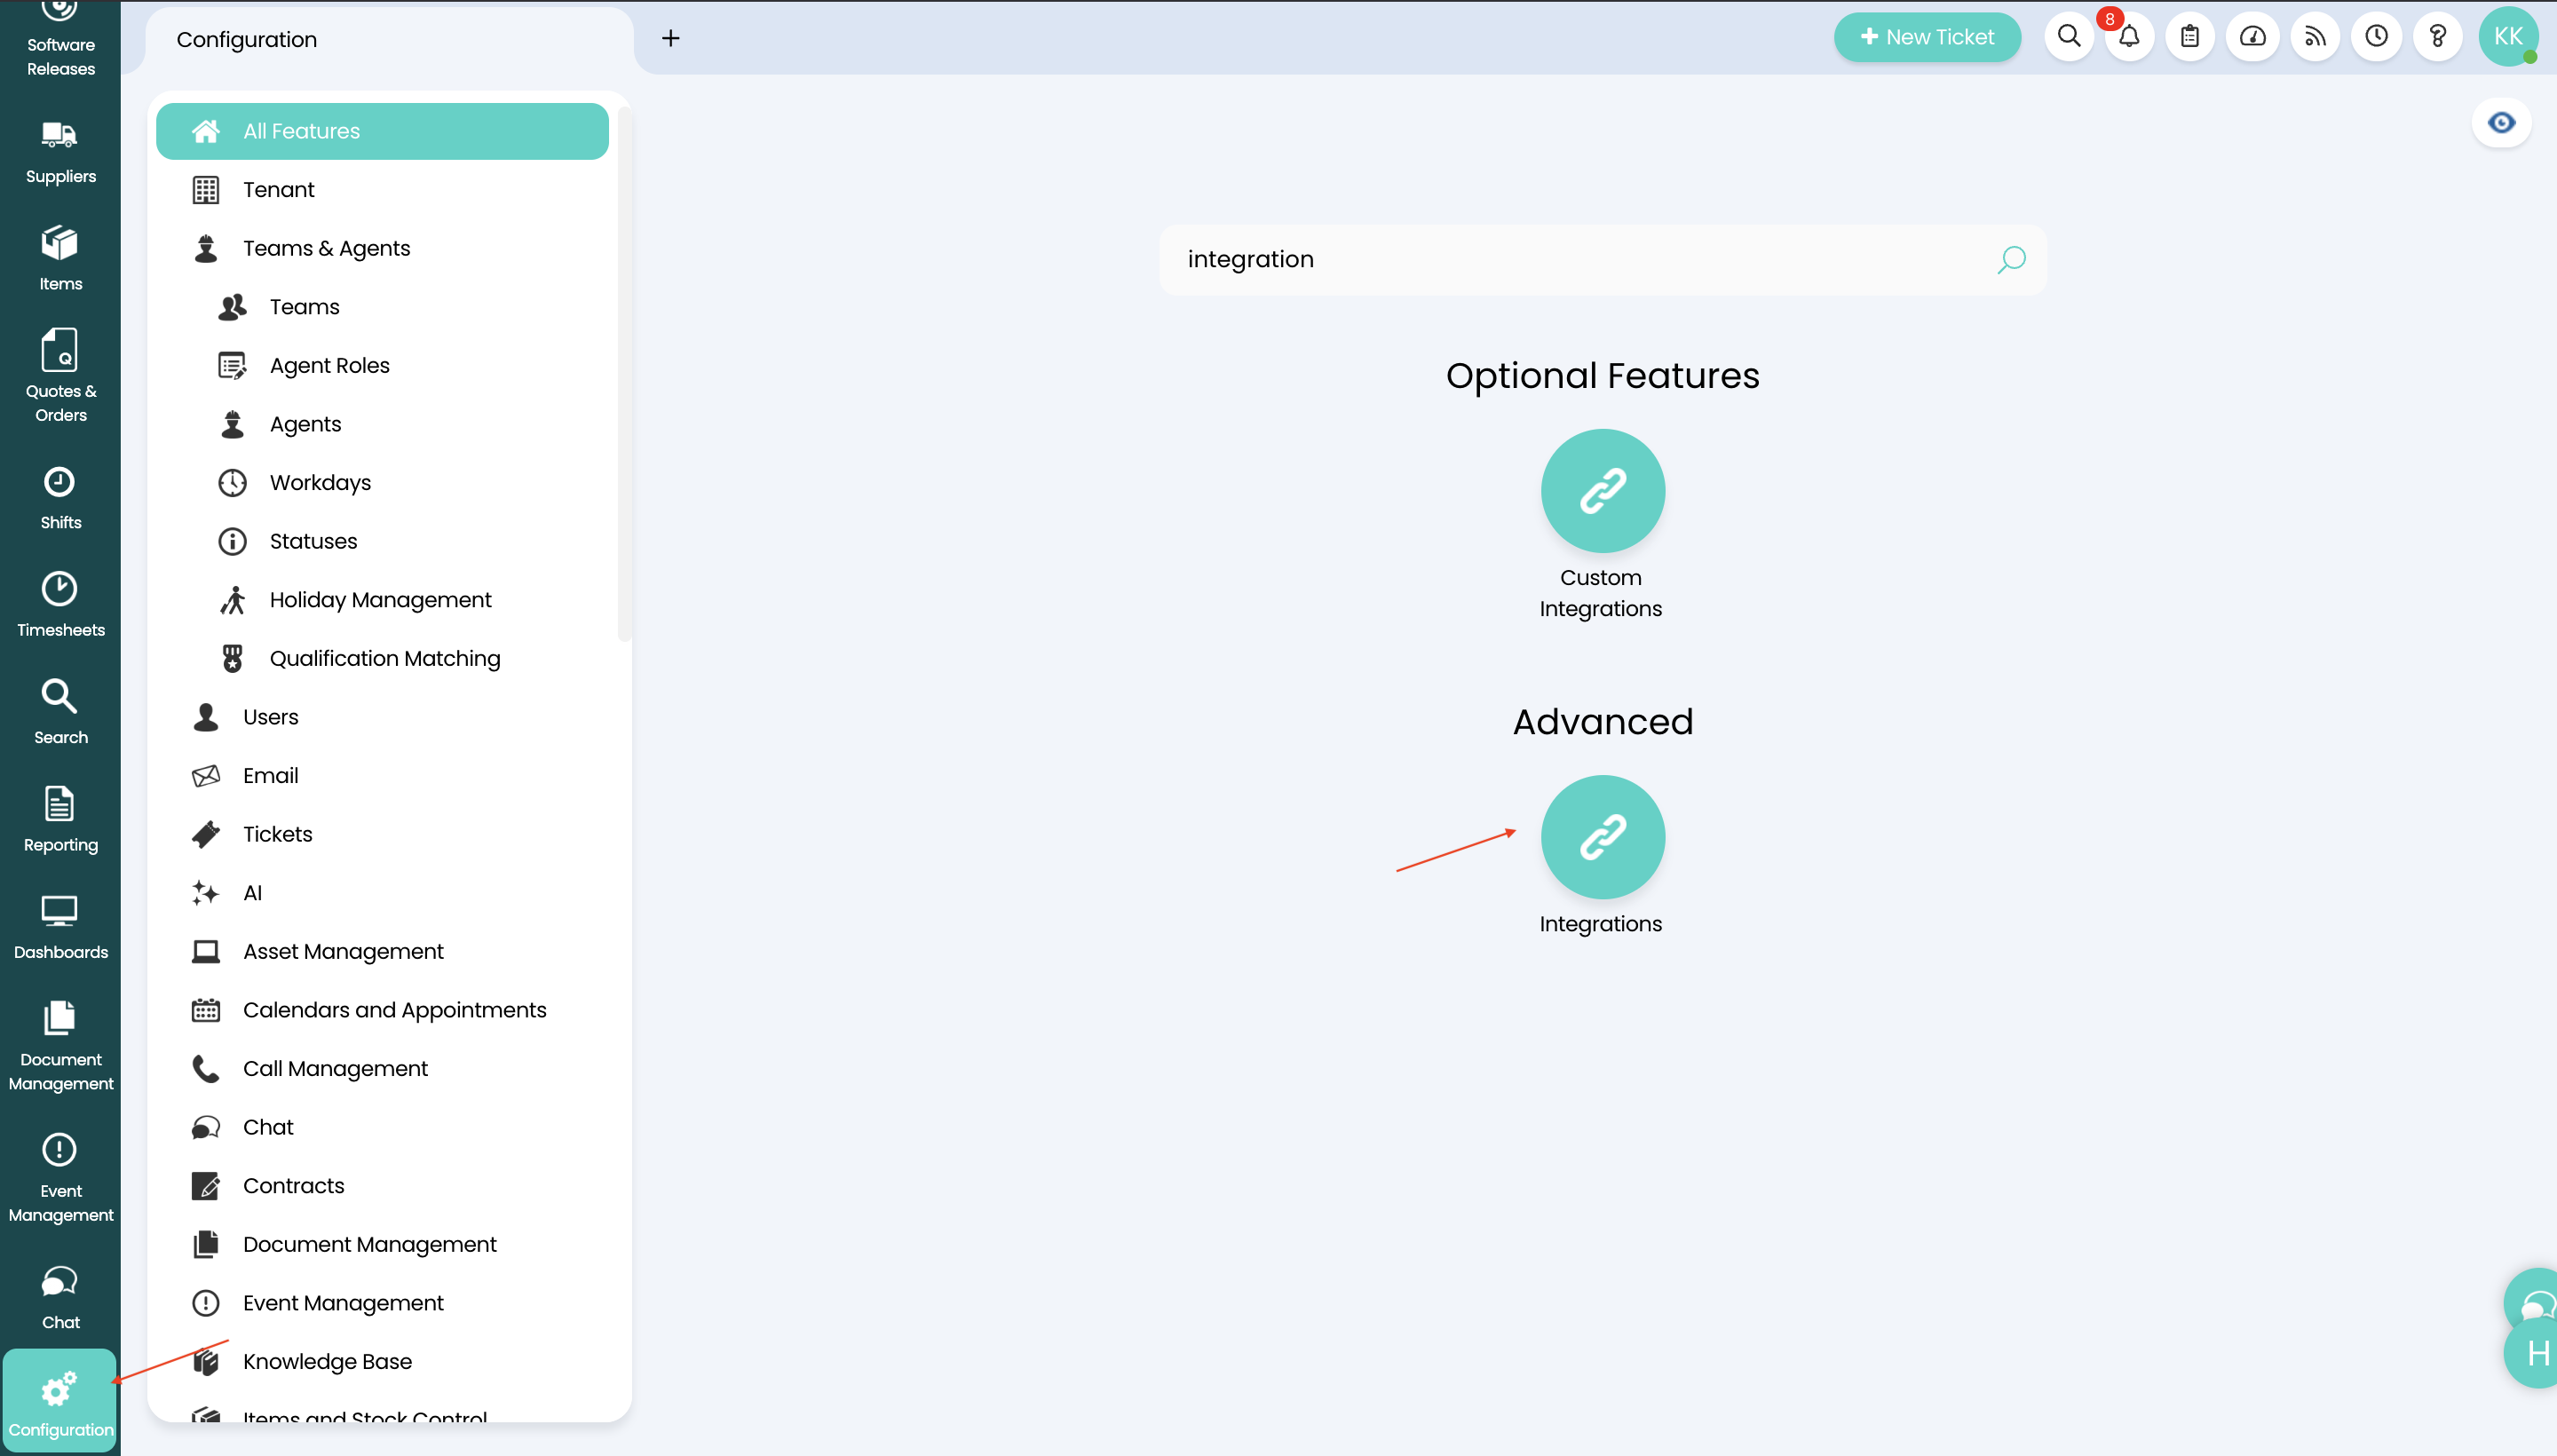 Figure 1. Create Application on Halo App
-
On the Integrations section in the Advanced navigation menu, click the
HaloITSM APIbutton.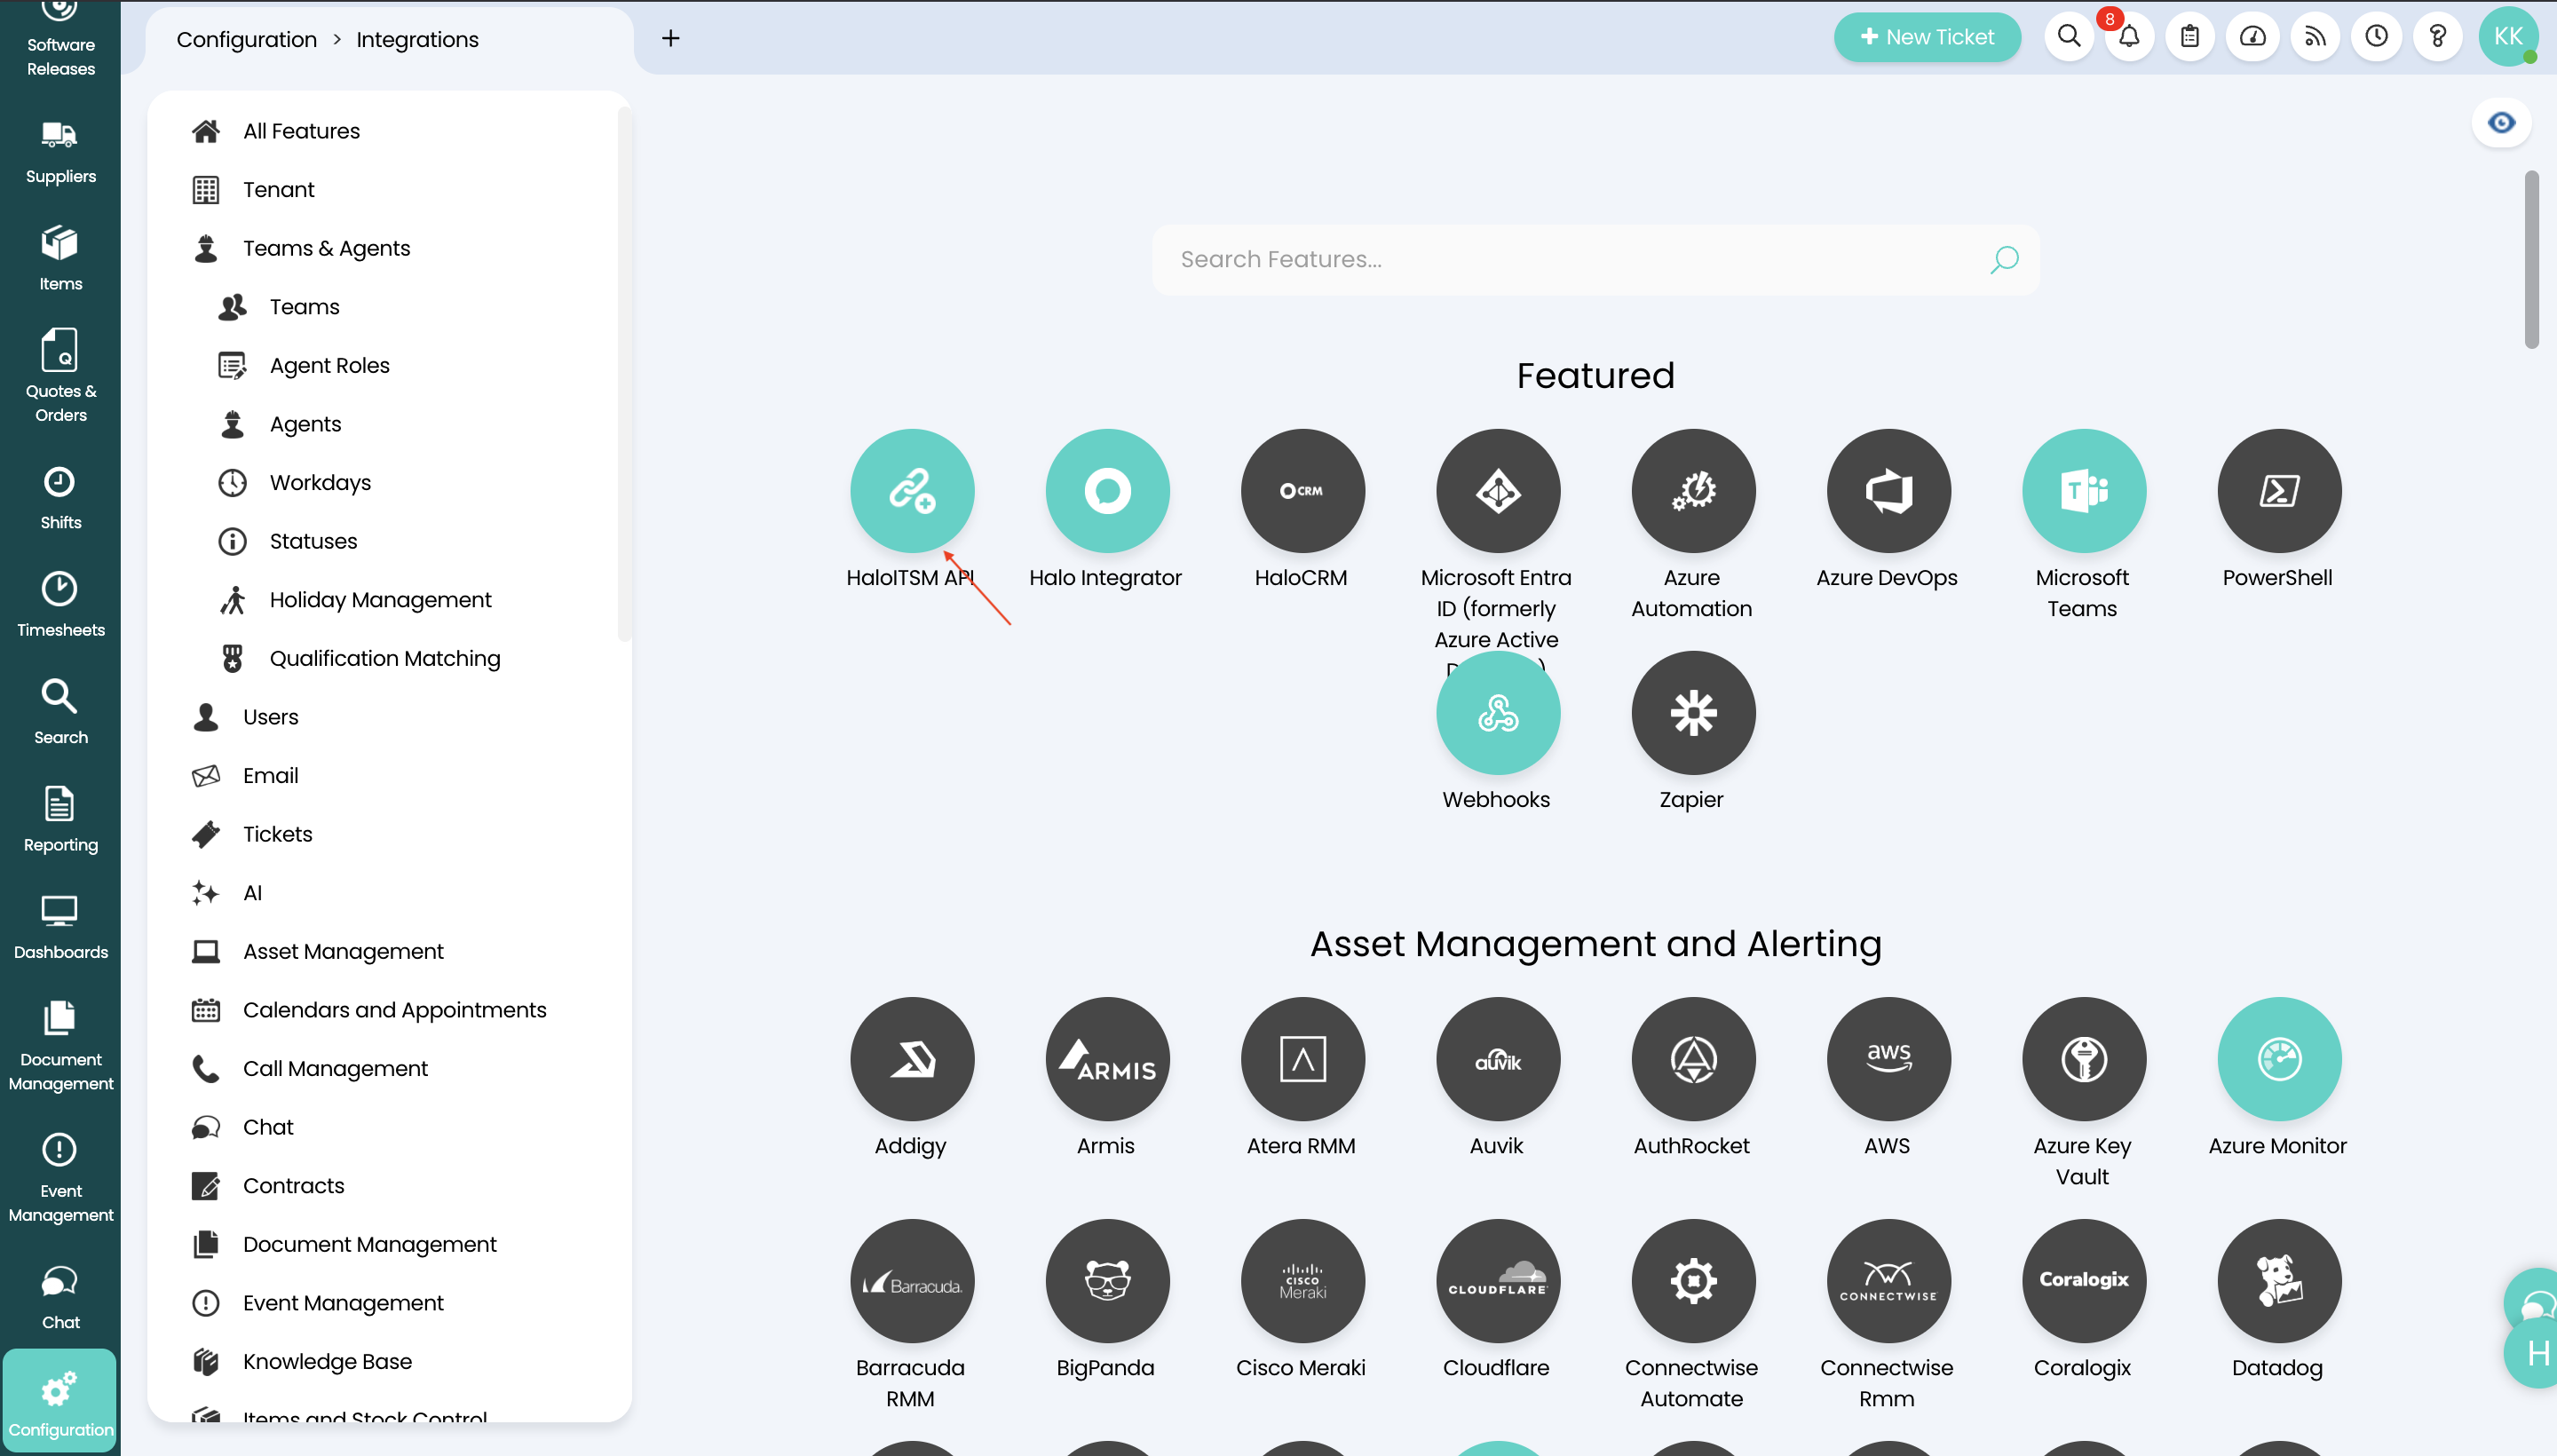 Figure 2. Provide necessary details on Halo App
-
In the Applications section, click the
View Applicationsbutton.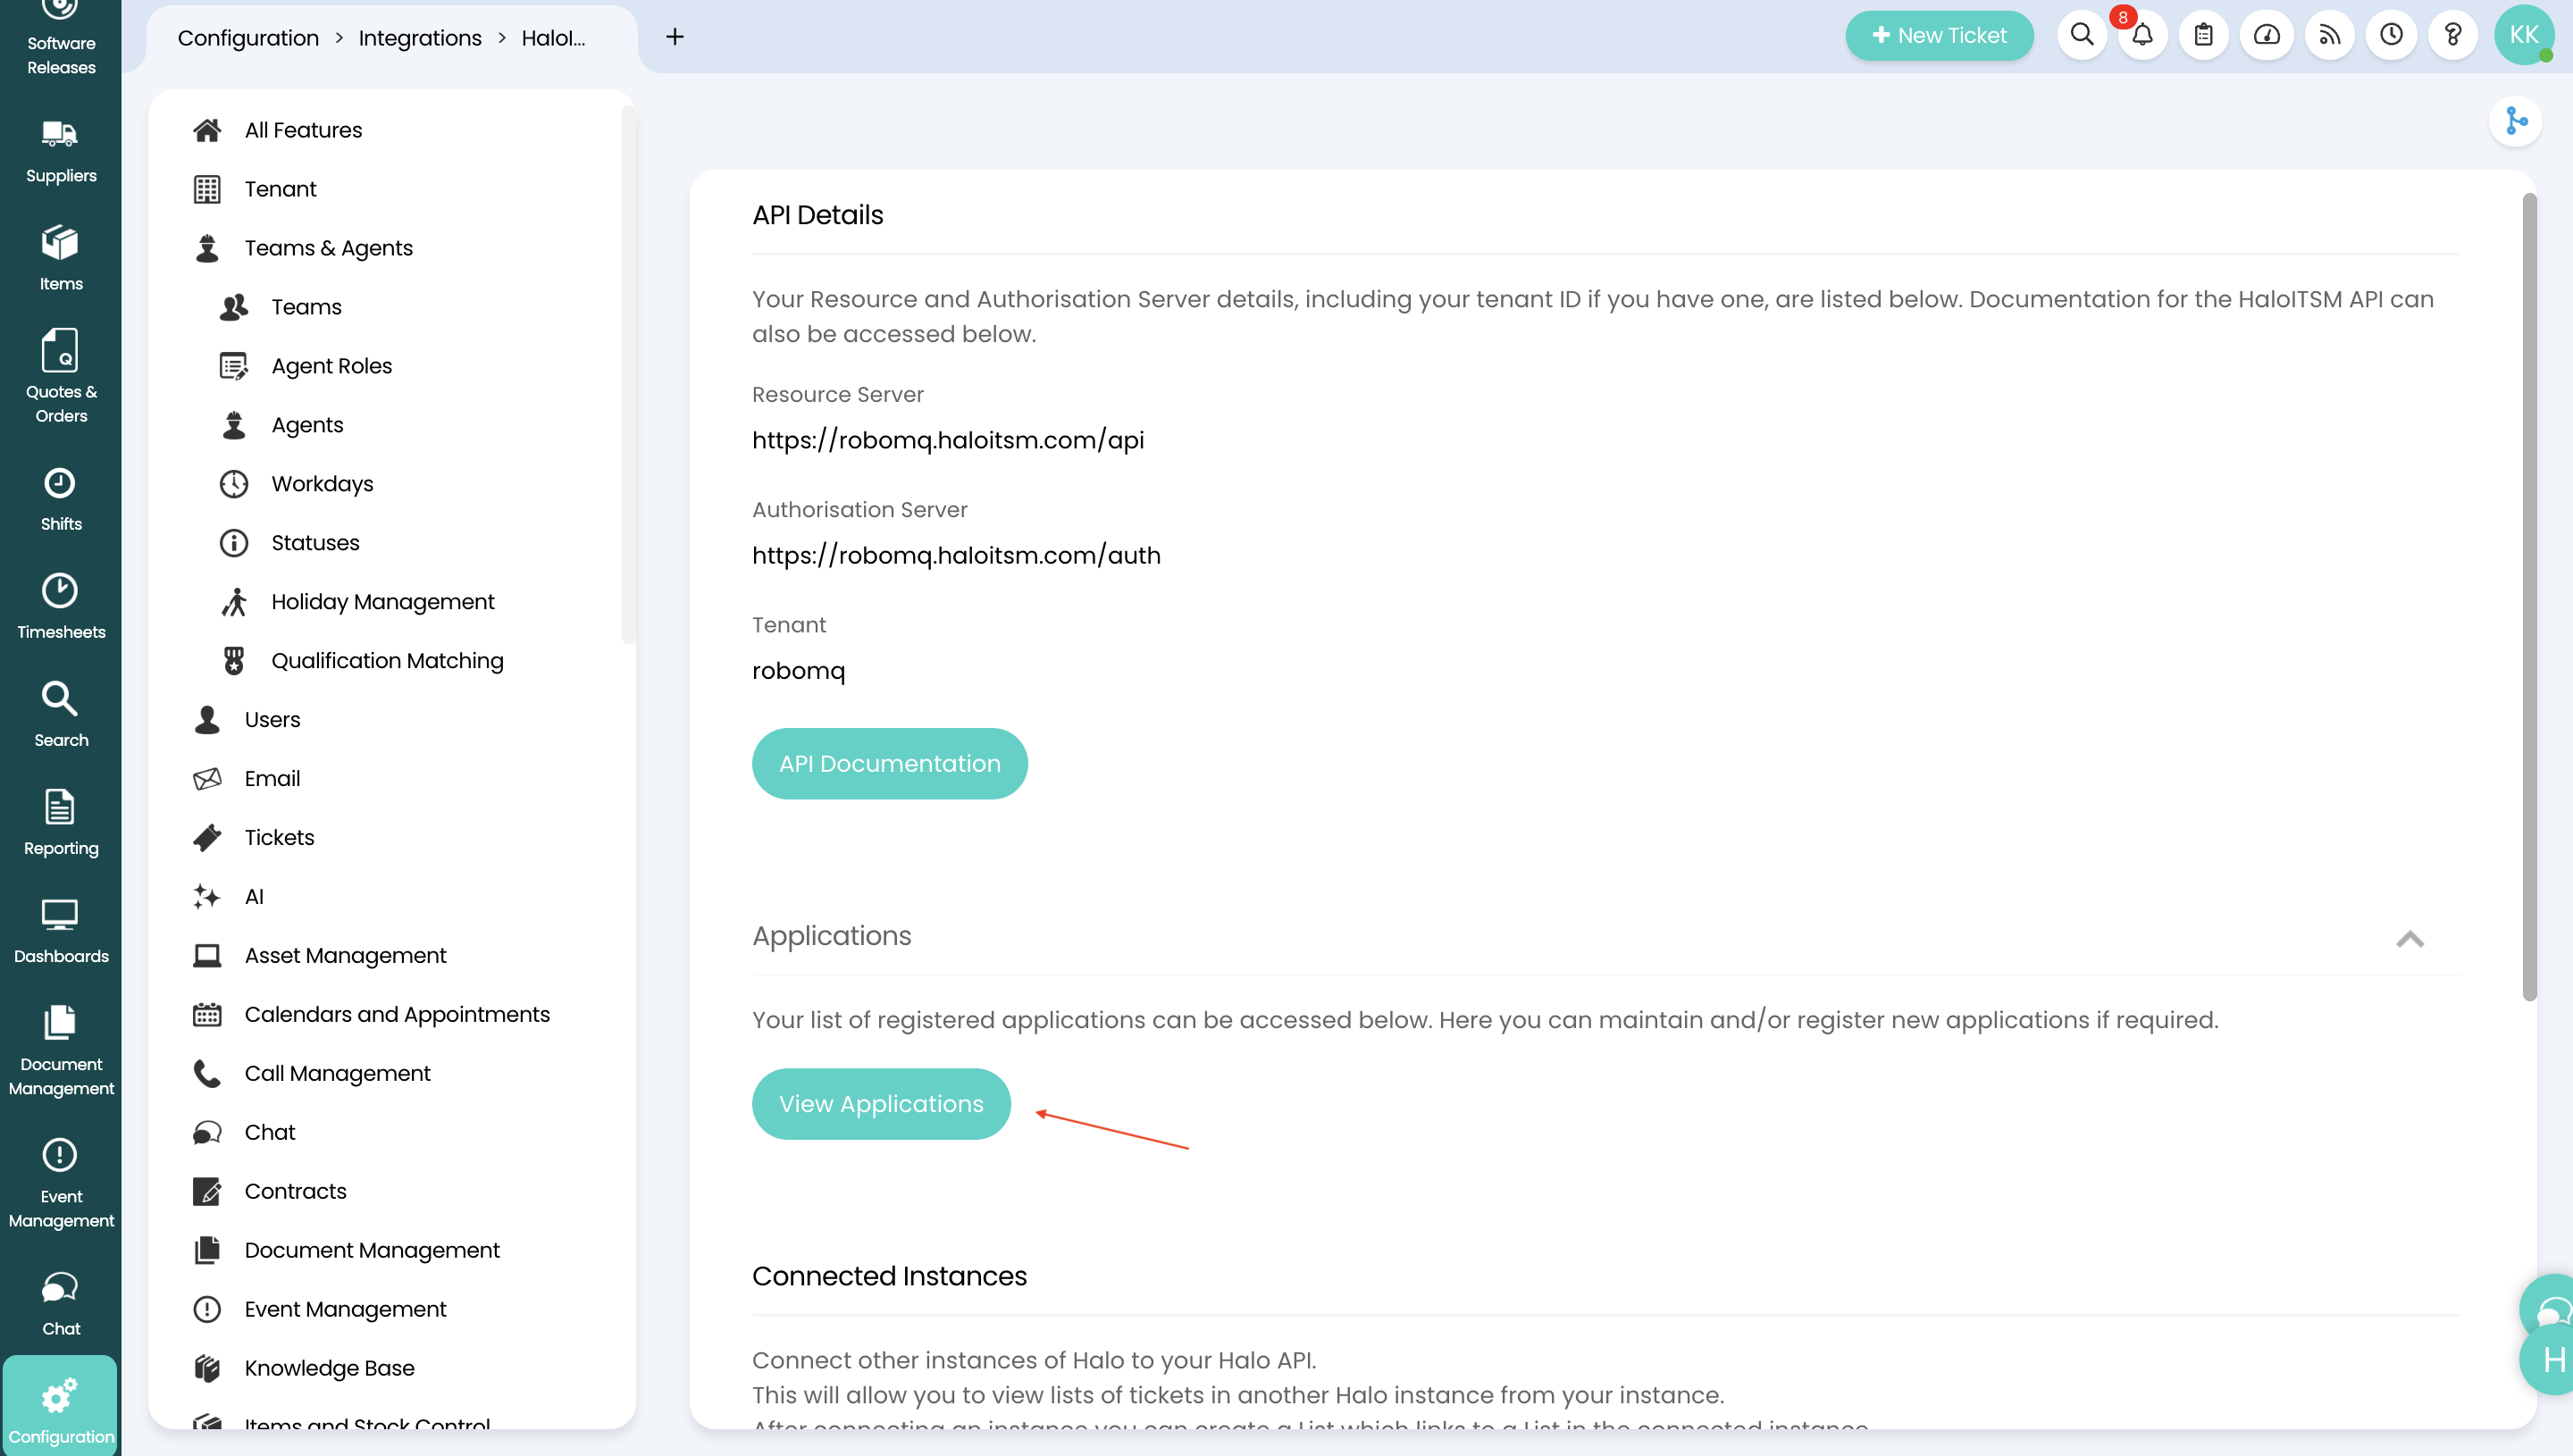 Figure 3. Provide necessary details on Halo App
-
In the top right corner, click on
New.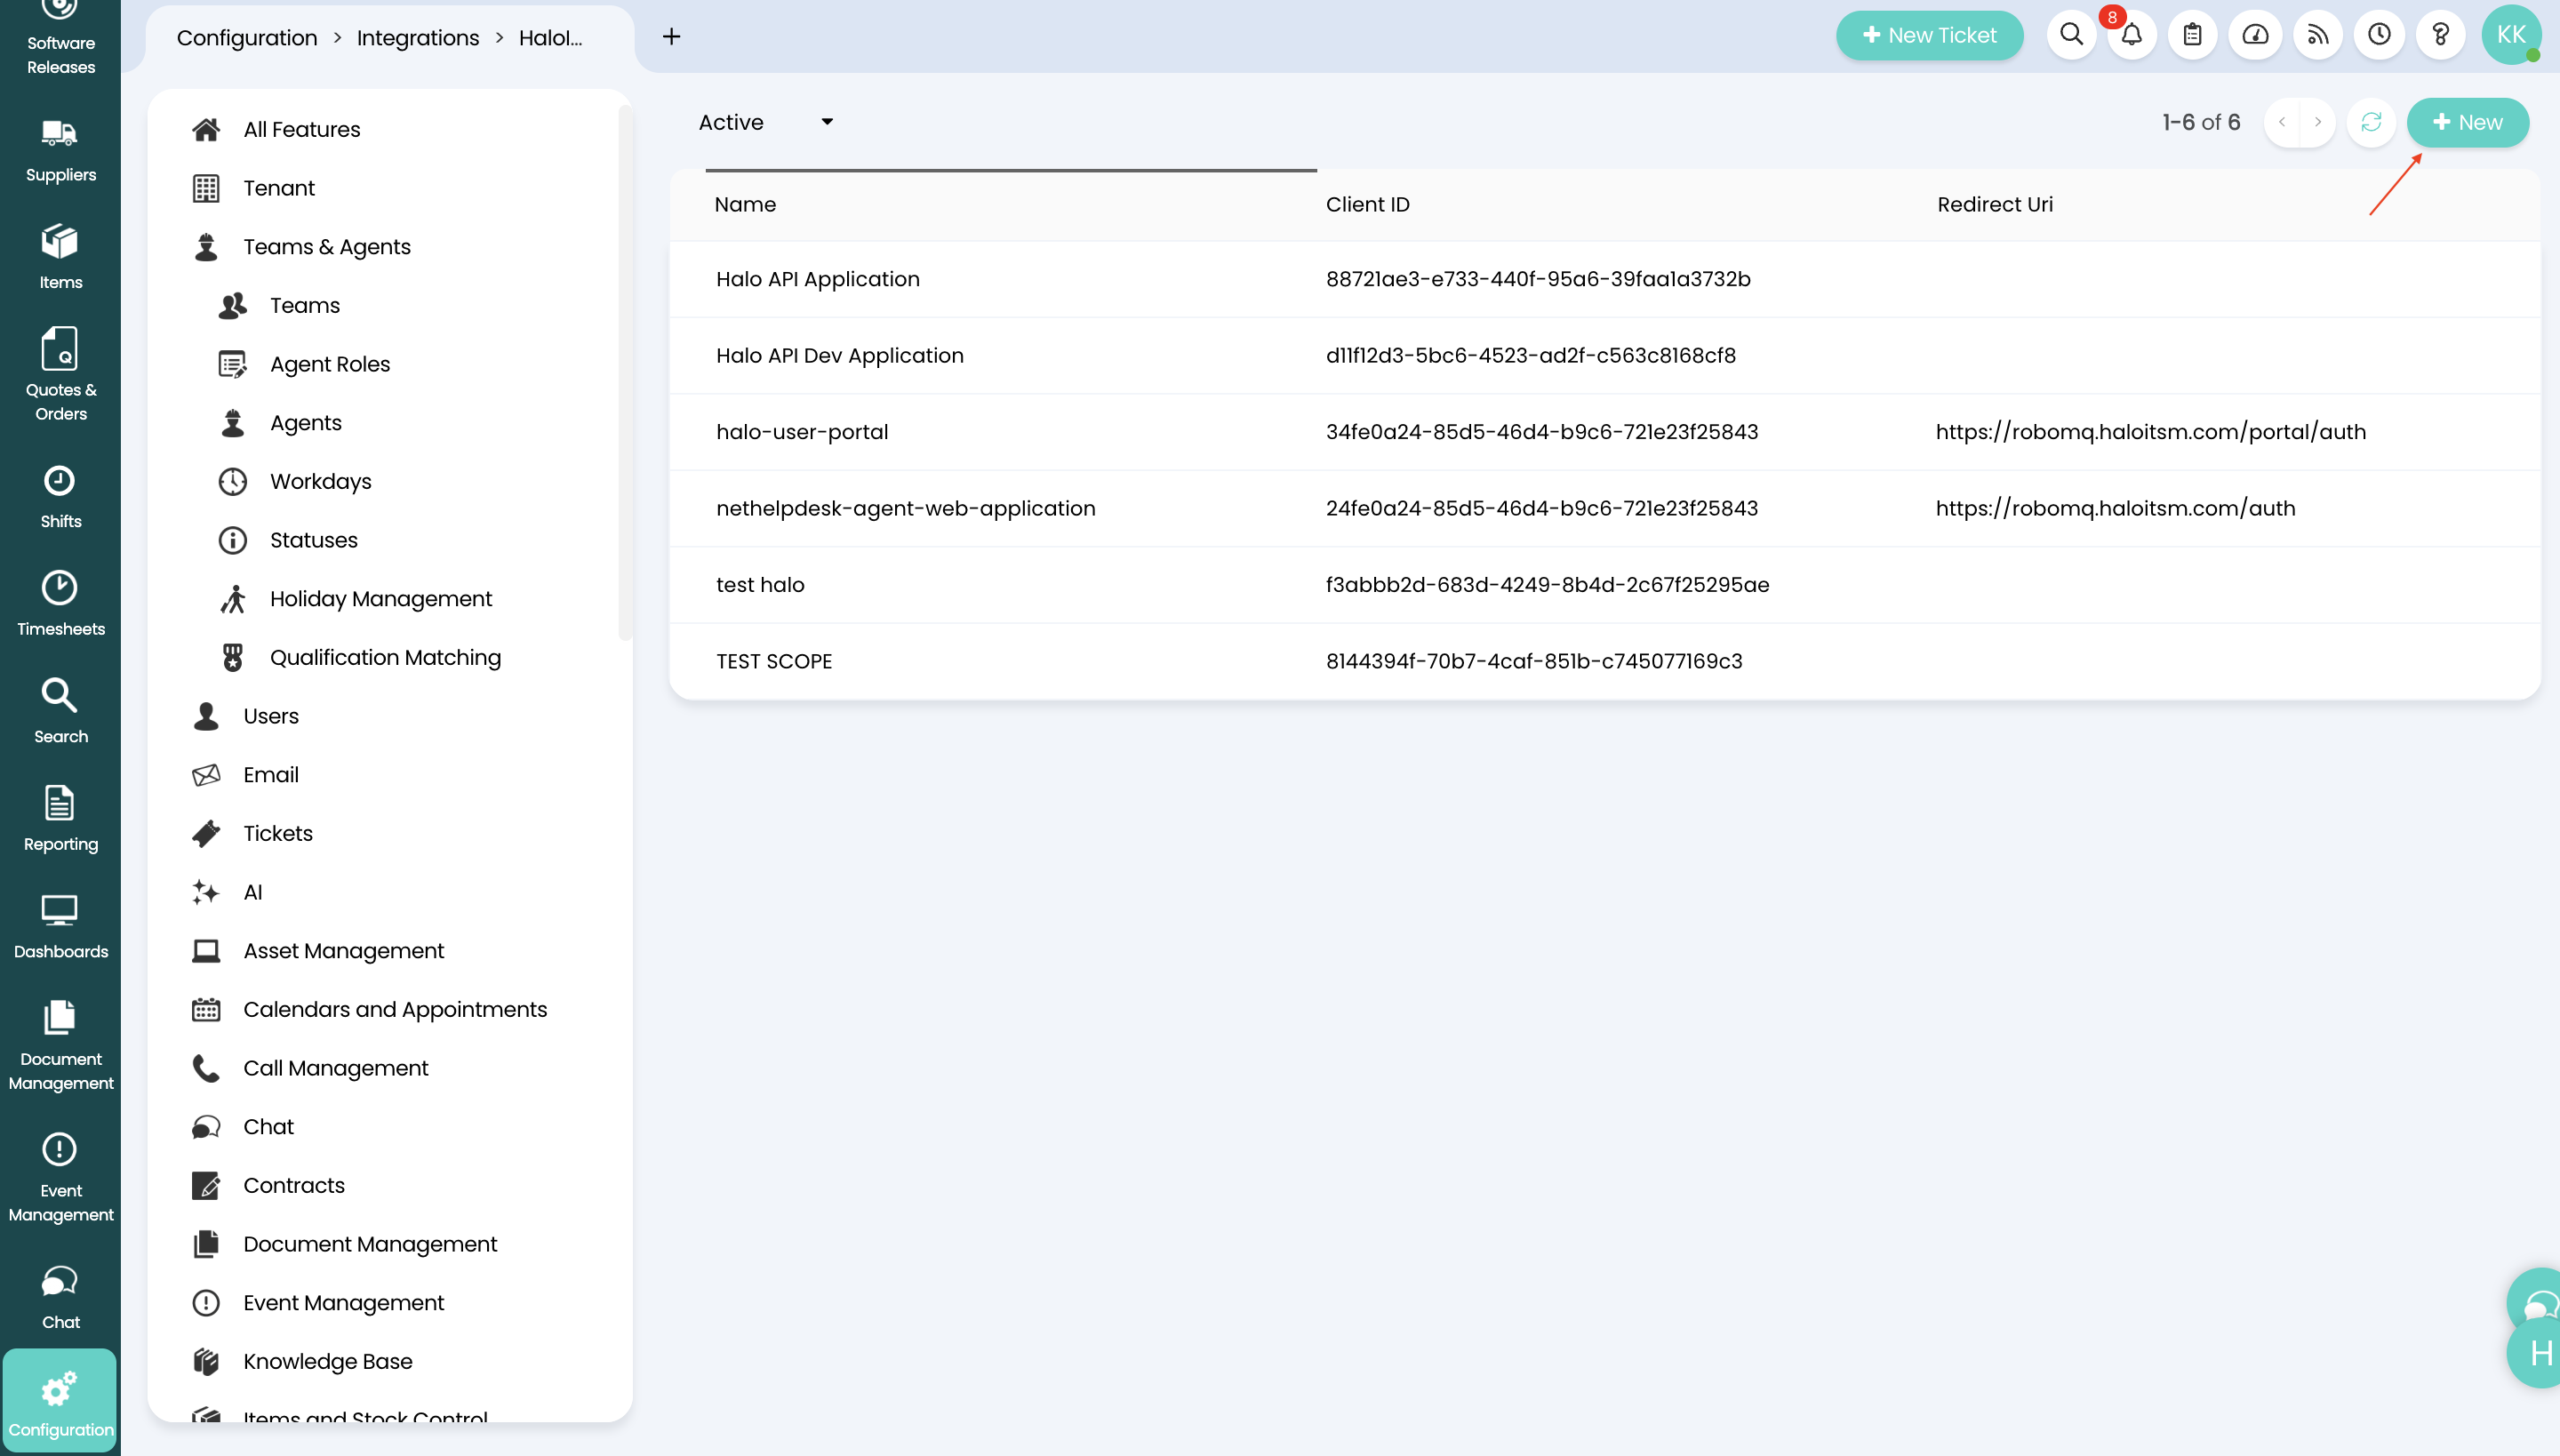 Figure 4. Provide necessary details on Halo App
-
In the Add an Application screen, enter an Application Name, e.g. Lifecycle Manager
-
Select
Client ID and Secret(Services) as the Authentication Method.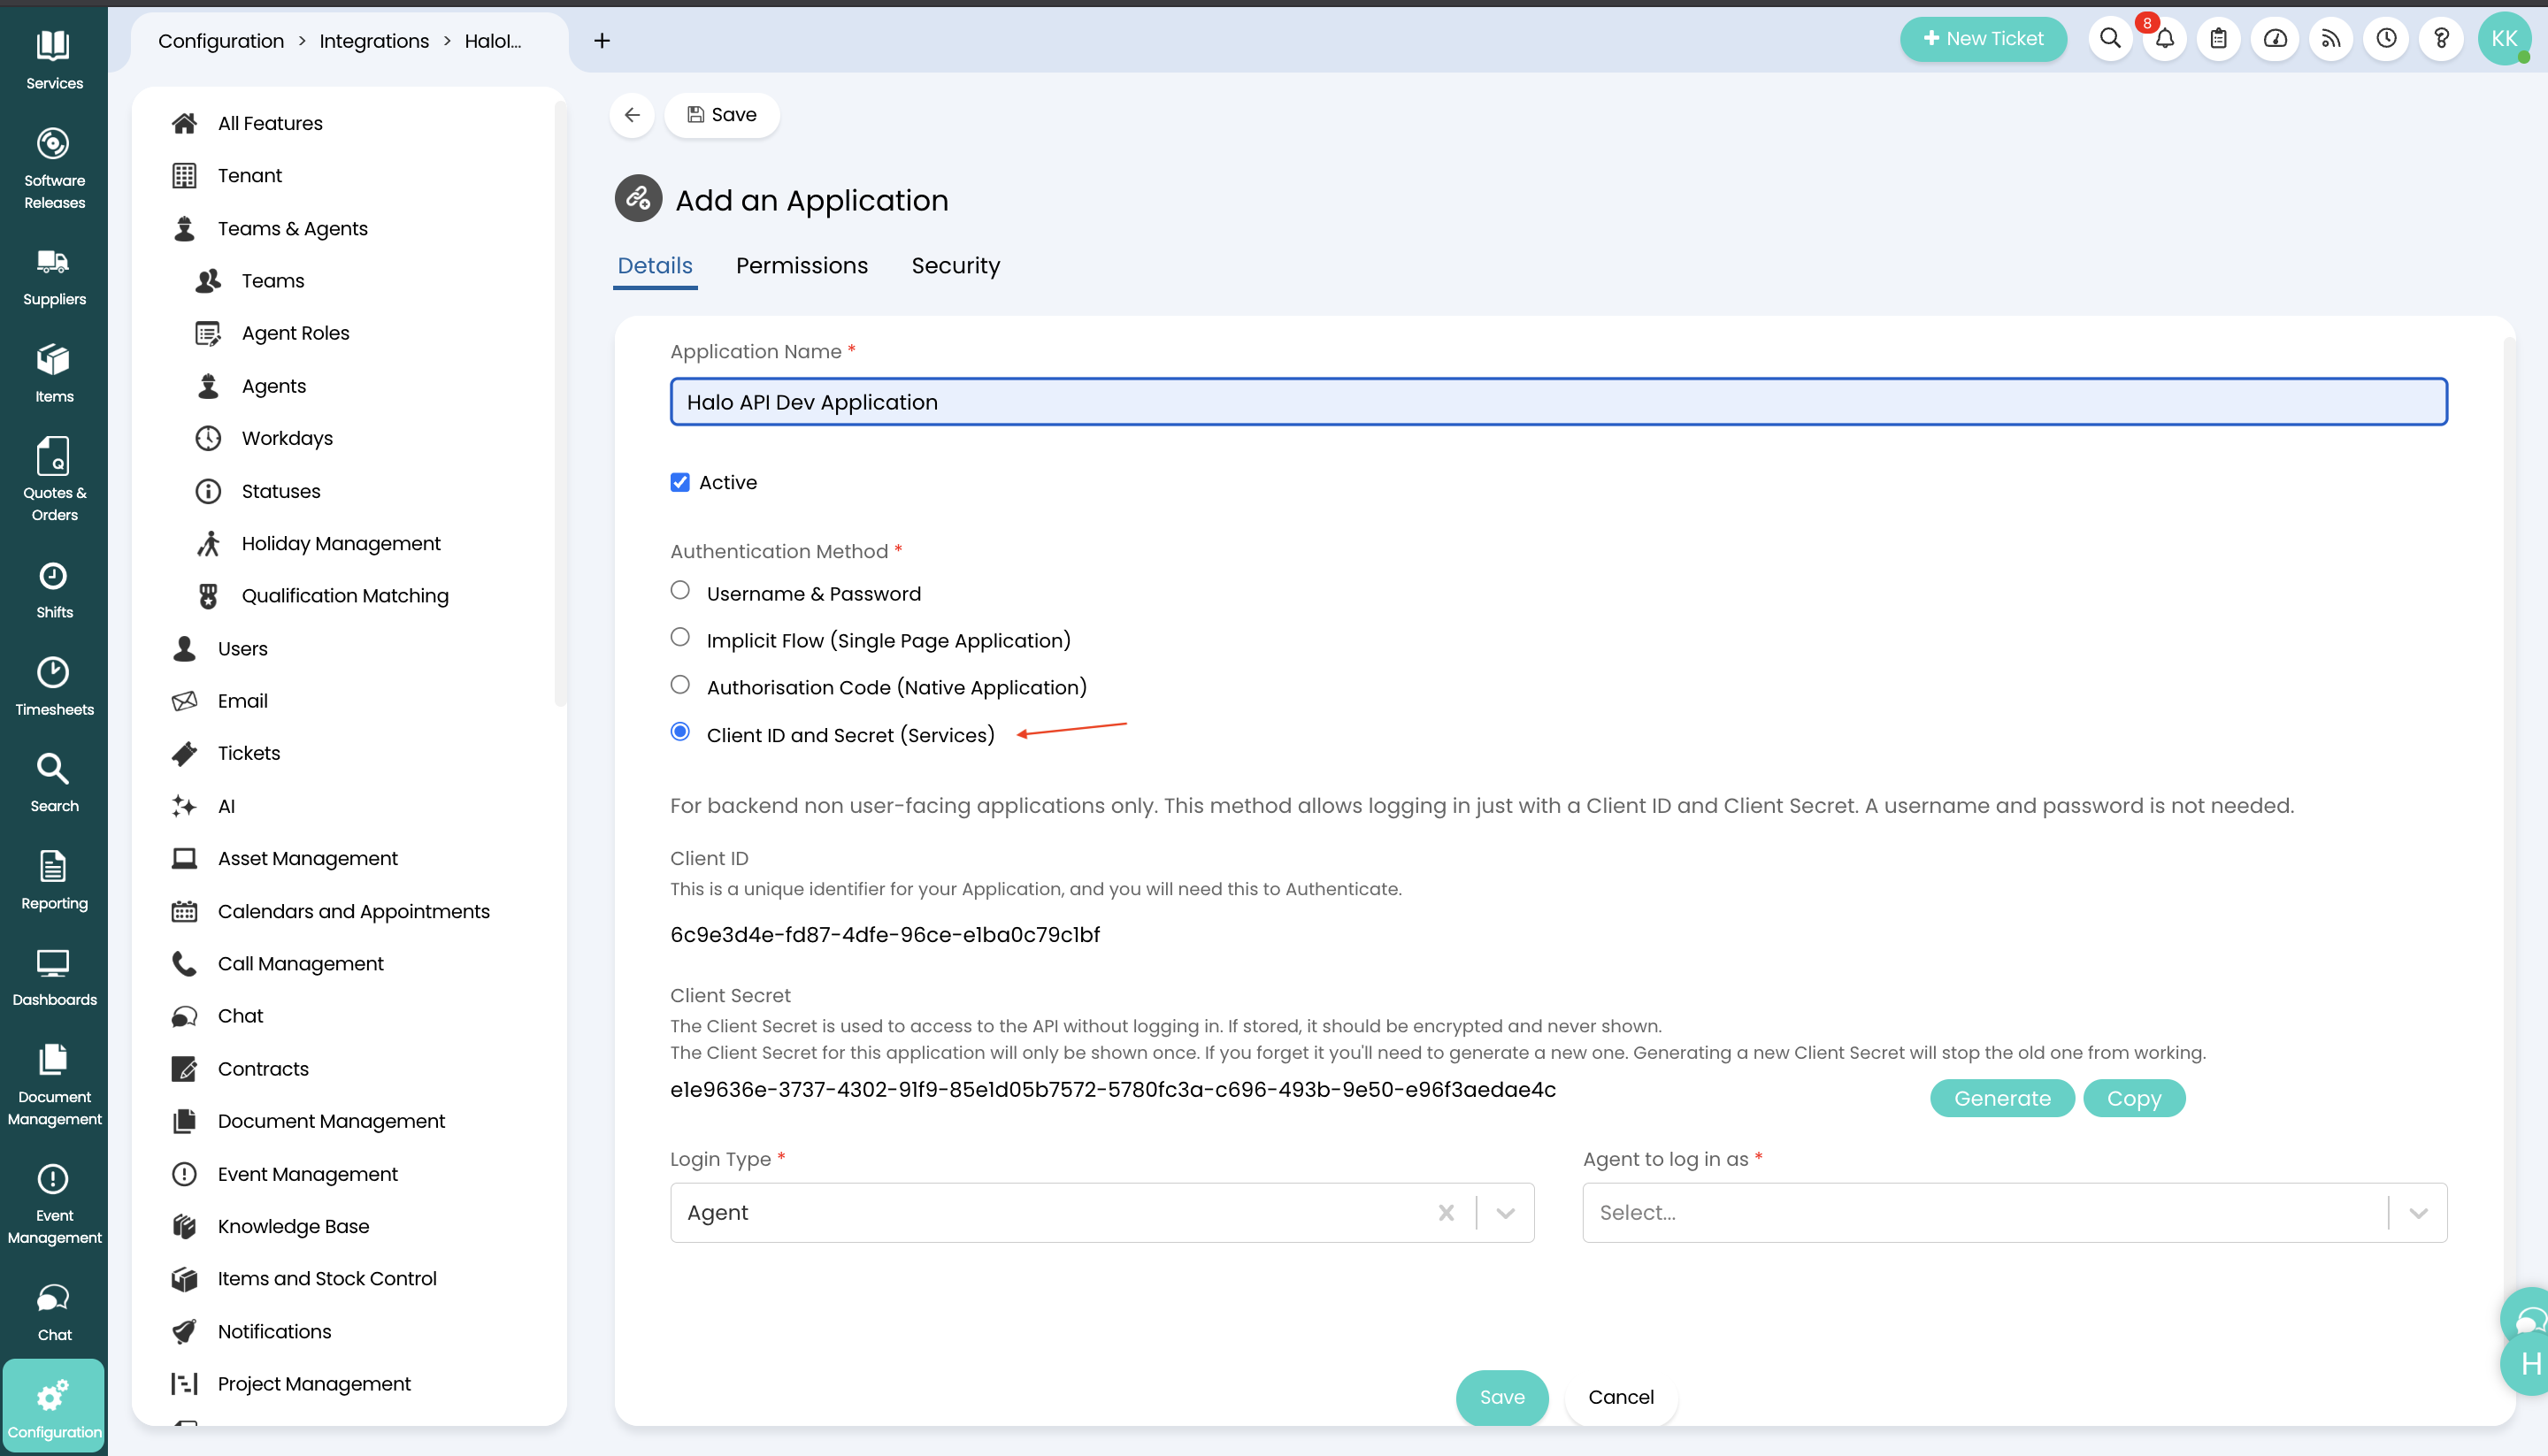 Figure 5. Provide necessary details on Halo App
-
Under your newly created application, take note of the
Client IDand theClient Secret. -
Copy the
Client ID -
Copy the
Client Secret -
Select
AgentasLogin Type. -
Once this configuration is complete, you need to assign roles and permissions to the agent.
Step 2. Assign User and Role Permissions
How to Select user and role permission?
-
Click the
Configurationbutton.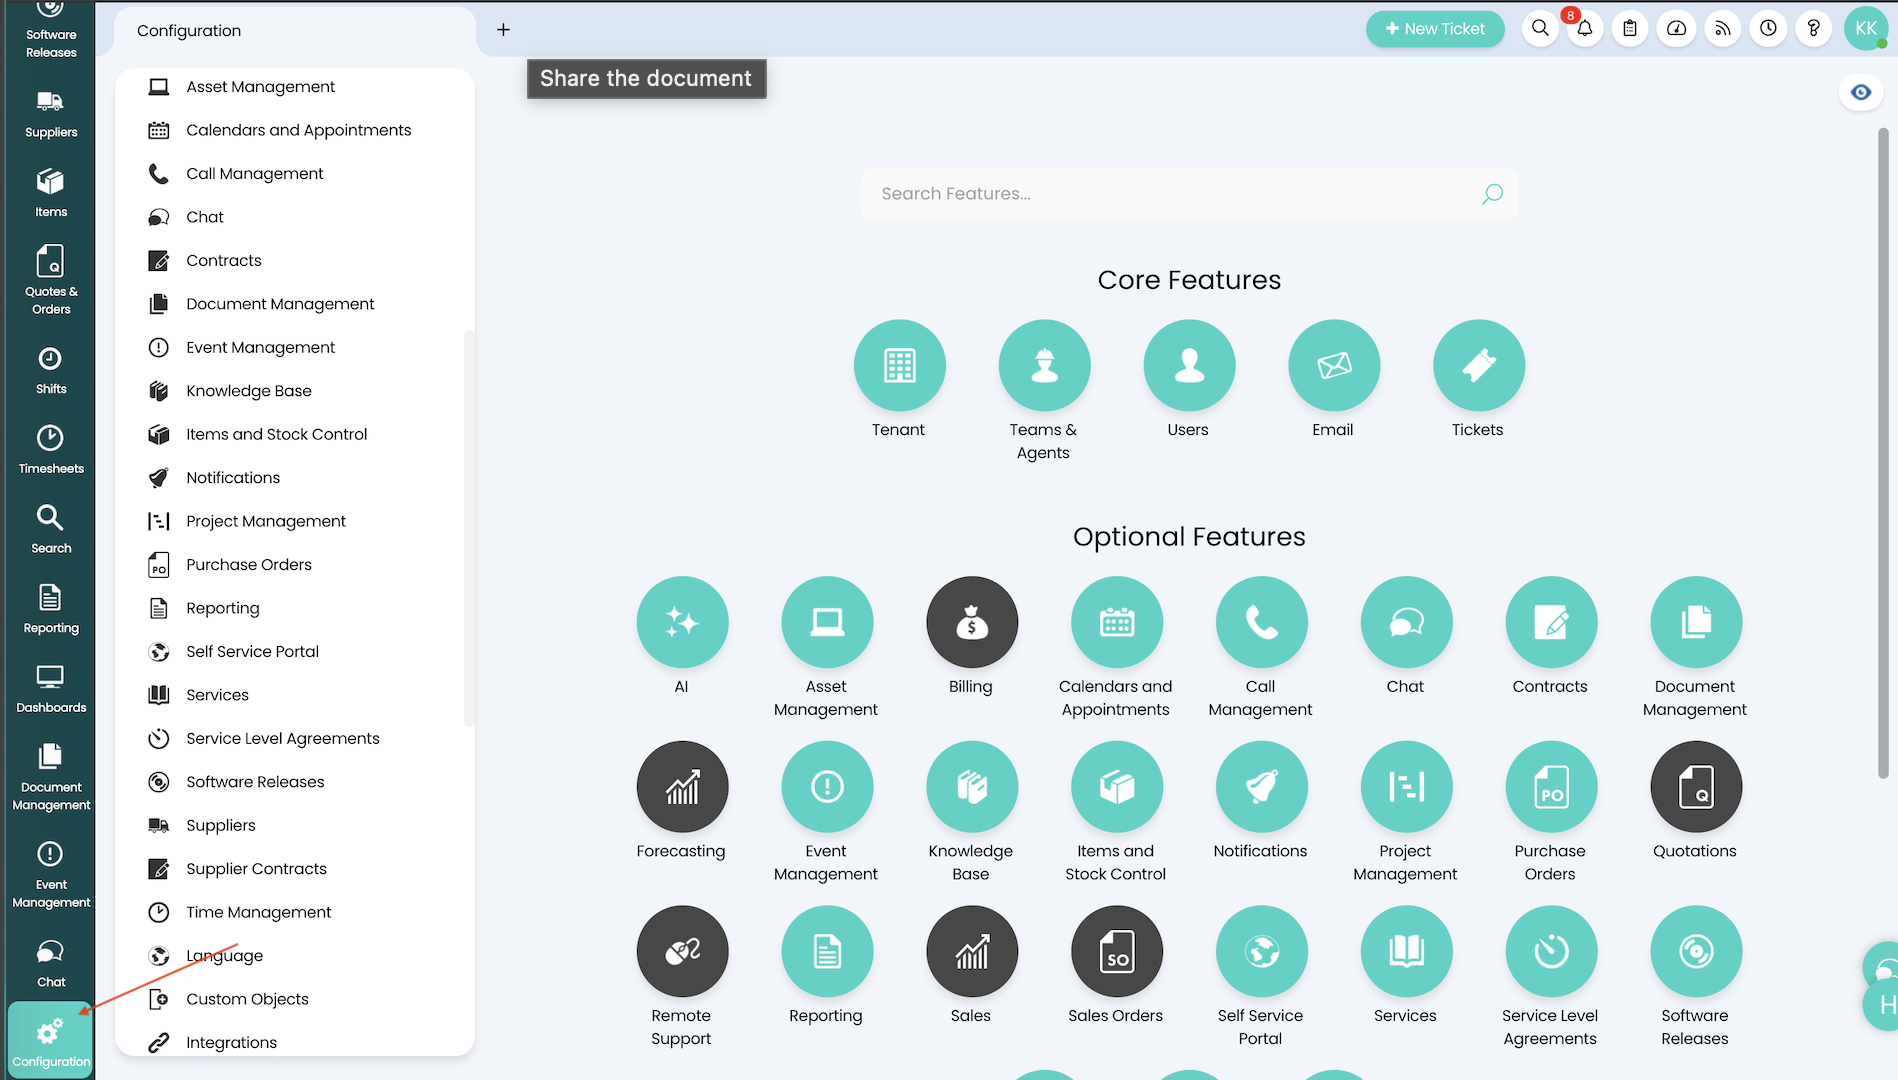 Figure 6. Apps and Integration on Halo
-
Click
Teams & Agentson the left navigation bar..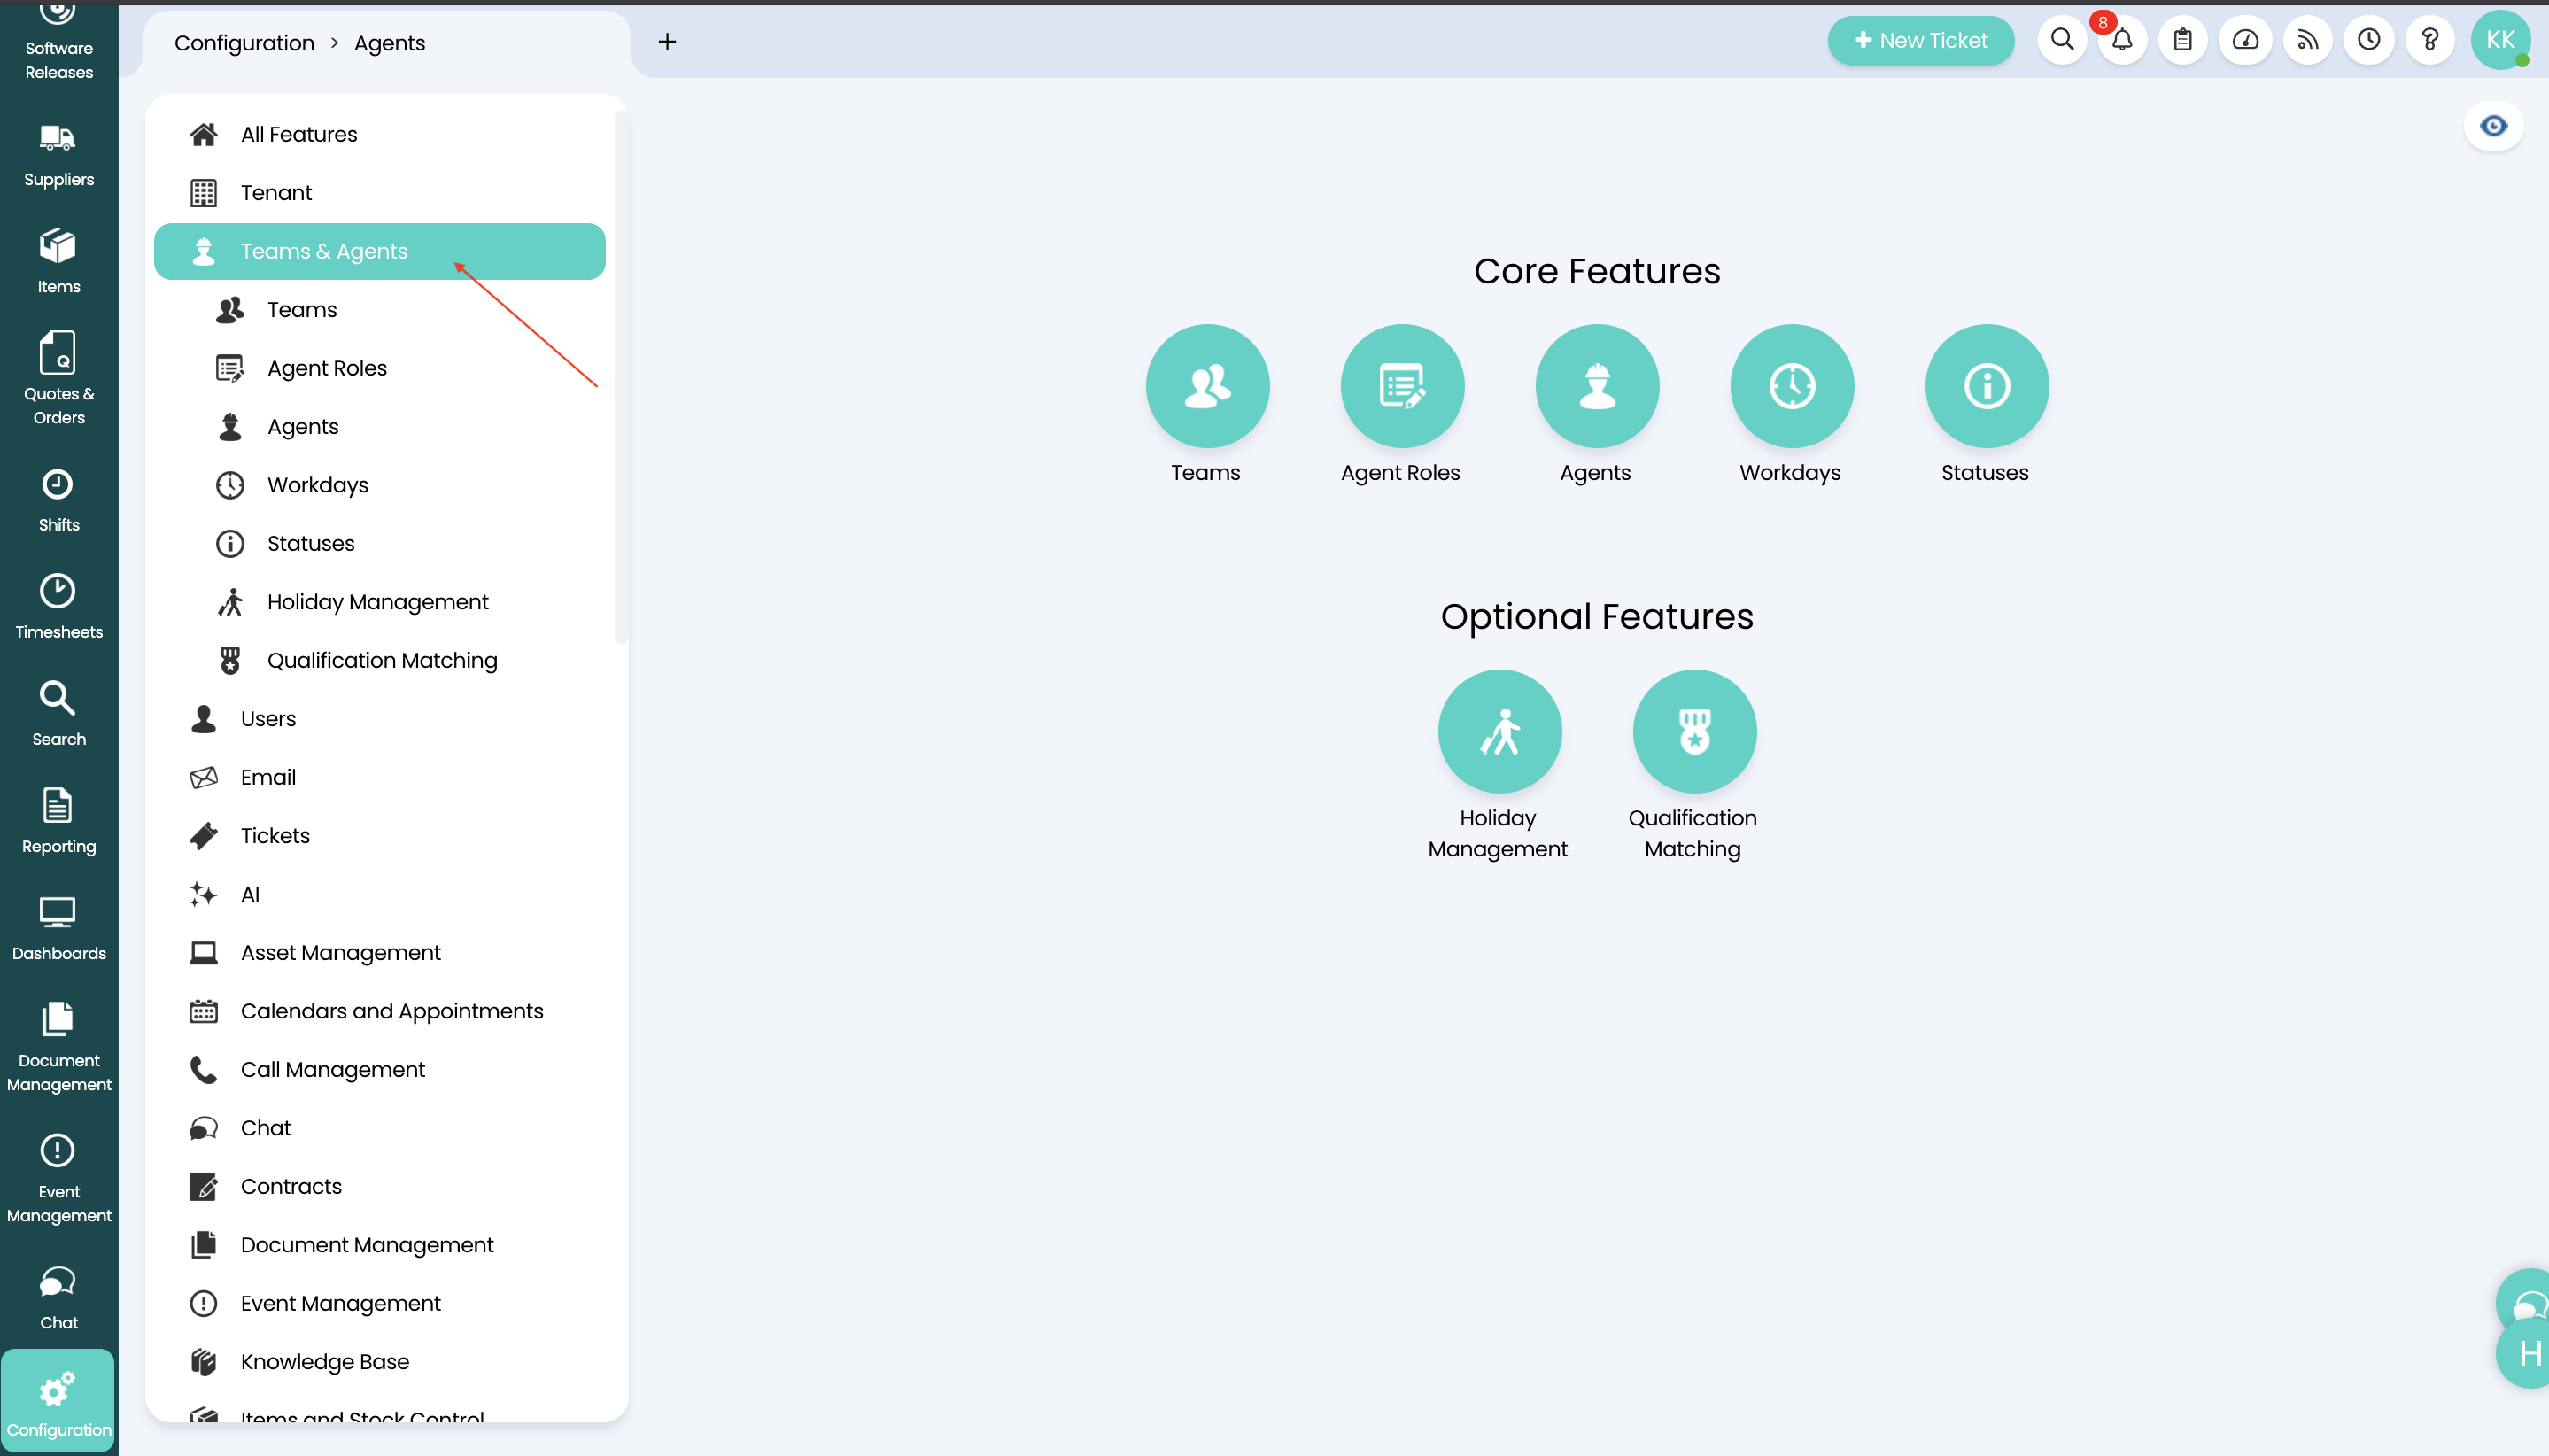 Figure 7. Add role on Halo
-
Under the Teams & Agents button click
Agent Rolesand after that selectIT AgentRole .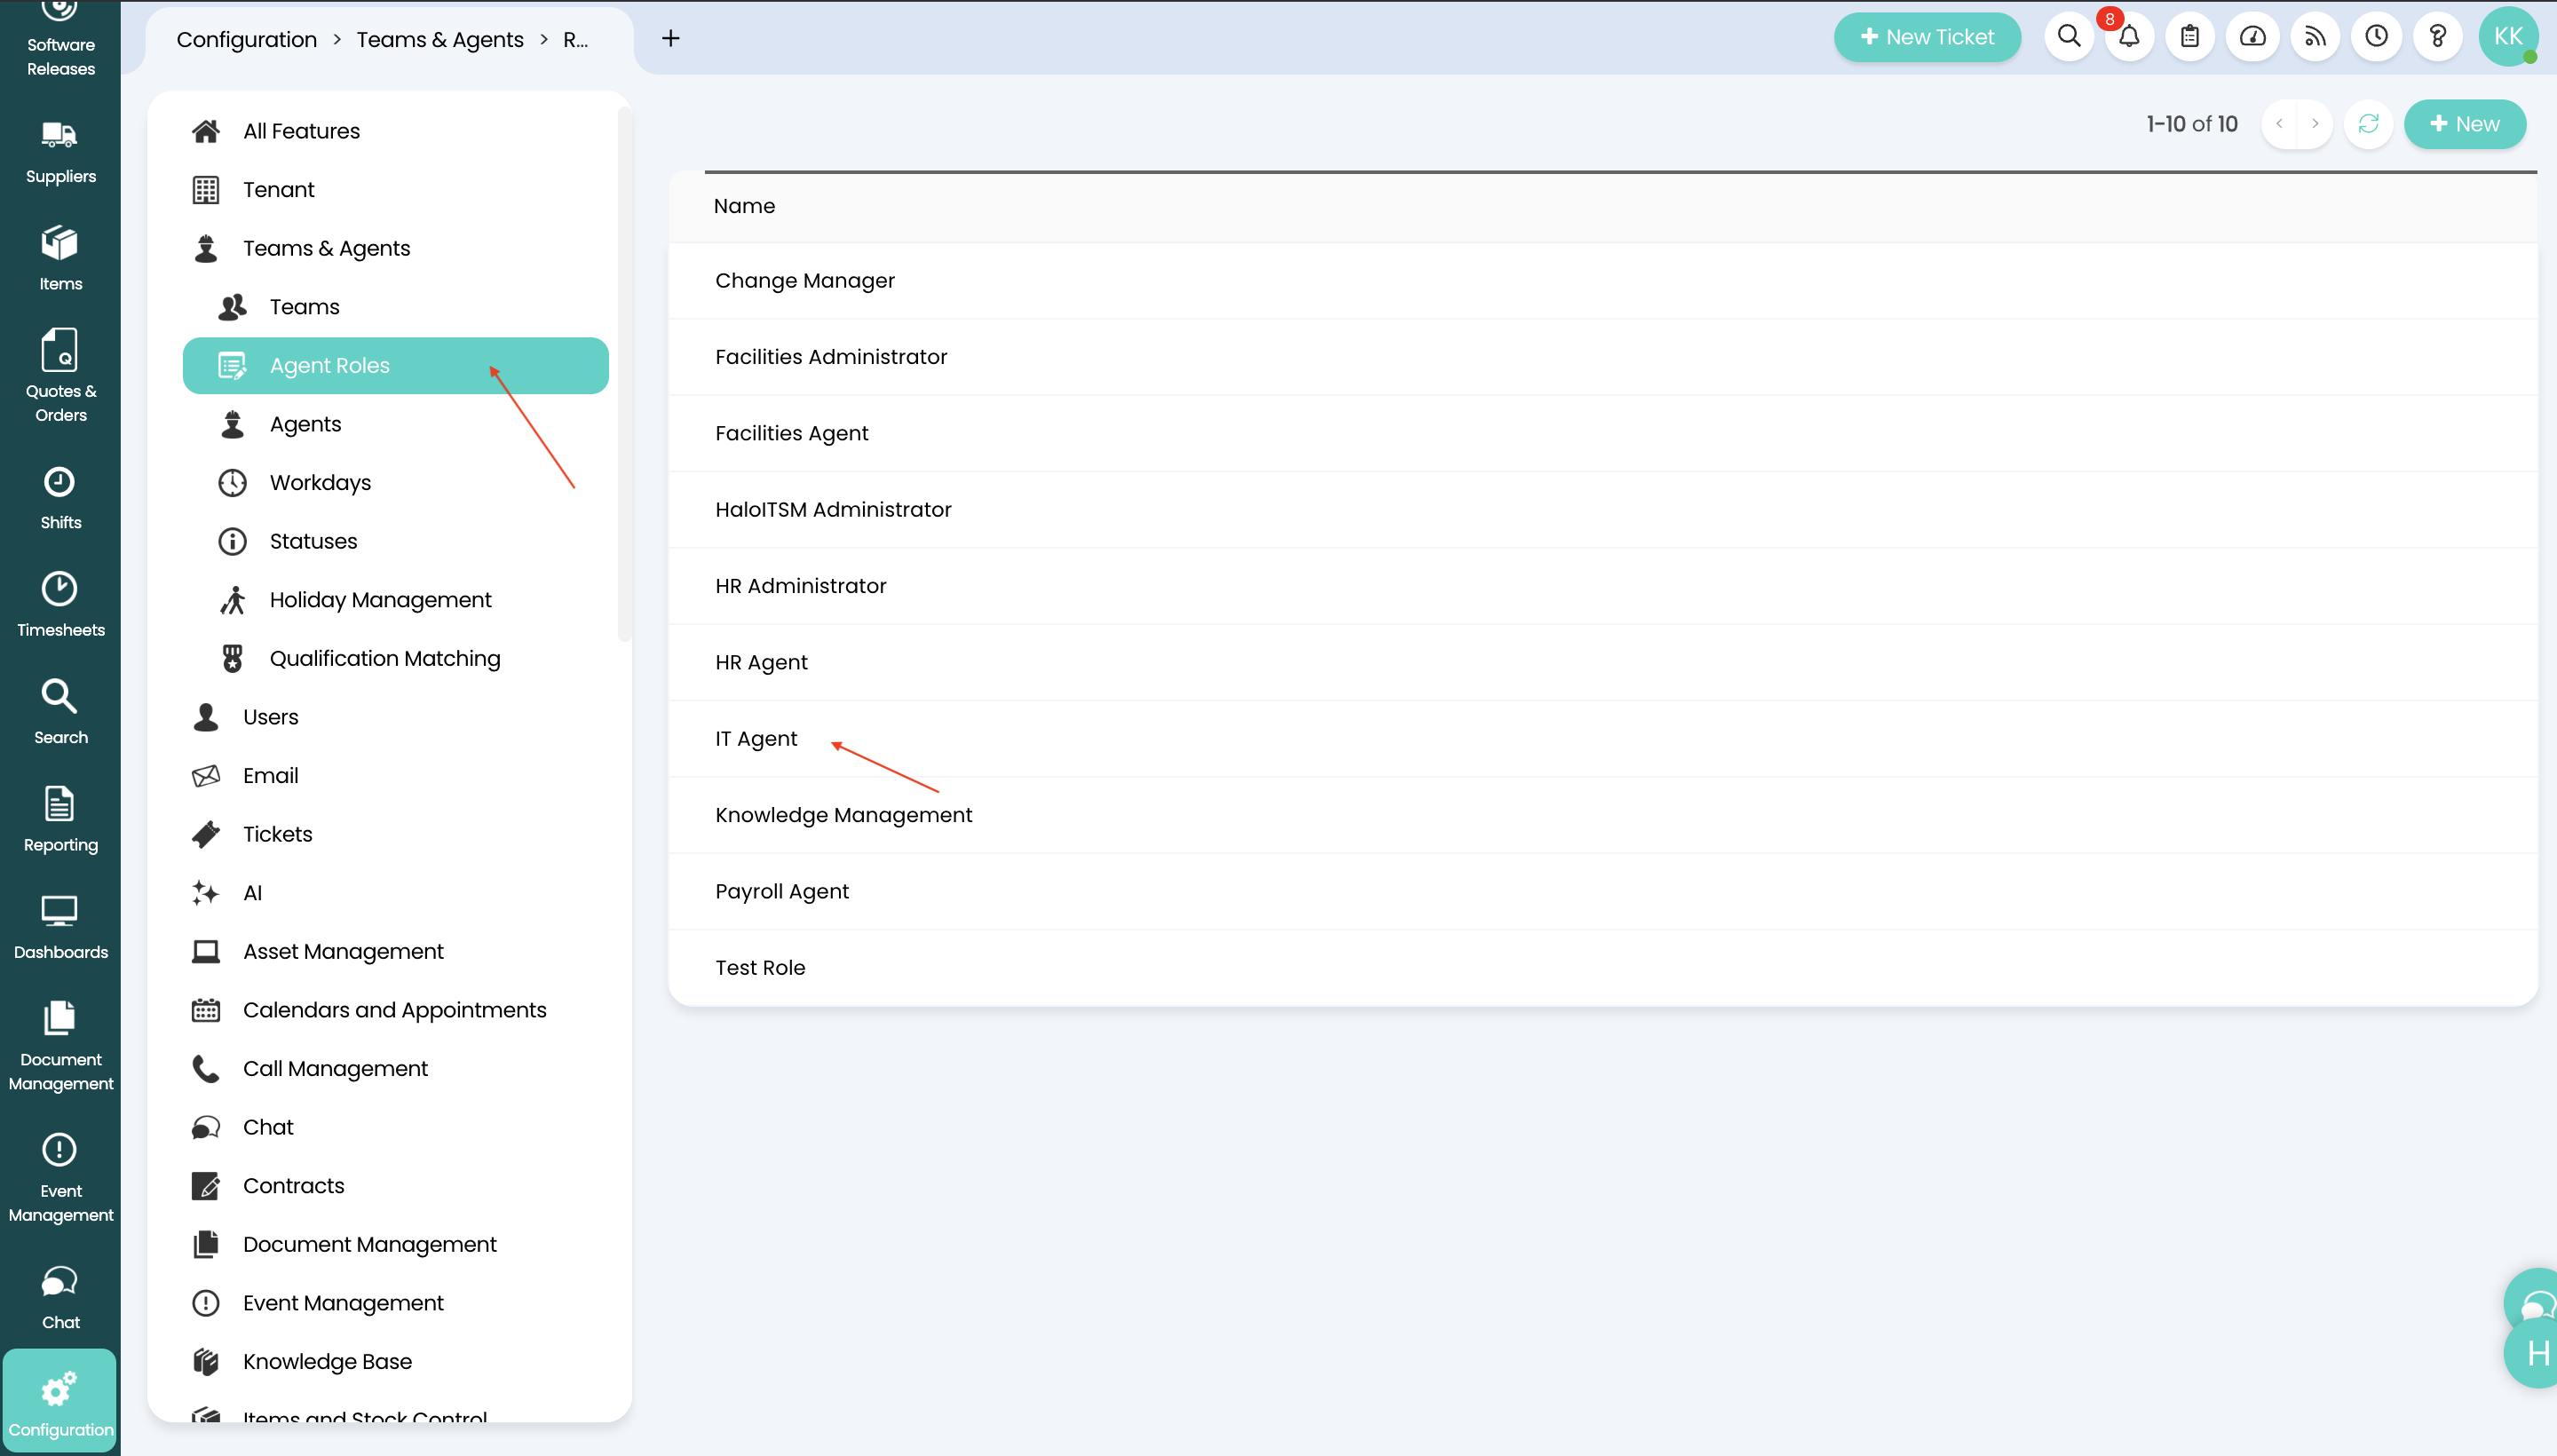 Figure 8. Provide necessary details on Halo App
-
Then click the Save button.
Step 3 Enable API Permissions
How to add API permissions?
-
Switch to the
Permissionstab and enable the required permissions.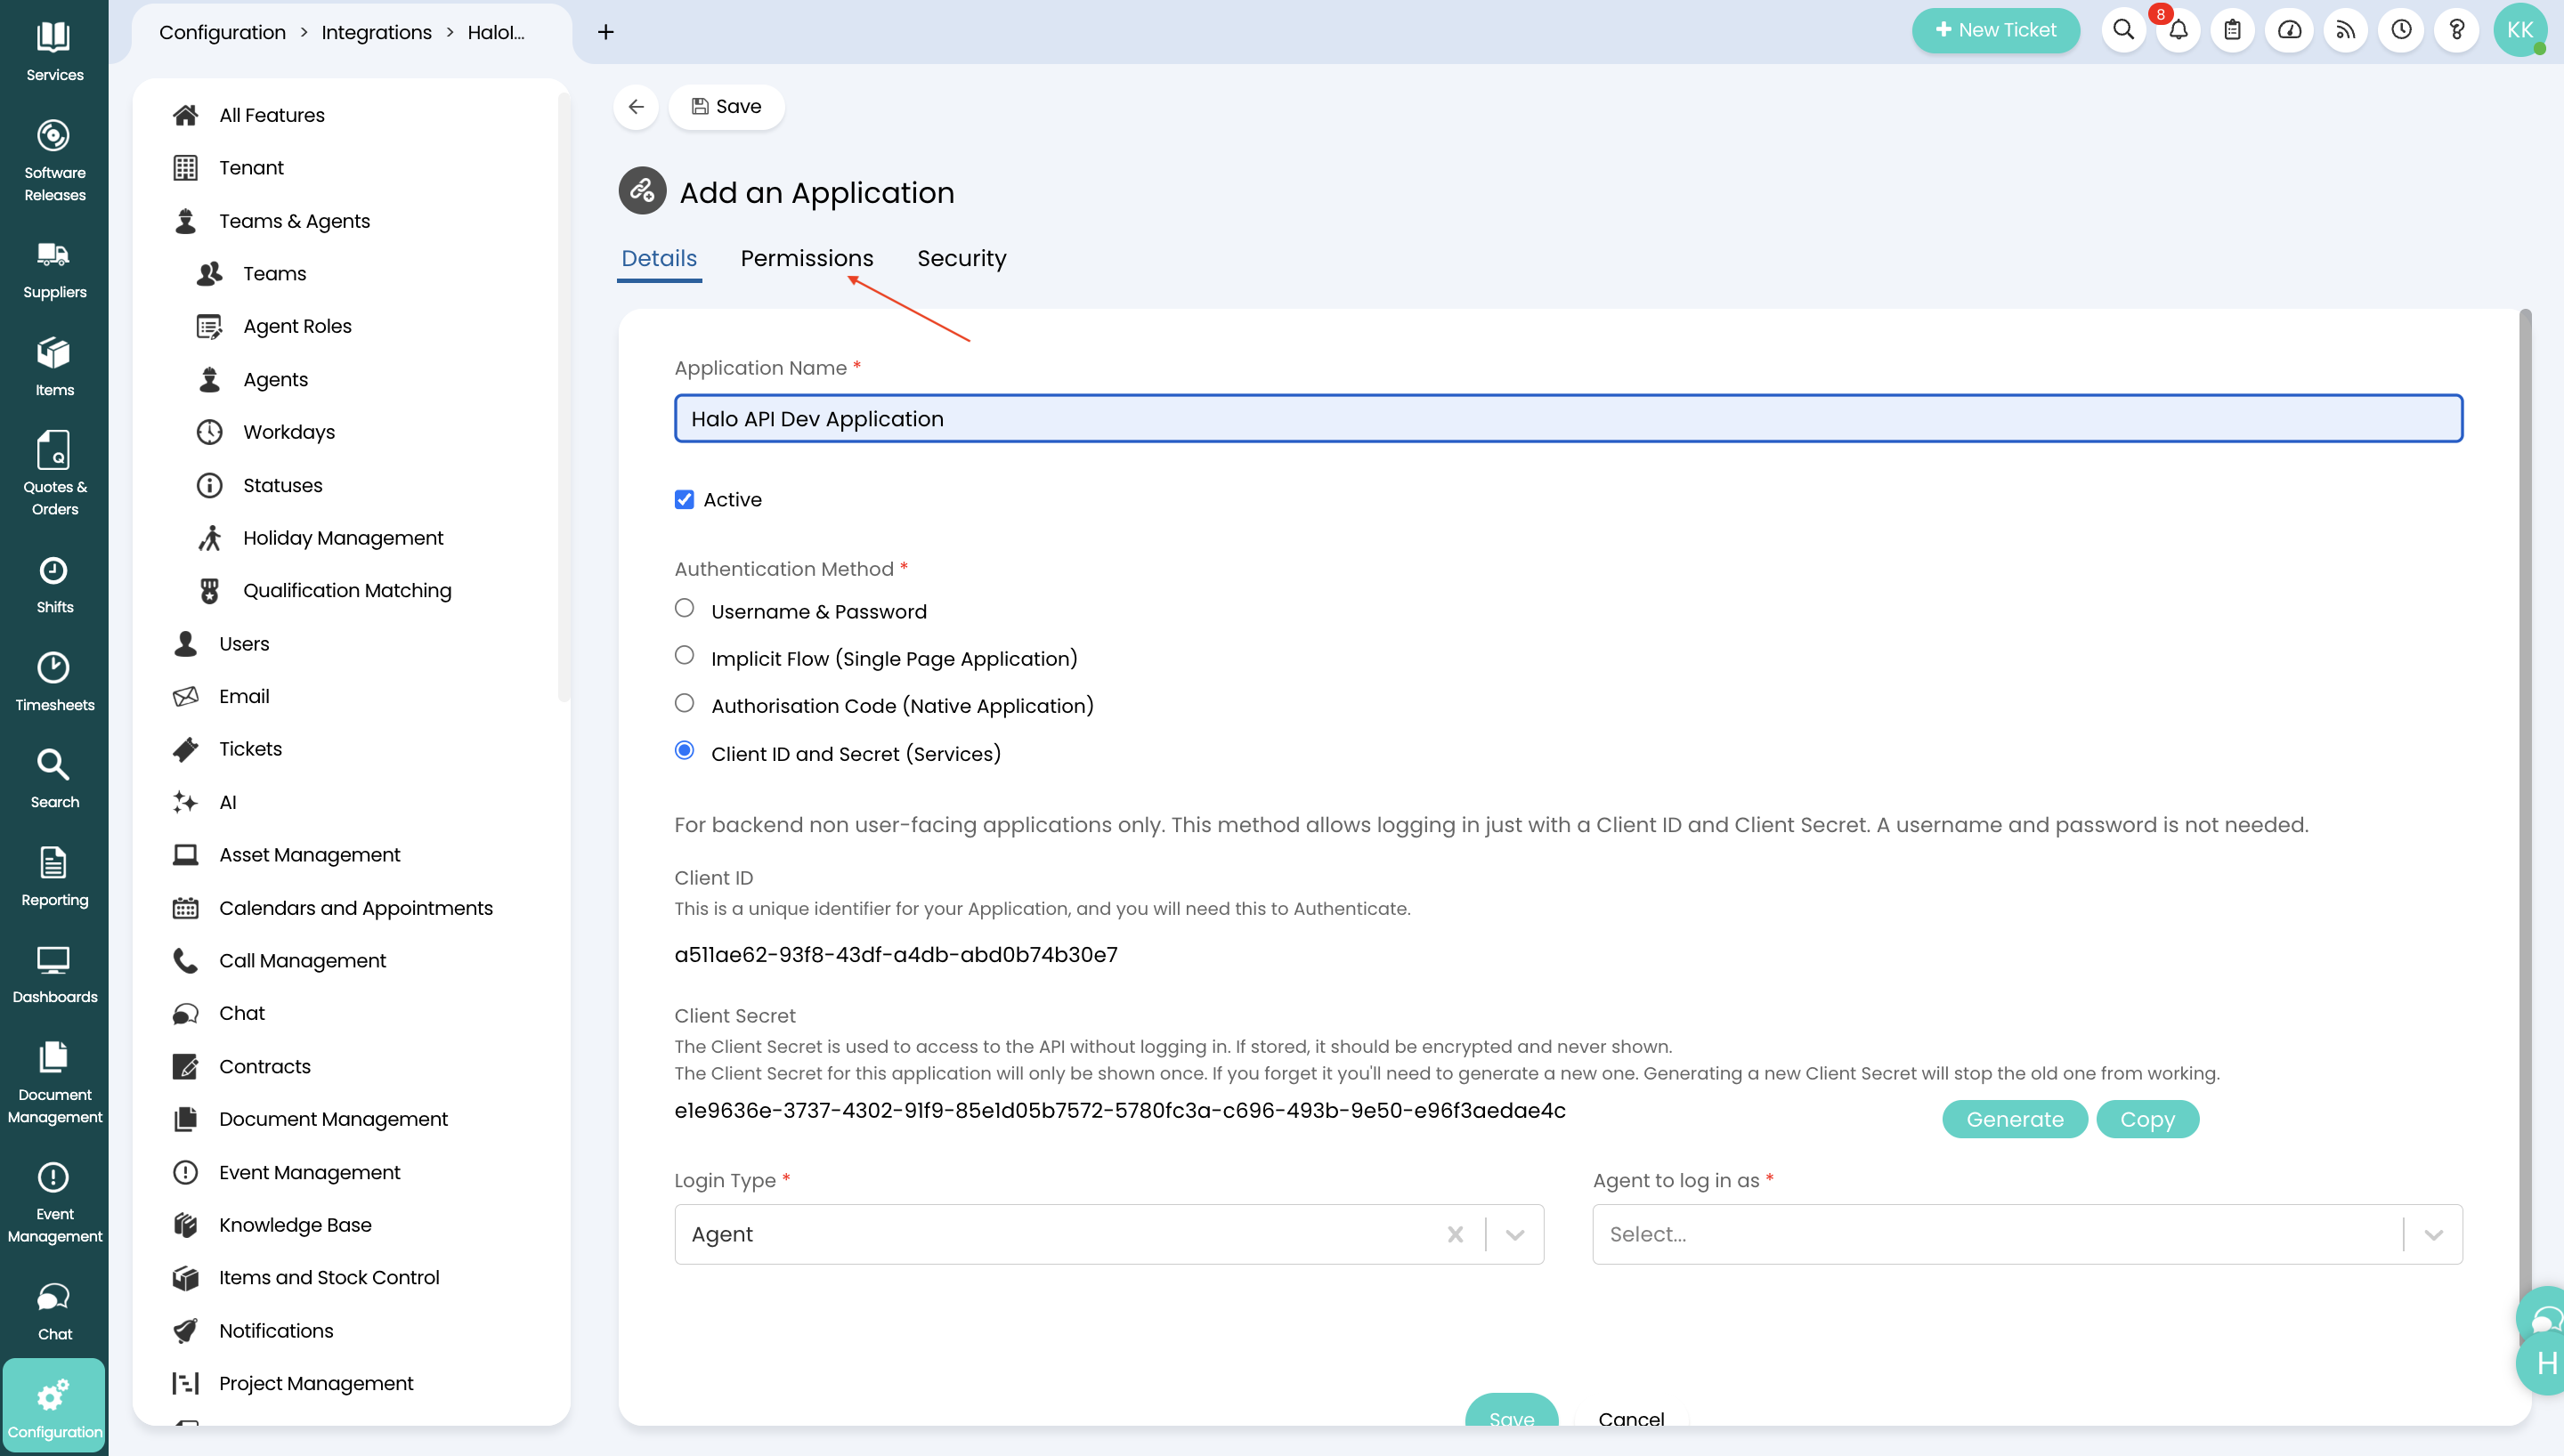 Figure 9. Halo permission for API
-
Click the Edit button.
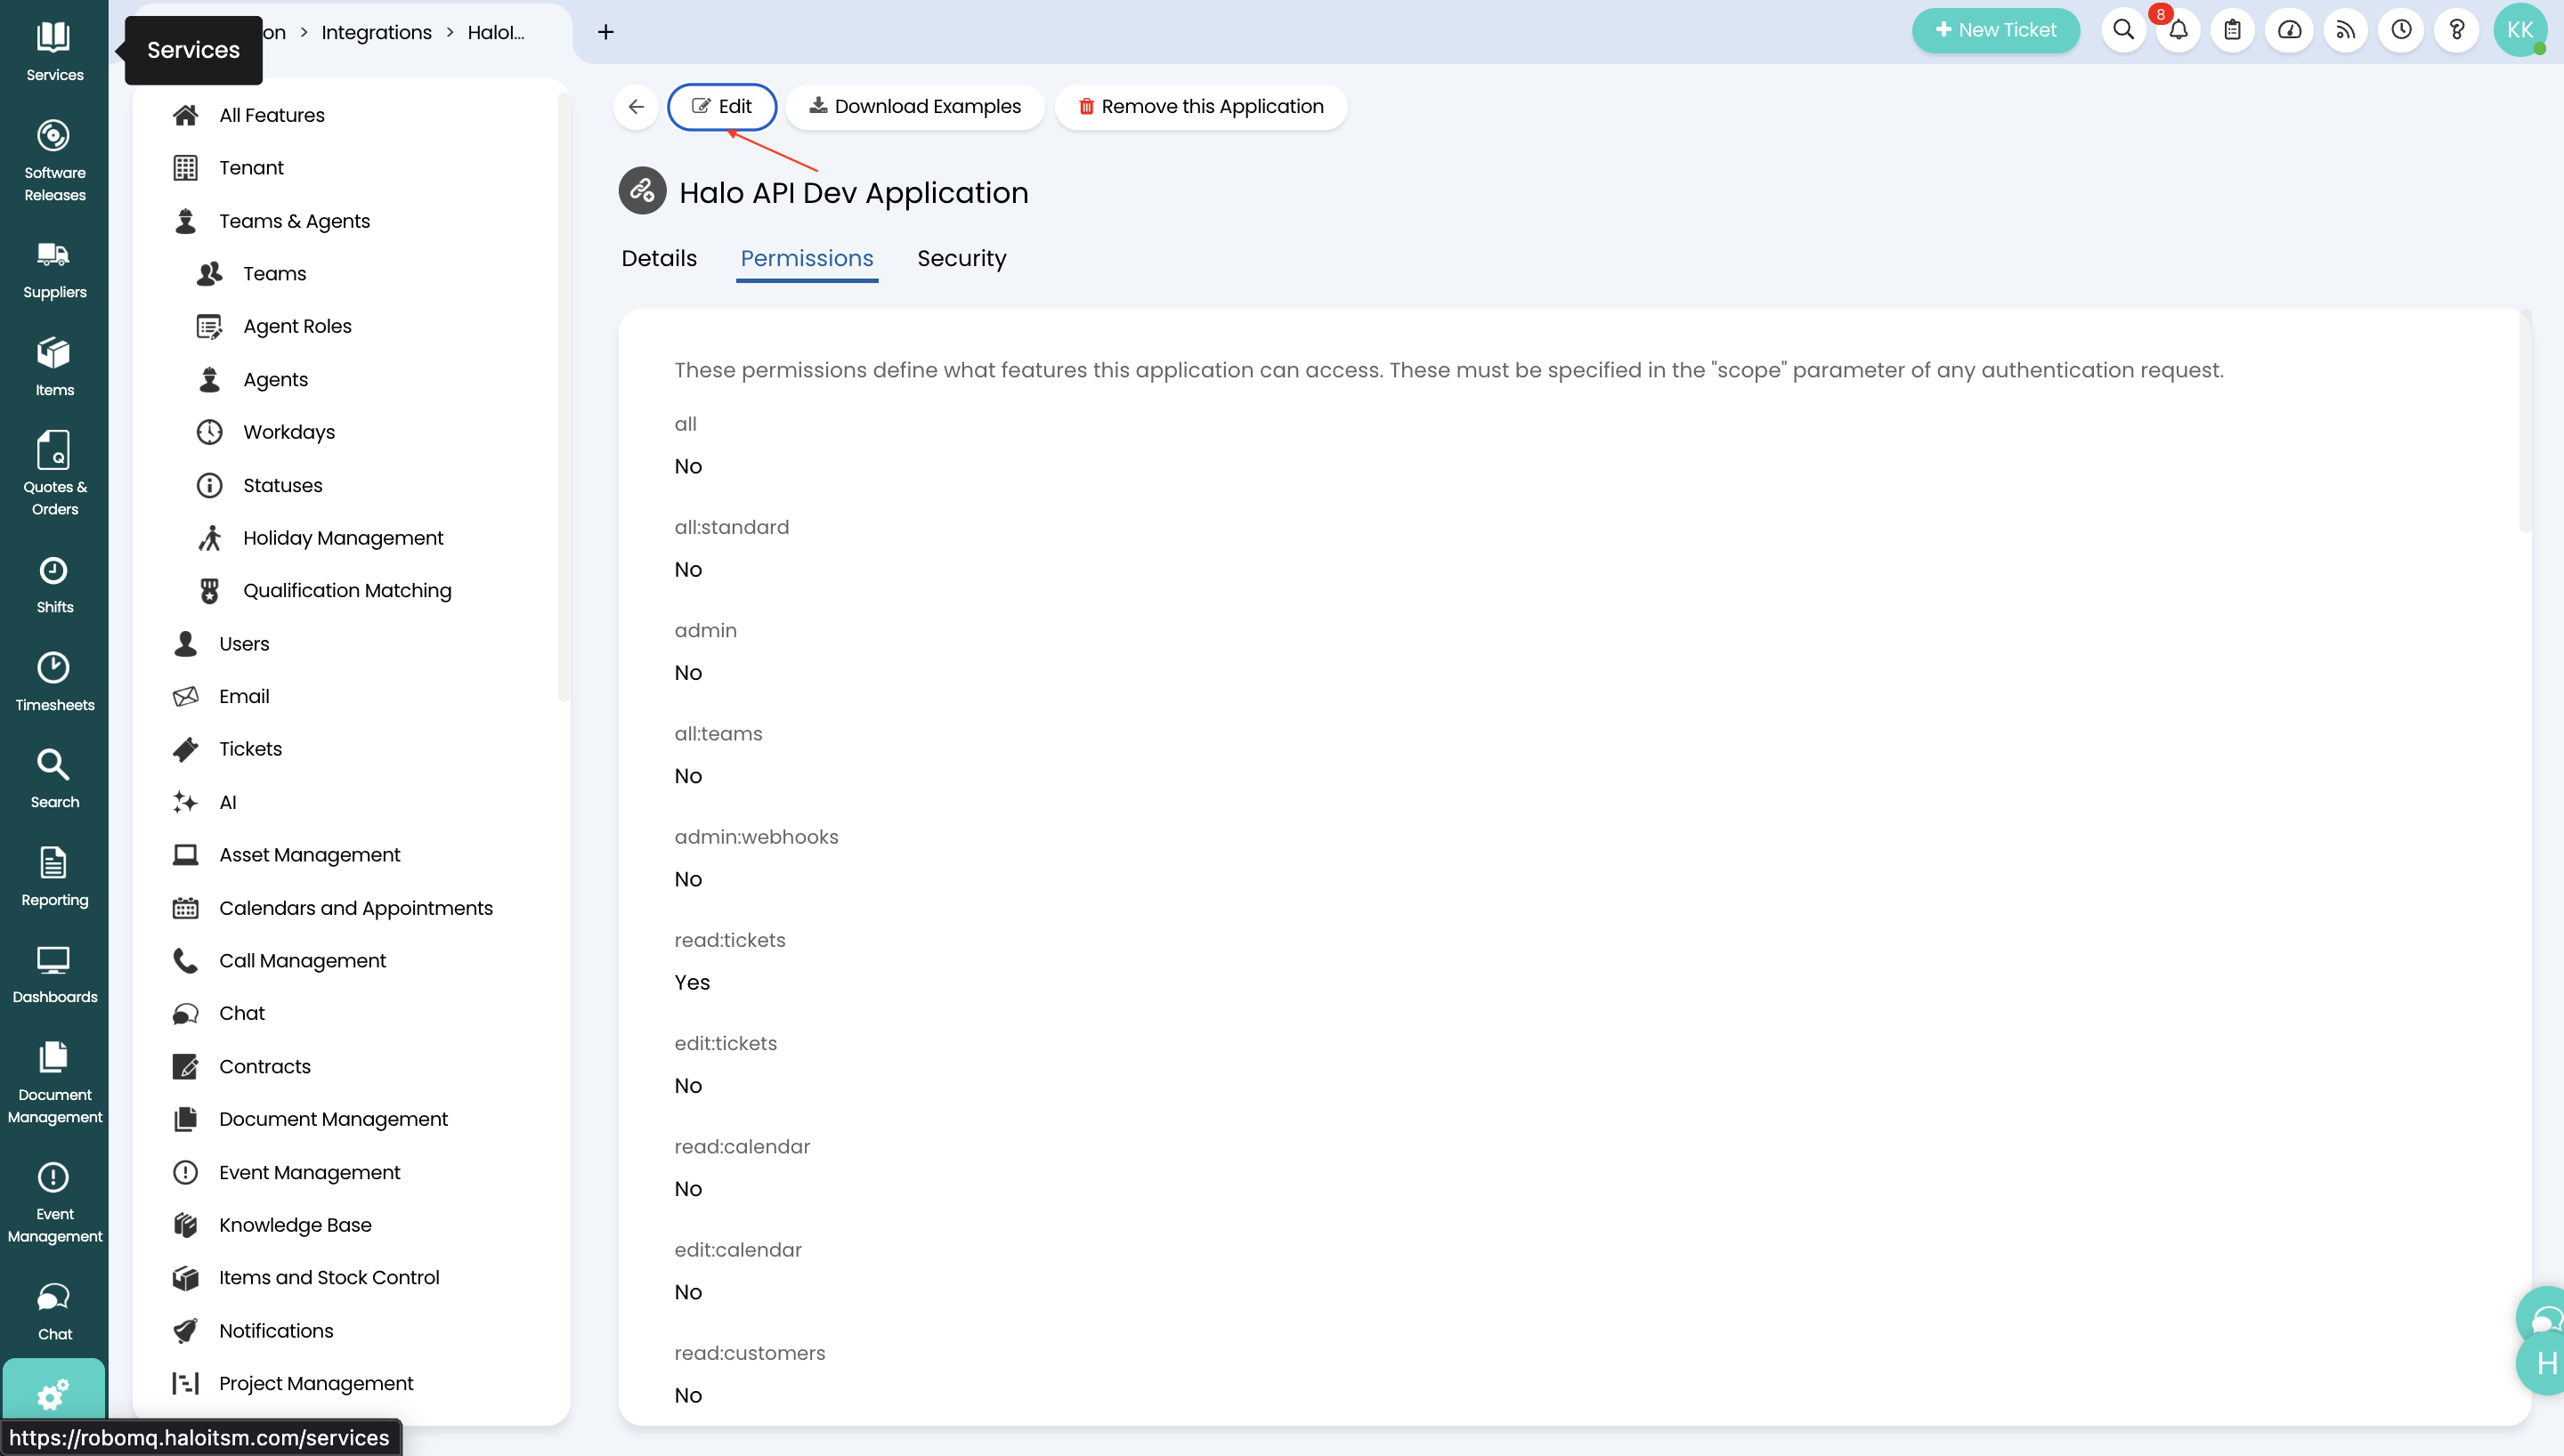 Figure 10. Halo permission for API
-
Select
read:tickets,edit:tickets(if you want to manage tickets in the Hire2Retire workflow). -
Select
read:assets(if you want to map assets in the workflow for any ticket type).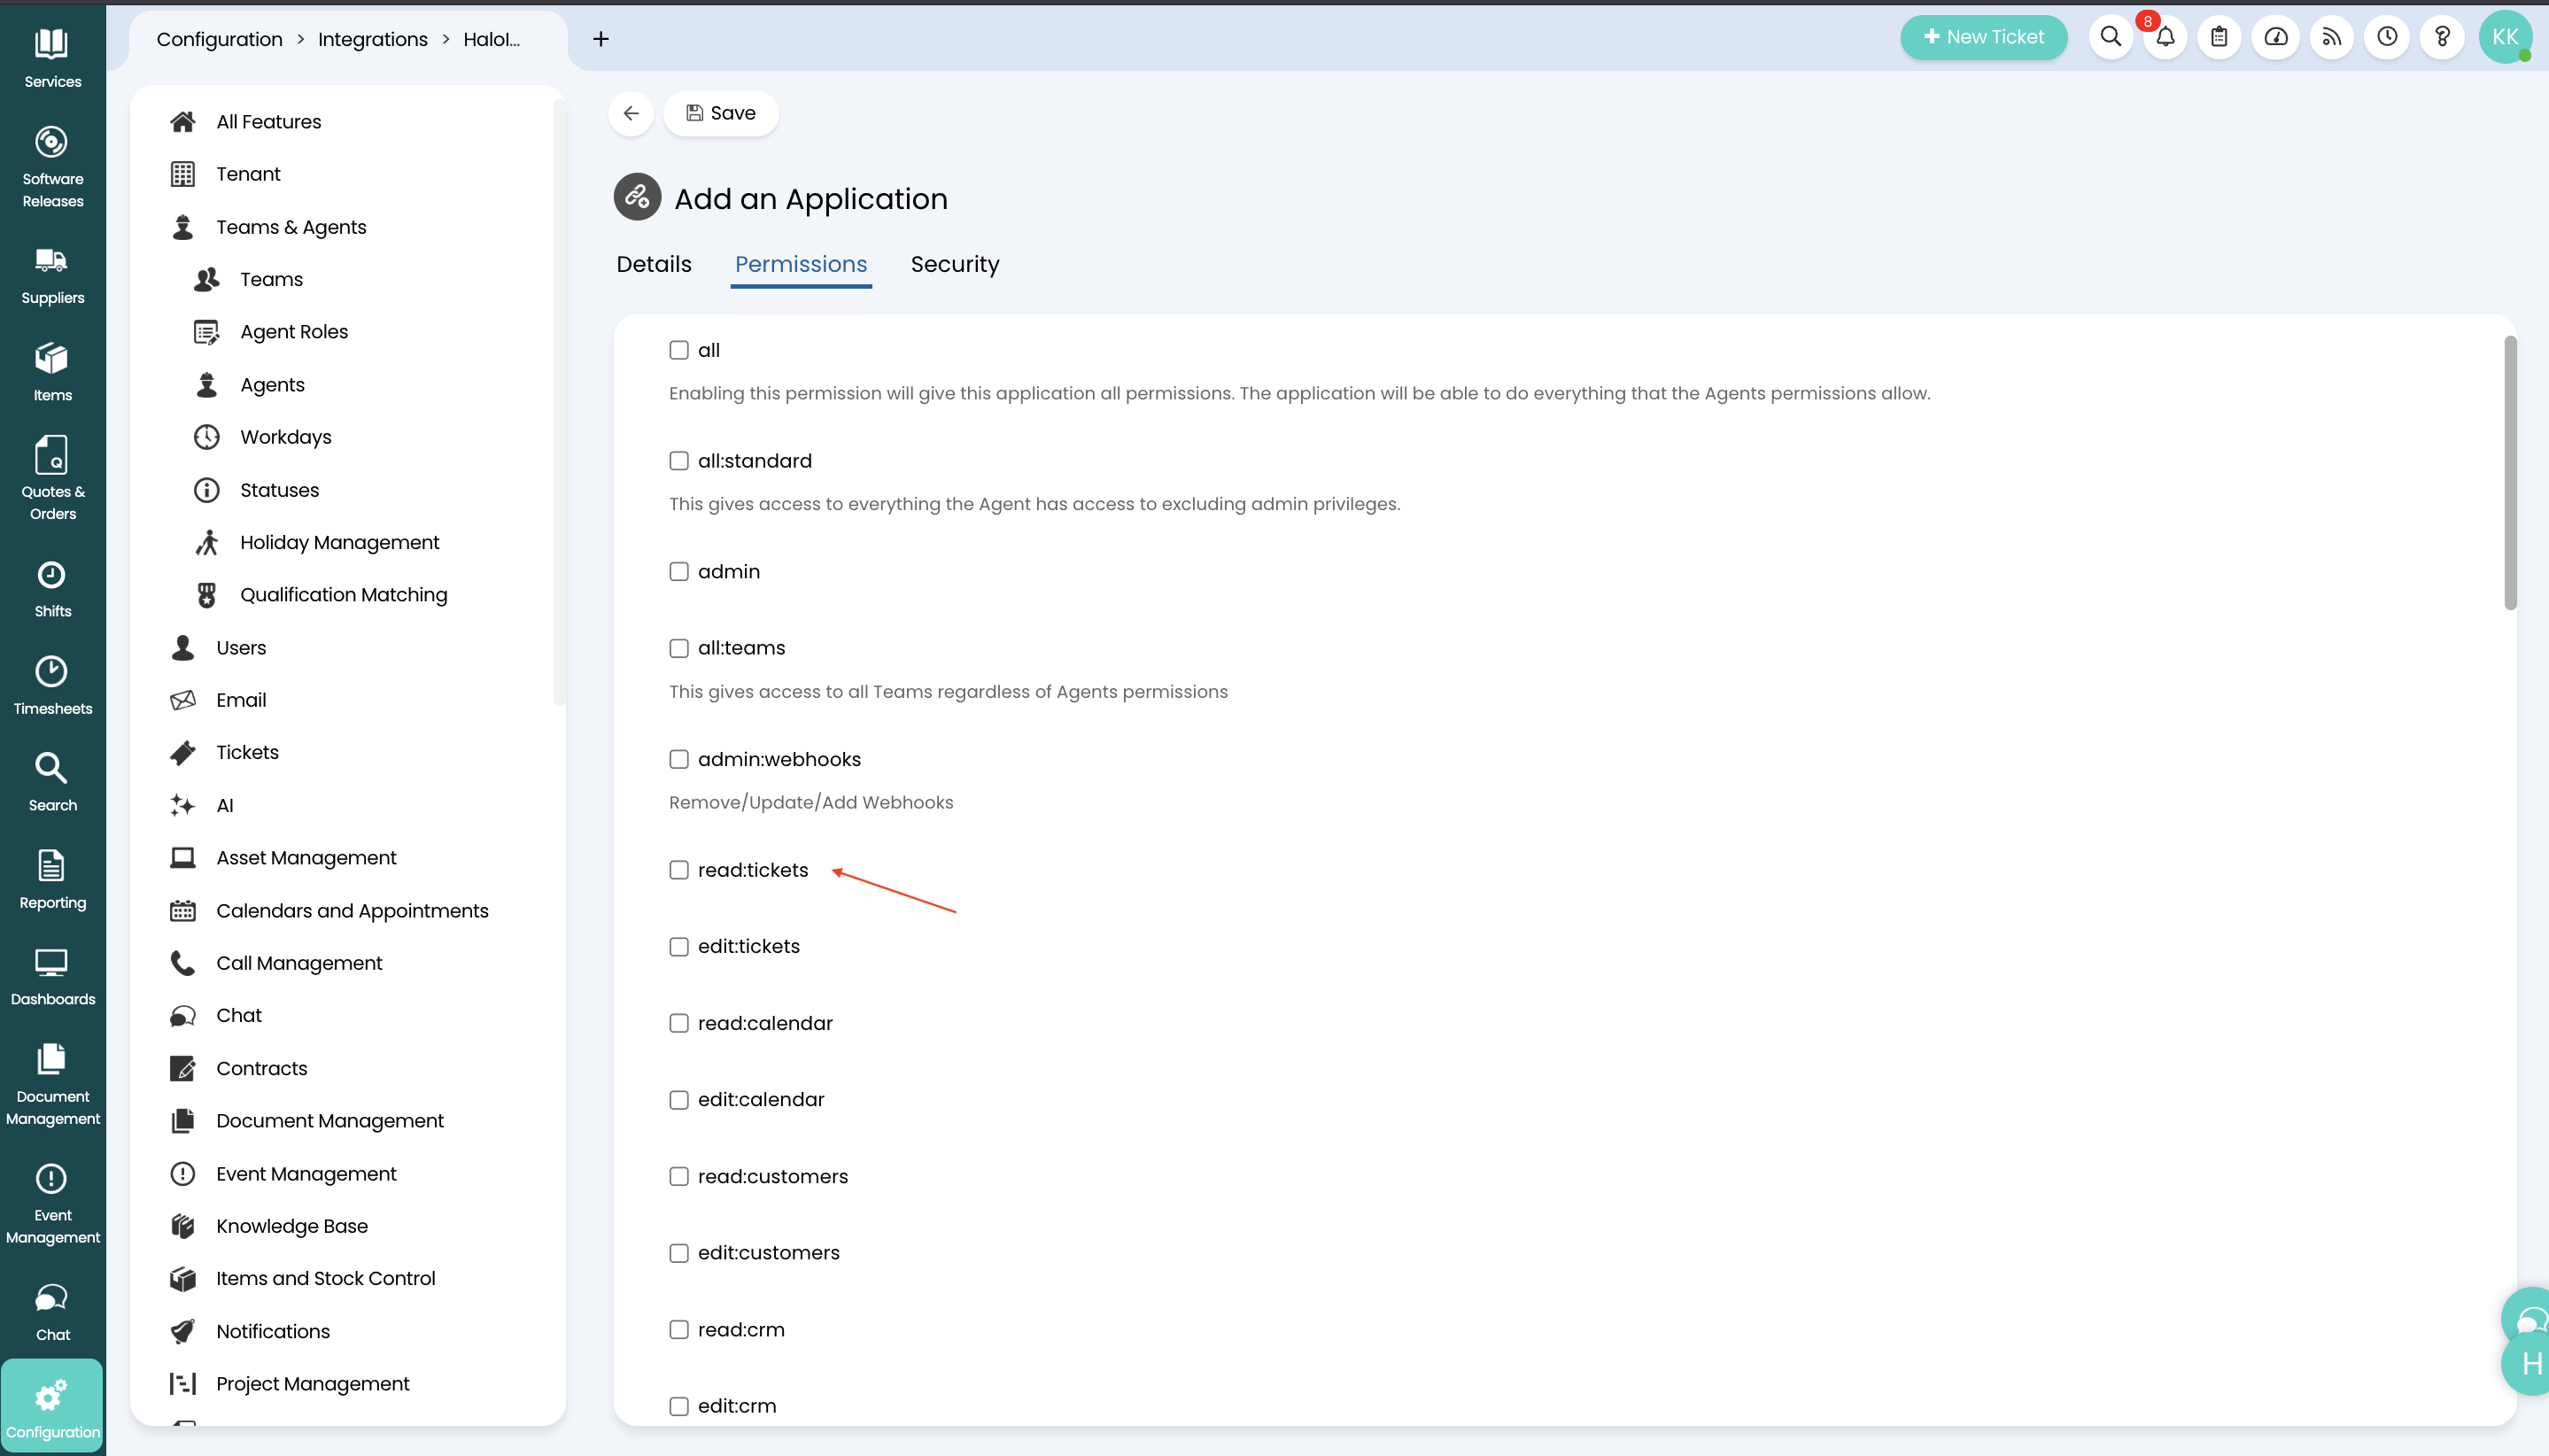 Figure 11. Halo permission for API
-
Click Save.
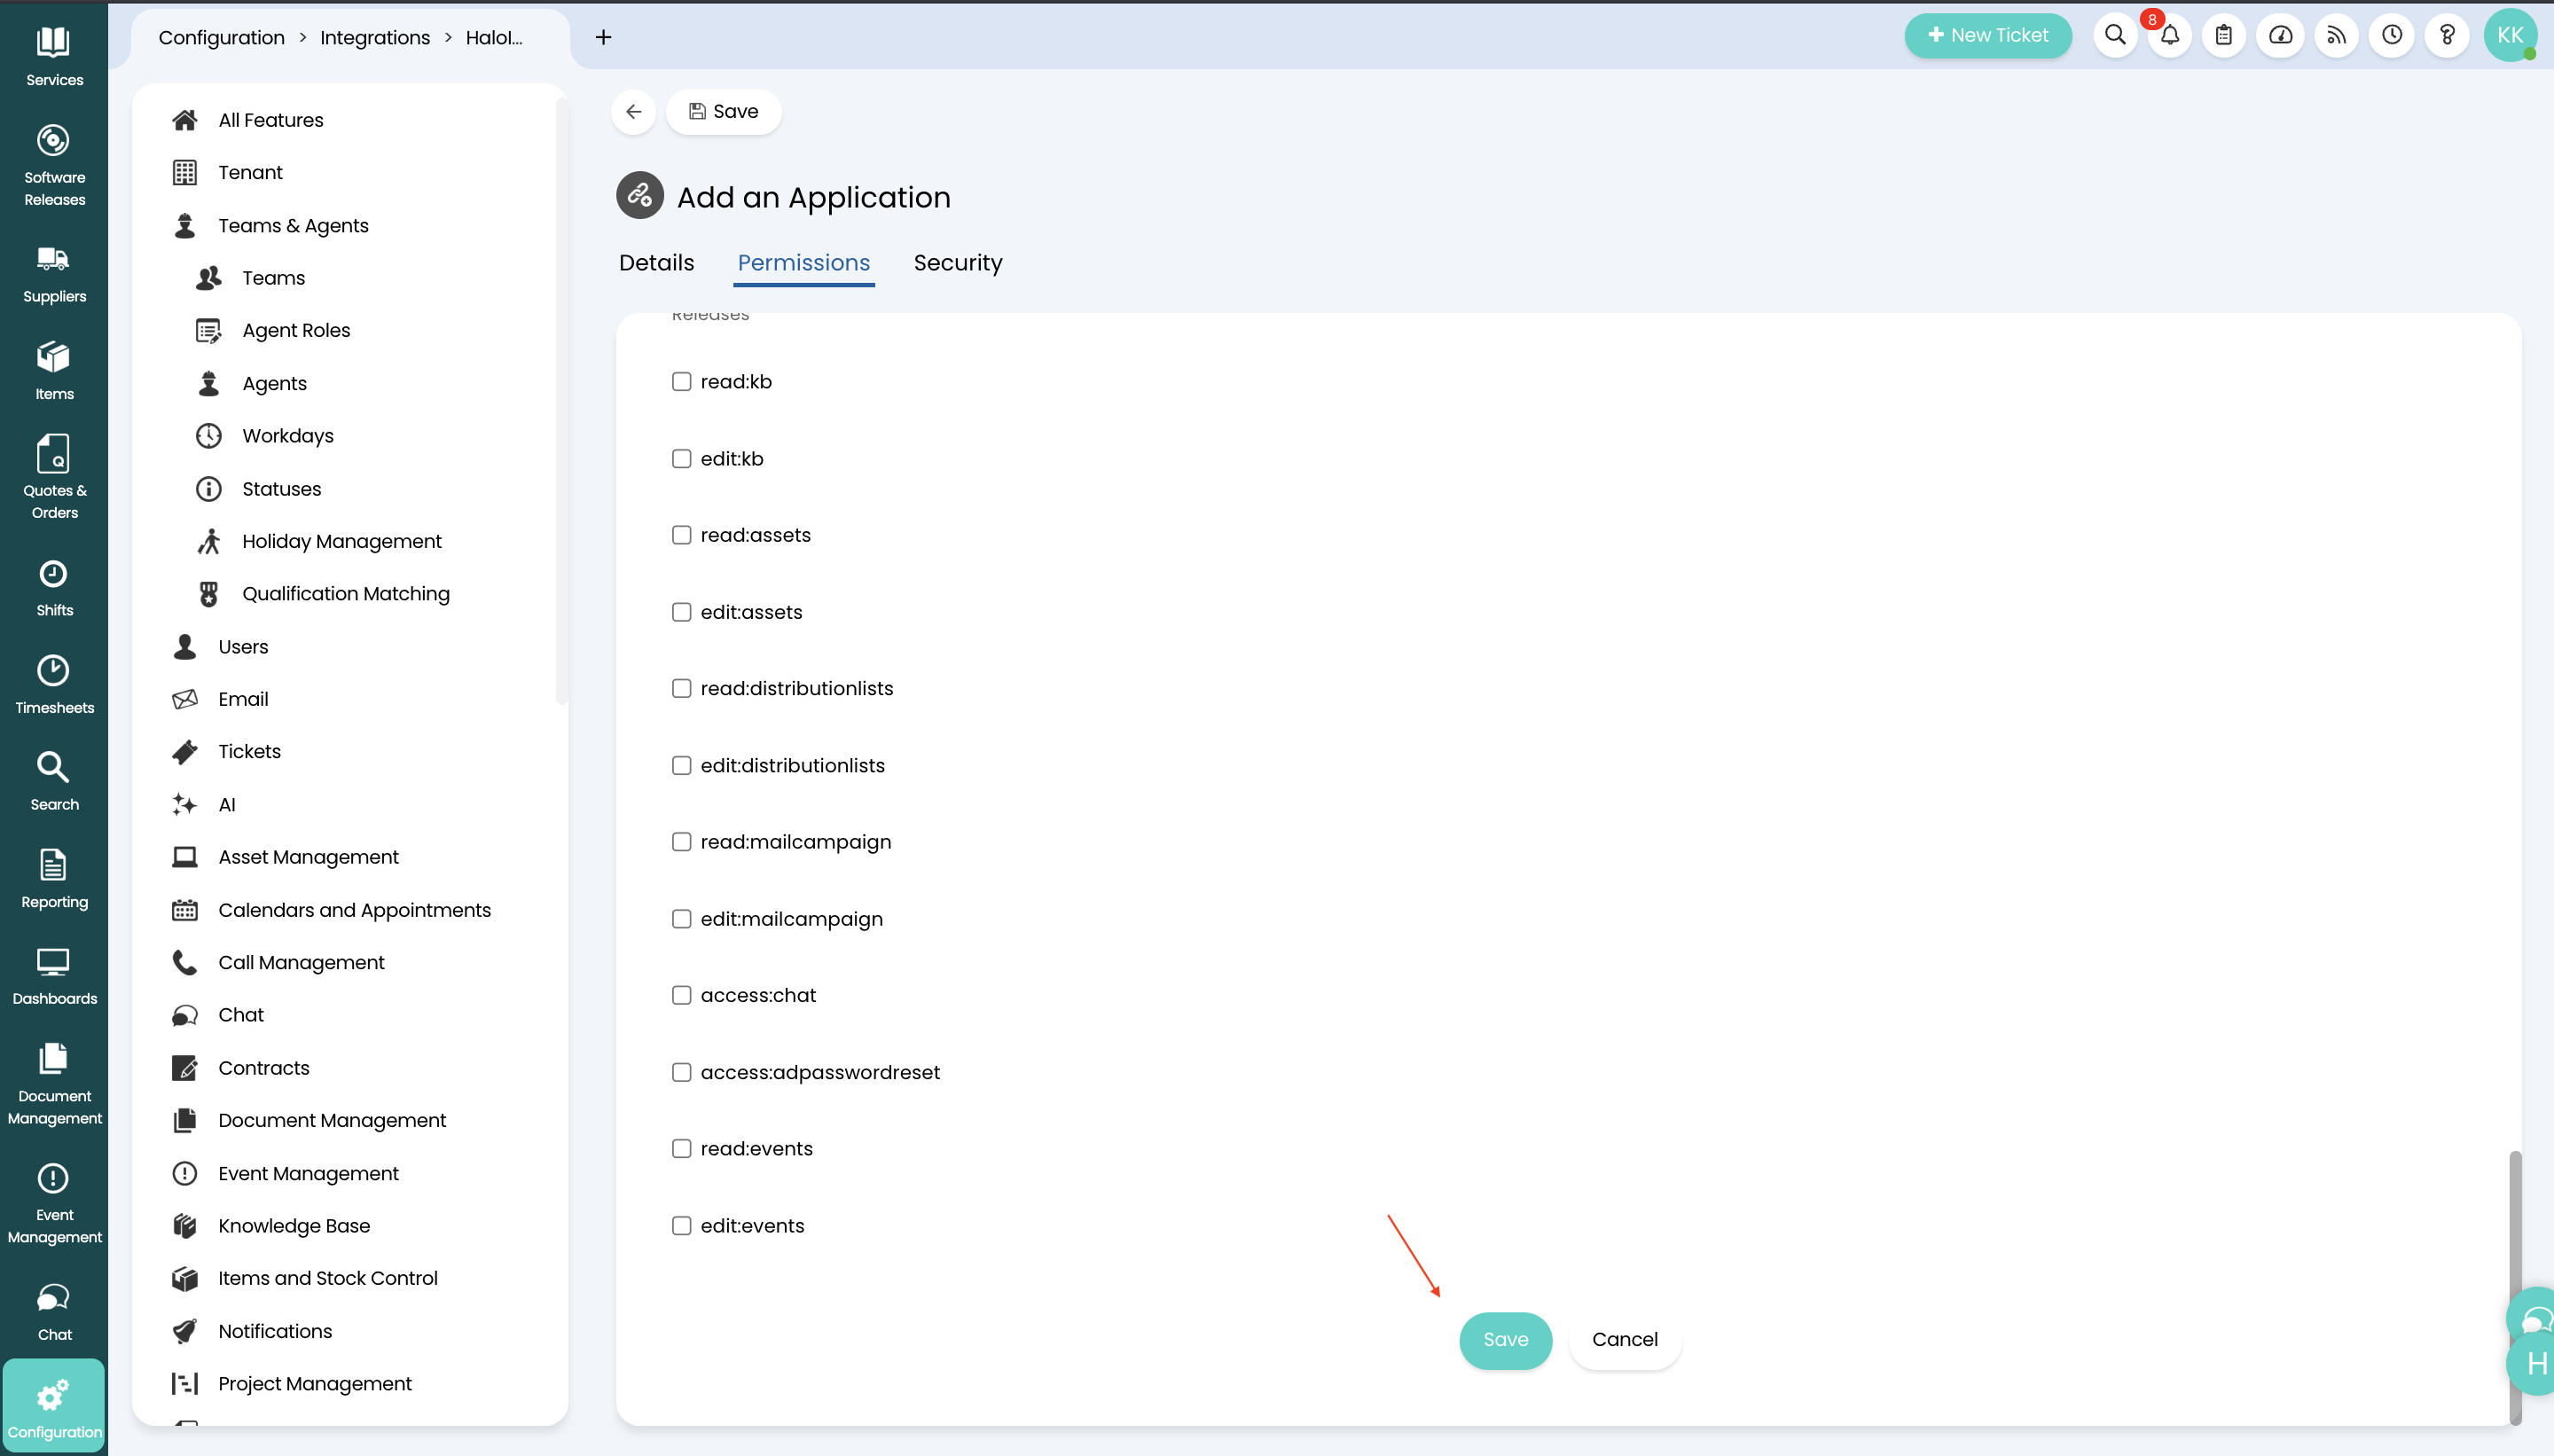 Figure 12. Halo permission for API
Step 4 Connect Halo in Hire2Retire
Enter the Client ID and the Client Secret generated by the Halo app on the connection screen in Hire2Retire and copy the instance URL from your domain (e.g., https://robomq.haloitsm.com).
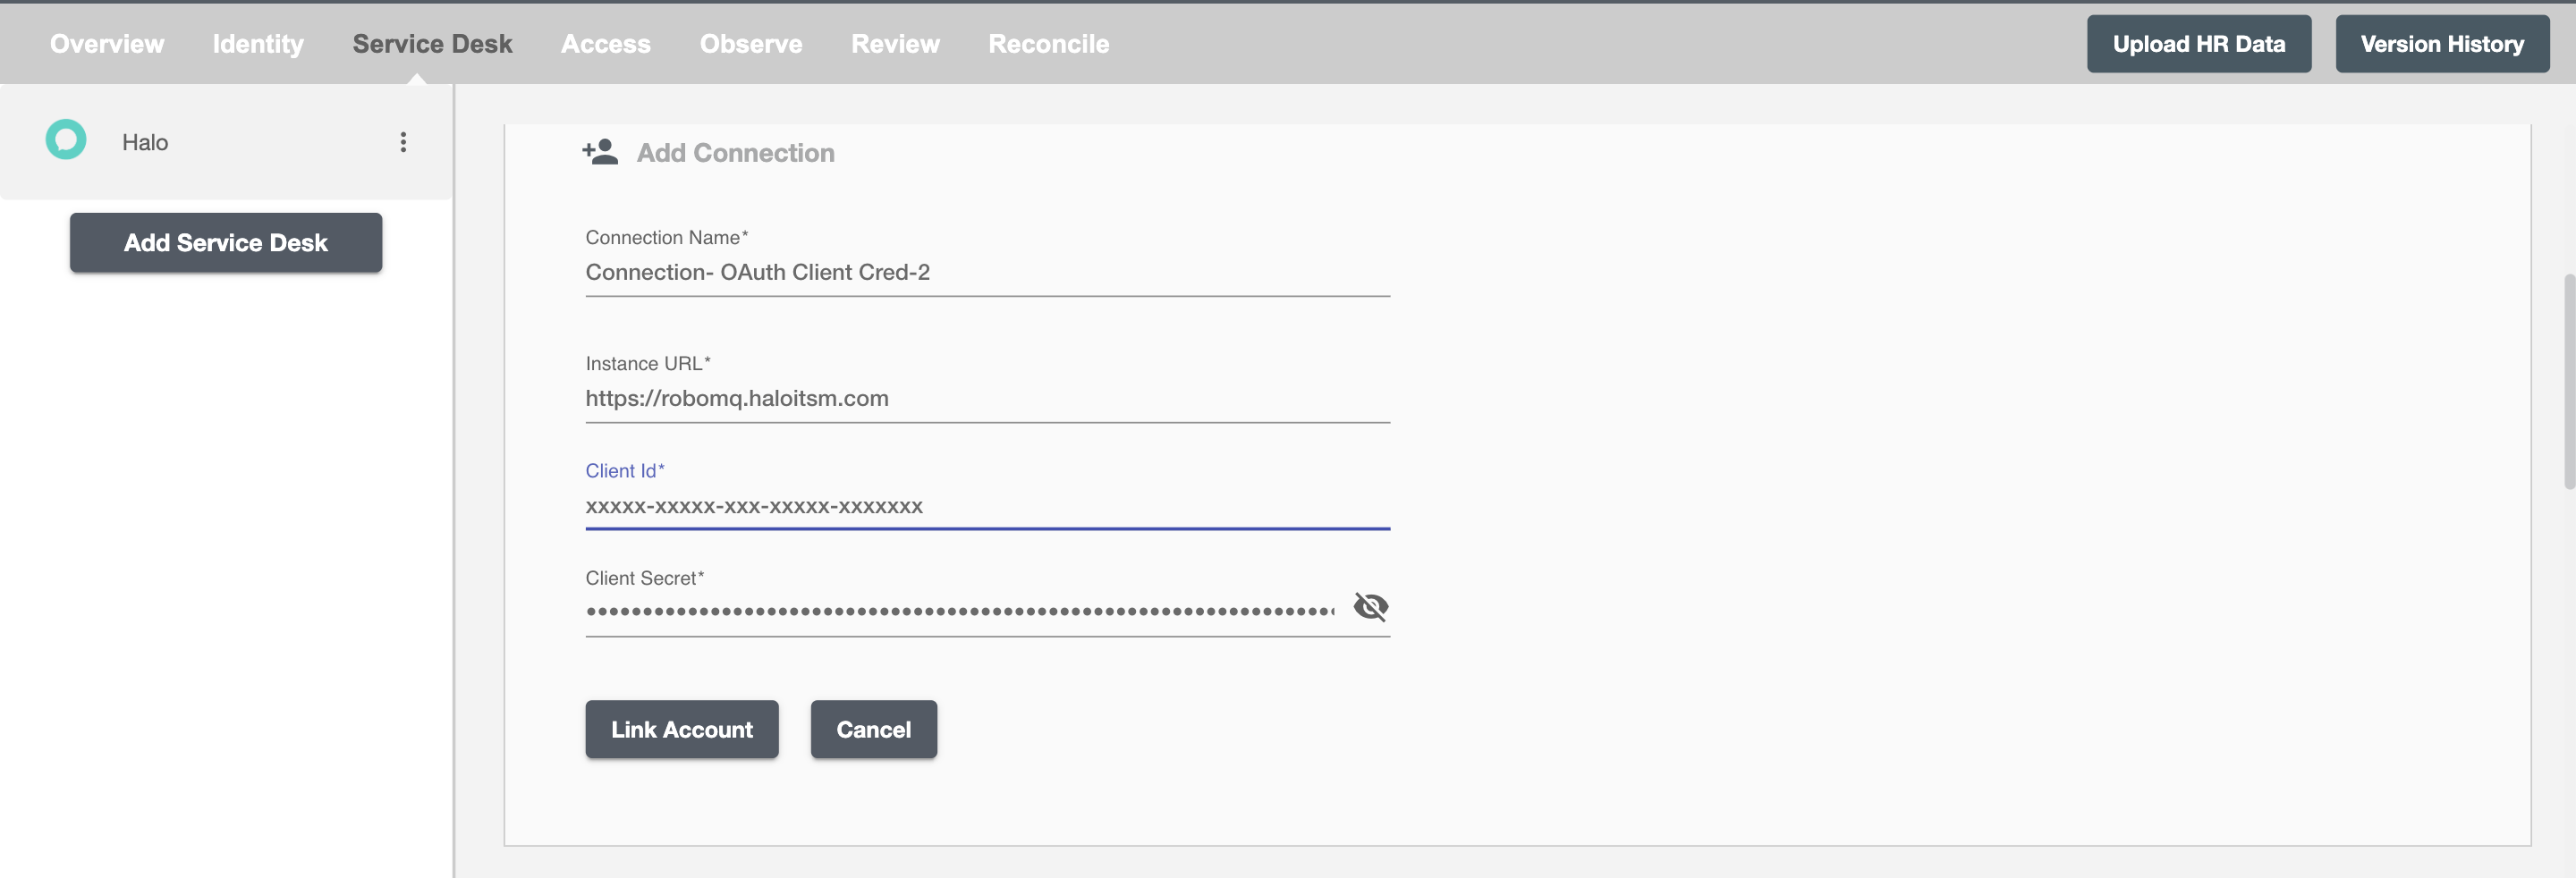
Save the connection to complete setup.