How to Configure Custom Security Attributes in Hire2Retire
This section explains how to track user lifecycle state changes using Custom Security Attributes in Cloud Only Workflows and describes the steps to set up the workflow to use them.
- Required Roles and Permissions
- Configure Workflow to Track Lifecycle State Changes using Custom Security Attributes
- Create Custom Security Attributes in Entra ID
Required Roles and Permissions
The following are the roles and permissions required by Hire2Retire to successfully create, assign, and manage Custom Security Attributes in Entra ID.
Customer Owned Application
| Scopes | Permission Type | Explanation |
|---|---|---|
| CustomSecAttributeAssignment.ReadWrite.All | Application | Allows the application to read and write custom security attribute assignments for all users without a signed in user. |
| CustomSecAttributeDefinition.ReadWrite.All | Application | Allows the application to read and define custom security attribute without a signed in user. |
Service Provider Application
| Roles | Explanation |
|---|---|
| Attribute Assignment Administrator | Allows the service account to read and update the custom security attributes of a user. |
| Attribute Definition Administrator | Allows the service account to read and define a custom security attribute. |
Configure Workflow to Track Lifecycle State Changes using Custom Security Attribute
- Visit Hire2Retire and navigate to the workflow where you want to use the Custom Security Attribute to track state changes.
-
Click on
HR to Entra ID Profile Mappage underIdentityTab.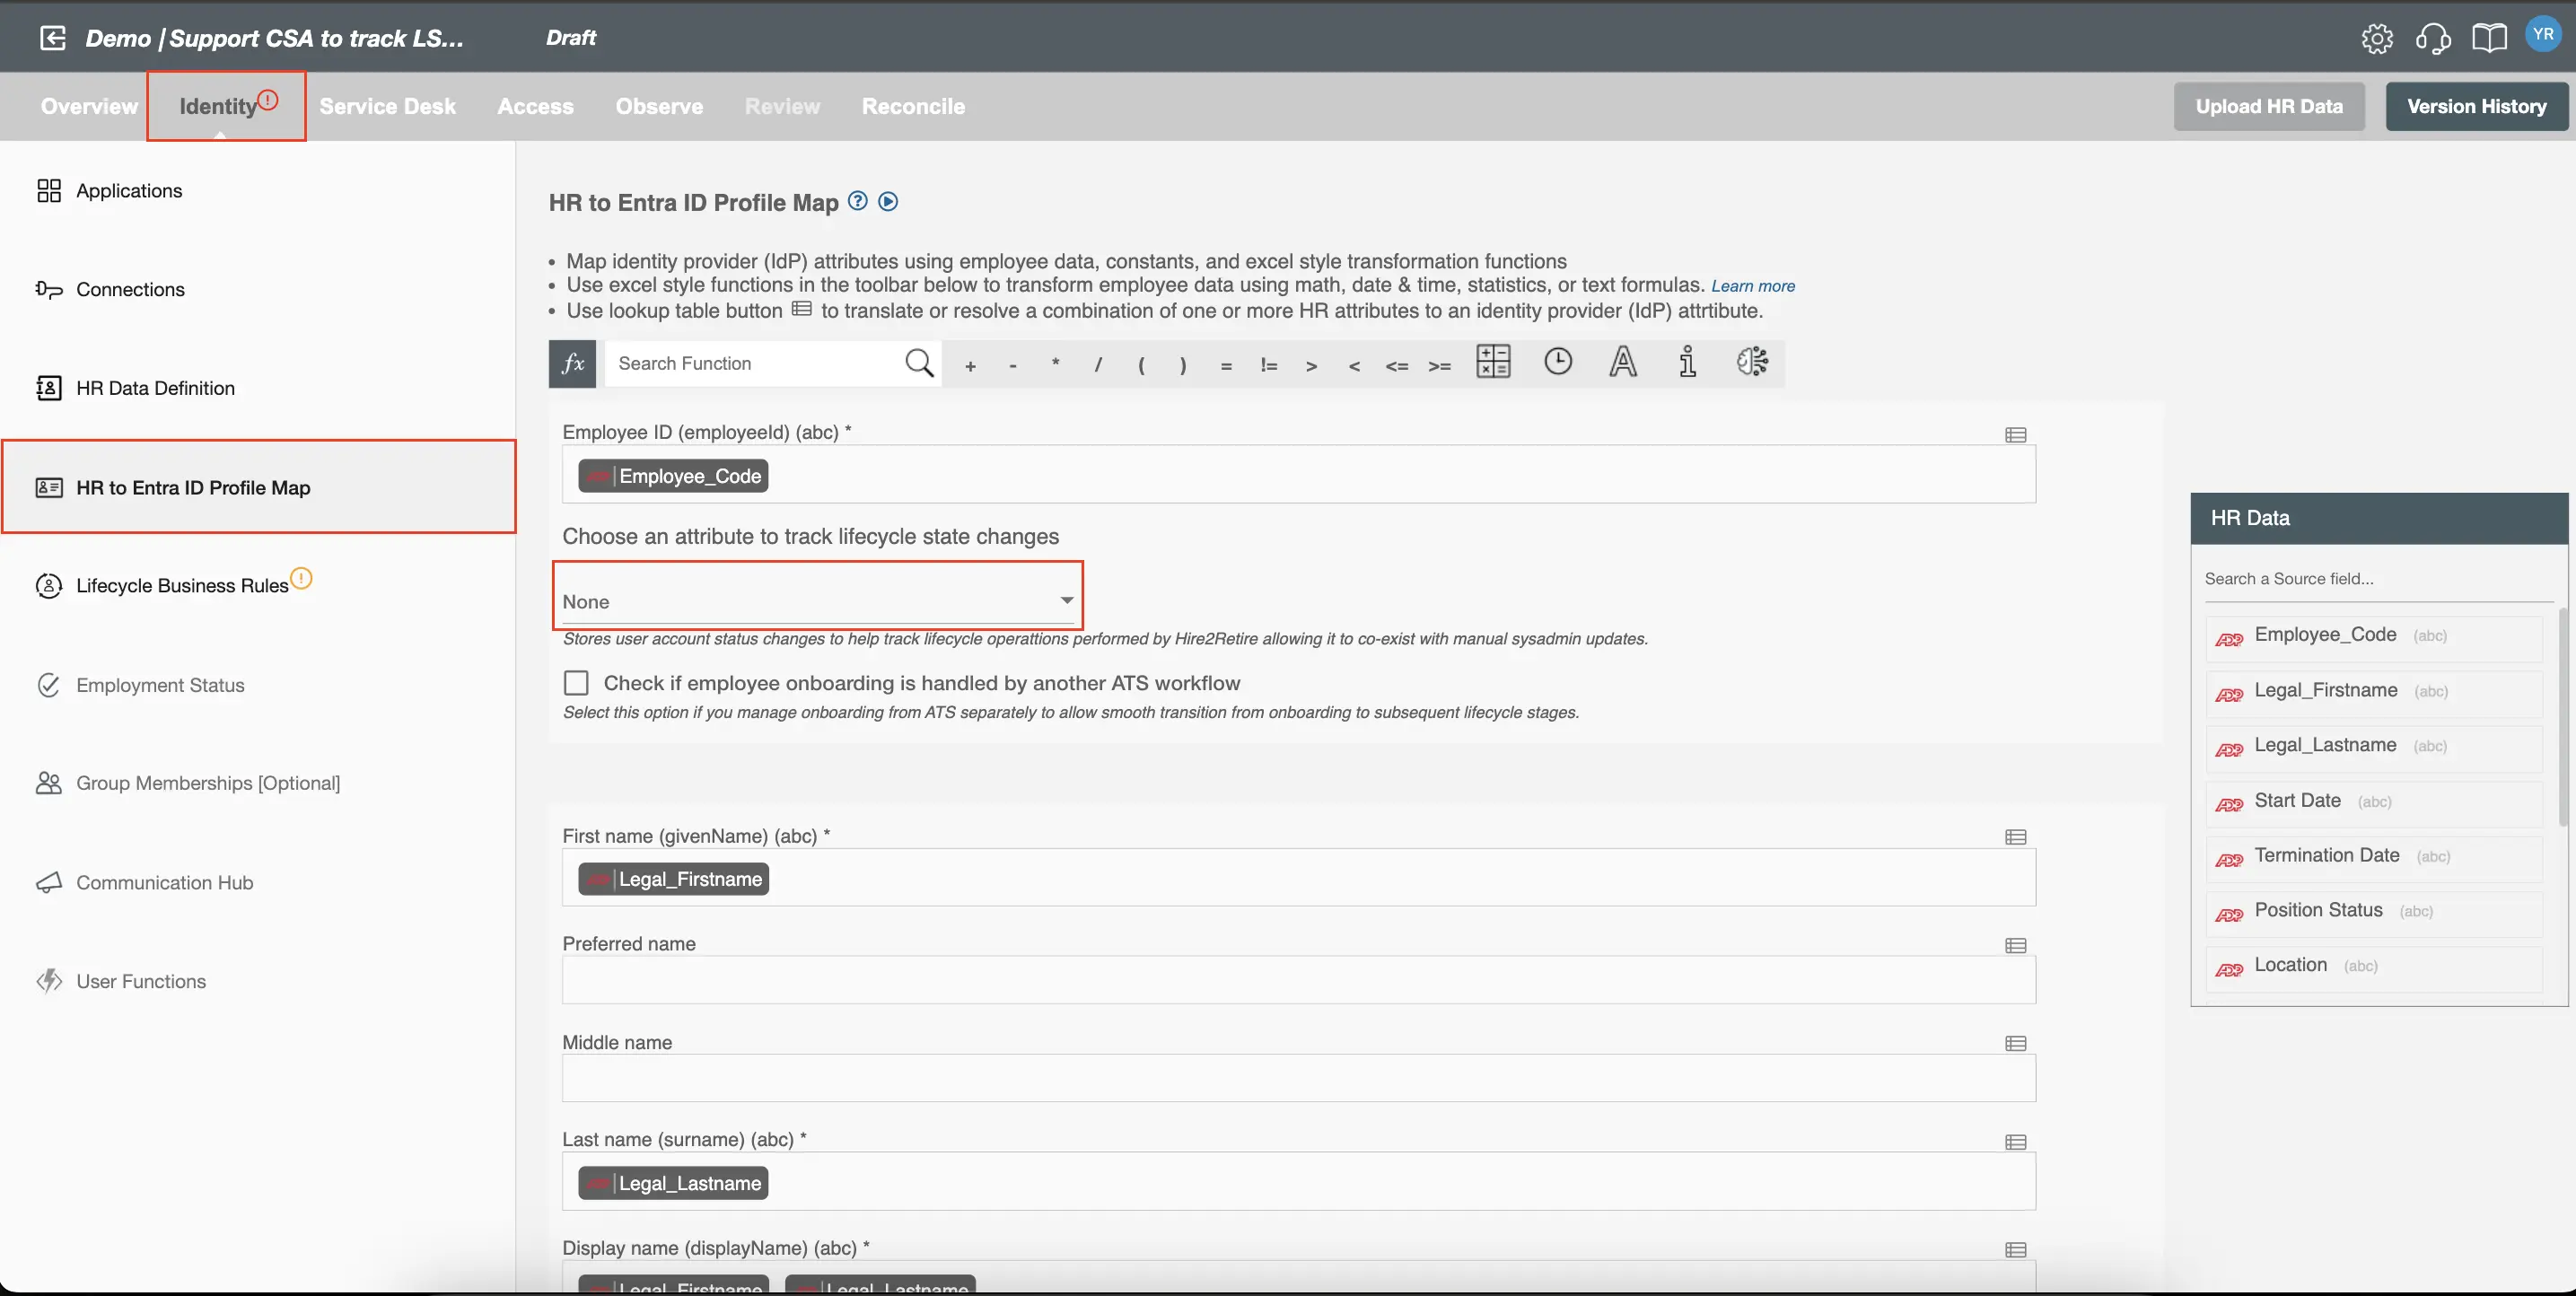 Figure 5. HR To Entra ID Profile Map.
 -
In the dropdown,
Choose an attribute to track lifecycle state changes, select Hire2RetireSet: TrackStateChange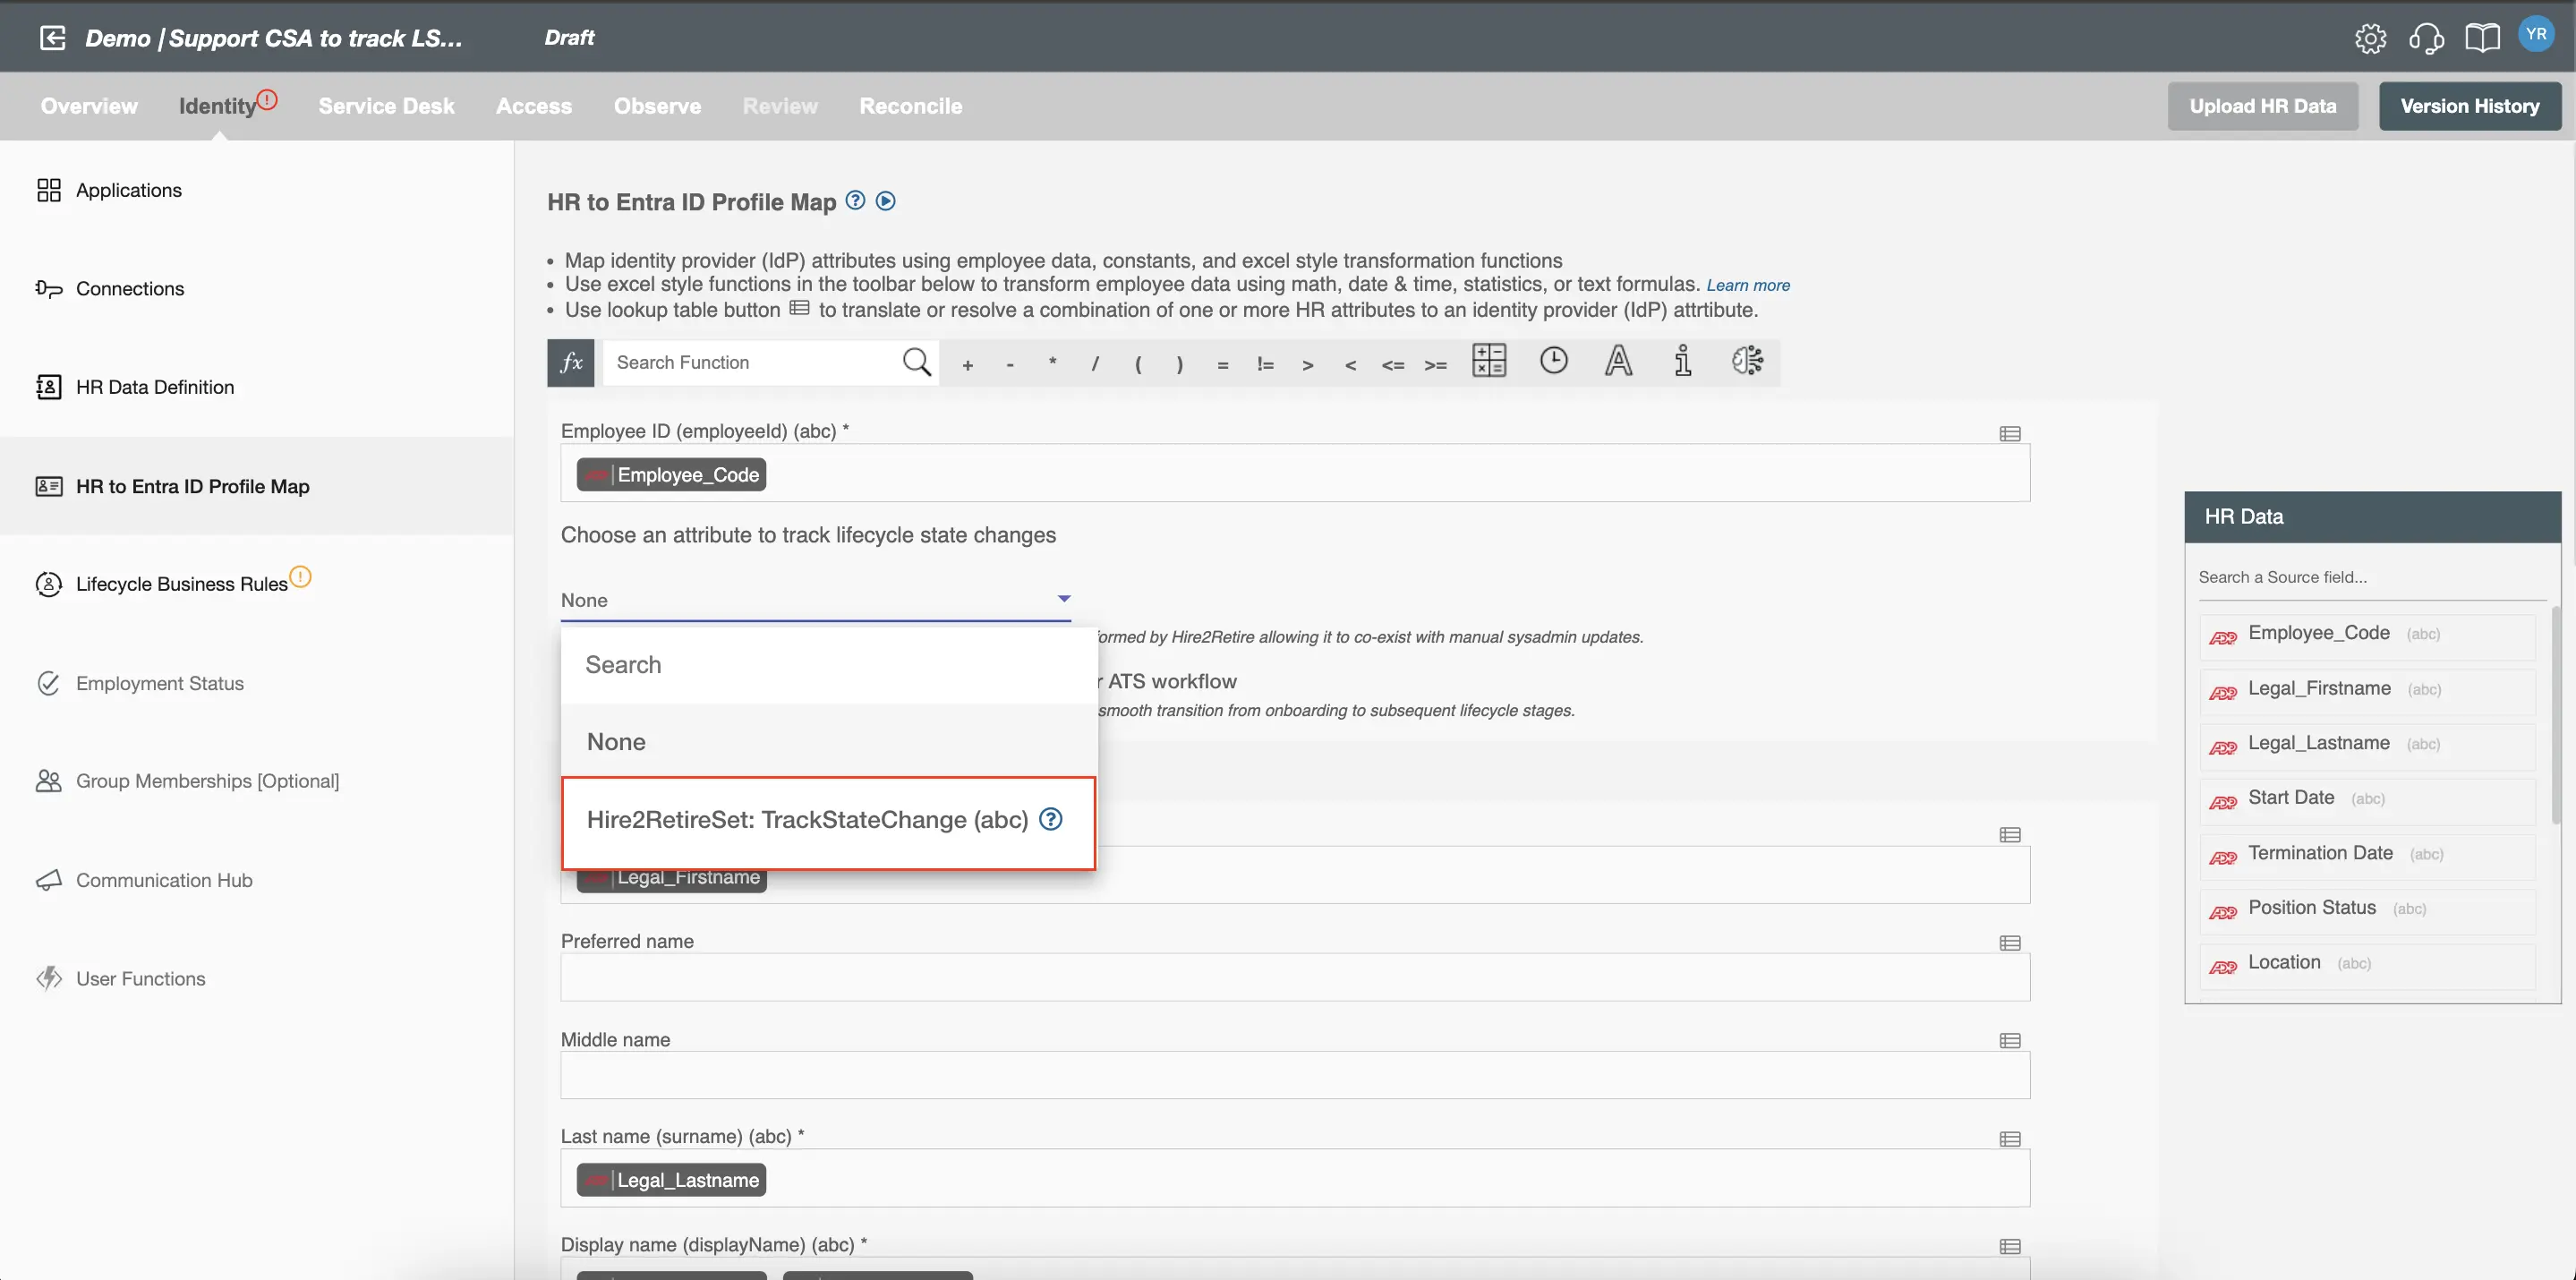 Figure 6. Select Hire2RetireSet:TrackStateChange (abc).
 -
- You can create the attribute set and attribute by following these steps otherwise, Hire2Retire will automatically create them on behalf of the customer when the attribute is selected.
-
If the service account or application does not have the required permissions, Hire2Retire will display a warning indicating permissions or roles are missing.
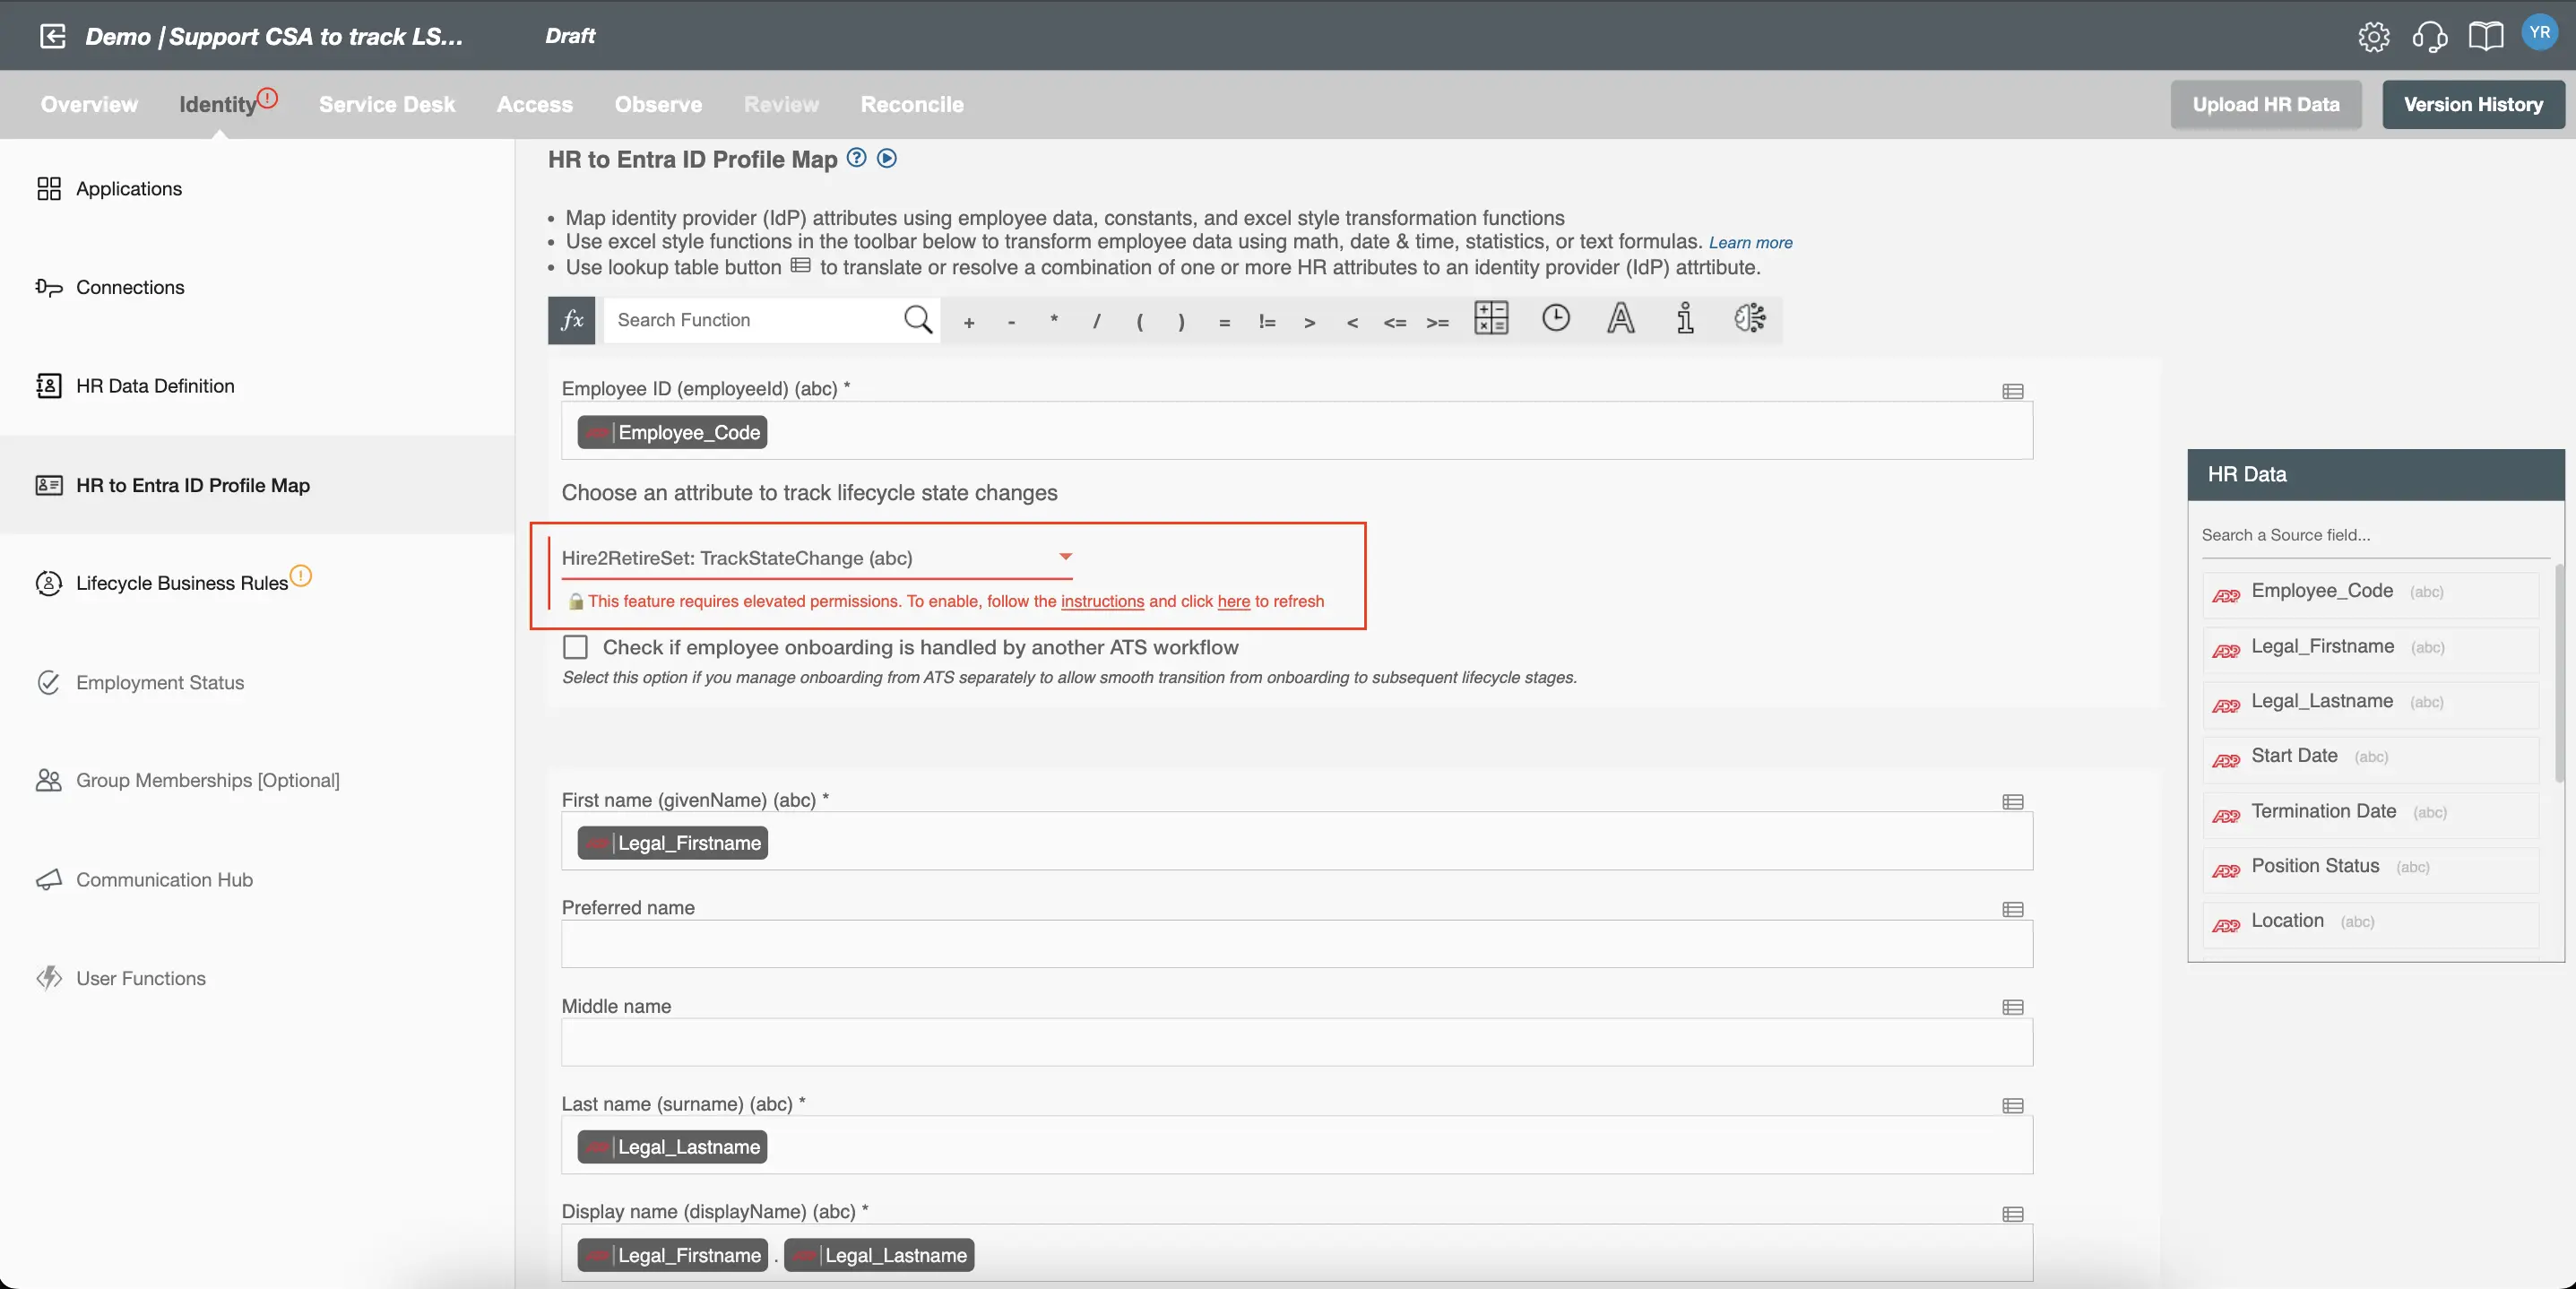 Figure 7. Required roles/permissions are not present.
 -
Once the required permissions or roles are assigned to the service account/application, click “Click here to refresh” under the warning message.
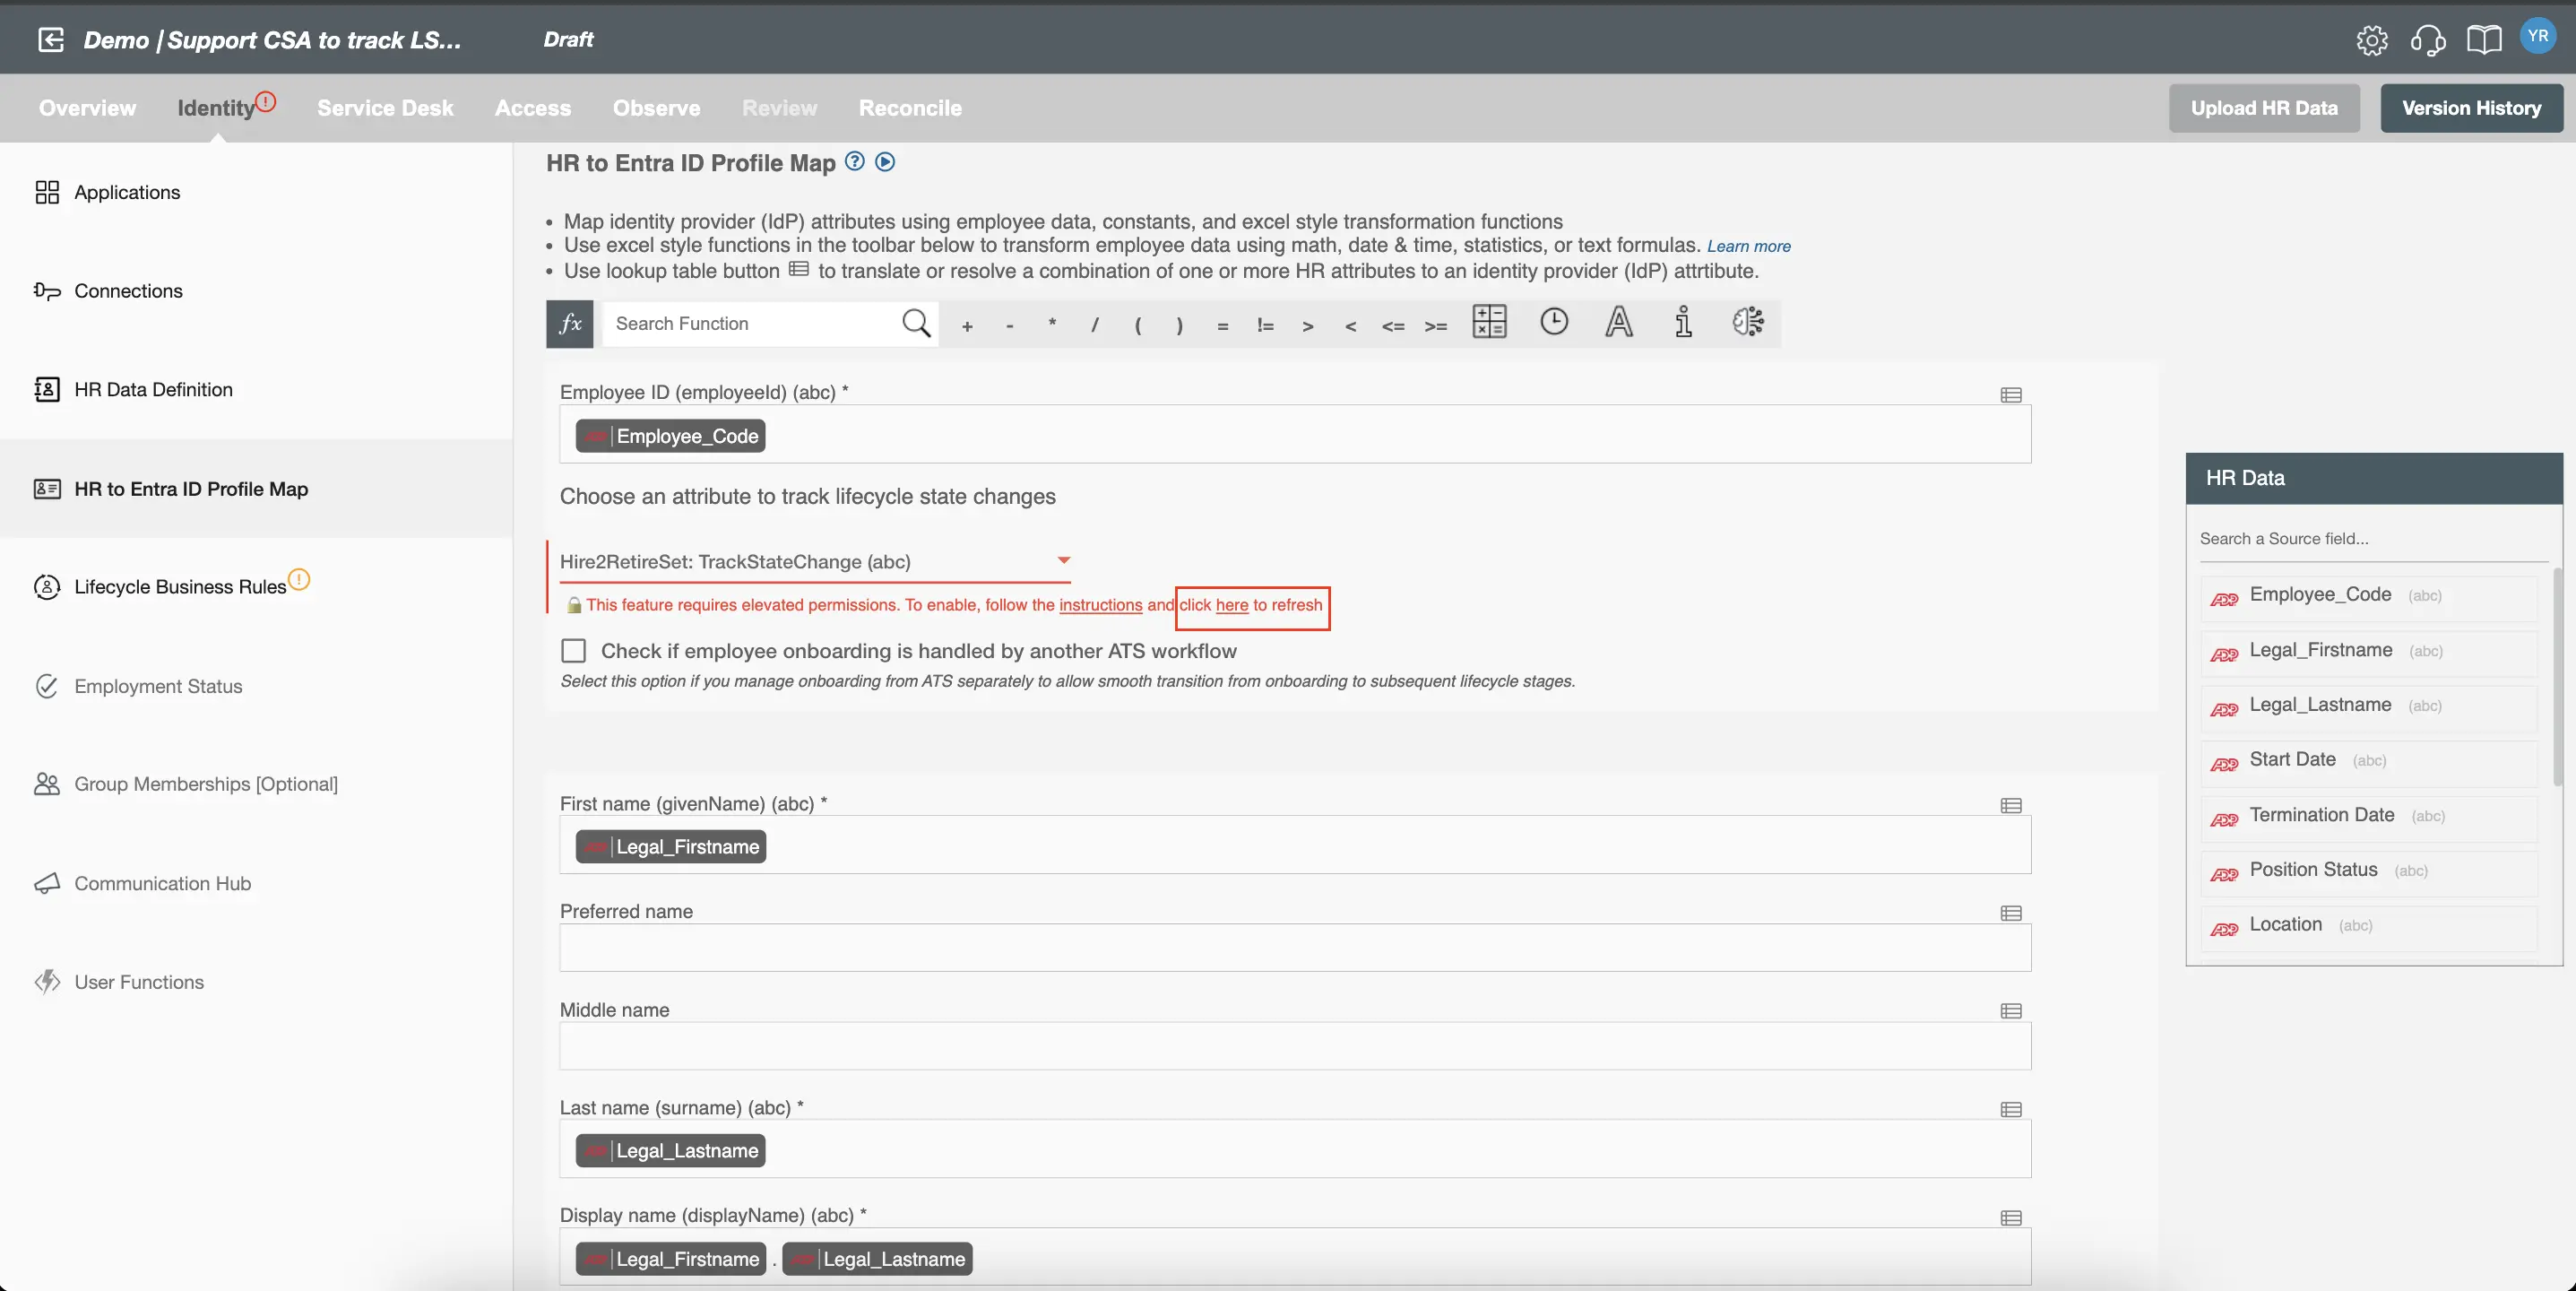 Figure 8. Click on refresh to validate roles/permissions.
Create Custom Security Attribute to Track State Changes
Follow these steps to create a Custom Security Attribute in the Entra Portal, which can be used to track lifecycle state changes for users. This attribute can then be mapped from Hire2Retire to Entra ID profiles to enable automated lifecycle tracking.
Note: The service account used to create this attribute must have the necessary roles and permissions to perform this operation.
-
Go to Entra Portal.
-
In the left-hand menu, Click on Custom Security Attributes Under Entra ID.
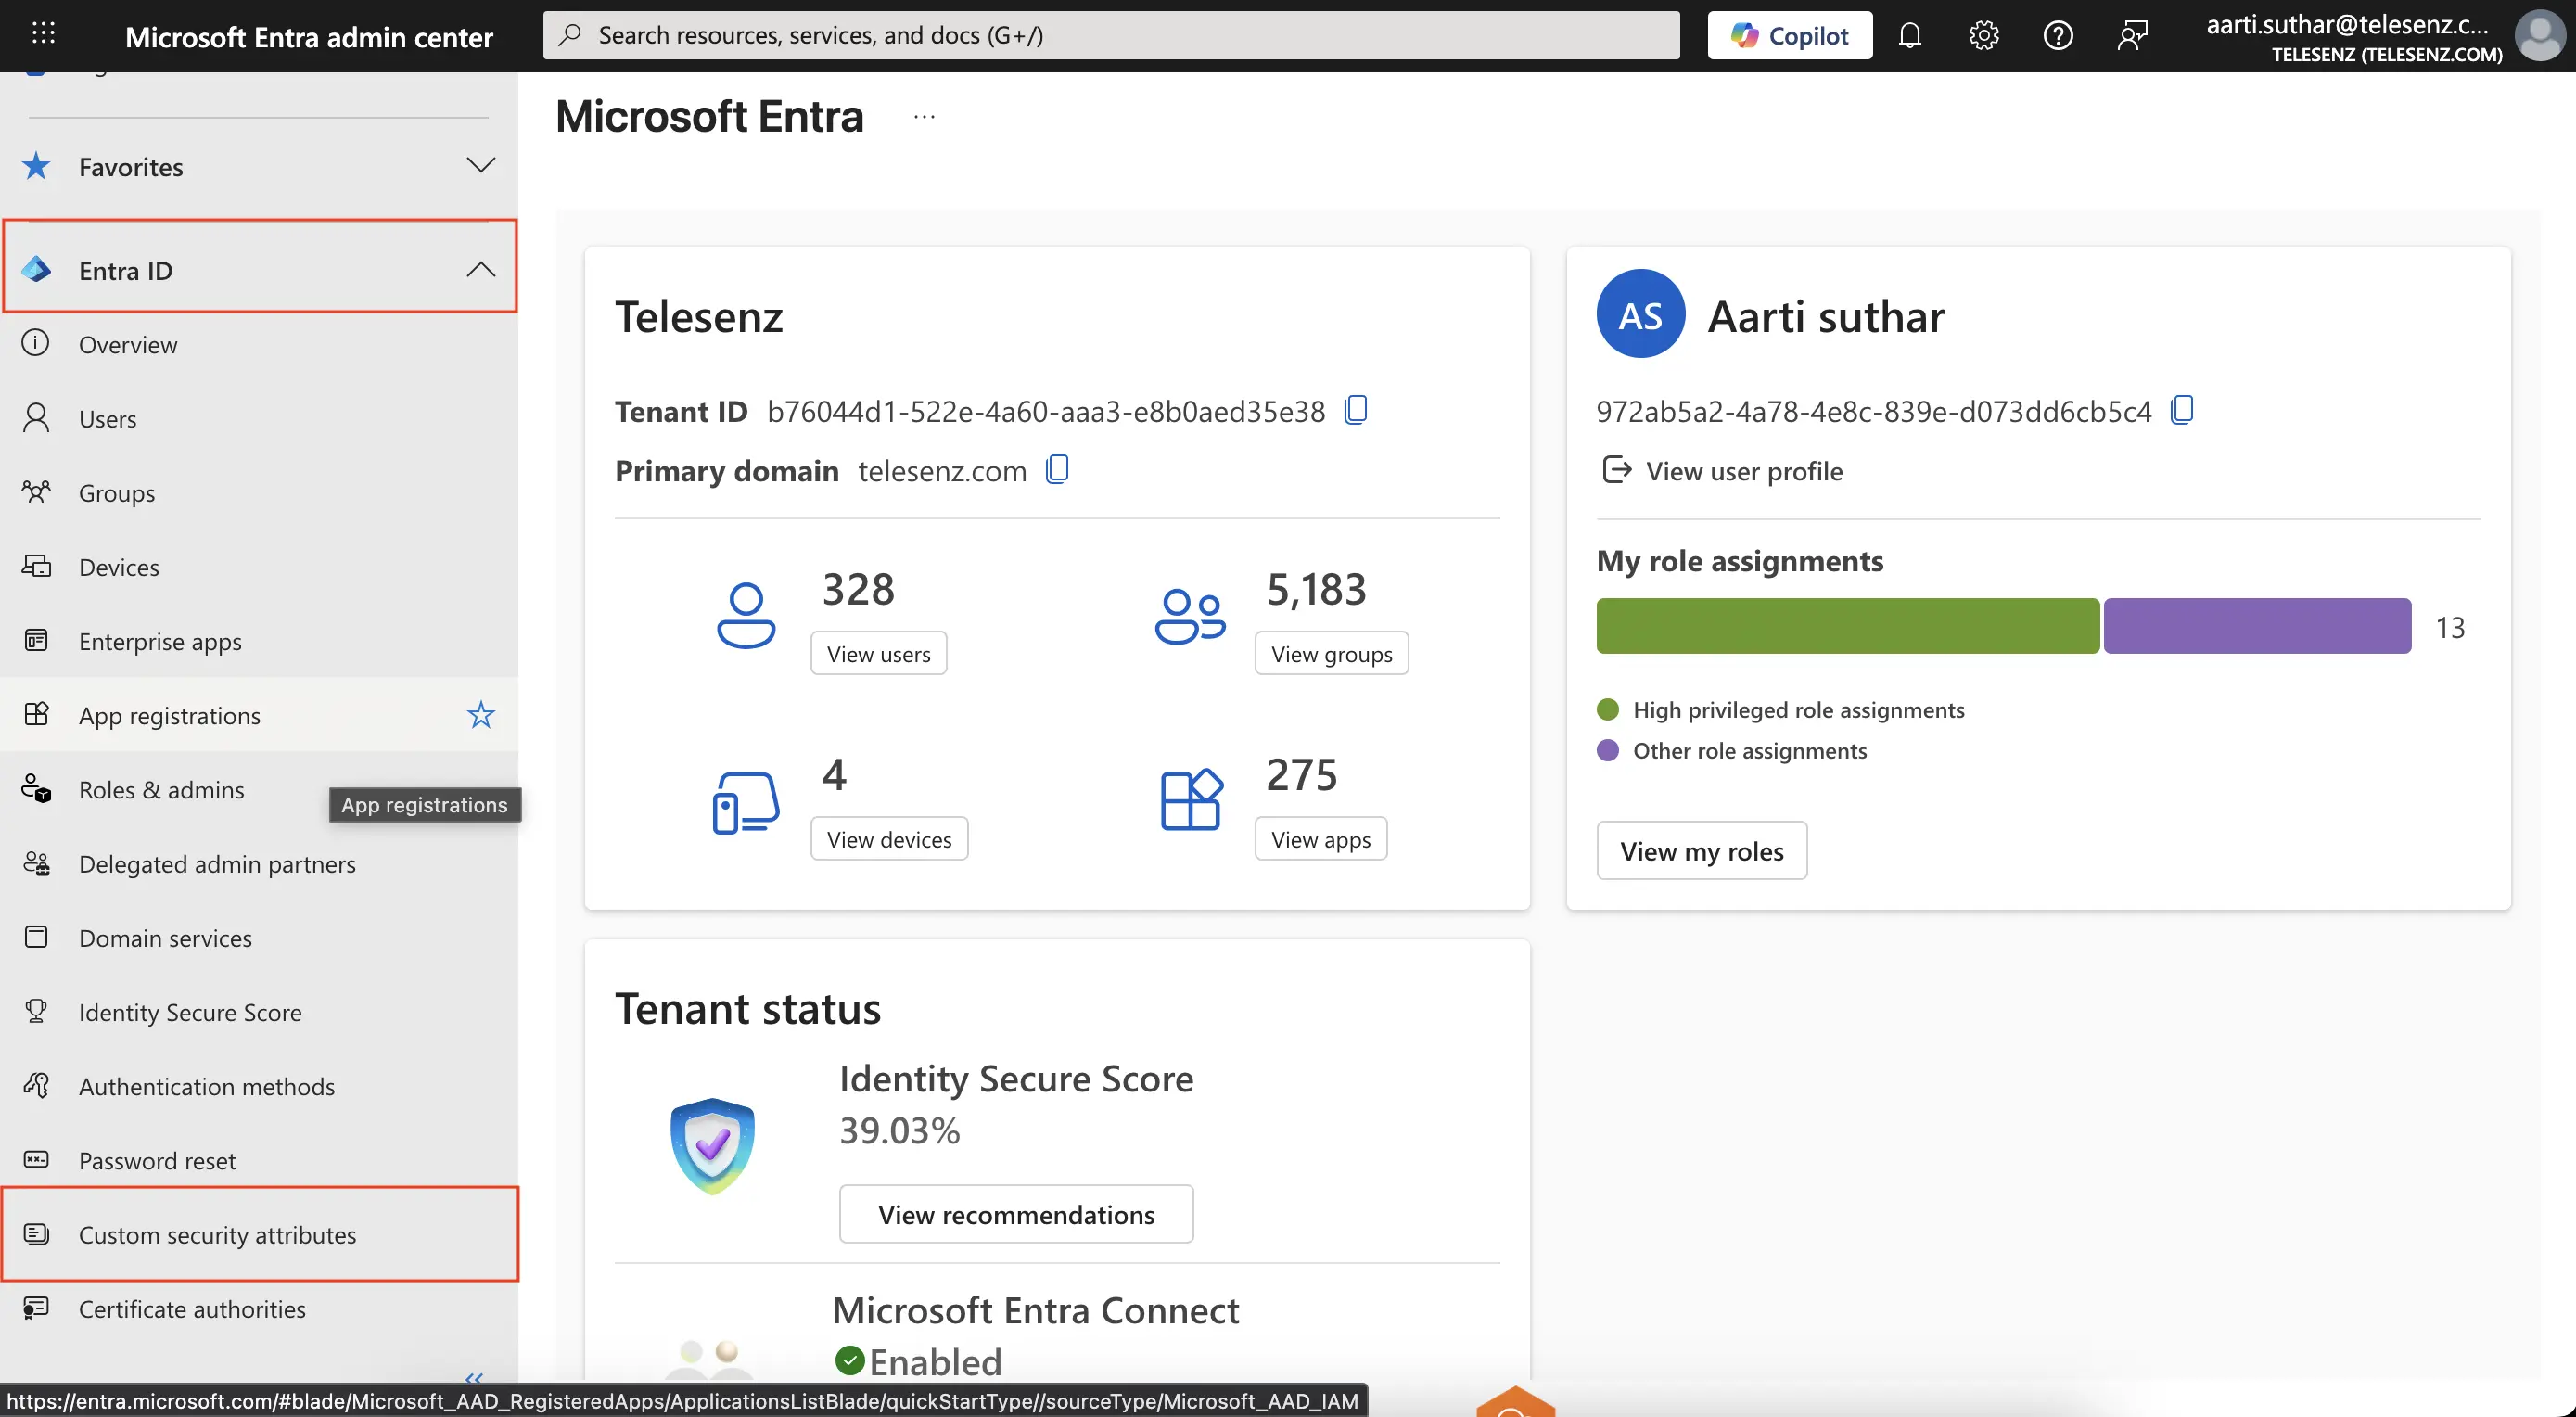 Figure 1. Entra Portal.
 -
Look for an attribute set named
Hire2RetireSet. If it does not exist, click + Add attribute set to create one and provide NameHire2RetireSetand add a Description (e.g., Attributes used by Hire2Retire for lifecycle tracking) and click Save.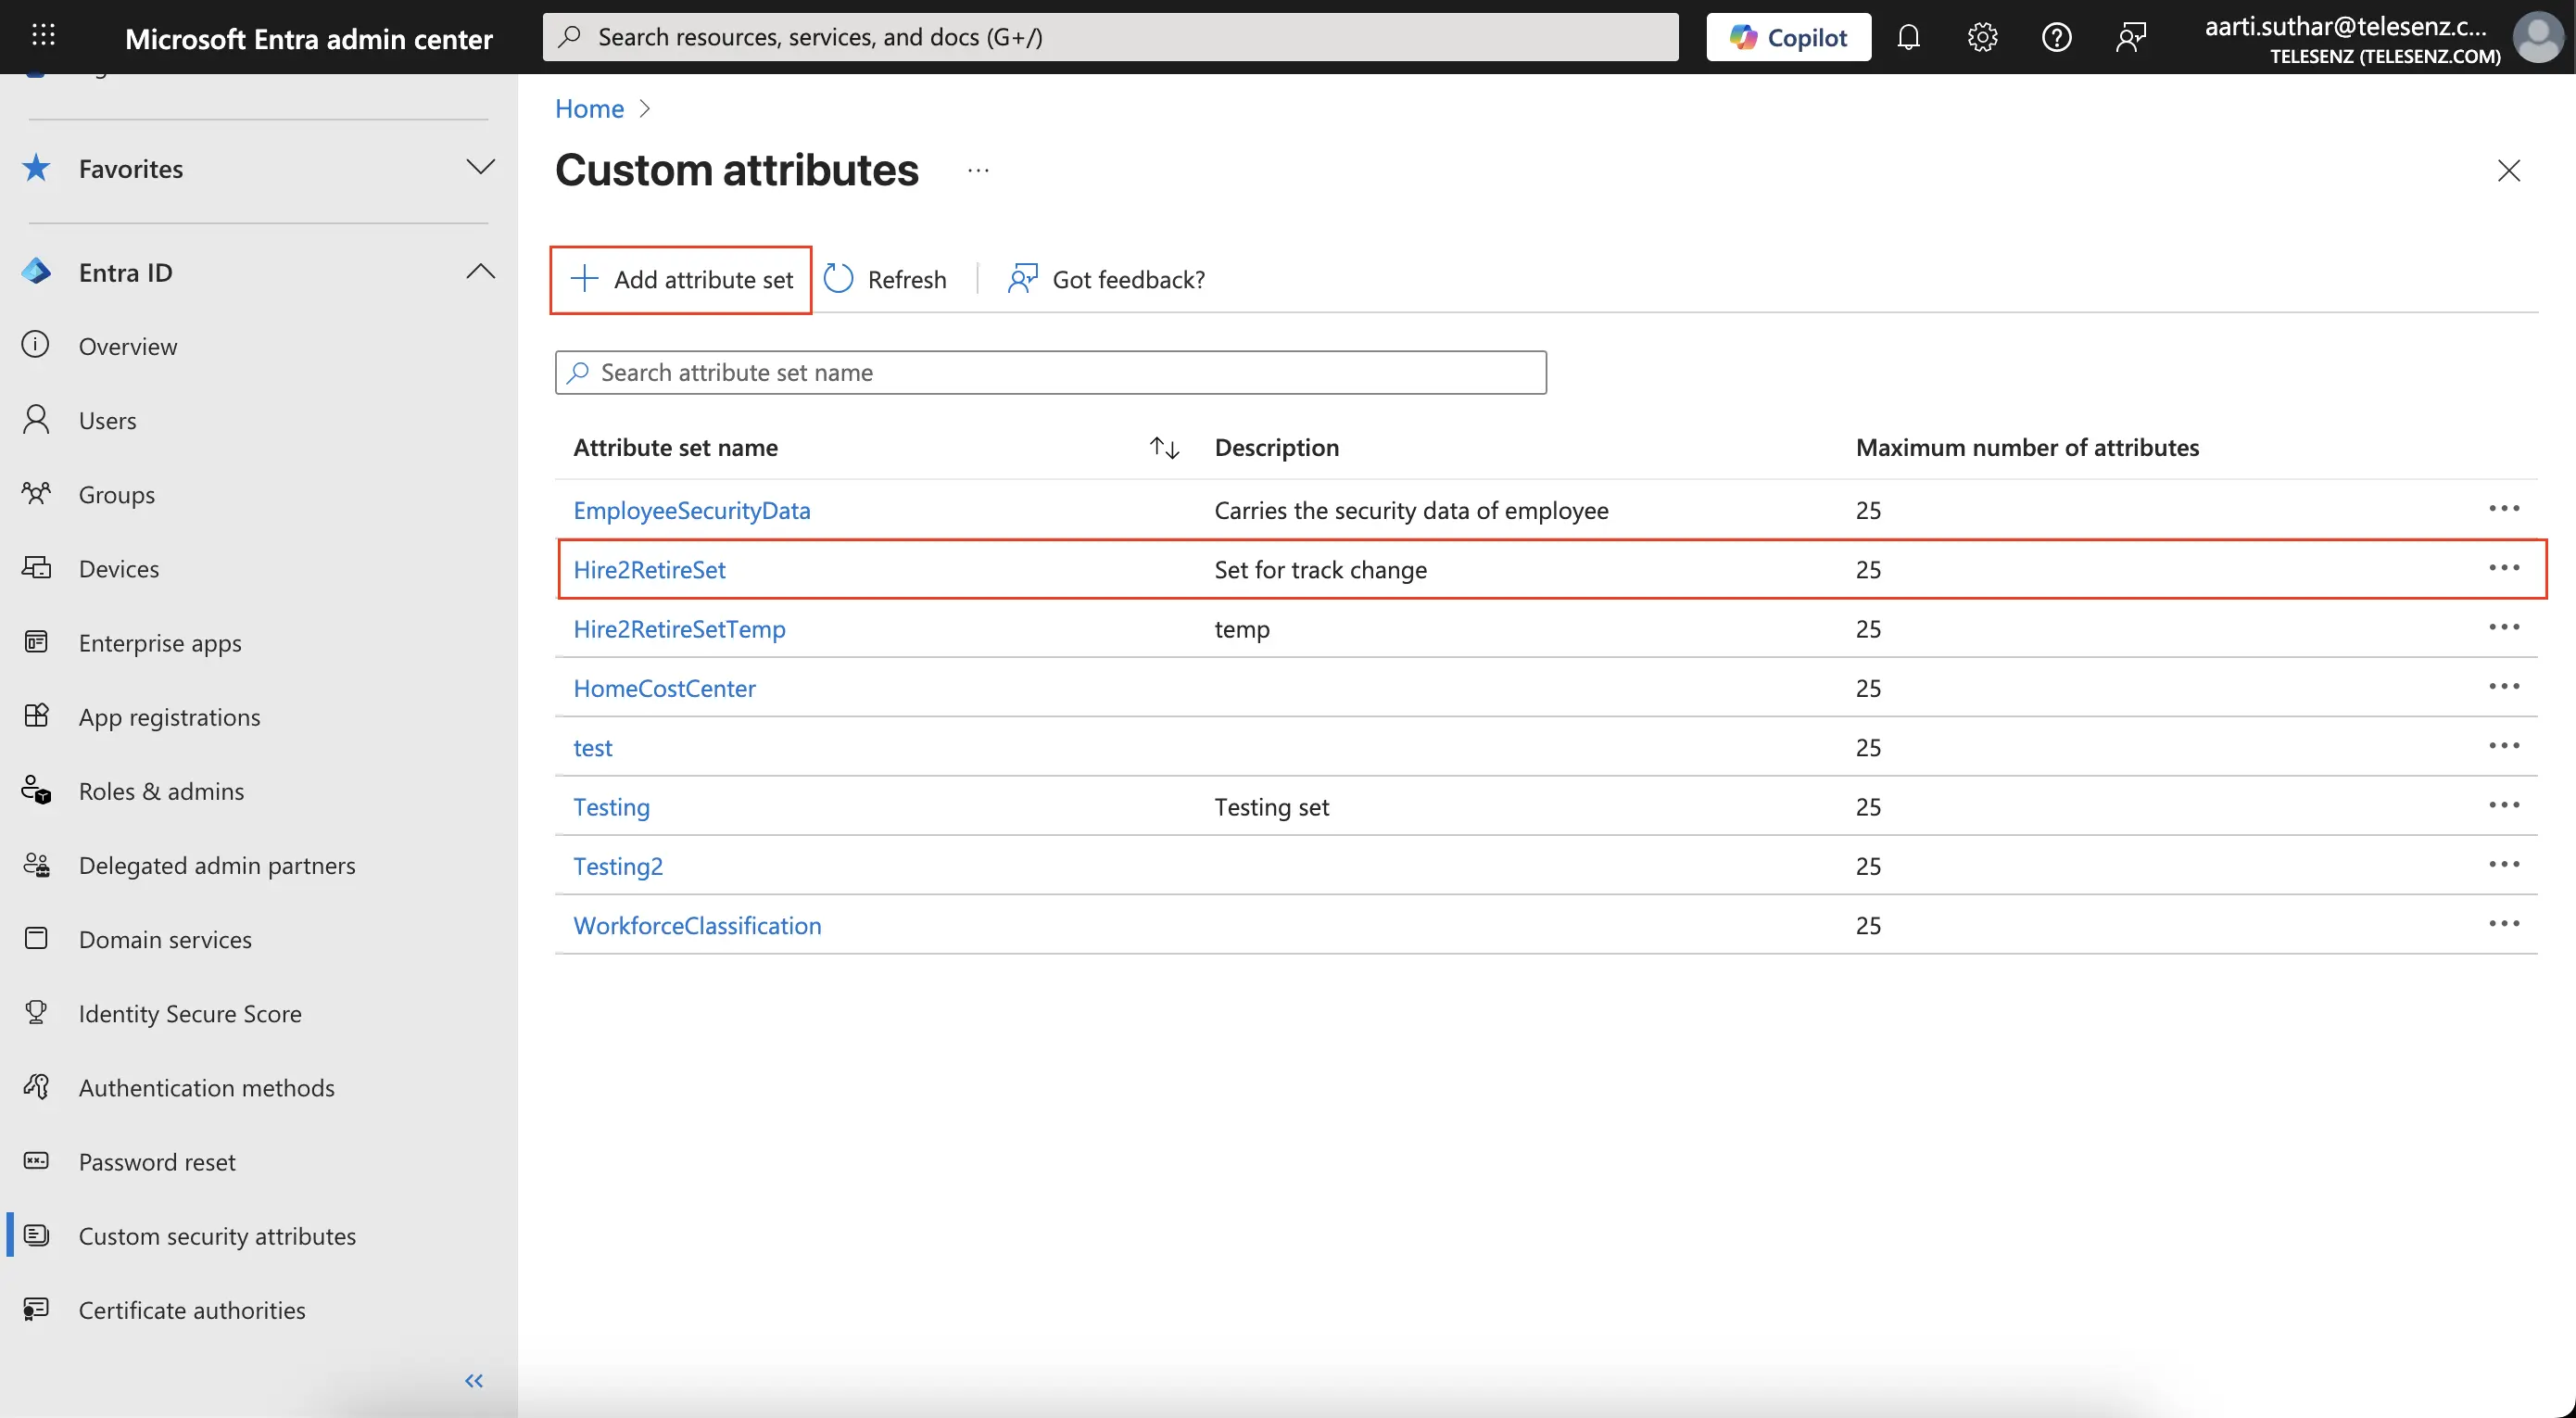 Figure 2. Click on Add Attribute Set.
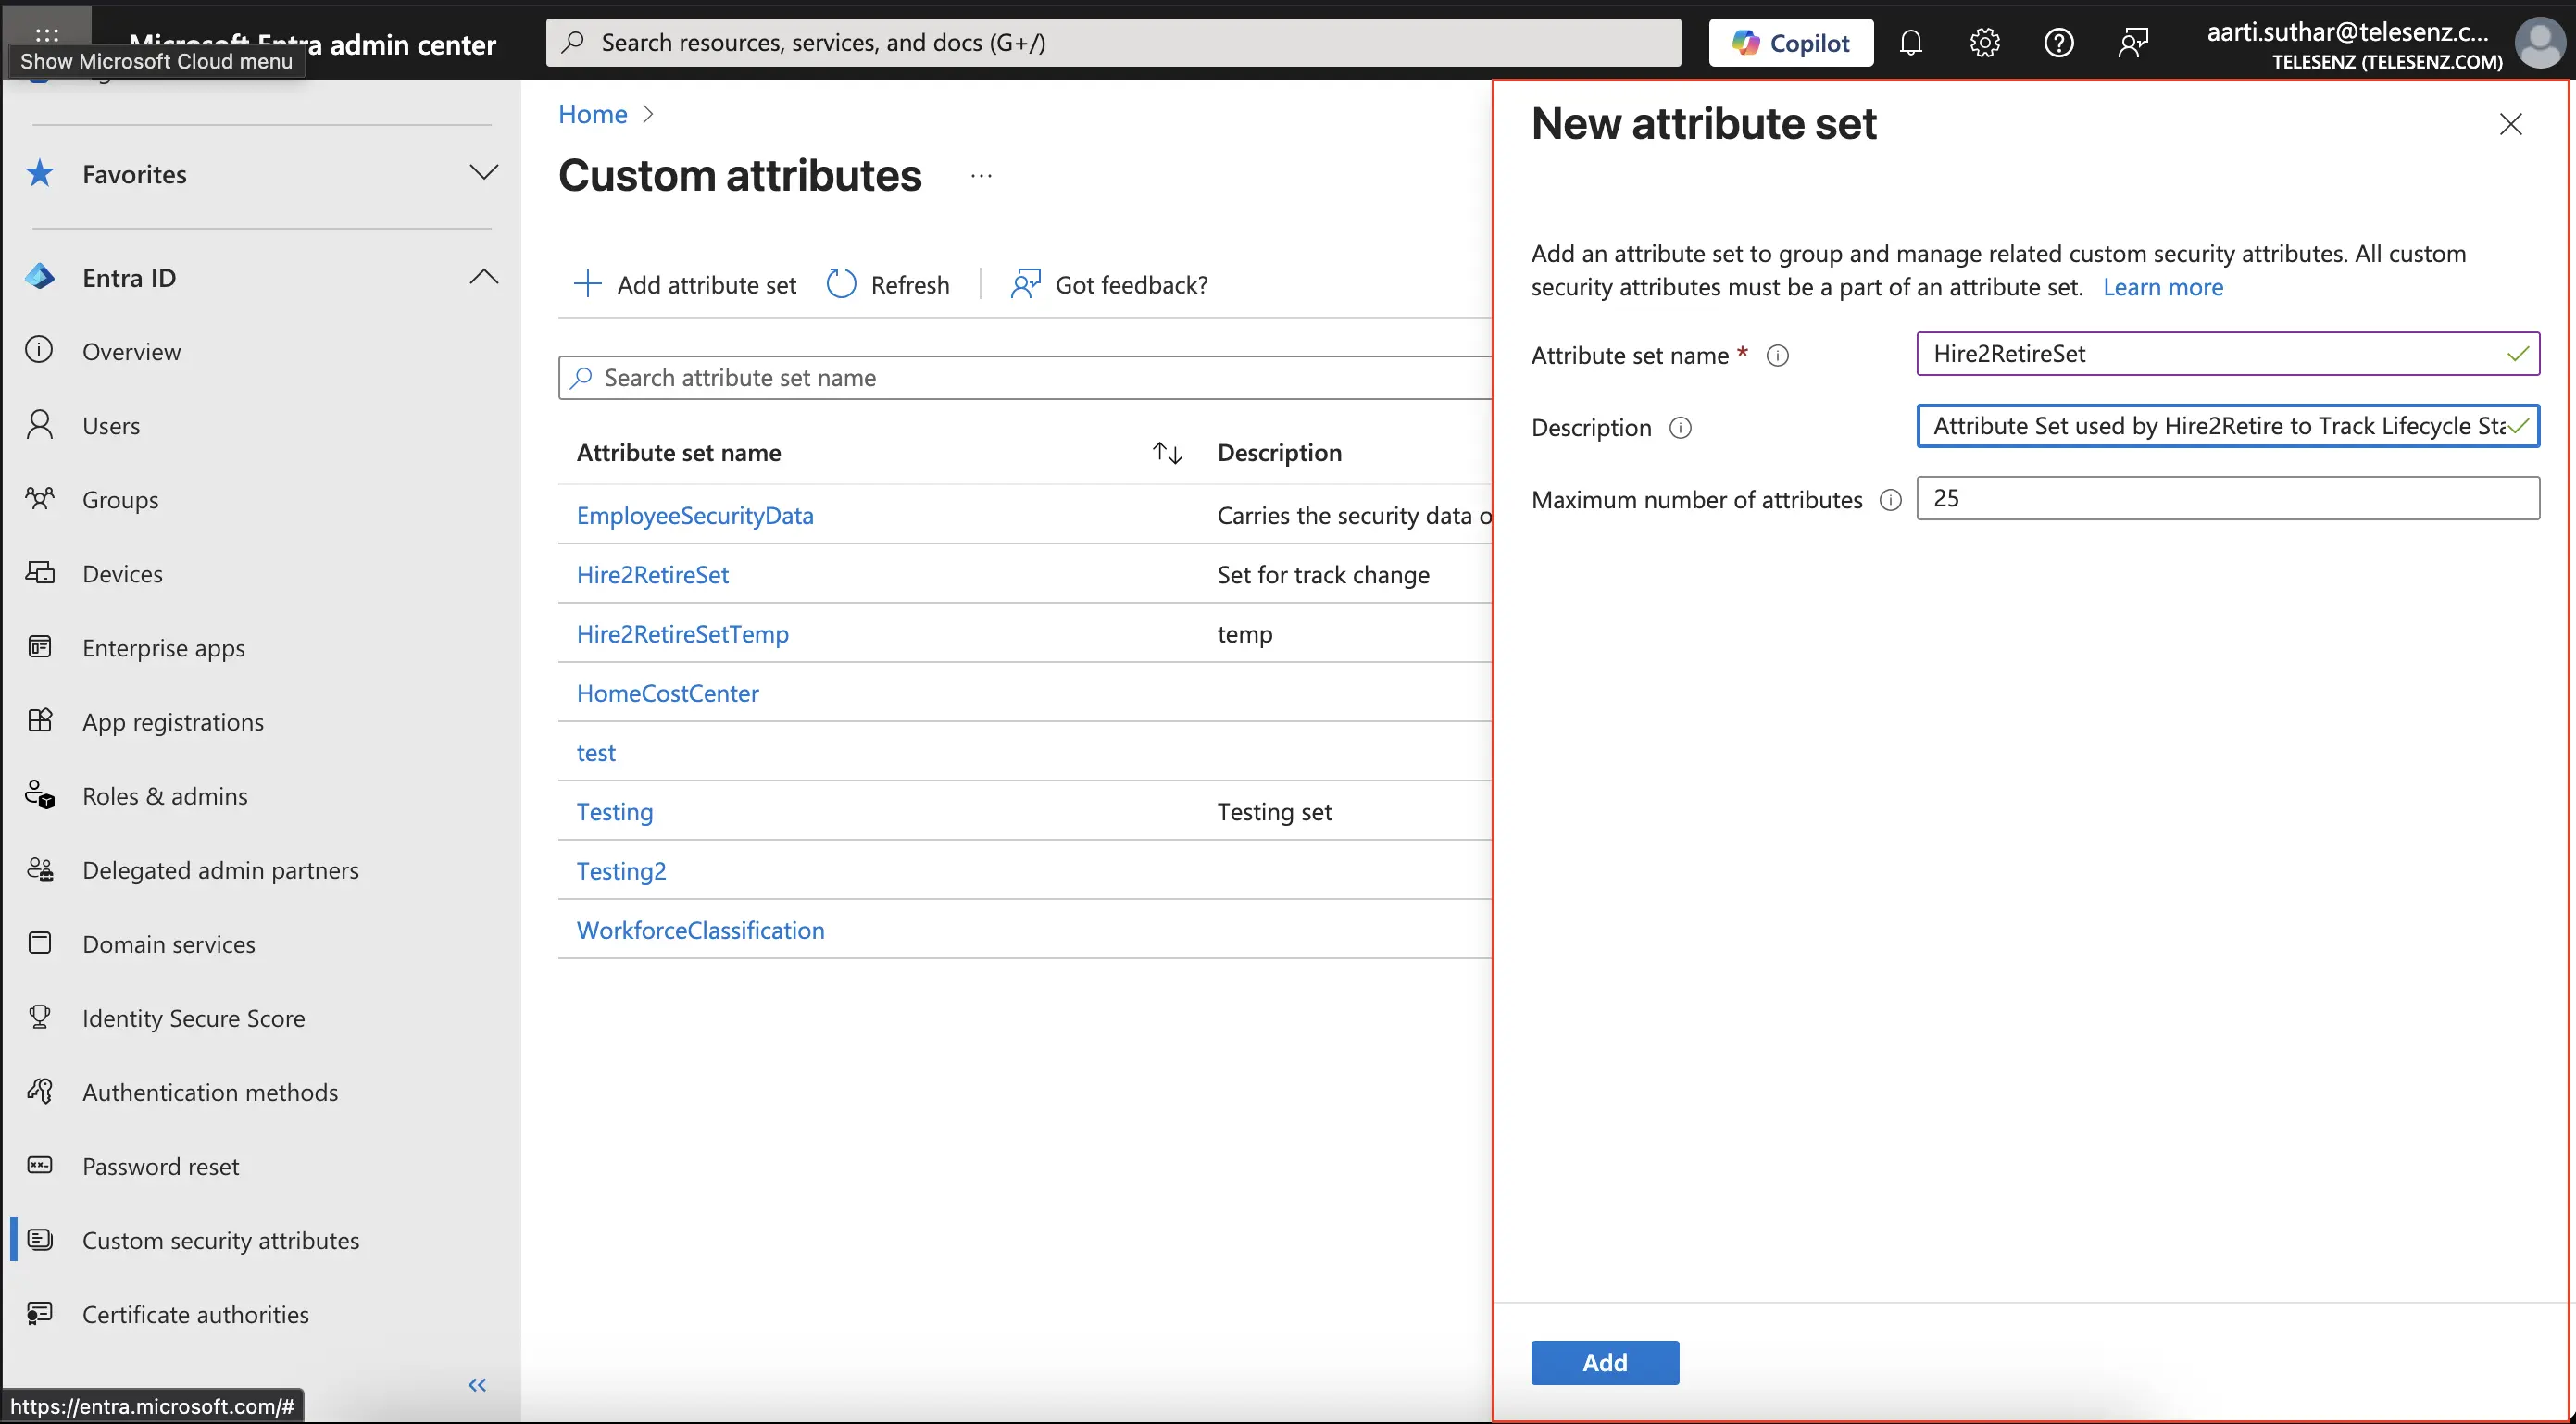 Figure 3. Create Attribute set4. Inside the
Hire2RetireSet.Hire2RetireSet, click + Add attribute and fill in the following details:
- Attribute Name:TrackStateChange
- Data Type: Choose fromString. - Allow multiple values to be assigned:No
- Only allow predefined values to be assigned:No5. Click Save to create the attribute.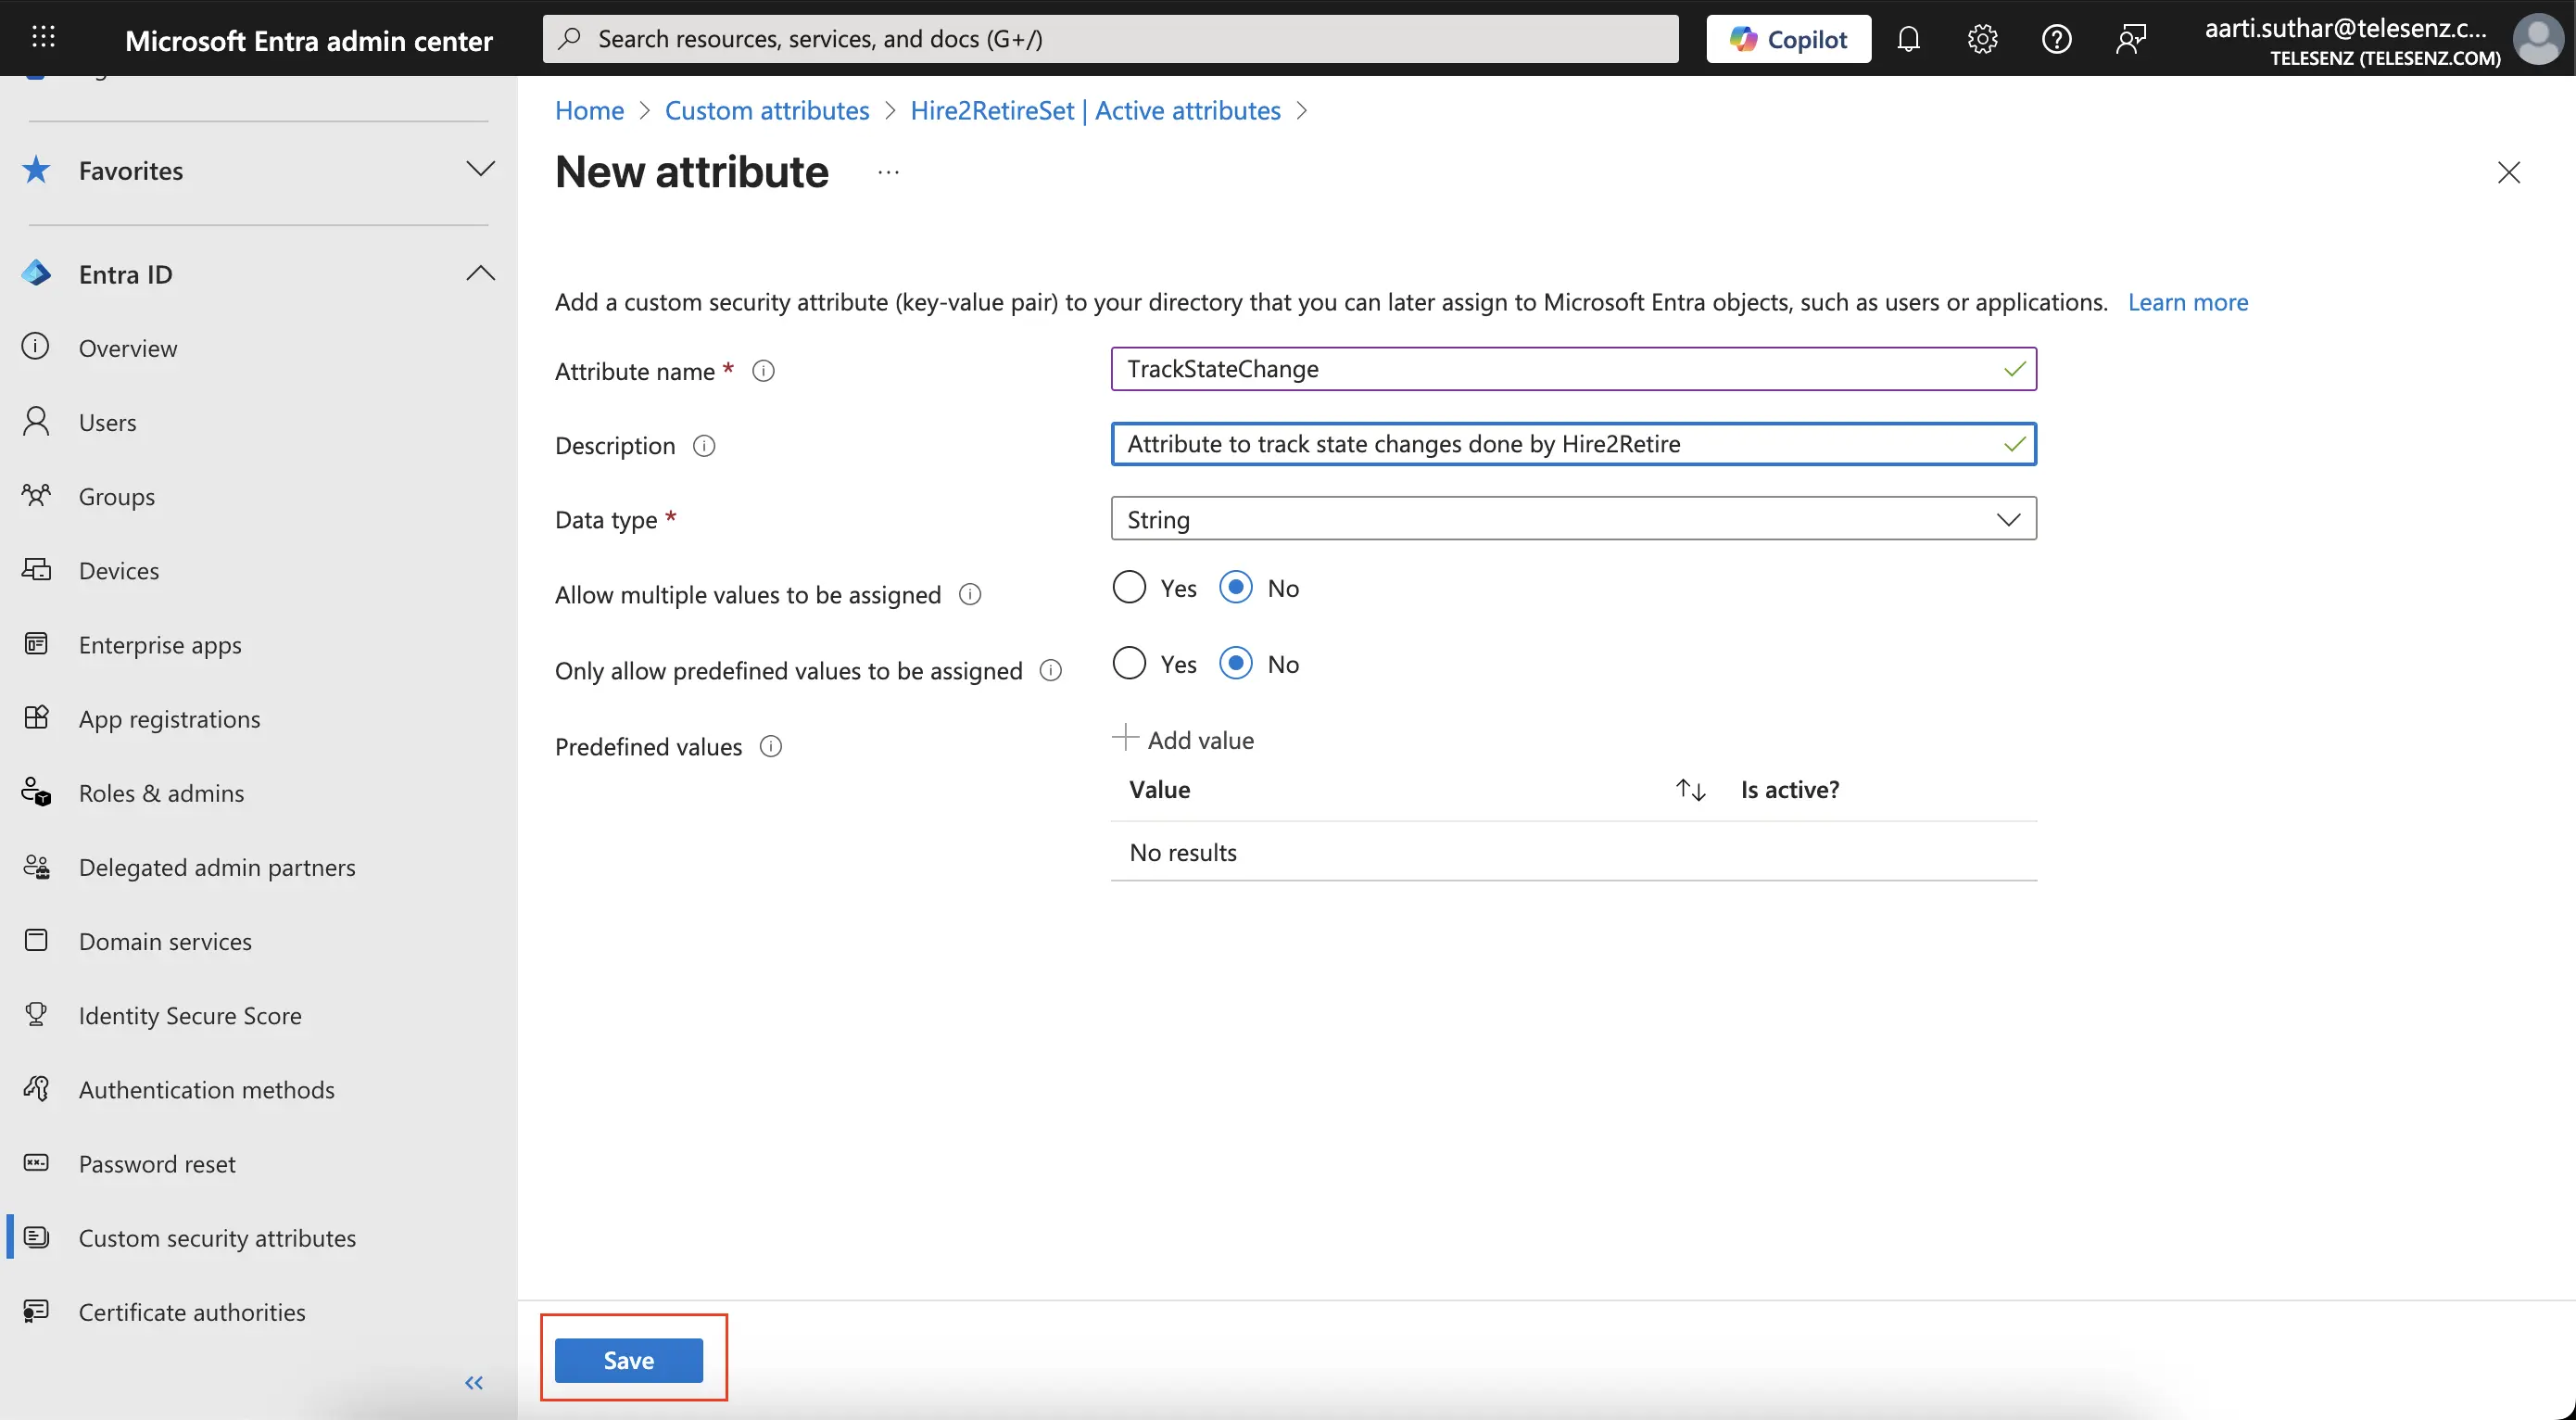 Figure 4. Create TrackStateChange attribute.6. Verify that it now appears under the
Hire2RetireSet.