Archive Data to Azure Blob Storage
Please refer to these steps to setup Azure application to use audit trailing.
App Registration and Role Assignments
Step 1: Create an Azure Application
- Sign into the Azure portal.
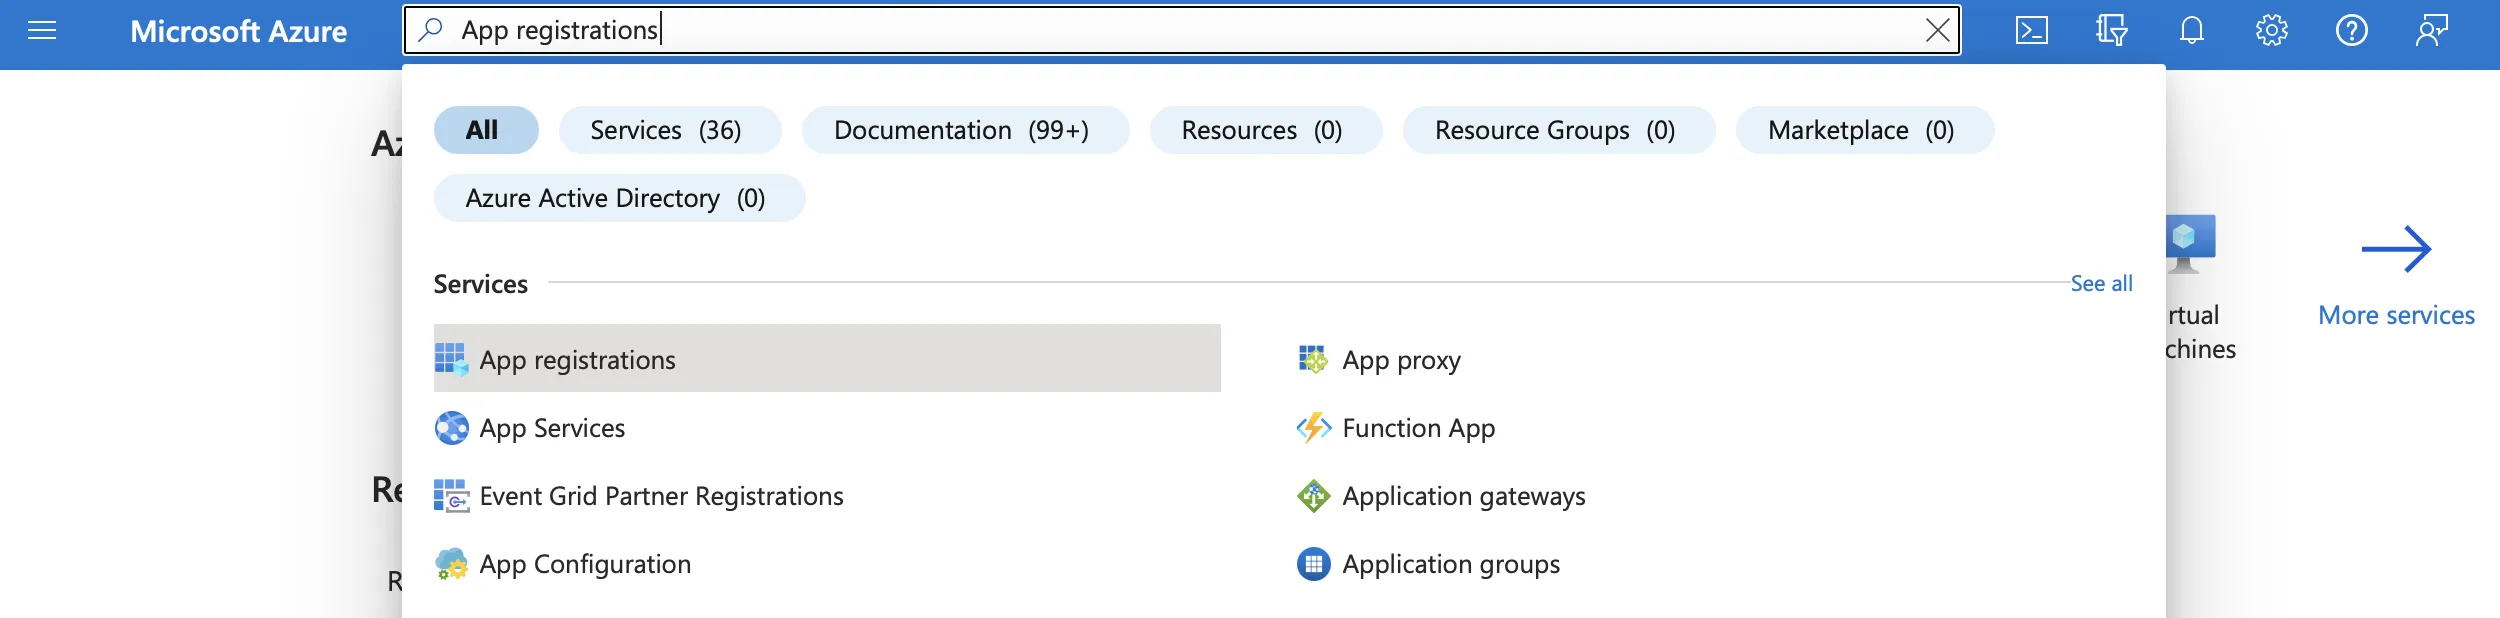
- Search for App registrations.
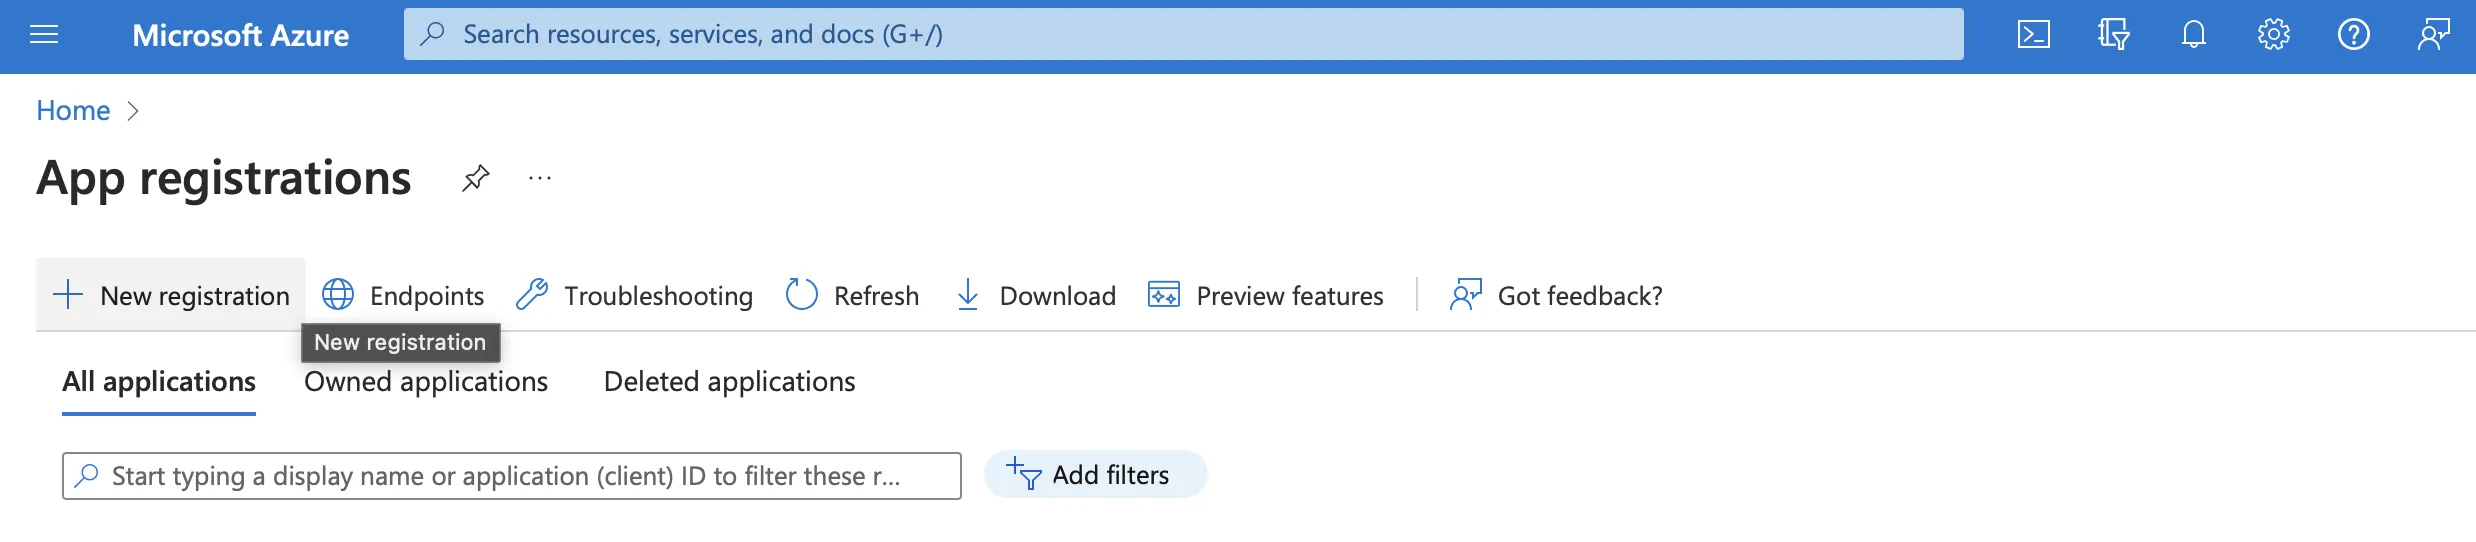
- Click on the + New registration button to create a new application.
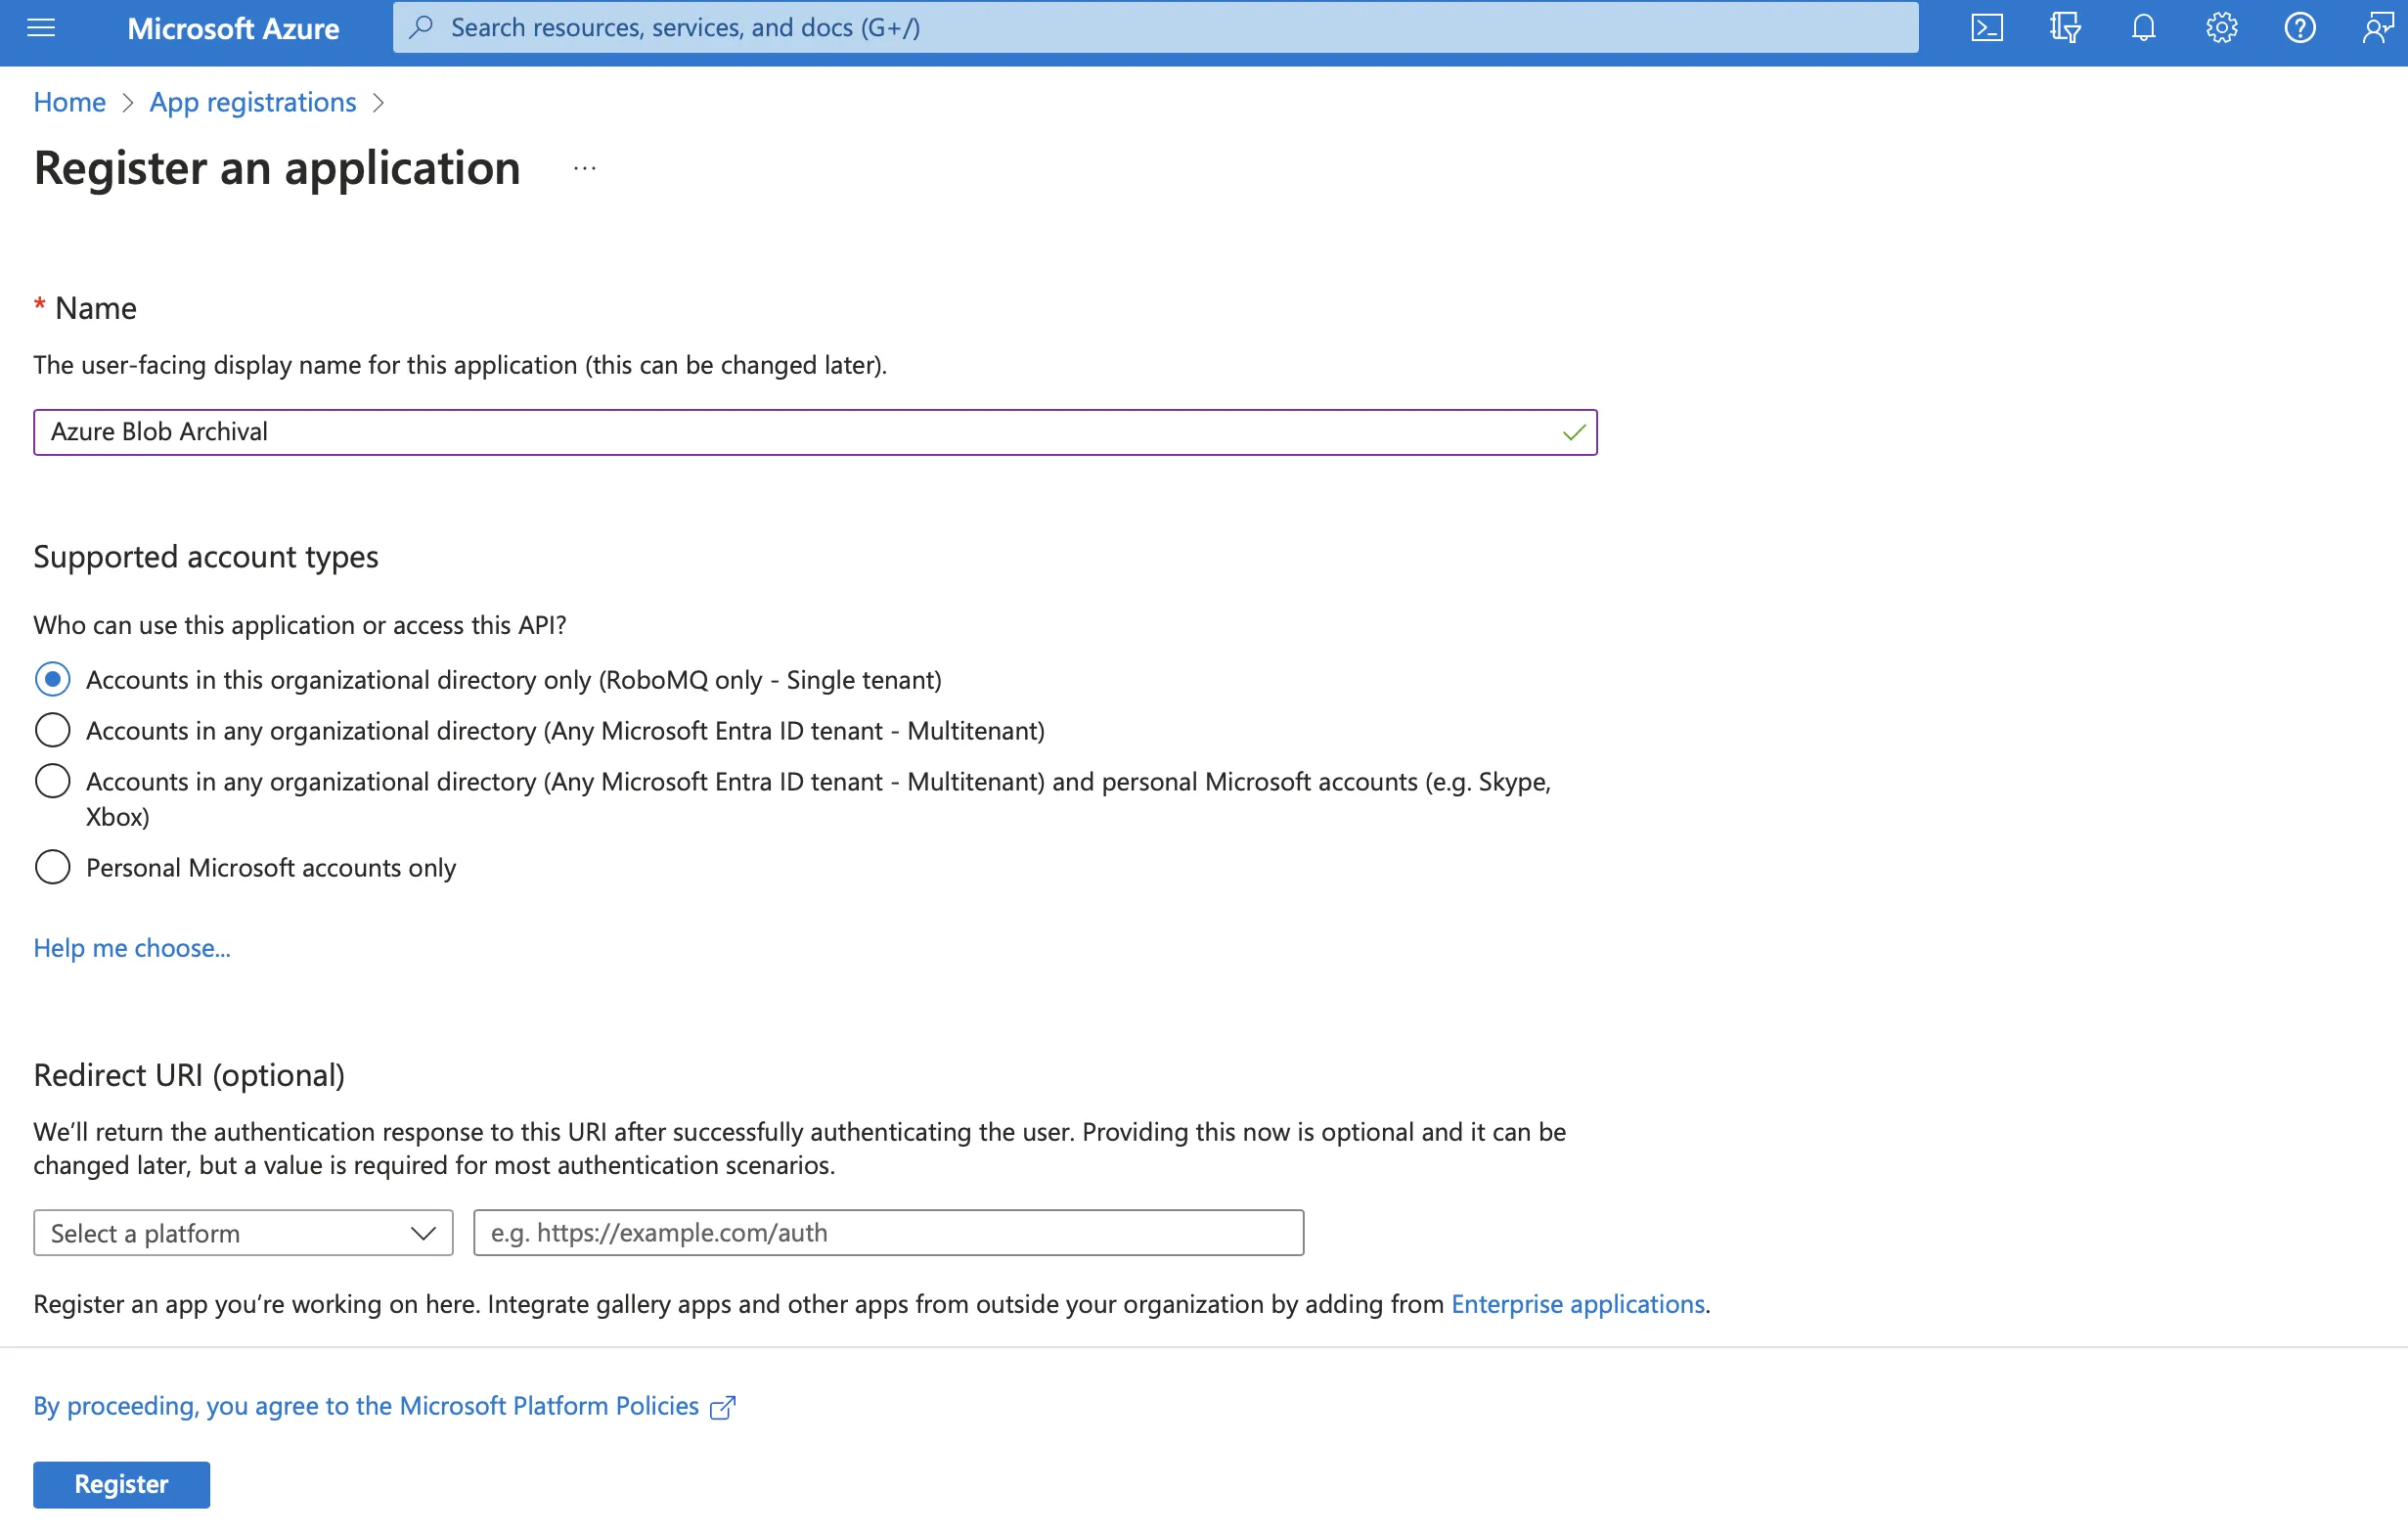
- Provide a name for your application, and choose the appropriate account type (e.g., Accounts in this organizational directory only or Accounts in any organizational directory).
- In the Redirect URI section, you can leave it blank for now if you do not have a specific redirect URI to configure.
- Click the Register button to create the application.
Step 2: API Permissions
- Under the API permissions section, click on the + Add a permission button.
- Search for User impersonation permission under Azure Storage section.
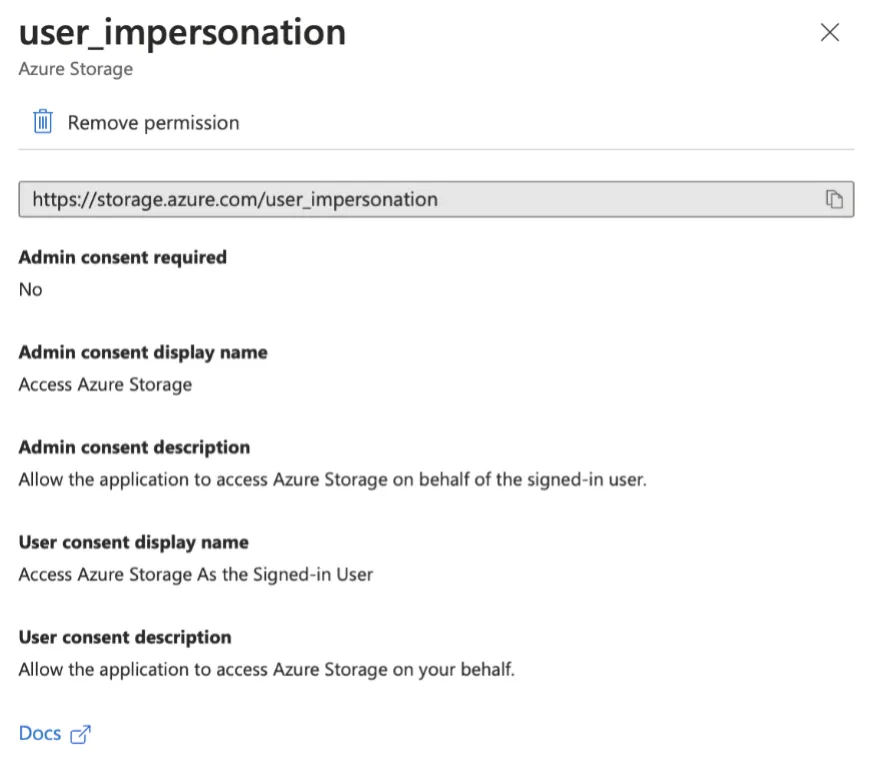
- Select and add the permission to app.

Step 3: Storage Account Configurations
Create a new storage account or use an existing account. The storage account should have these configurations.
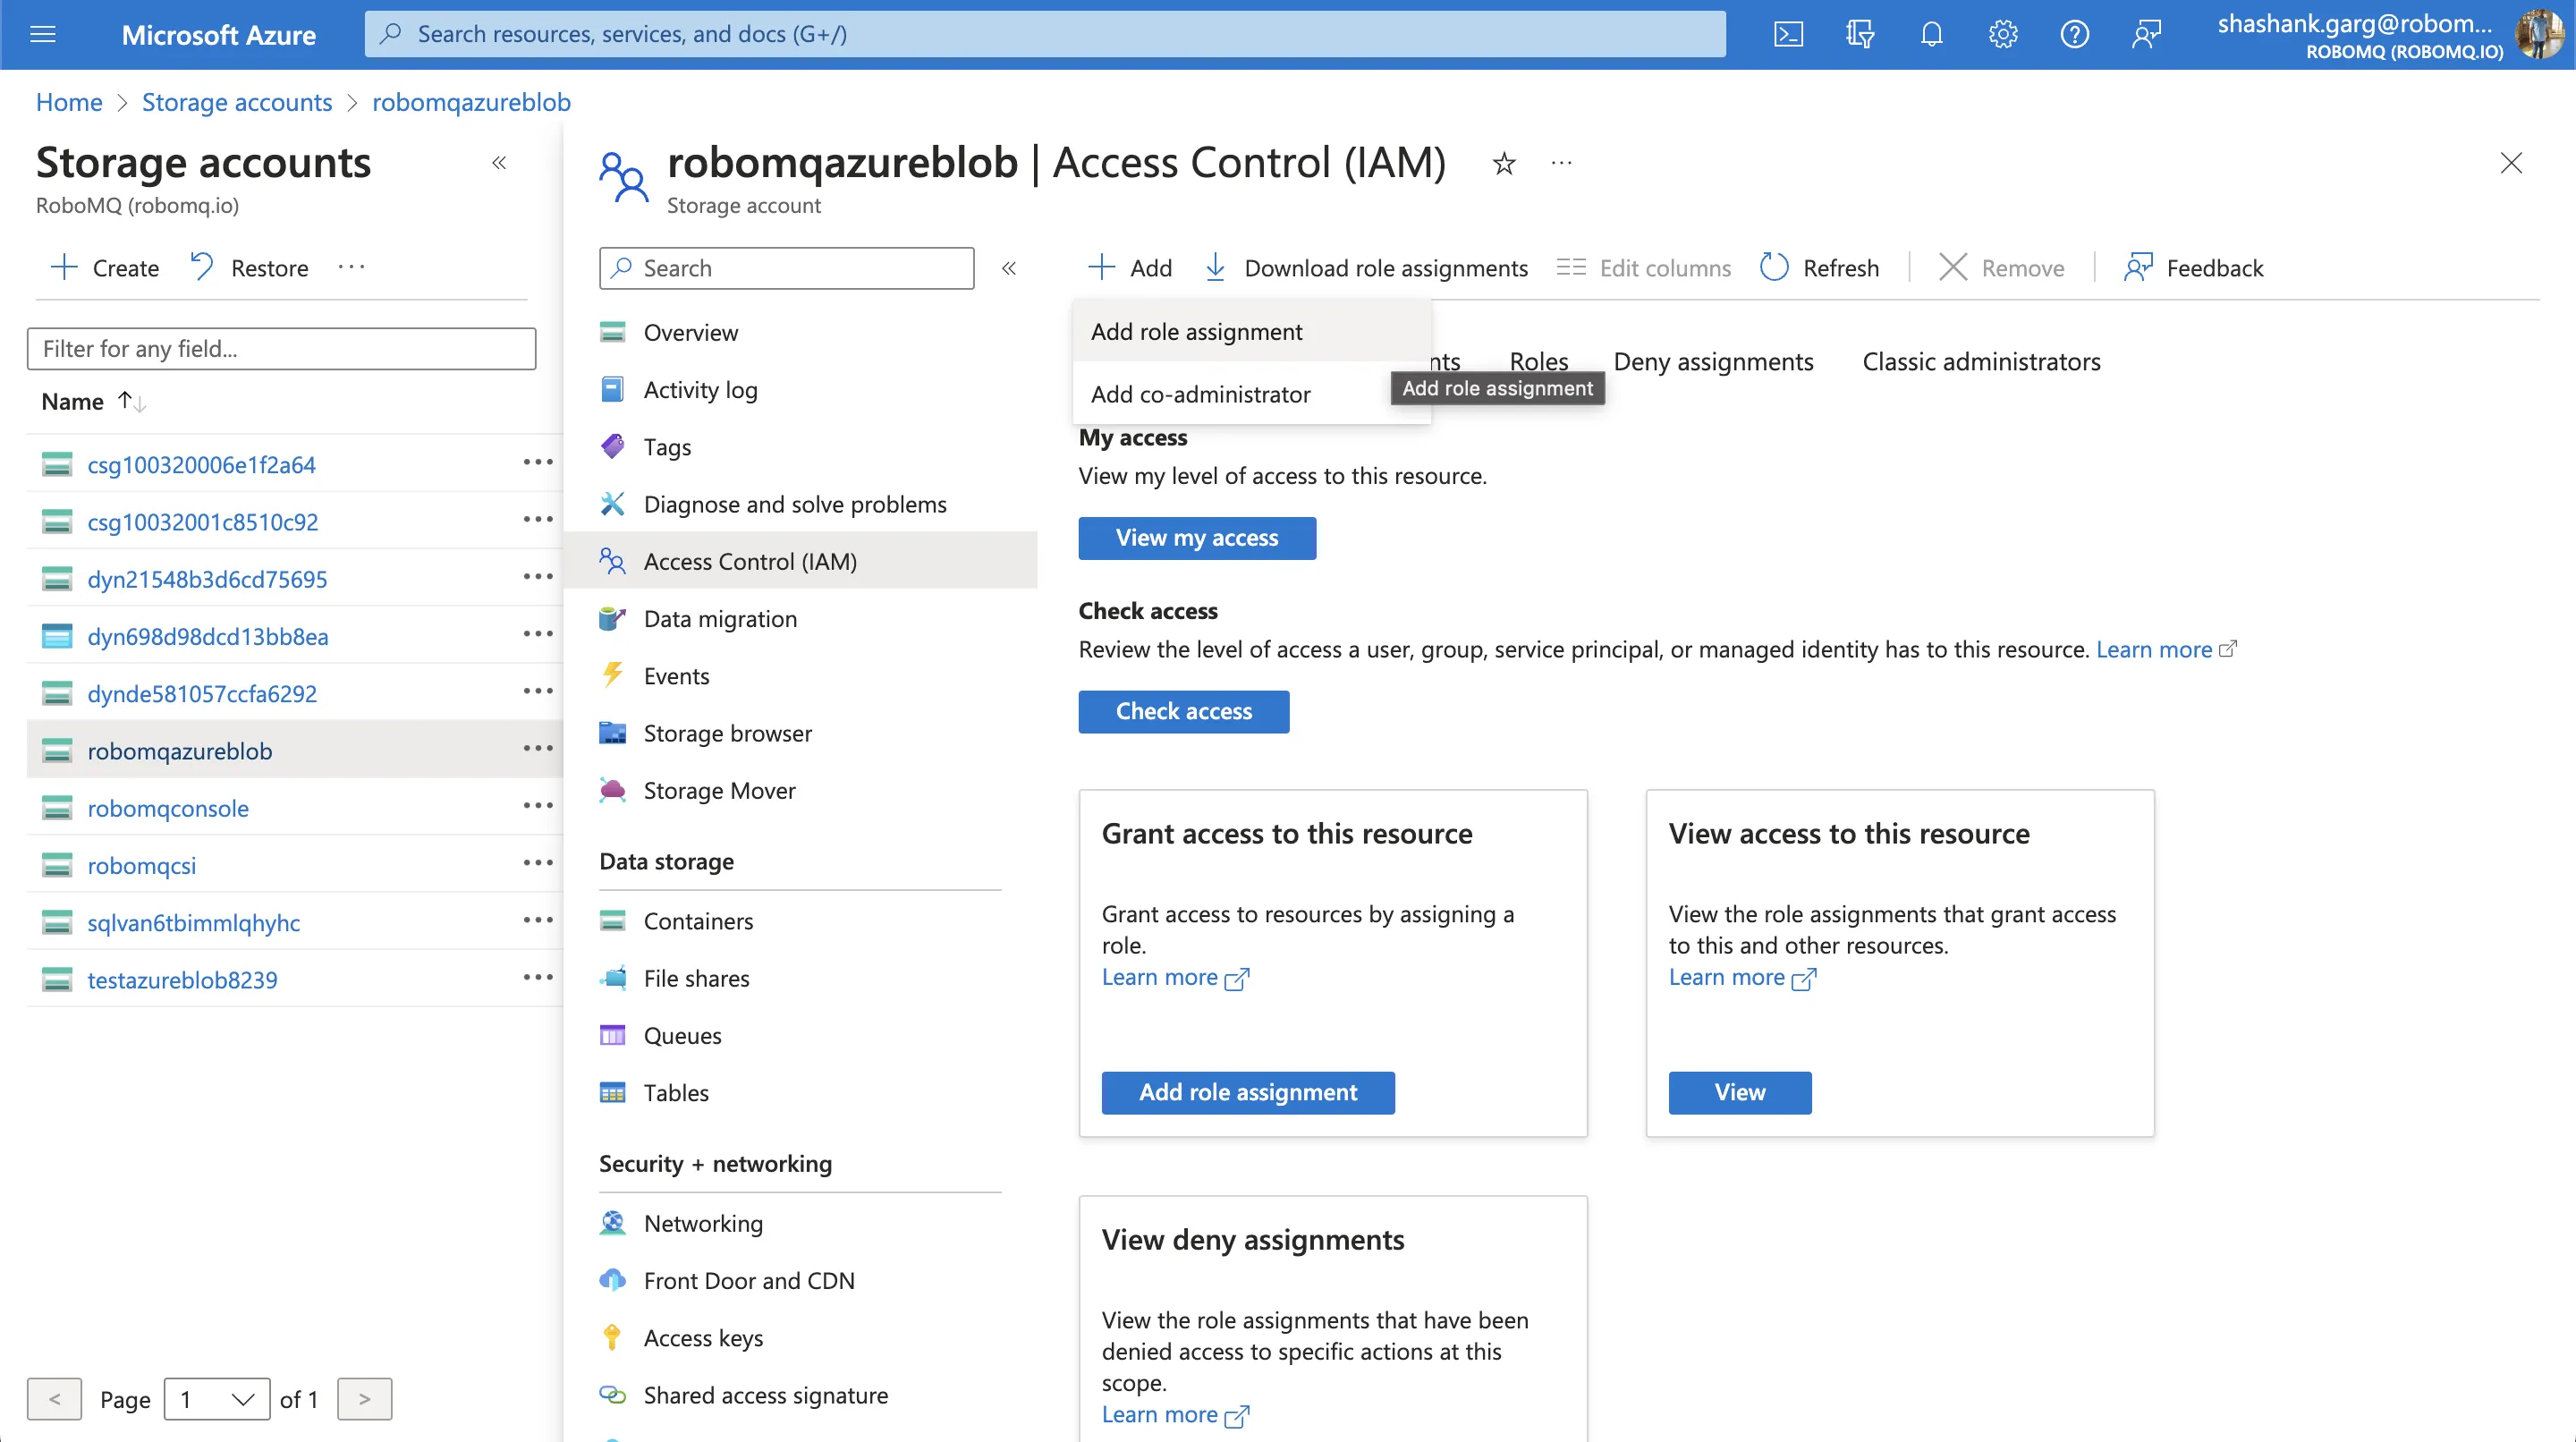
Step 4: Assign Permissions to Access Azure Blob Storage
- Go to your Azure Blob Storage account in the Azure portal.
- In the left-hand menu, select Access control (IAM).
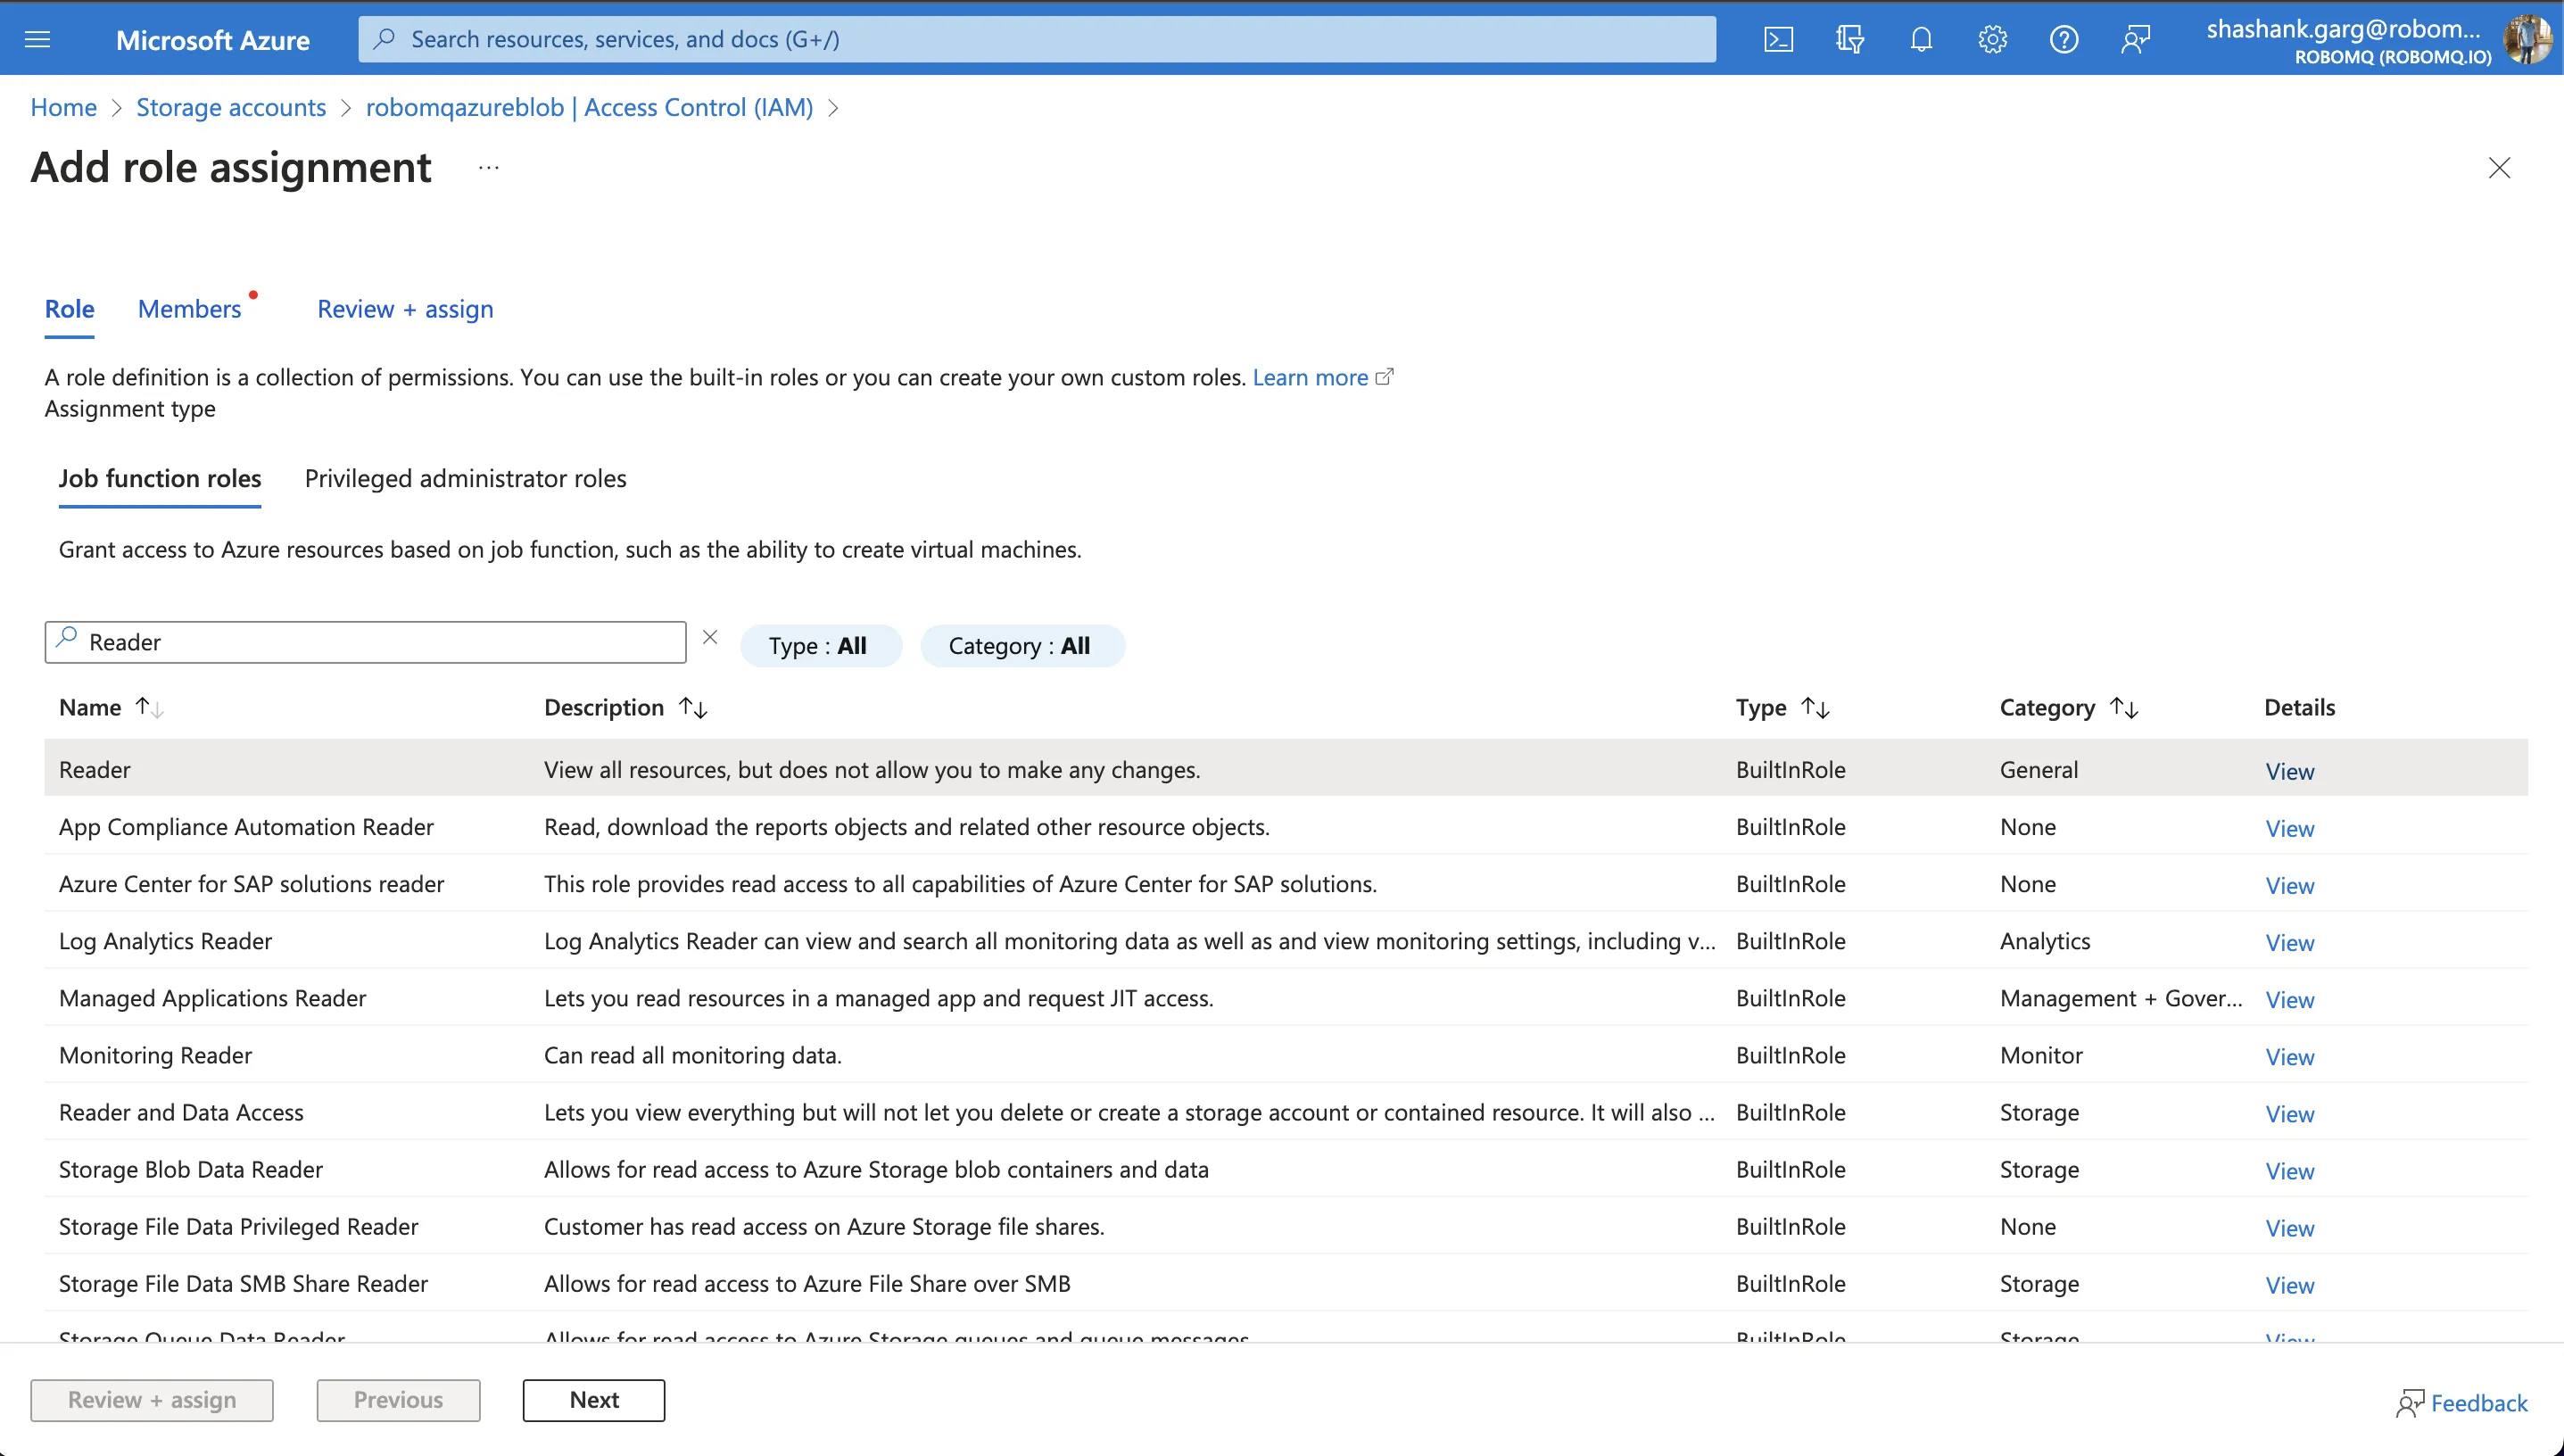
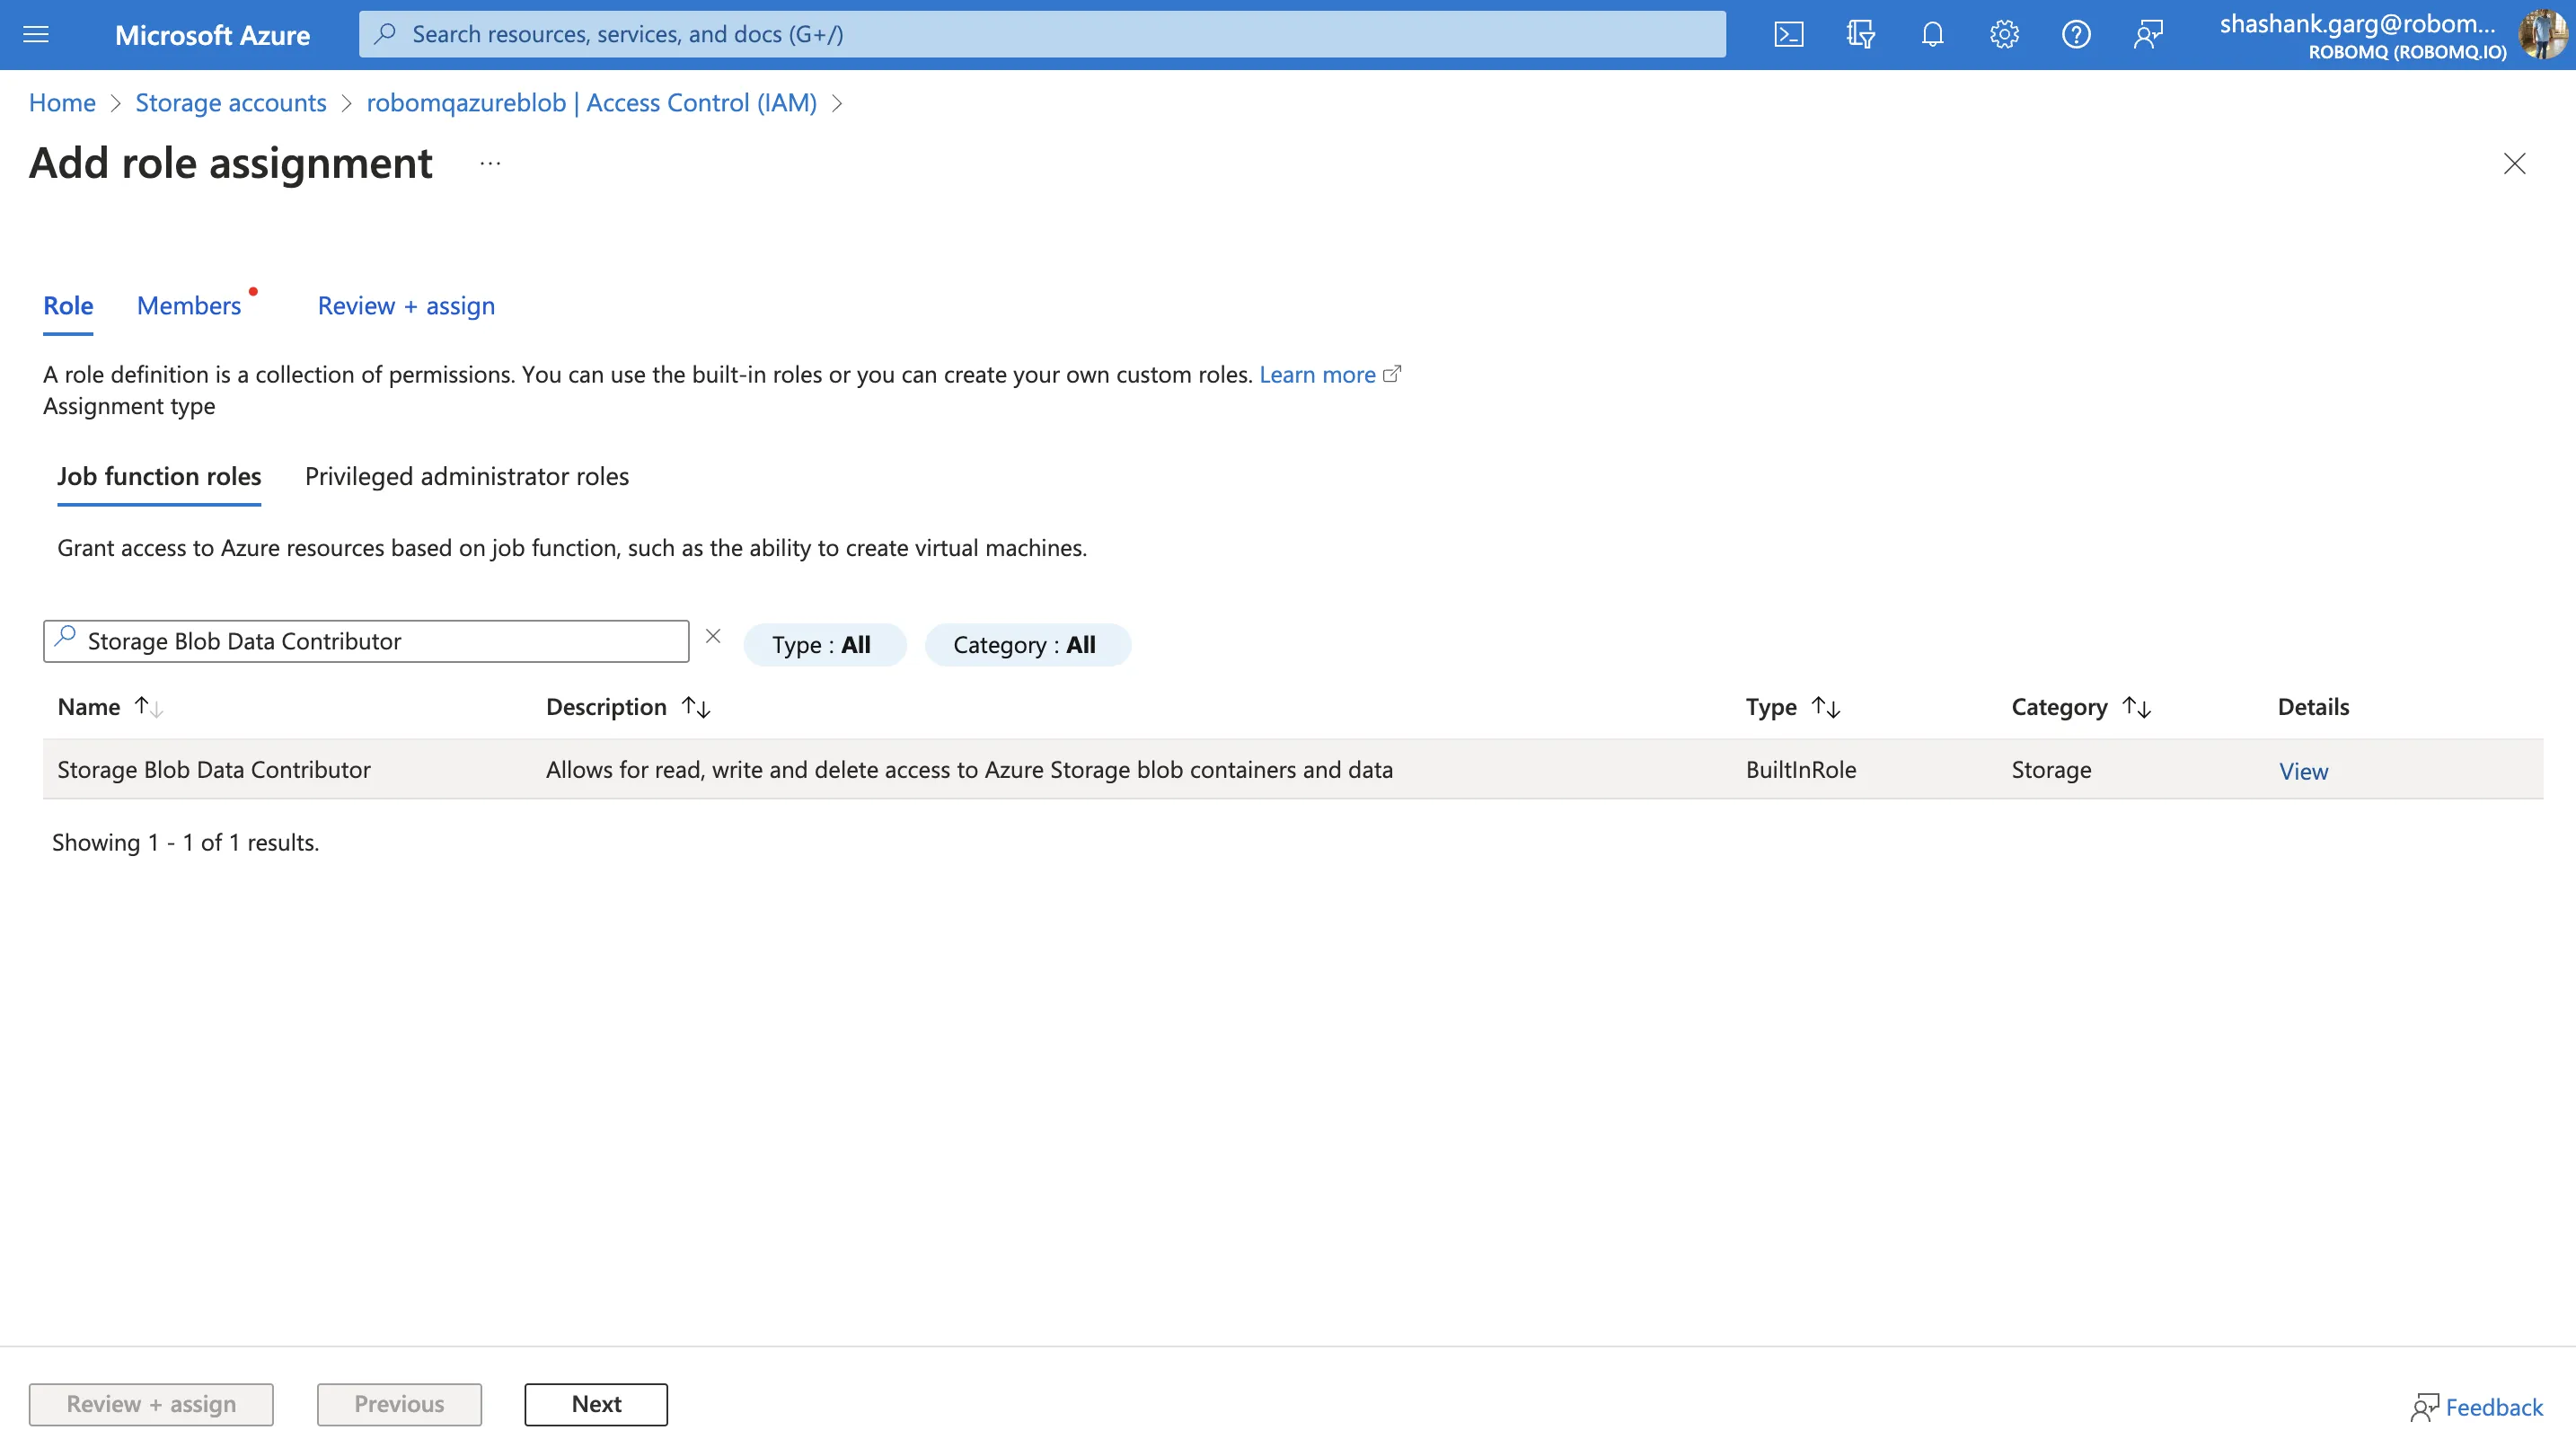
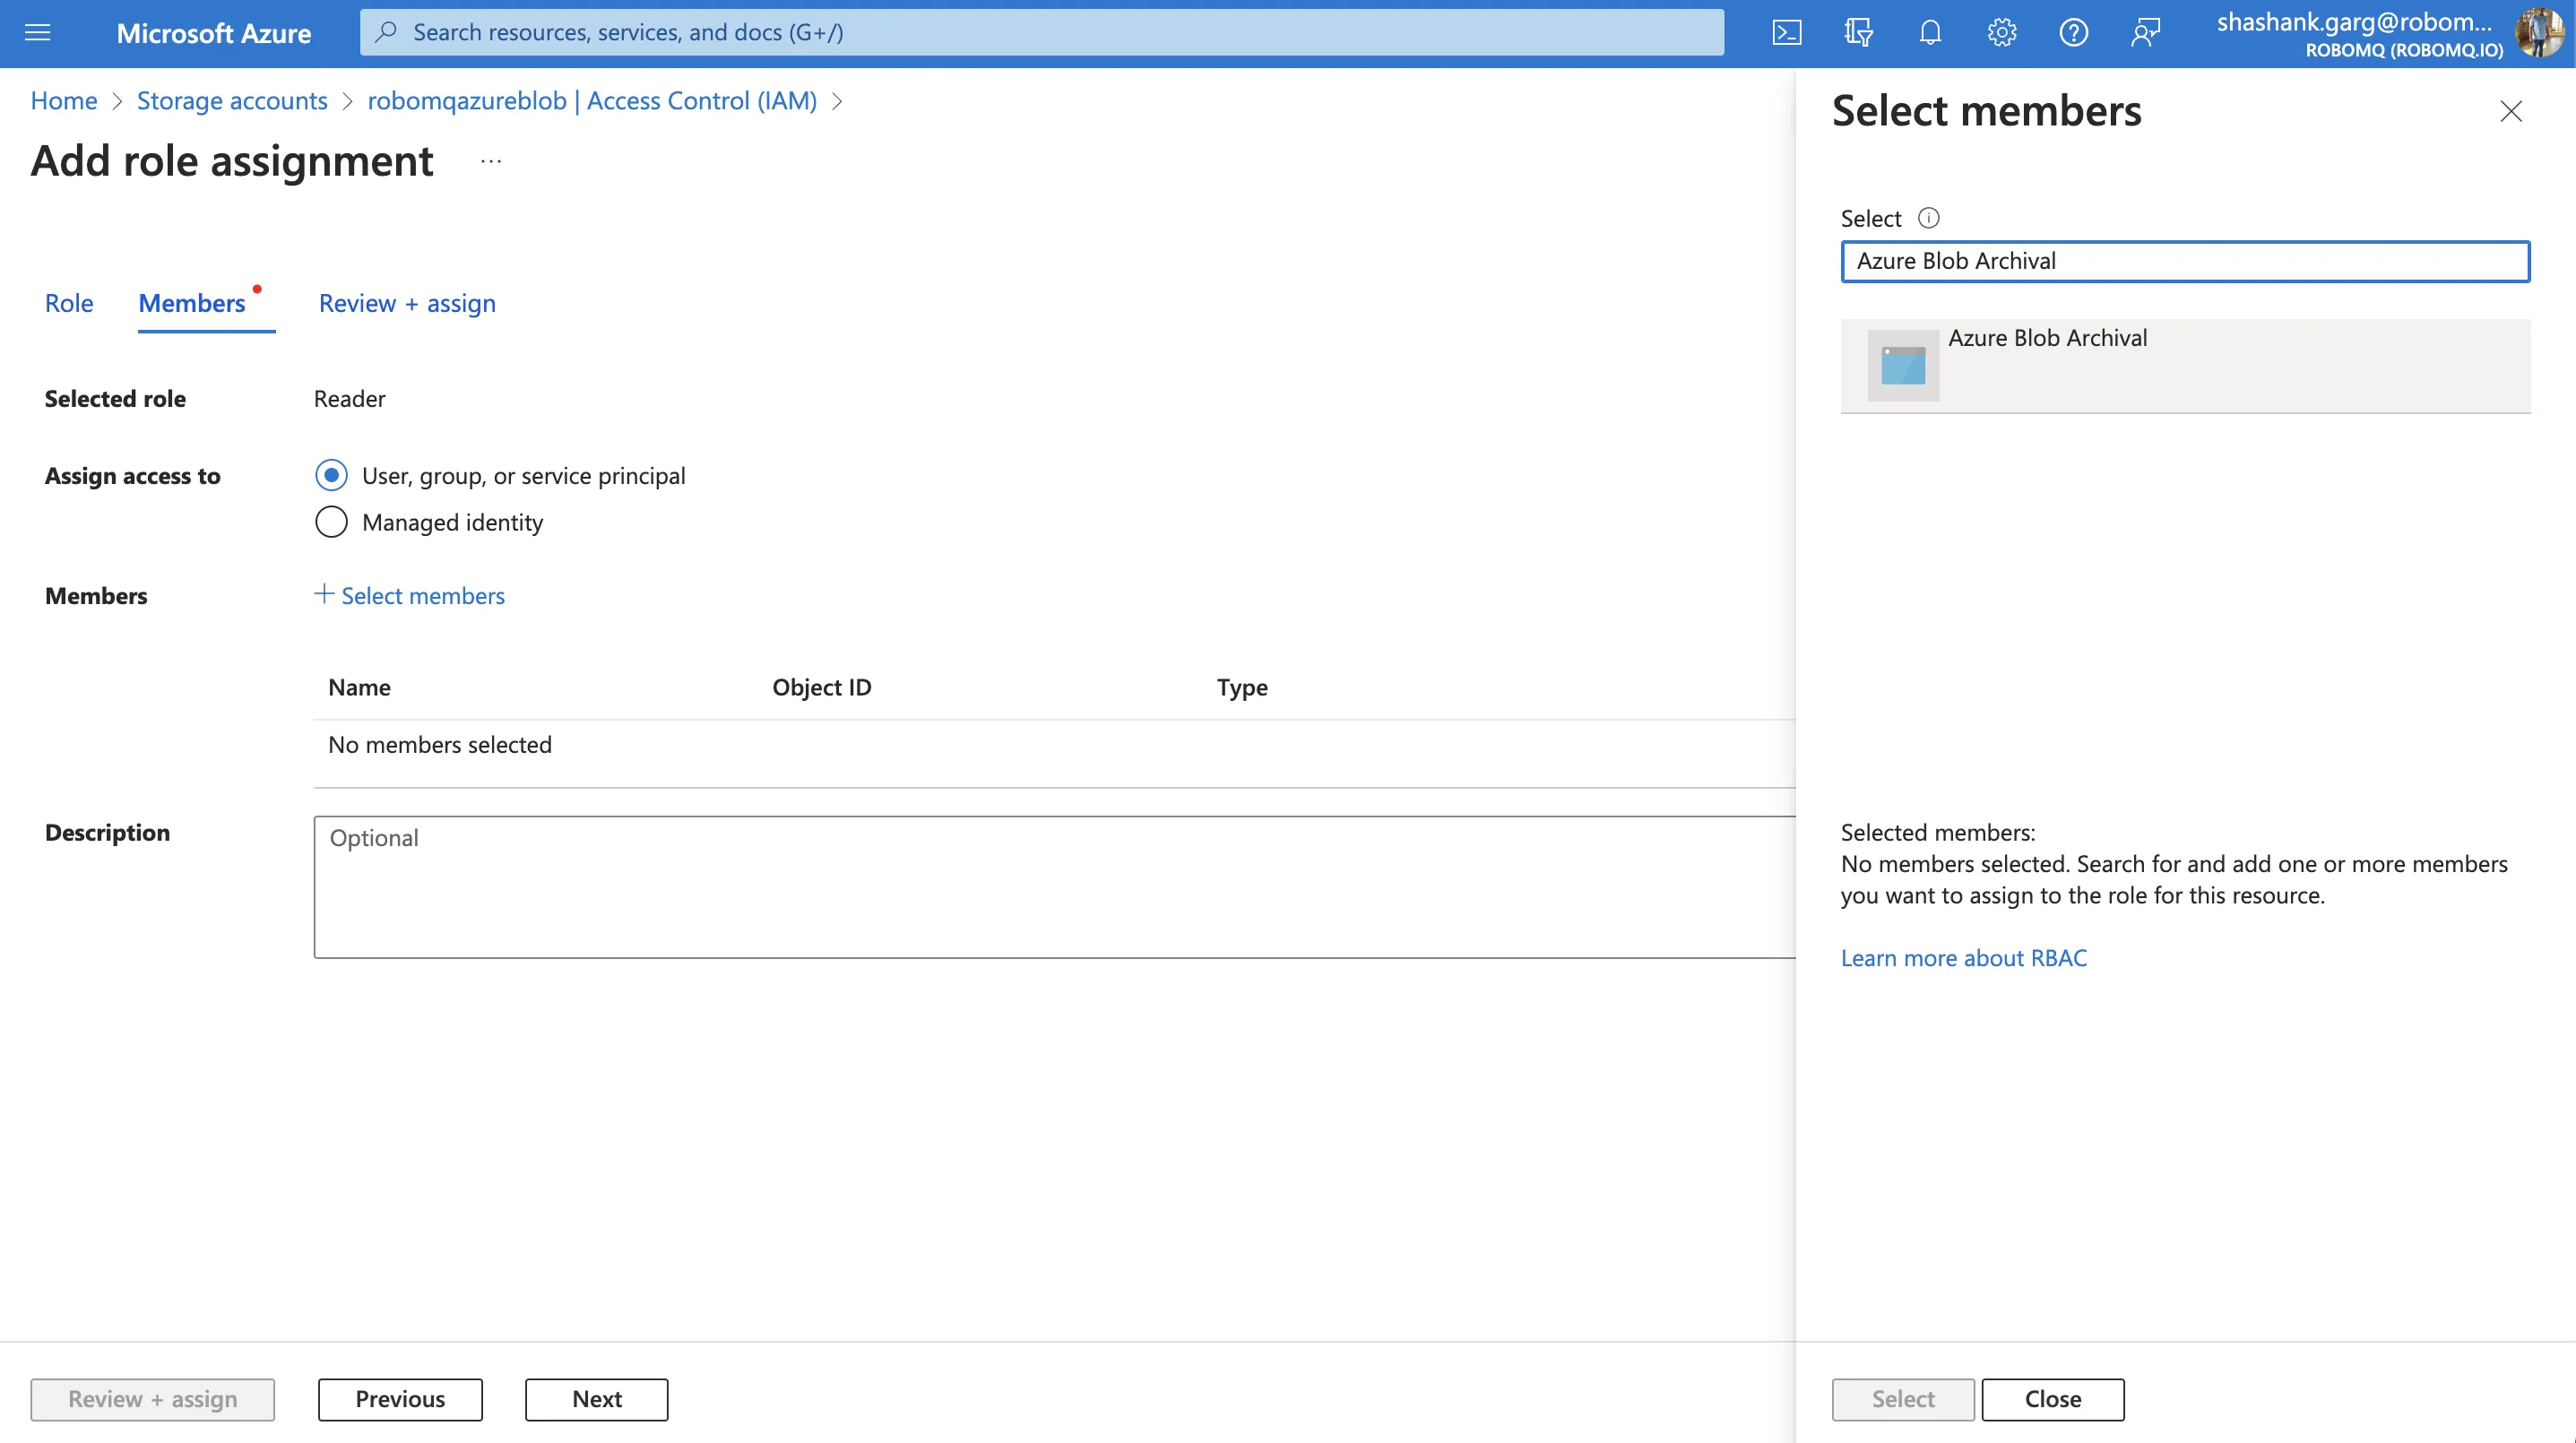
- Click the + Add a role assignment button to assign a role to your Azure application.
- Choose the appropriate role that grants access to Azure Blob Storage, such as Storage Blob Data Contributor and Reader.
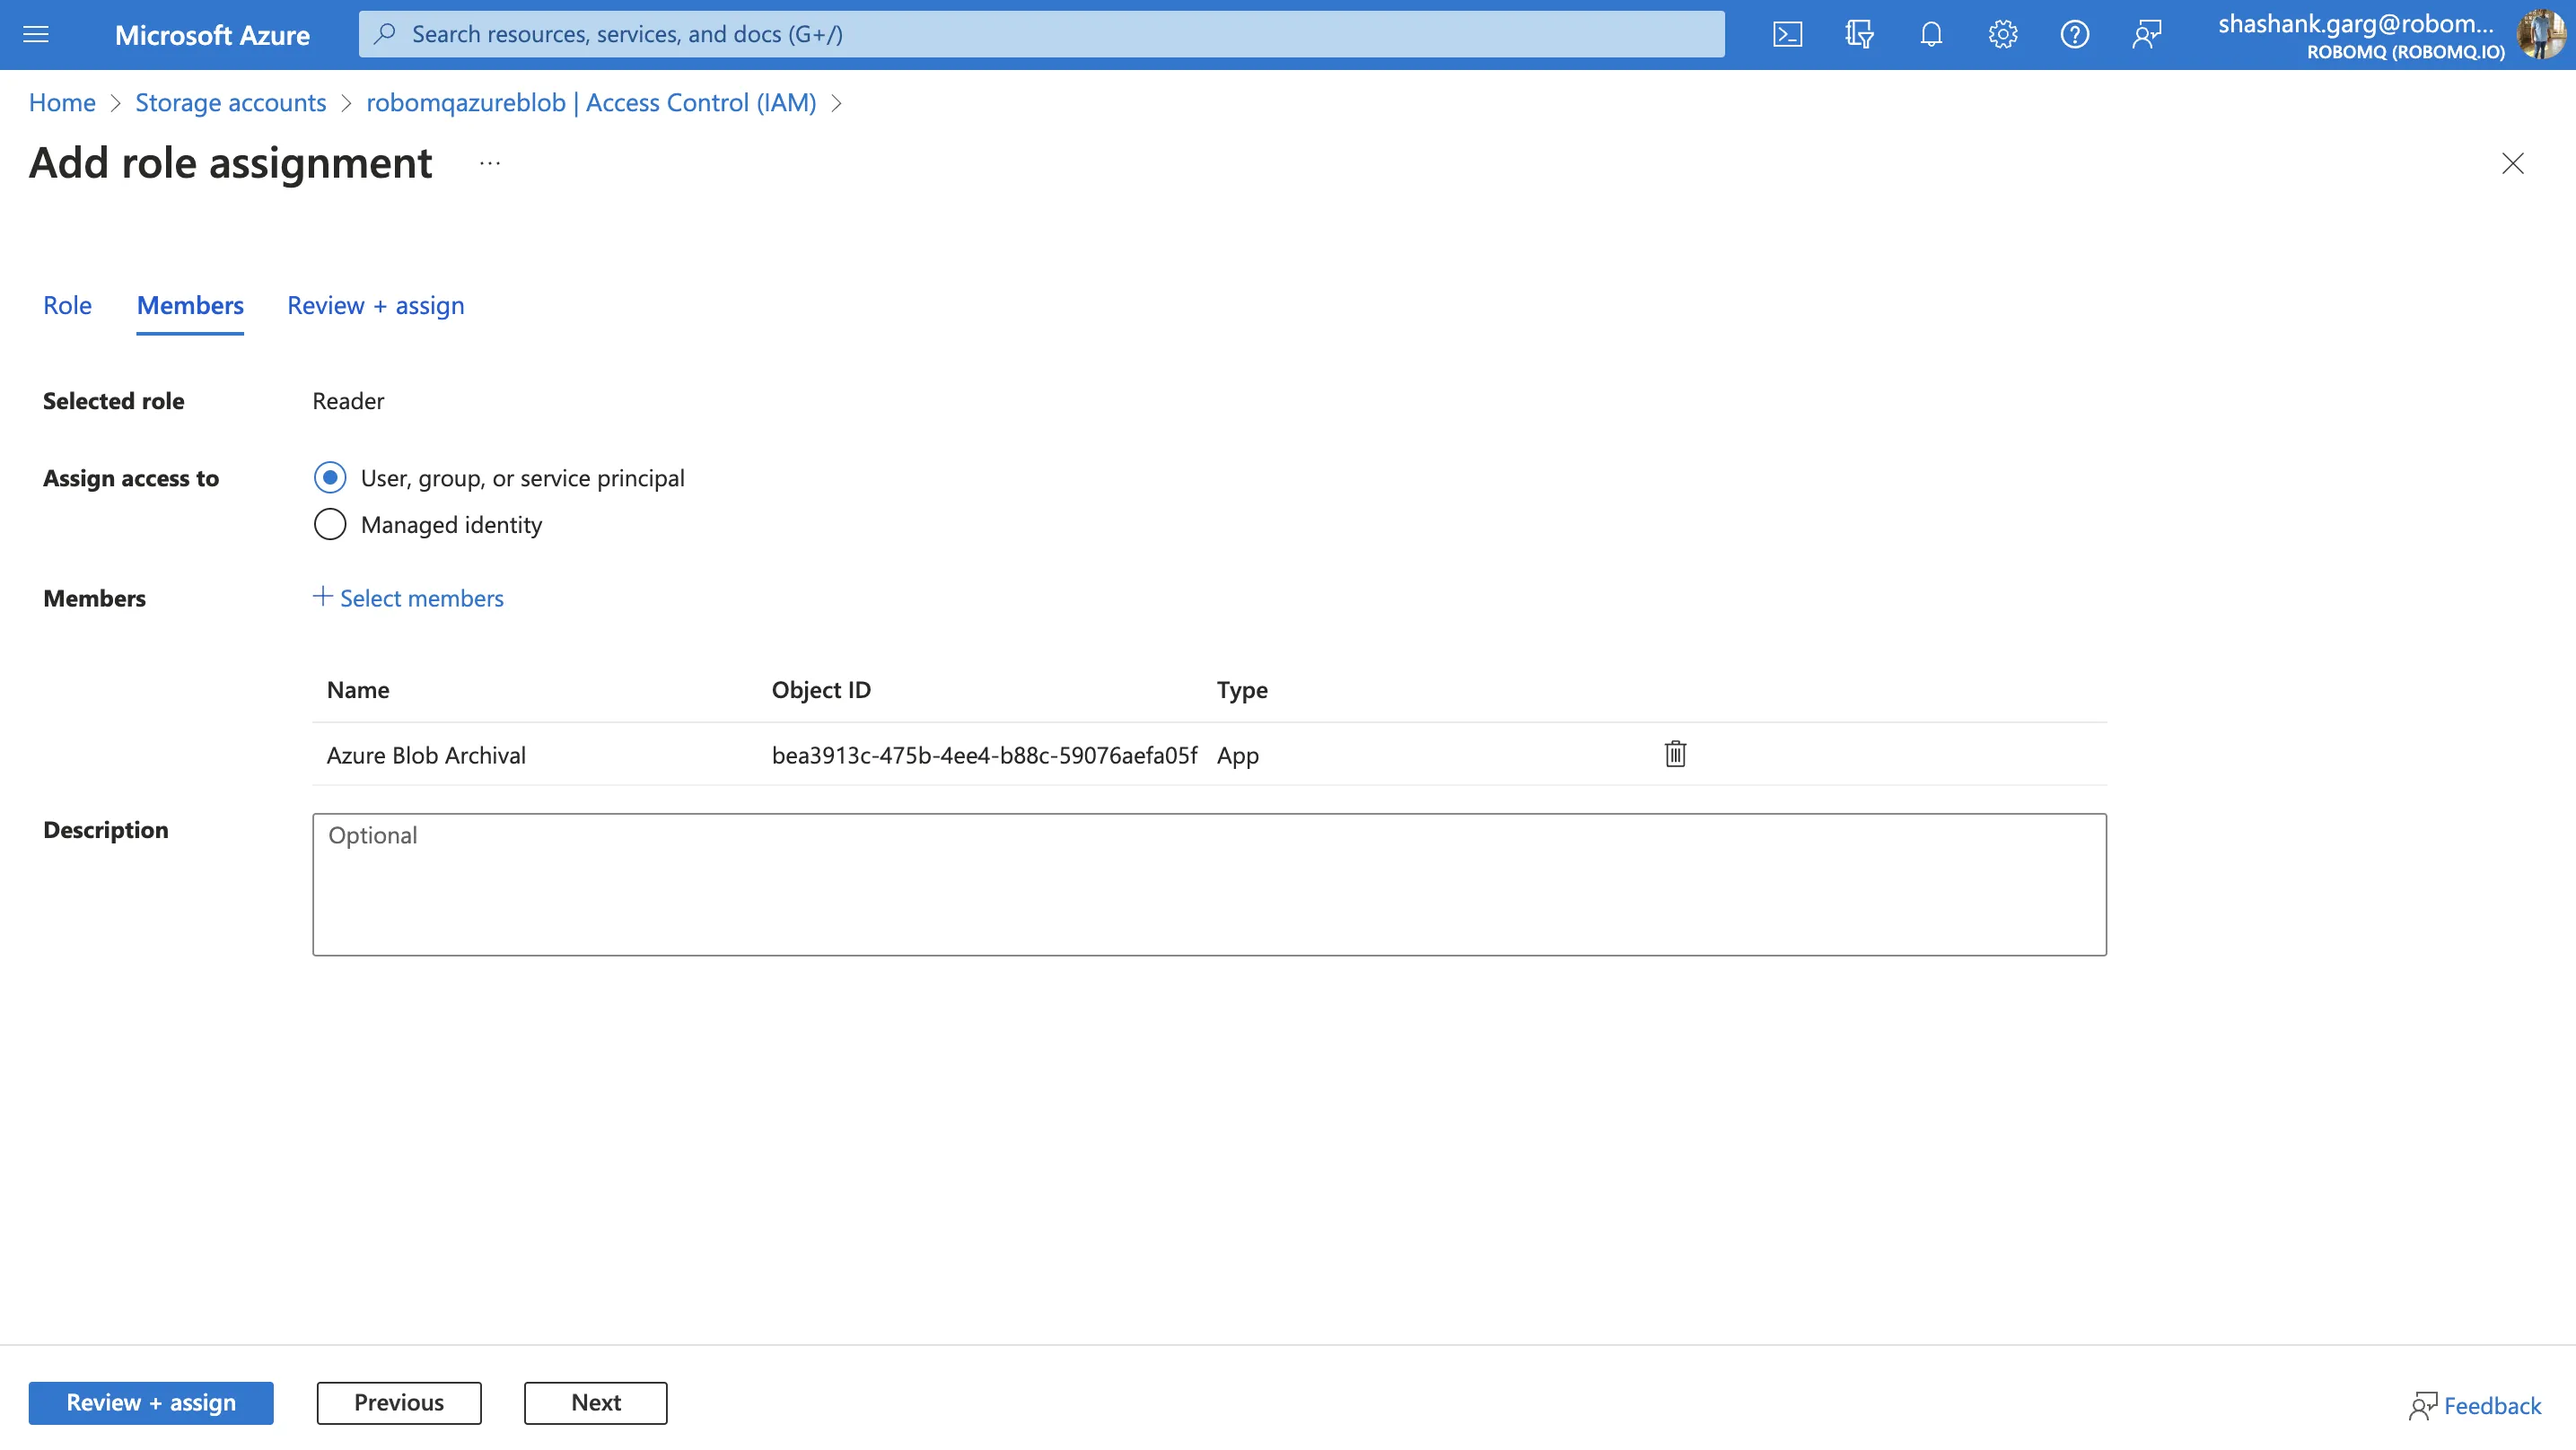
- In the Assign access to field, select Azure user, group, or application.
- In the Select field, search for, and select the Azure application you registered in Step 1 and save the role.
Step 5: Get Tenant ID and Application ID
- In the Azure portal, go back to your Azure application's Overview page.
- Note down the Application (client) ID.
- On the same page, find the Directory (tenant) ID.

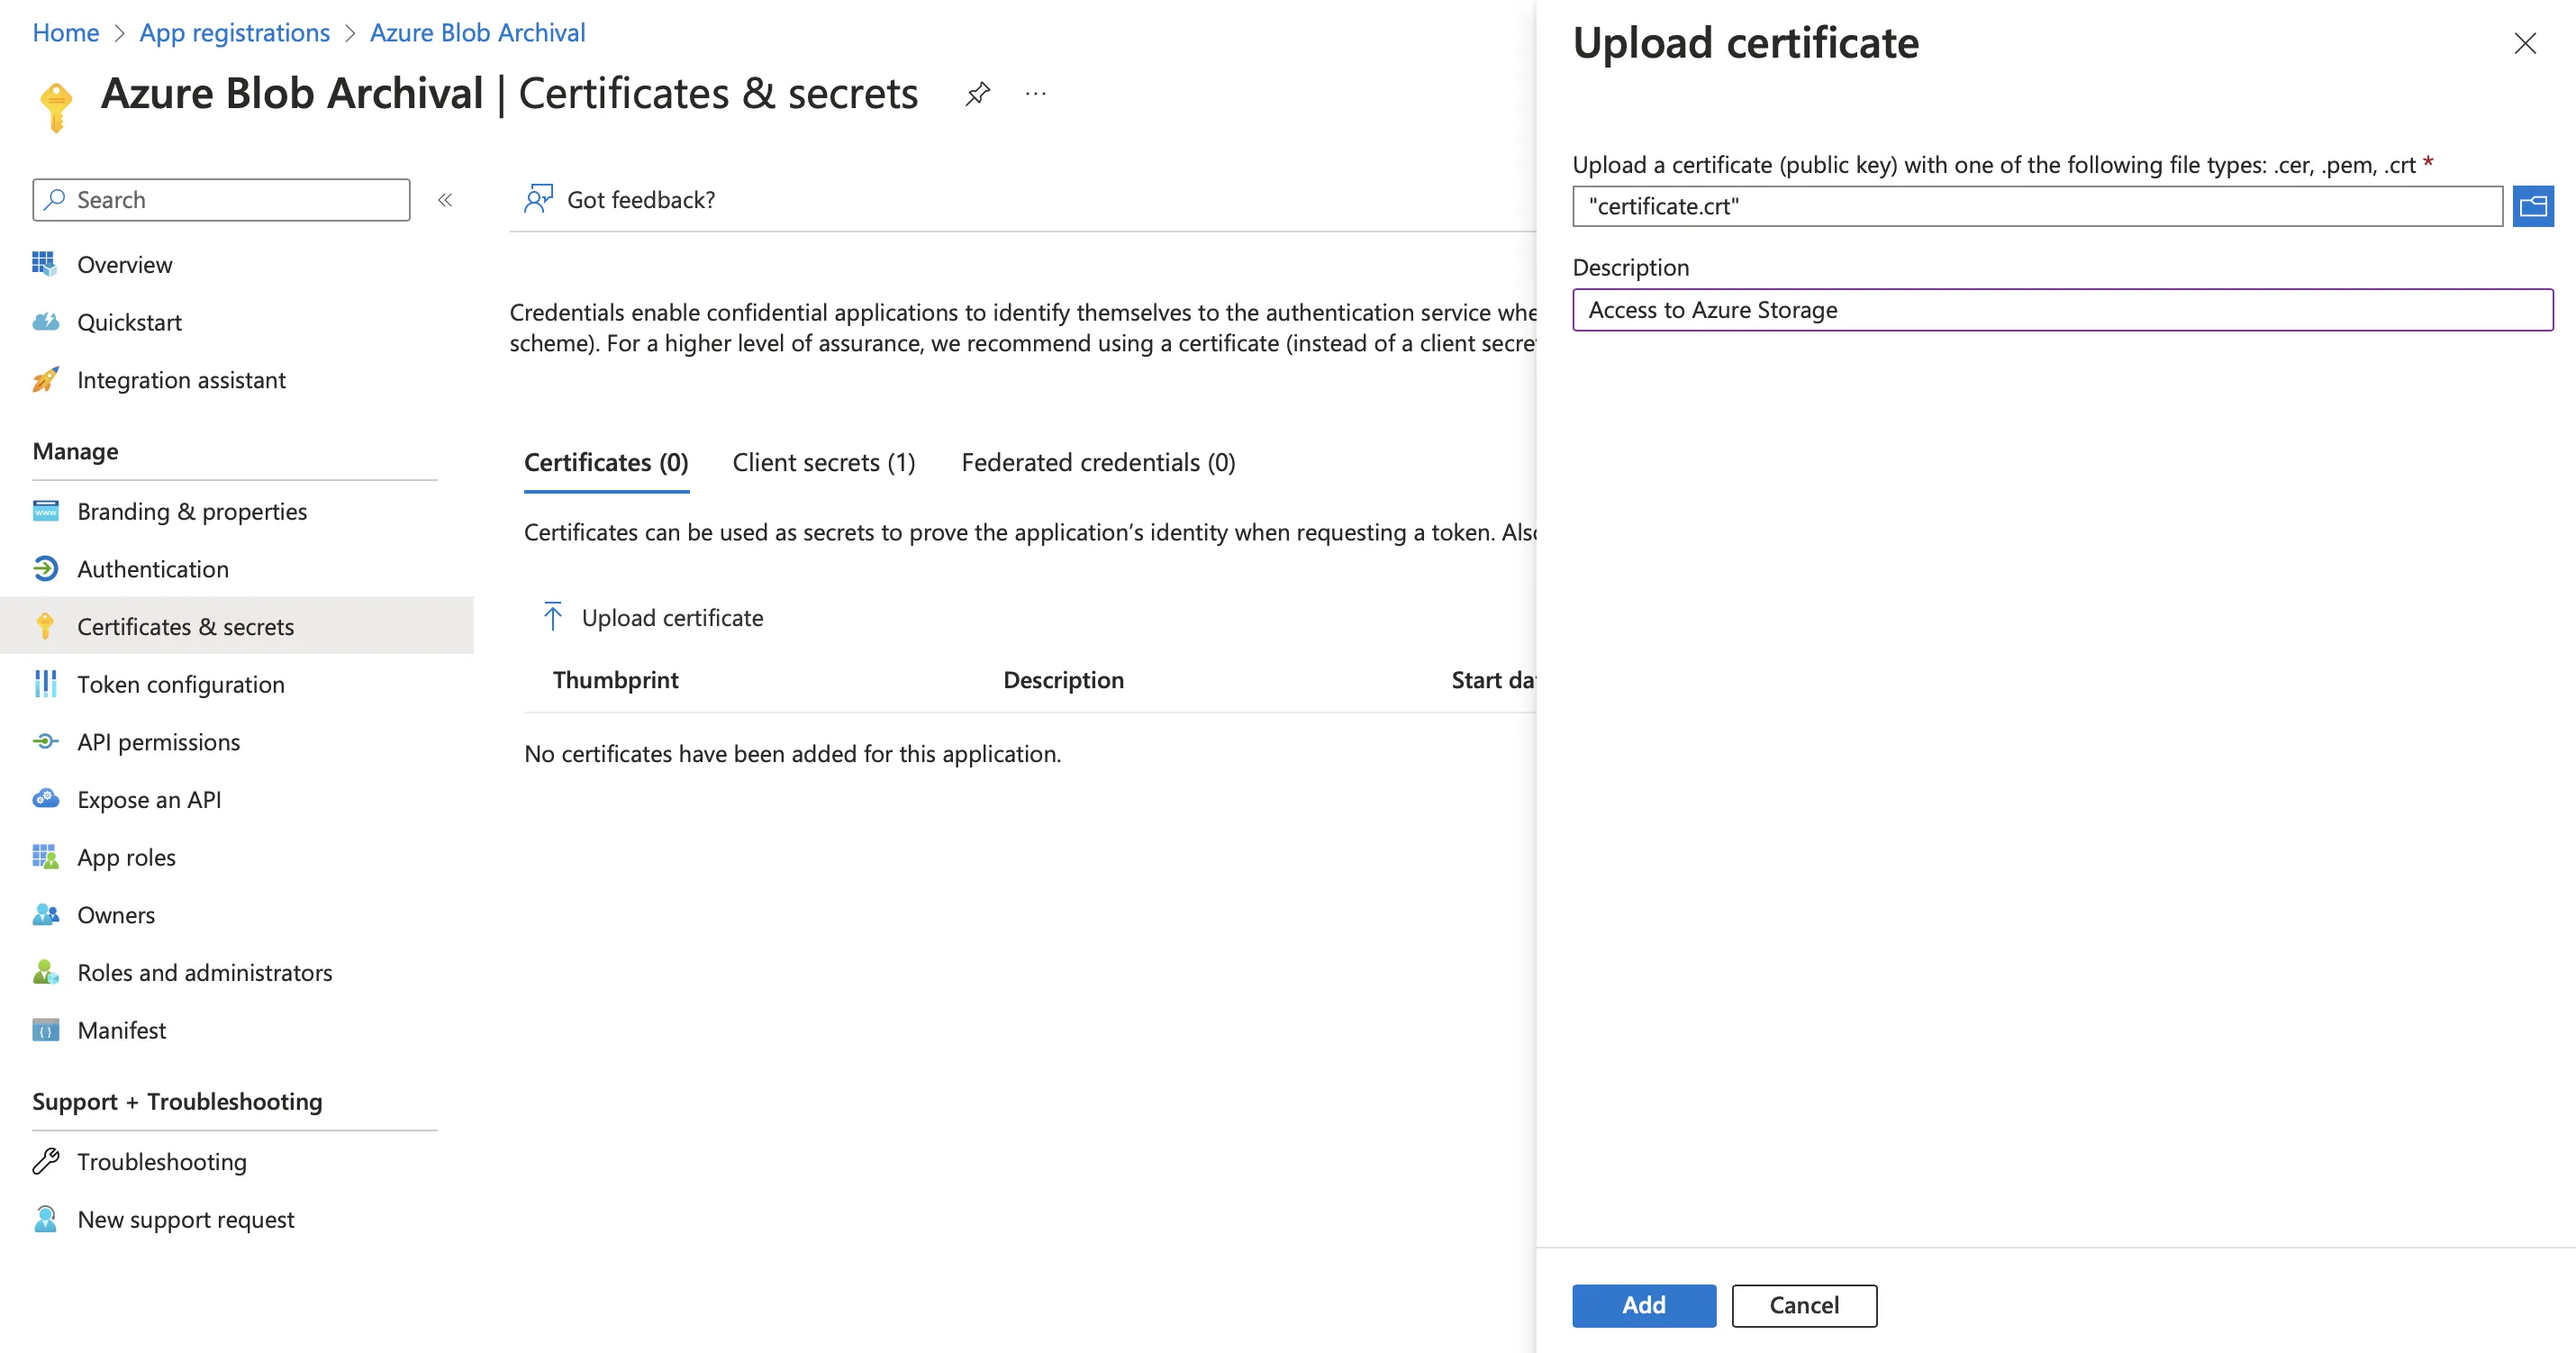
Step 6: Configure Application Secrets (Certificate)
- After registering the application, navigate to the Certificates & secrets section in the left-hand menu.
- Under the Certificates section, click on the + Upload Certificate button.
- Upload the certificate file provided on connection page, provide a description, and click the Add button.