Default Mail Server
Introduction
The Hire2Retire platform allows users to configure and manage their email server settings. By default, the system uses hire2retire@robomq.io for email communication. However, you can now set a preferred email server as the default, streamlining their workflow and reducing repetitive selection steps.
How to Set a Default Email Server
Option 1: During Email Server Setup
-
Navigate to the Email Server Connection Form.
-
Select your preferred email provider (e.g., Outlook, Gmail).
-
Check the box labeled “Set as Default Email Server”.
-
Click Save. The selected email server will now be used for all future email communications.

Option 2: From Account Settings
-
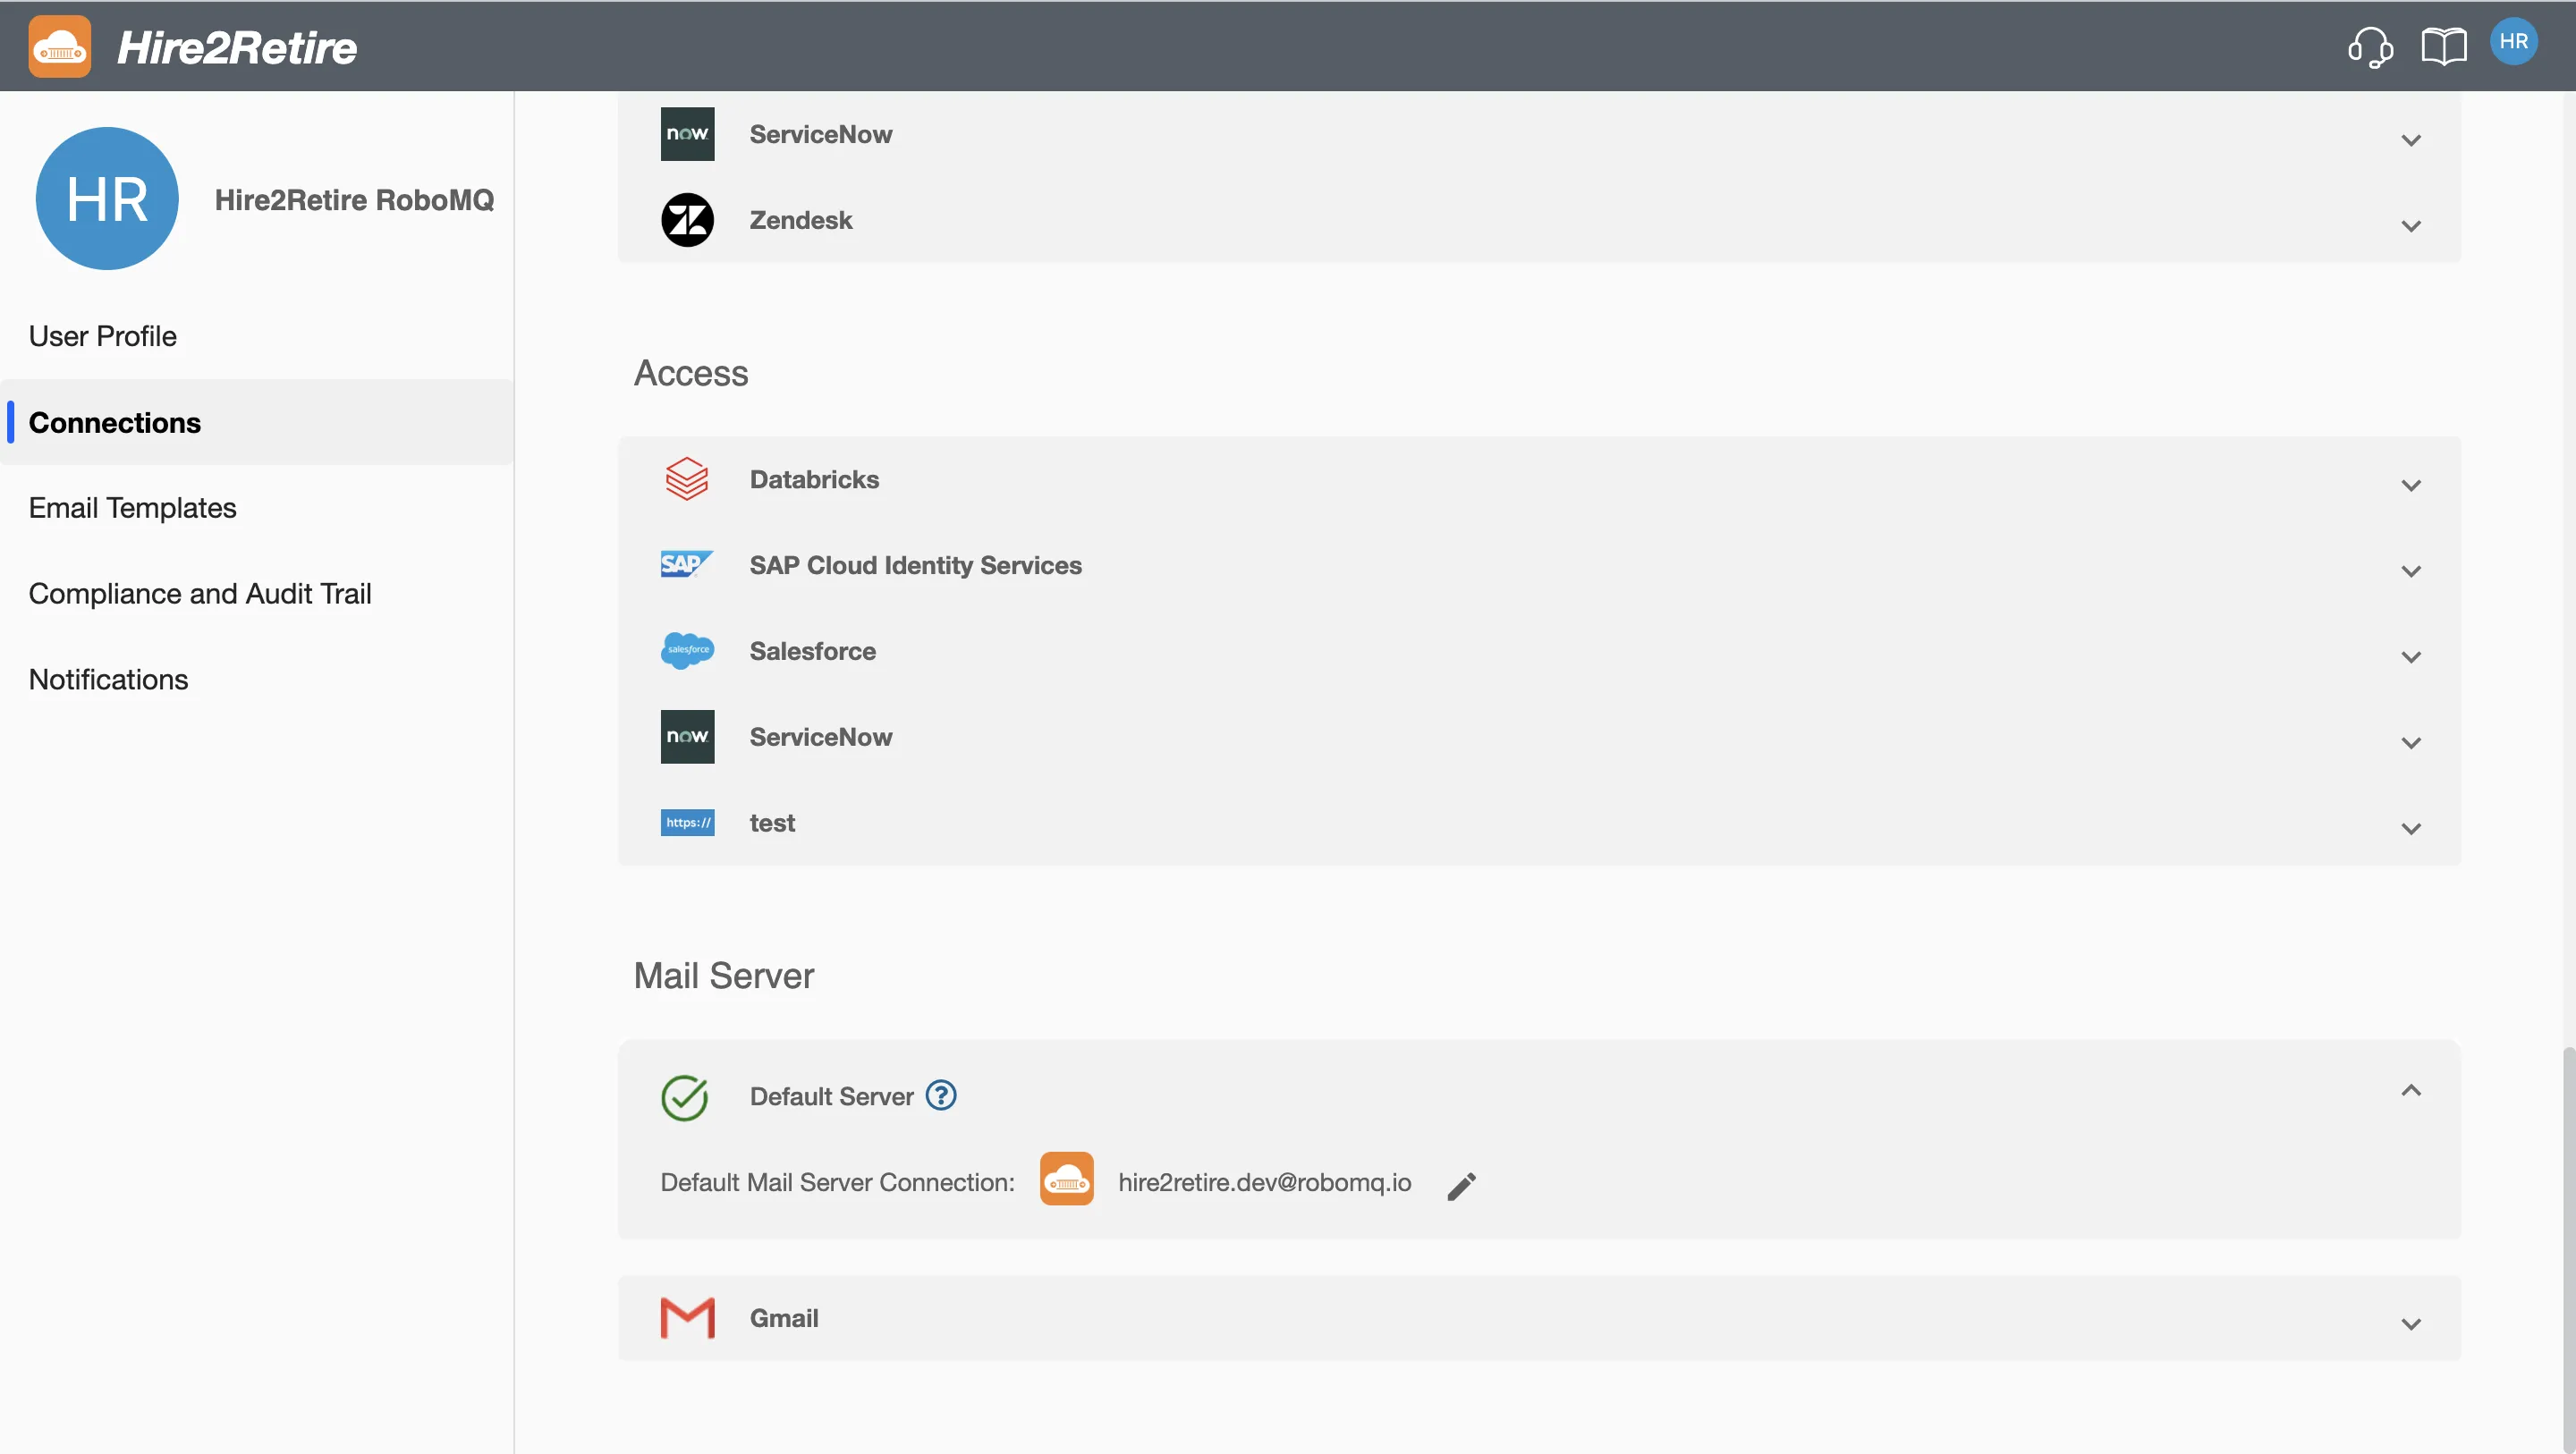
Open Account Settings.
-
Locate the Default Email Server section.
-
Click the Edit button.
-
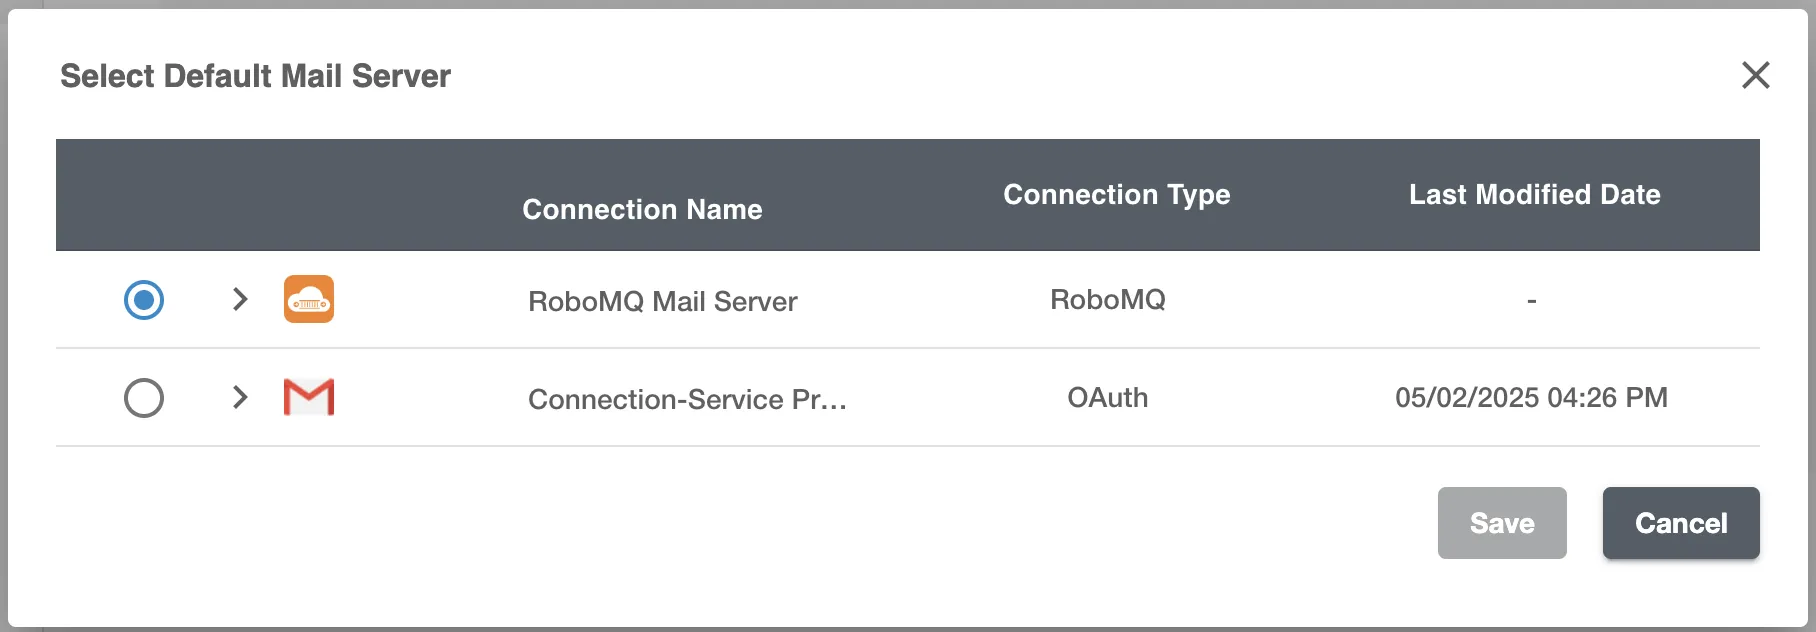
A list of existing email connections will appear.
-
Select a new connection to set as the default.
-
Click Save to apply the changes.
Option 3: Adding a Connection from the Communication Hub
-
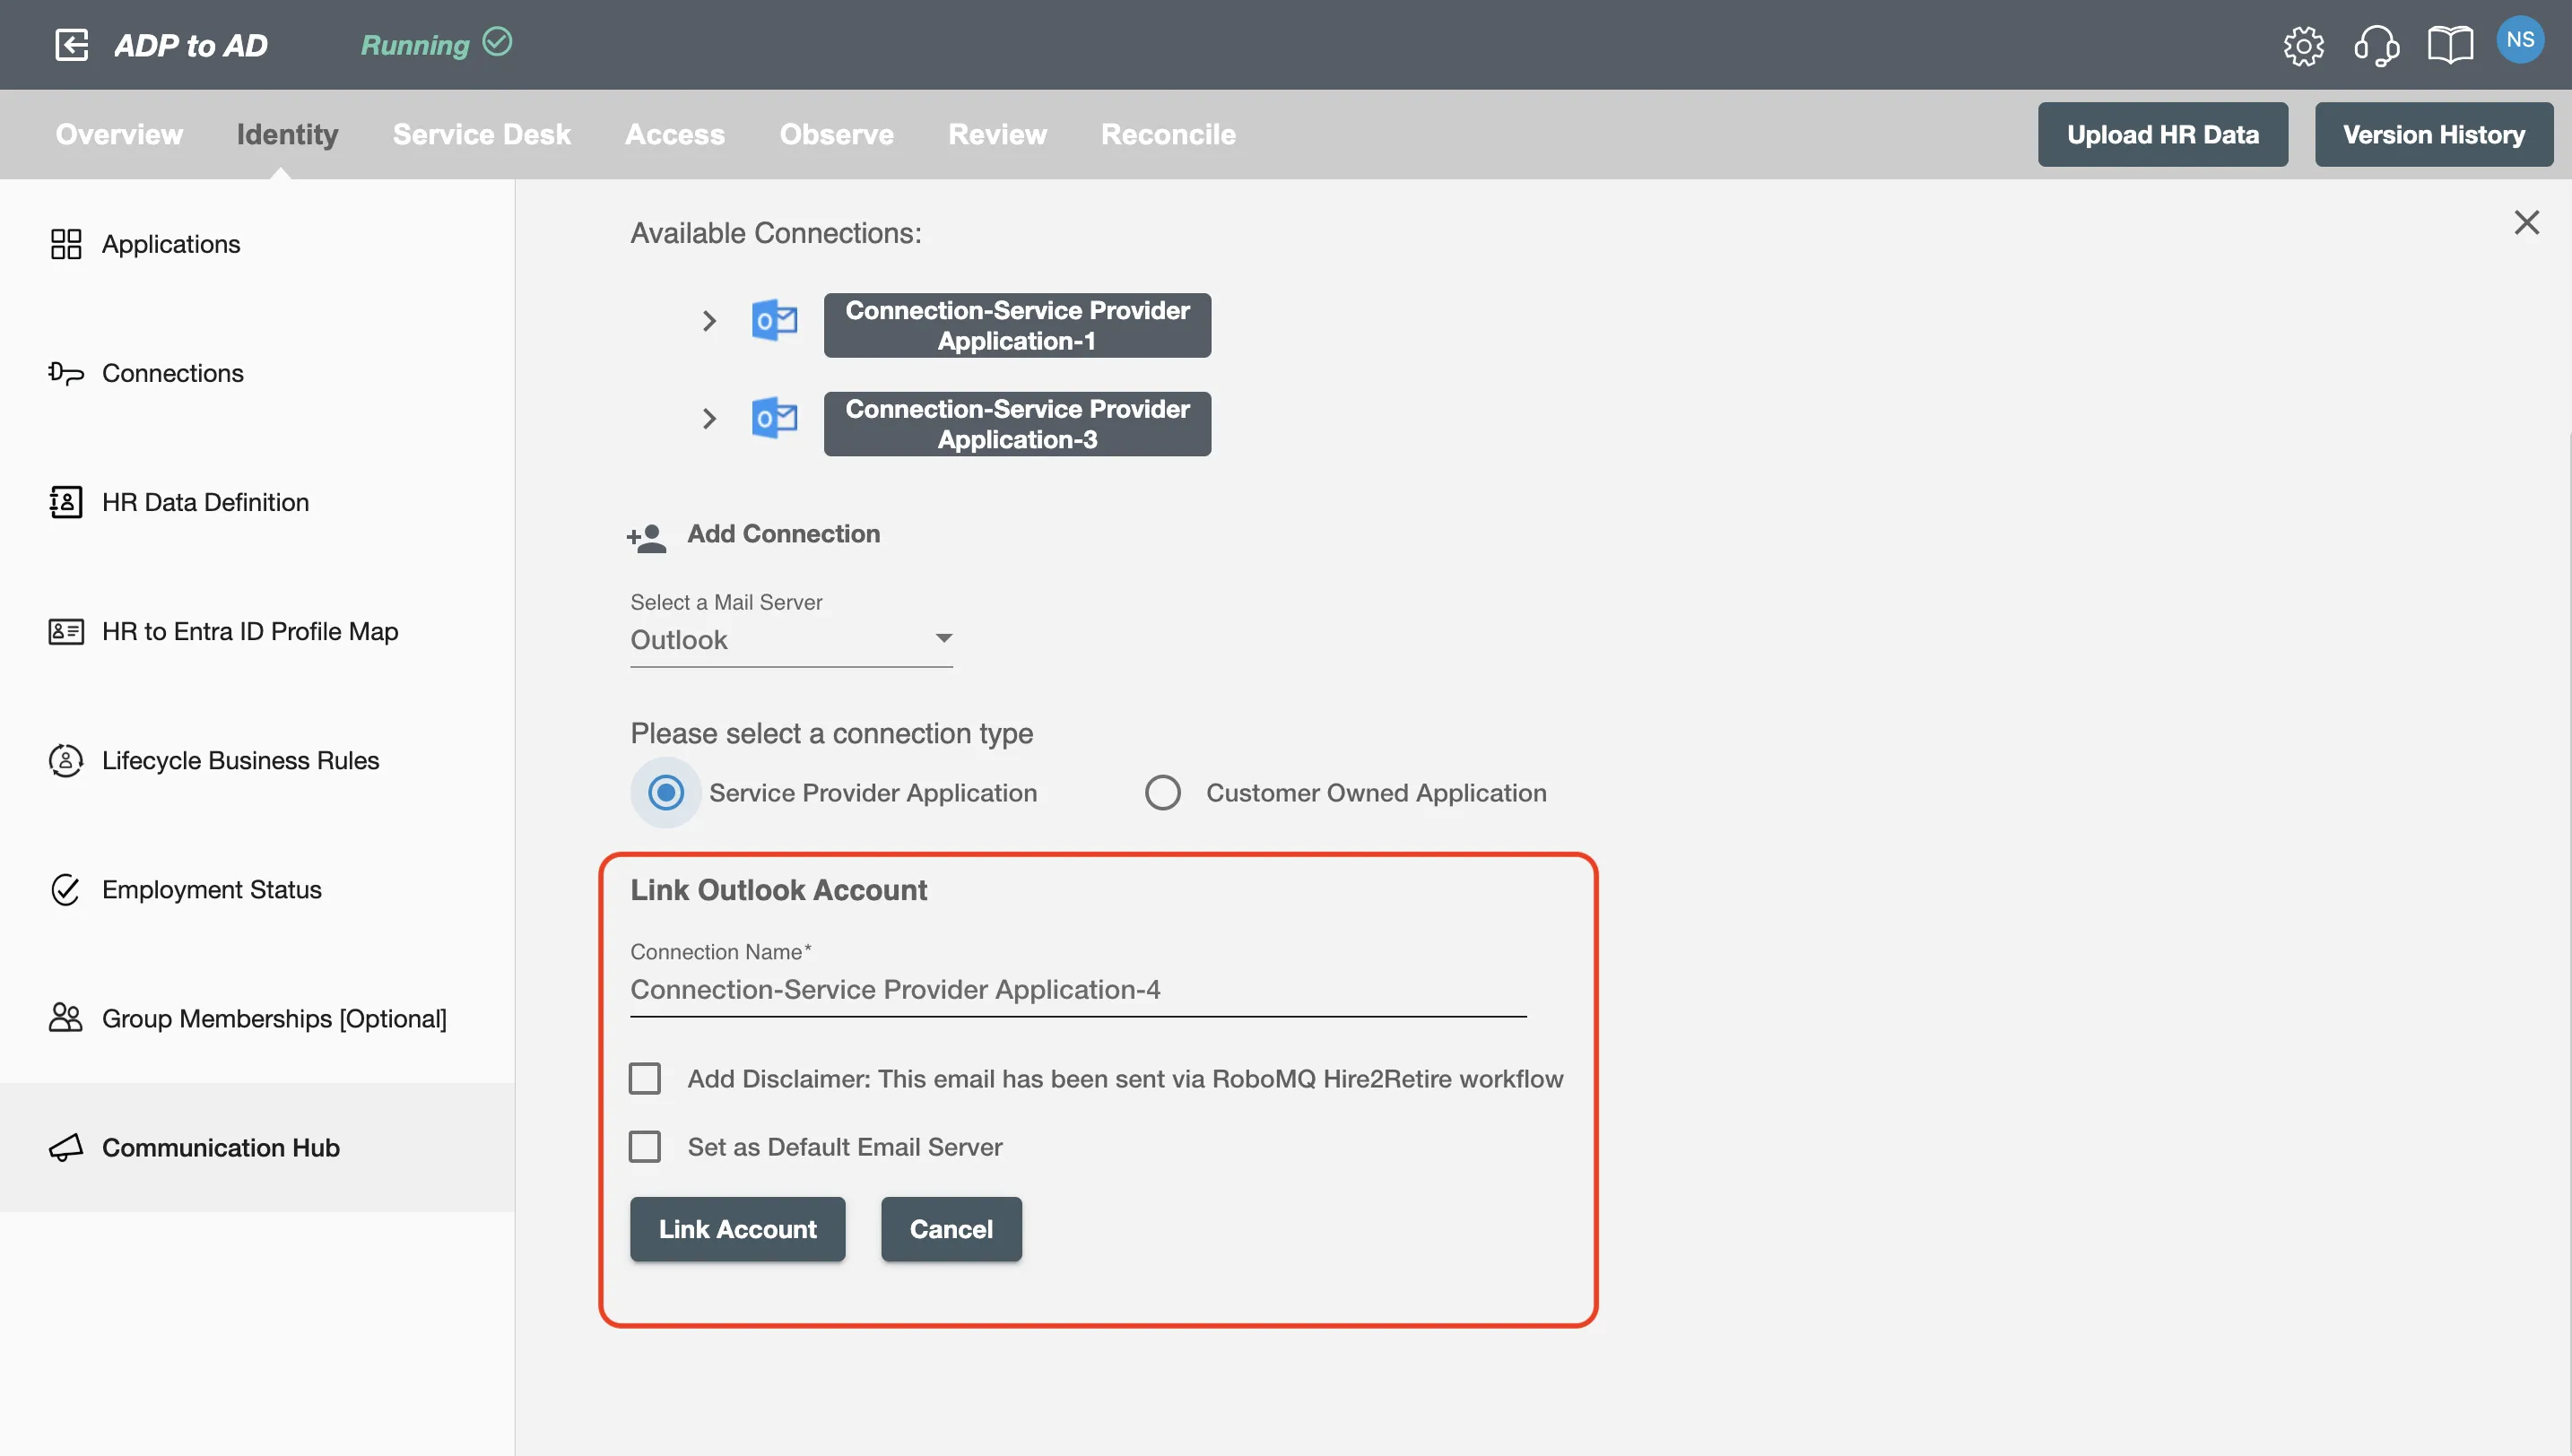
While creating an email template, open the ‘From’ dropdown.
-
Click ‘Add New Sender’.
-
Configure the new email server connection.
-
Select “Set as Default Email Server”, if required.
-
Click Save.
Managing Your Default Email Server
Users can modify the default server at any time through Account Settings. Setting a new default will automatically replace the previous one. If no default is set, hire2retire@robomq.io will be used as a fallback.