Connection
ConnectWise PSA utilizes the standard authentication with Public and Private keys and the Client ID that are unique to ConnectWise PSA members. This means you can use the benefits of ConnectWise PSA security roles and give granular access to the APIs.
ConnectWise on Hire2Retire will use Member Authentication.
To authenticate hire2retire needs these fields:
- ConnectWise URL - The base URL for accessing the ConnectWise API or web portal. This is where API requests are sent.
- Company ID - An identifier for the company using the ConnectWise system. It is used to specify which company's data to access.
- Public Key - Created by member itself. It is used for secure API authentication.
- Private Key - Created by member itself. It is used for secure API authentication.
- Client ID - A unique identifier assigned to the integrations application making requests to the ConnectWise API.
Setting Up Connection Between Hire2Retire and ConnectWise PSA
Create a security role
-
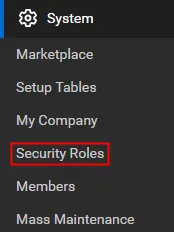
Go to System > Security Roles.
-
Select + ( New Item ) to create a new security role.
-
Enter a Role ID and Save.
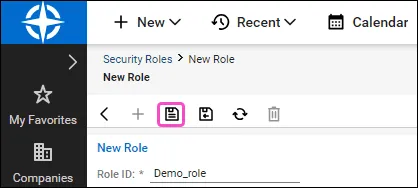
-
You can now assign permissions to the new security role.
Assign permissions to a security role
-
Go to System > Security Roles.
-
Select an existing security role.
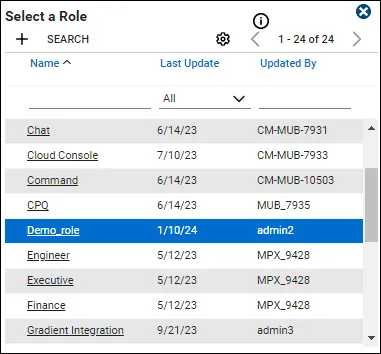
-
Configure role permissions for service tickets.
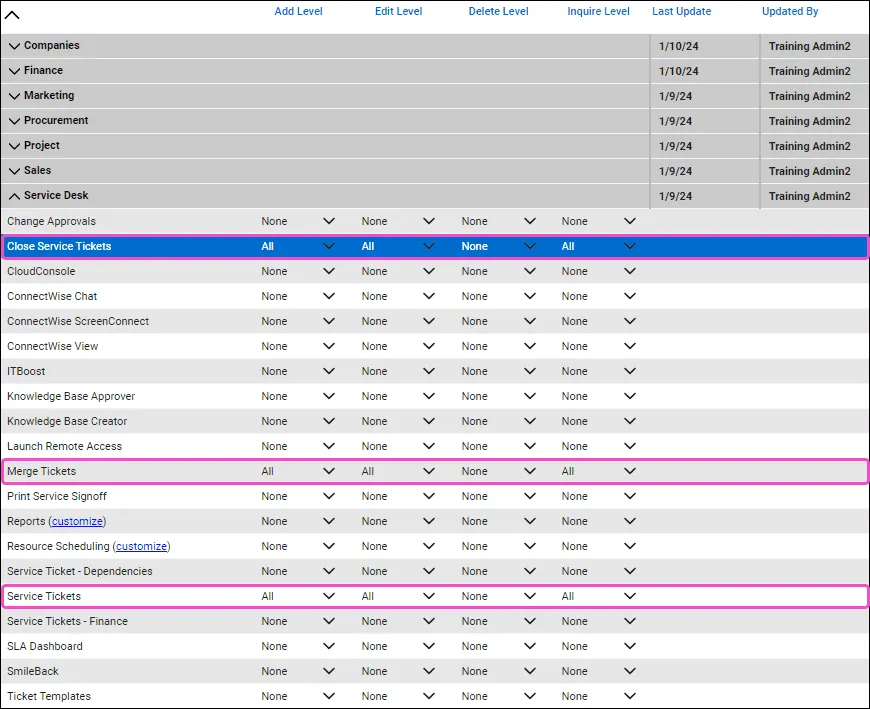
-
Configure project ticket permissions if chosen for the project ticket.
- Select Save.
Create a new API member
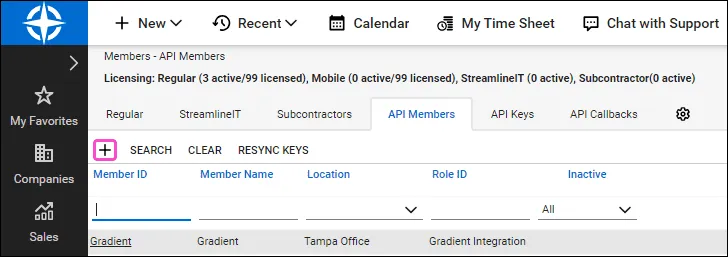
- Go to System > Members.
- Select the API Members tab.
-
Select + ( New Item ) to create a new API member.
-
Enter the required details in API member Profile information.
- Select Save.
Generate Public and Private Key
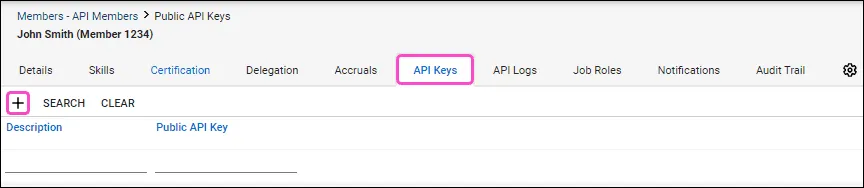
- Go to System > Members.
- Select an existing API member.
-
Select the API Keys tab, and then select + ( New Item ).
-
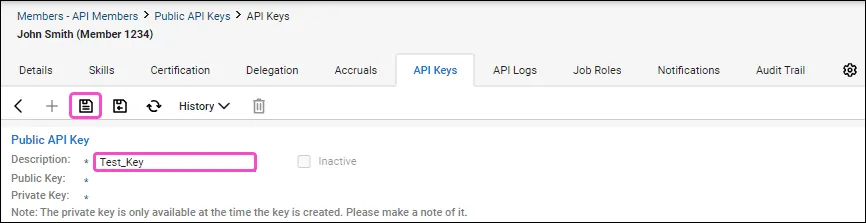
Enter a relevant Description , and then select Save.
-
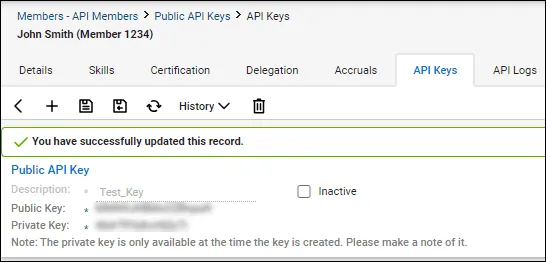
The API member record is updated, and both the public and private keys are generated.
Generate ClientID
To set up the integration from or to ConnectWise PSA you need to provide the Client ID. It is a unique GUID or Globally Unique identifier that is required for API integrations. Follow the steps to generate Client ID:
-
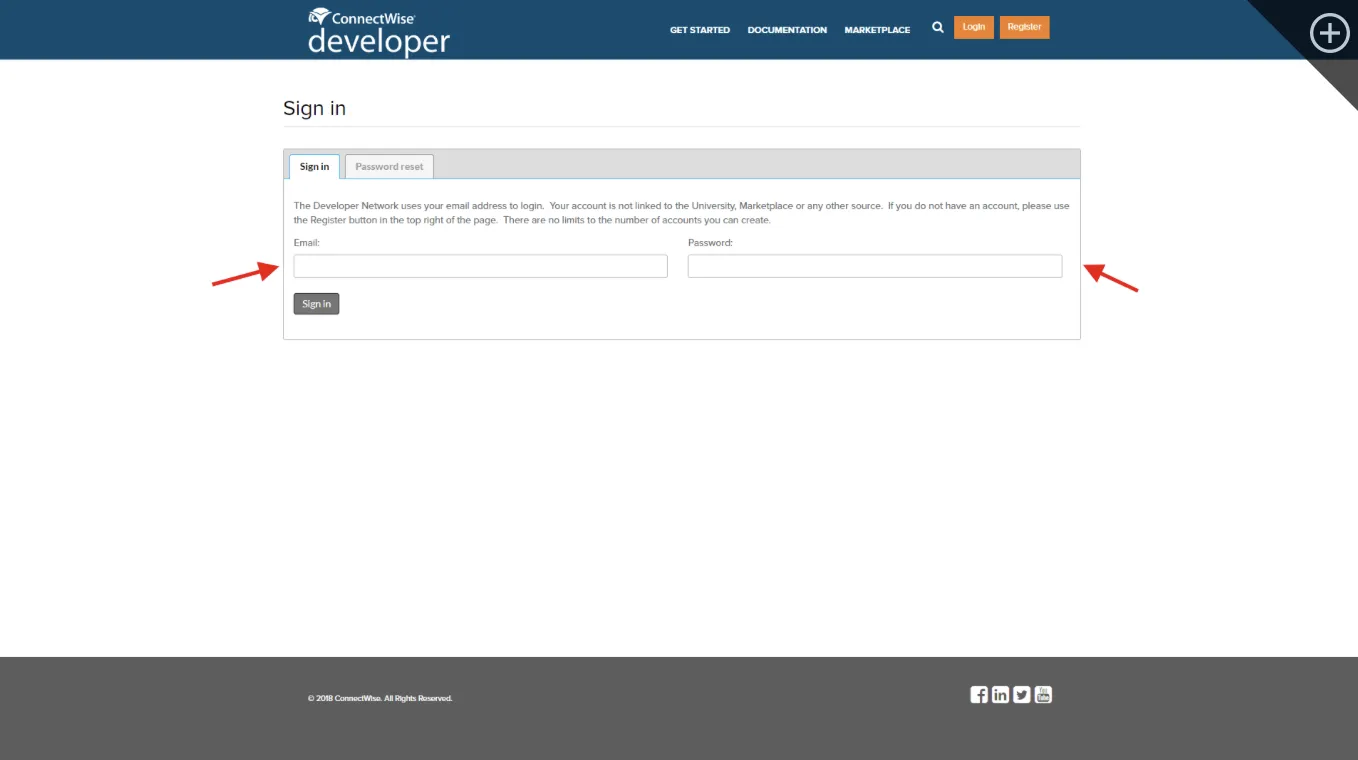
Follow this link and sign in using the credentials provided by ConnectWise when you registered your account.
-
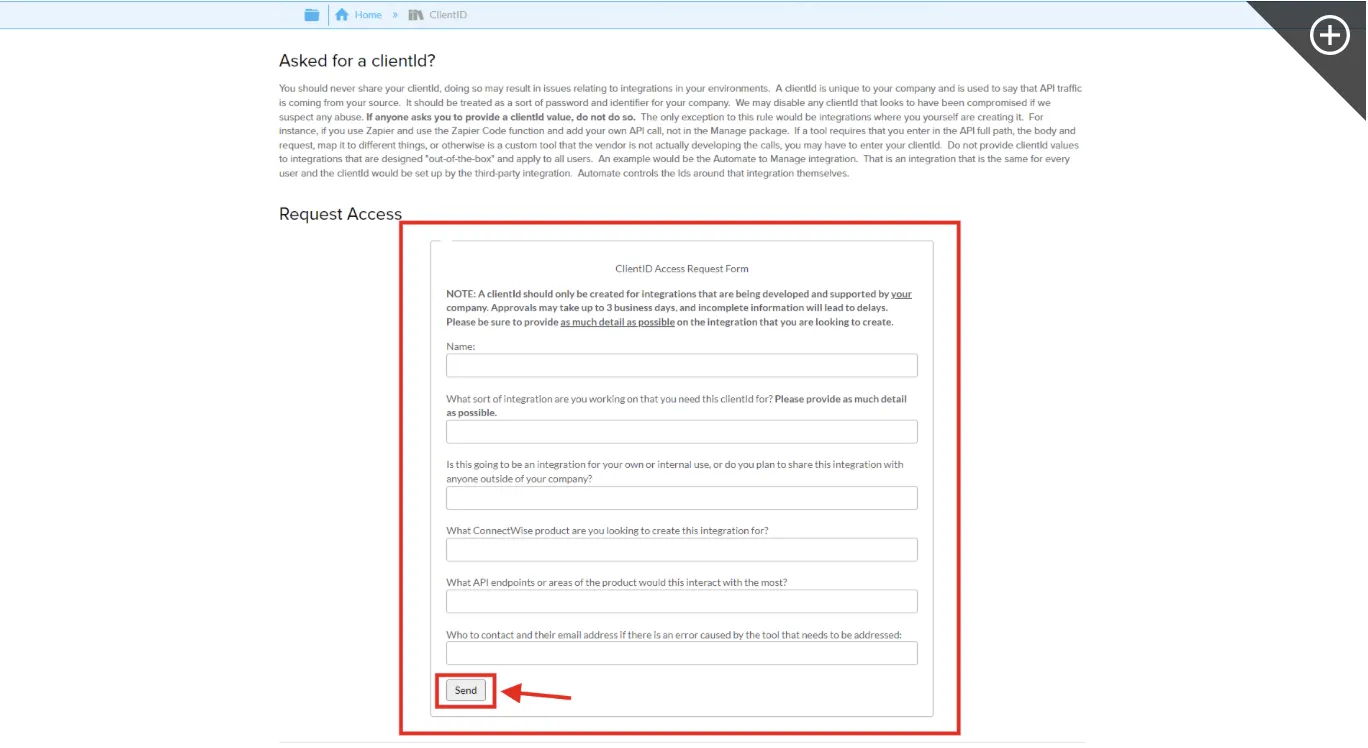
Click on the "Client ID" button in the header.

-
Scroll the page down a little bit so that you'll see the ClientID Access Request Form.
-
Fill it in and click on the “Send” button. This way, your Client ID will be created.Provide as much information as possible to avoid delays in approval.
-
You will receive your Client ID after approval.

Link ConnectWise account on Hire2Retire
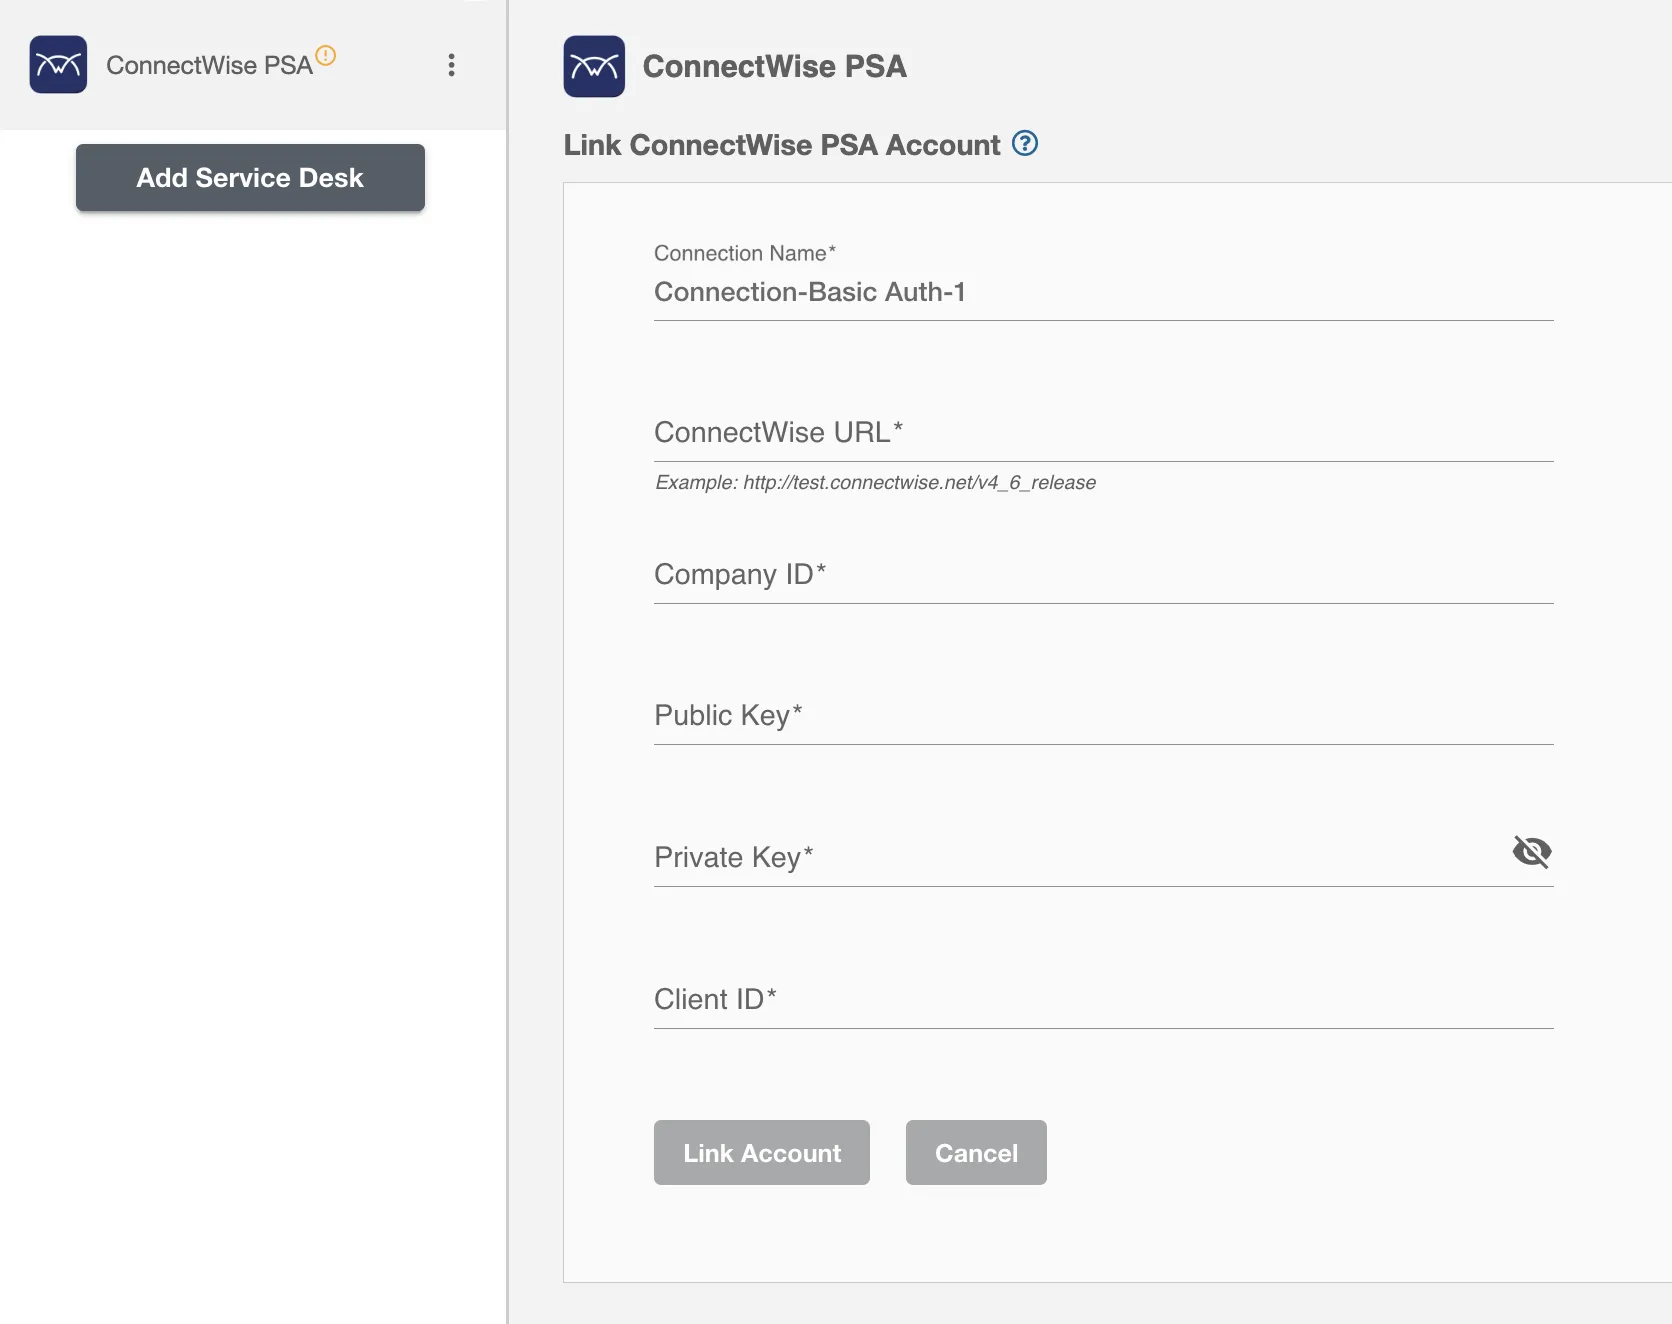
Step 1. Specify your ConnectWise Instance URL. When you open your ConnectWise account on the browser, you can find the ConnectWise Instance URL like as https://YourDomain.connectwise.net/release_version.
Step 2. Enter your ConnectWise PSA Company ID.
Step 3. Enter the generated private key, public key and client ID.
Step 4. Click on link account.
After this you will be able to configure the workflow with ConnectWise PSA.
We at RoboMQ pay atmost attention to keep your account secure. See our Security and Privacy Policies to learn more about how RoboMQ handles your account access.