Overview
Using the Integration capabilities on Hire2Retire you can create various entities including Incident, Change Request BMCHelix for various employee lifecycle changes.
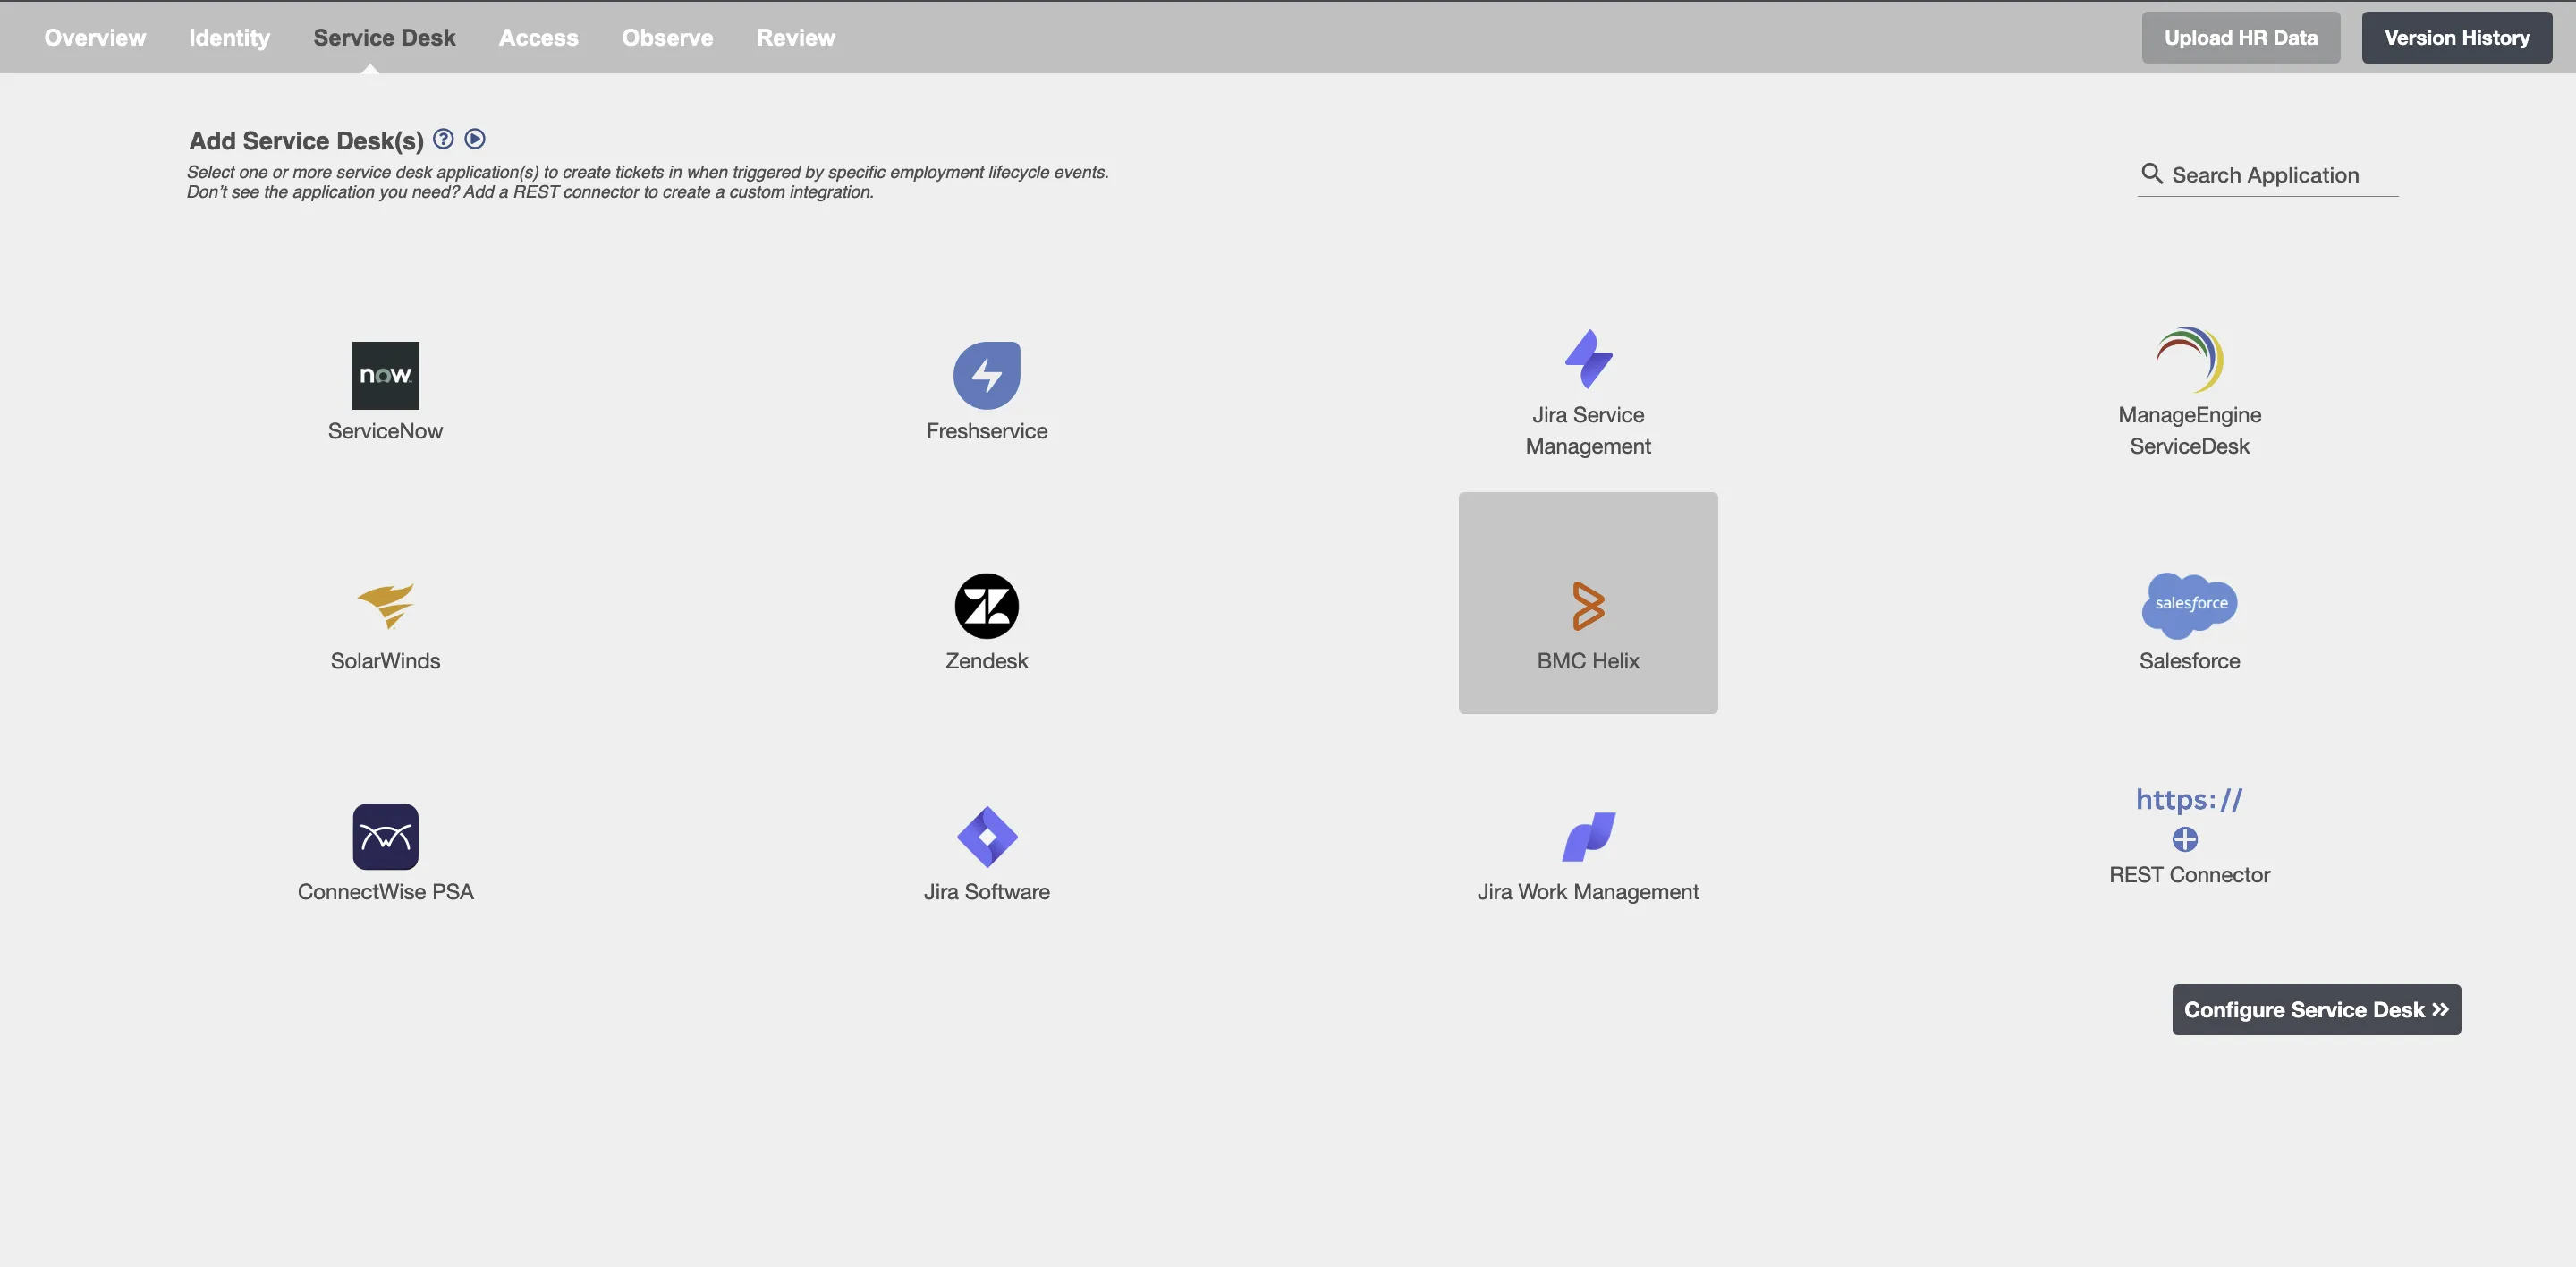
Configuring Entities to be created on BMCHelix
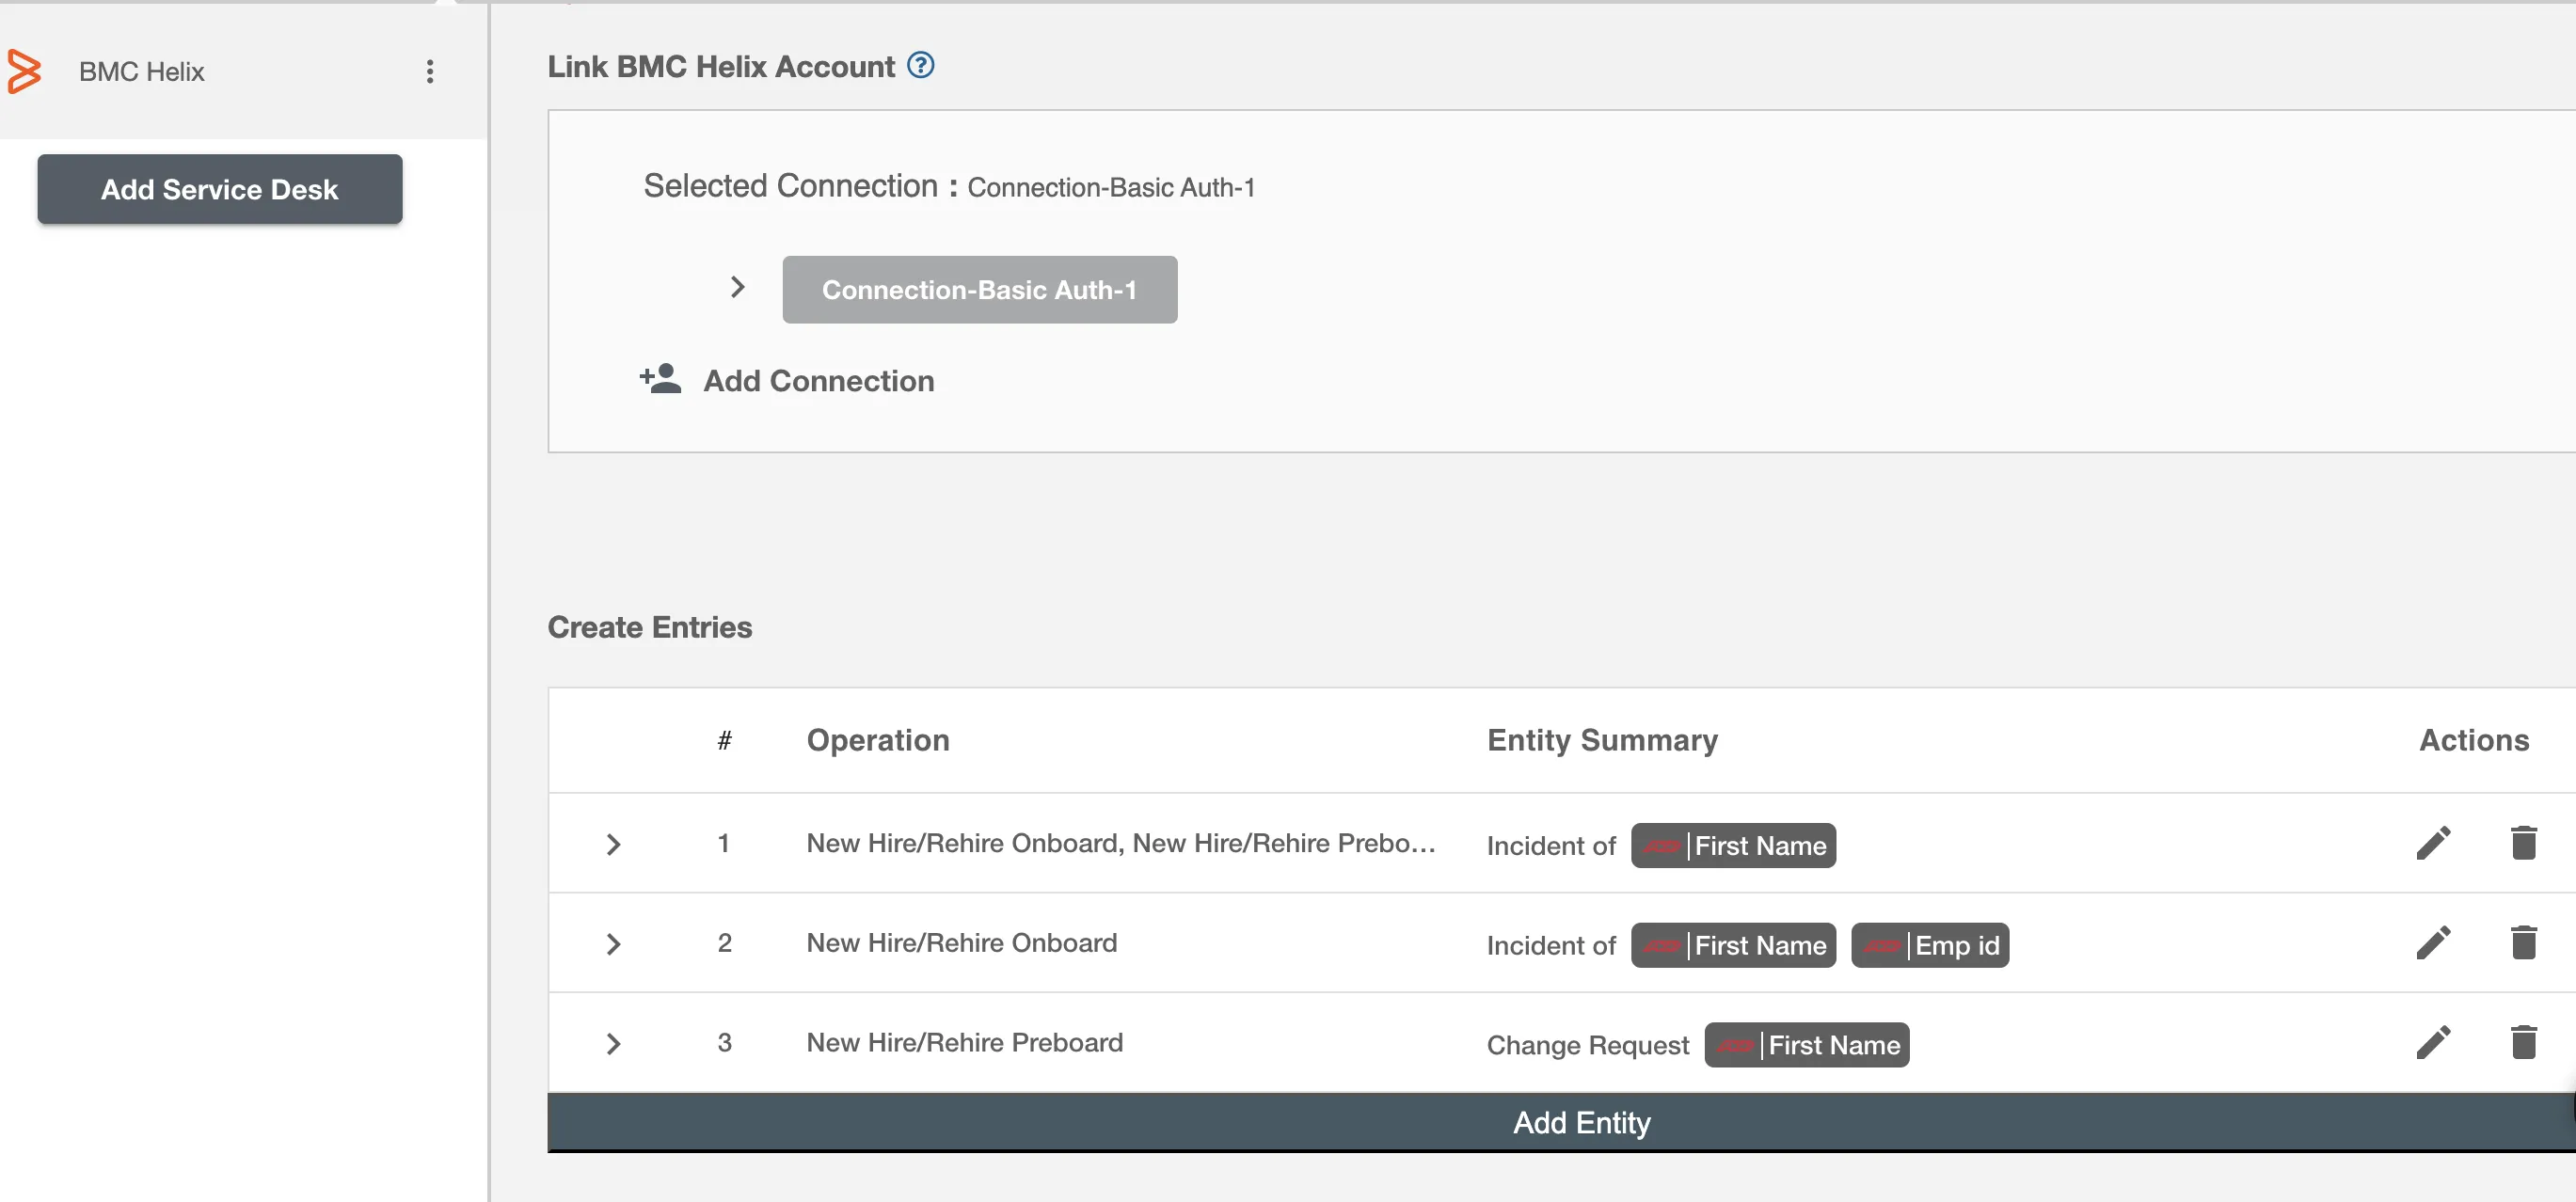
Create Entities
You can create one or more Entities of any type on each employee lifecycle event. The summary table will show you all the entities configured to be created along with the lifecycle operation for which they will be created.
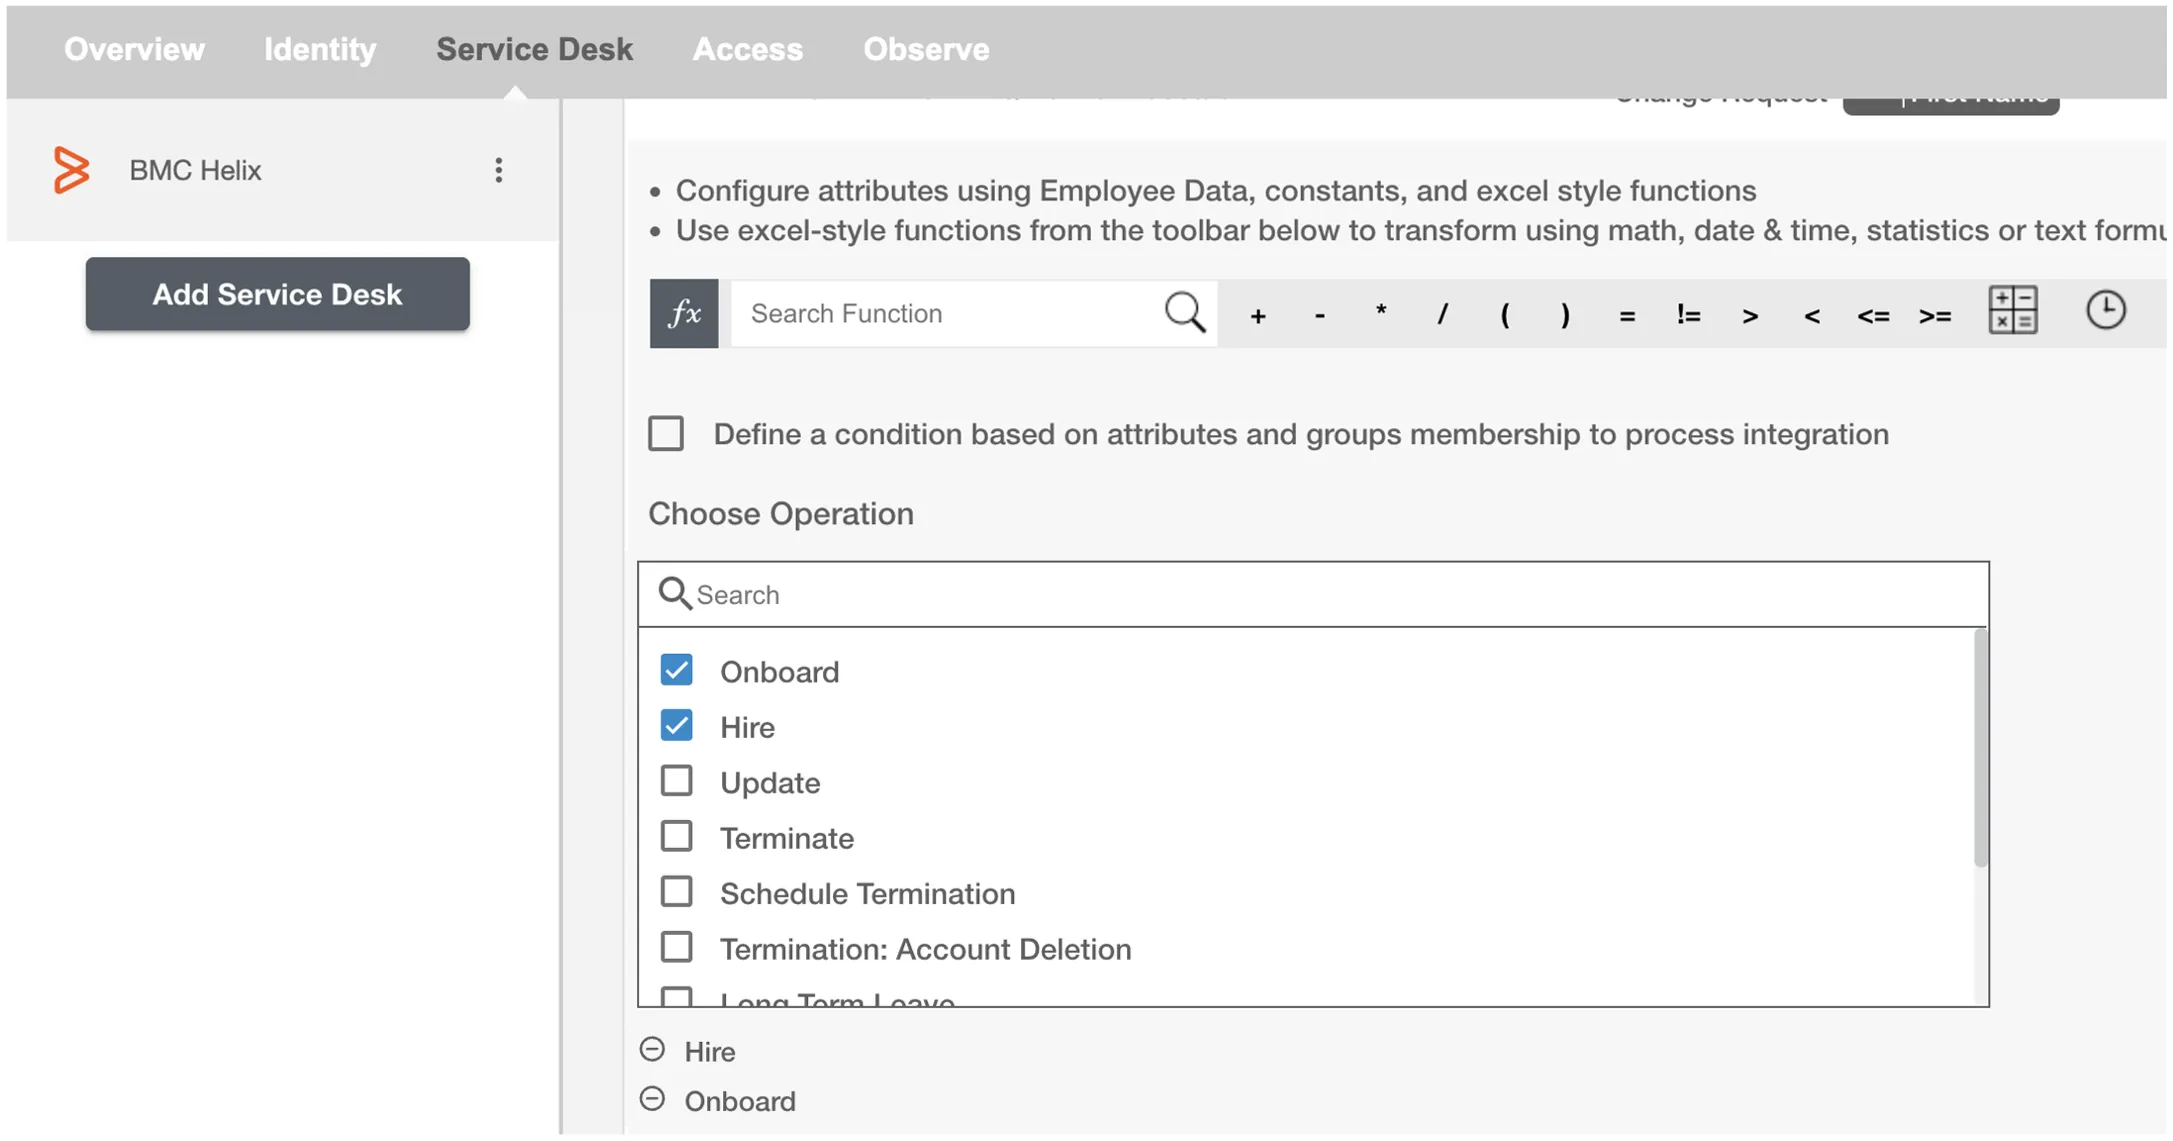
Choose Operation(s)
You can create Entities in BMCHelix on the following Employee Lifecycle operations:
- Hire
- Onboard
- Update
- Termination
- Schedule Termination
- Termination: Account Deletion
- All type of Leaves ( Long Term, FMLA, Security Discipline, Legal )
Entity Attributes
Entity Summary
Entity Summary serves as the primary headline or title of the Entity, providing a snapshot of its content or issue. You can provide a summary for each Entity you are configuring, the summary will be visible along with the Entity type and operations on the summary table. The Entity Summary is not populated on BMCHelix.
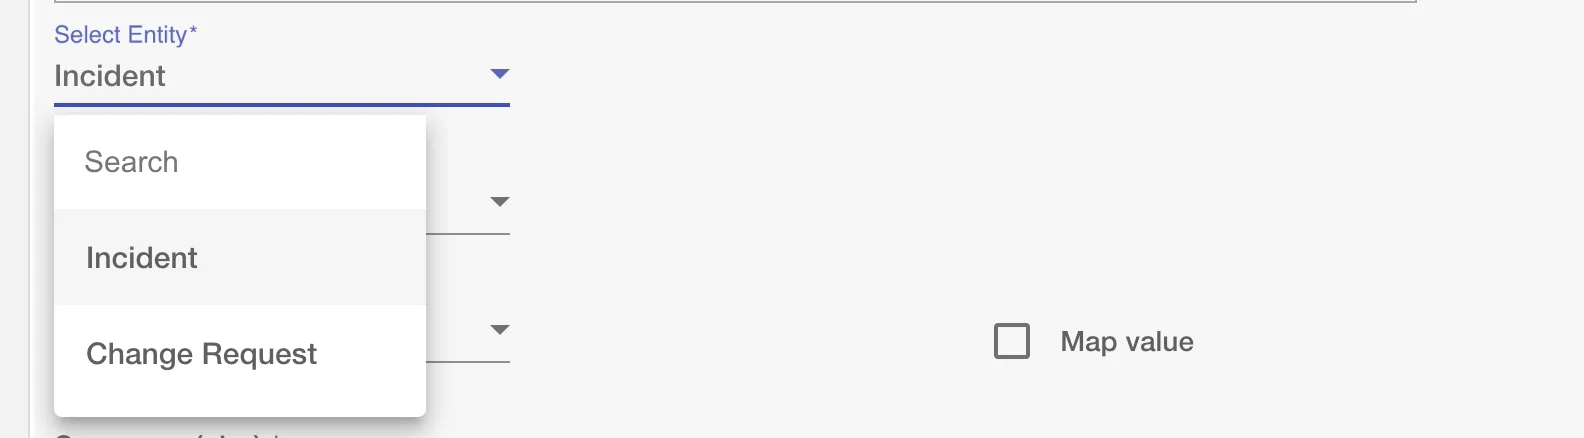
Select Entity
You can select the Entity to create among the following:
- Incident
- Change Request
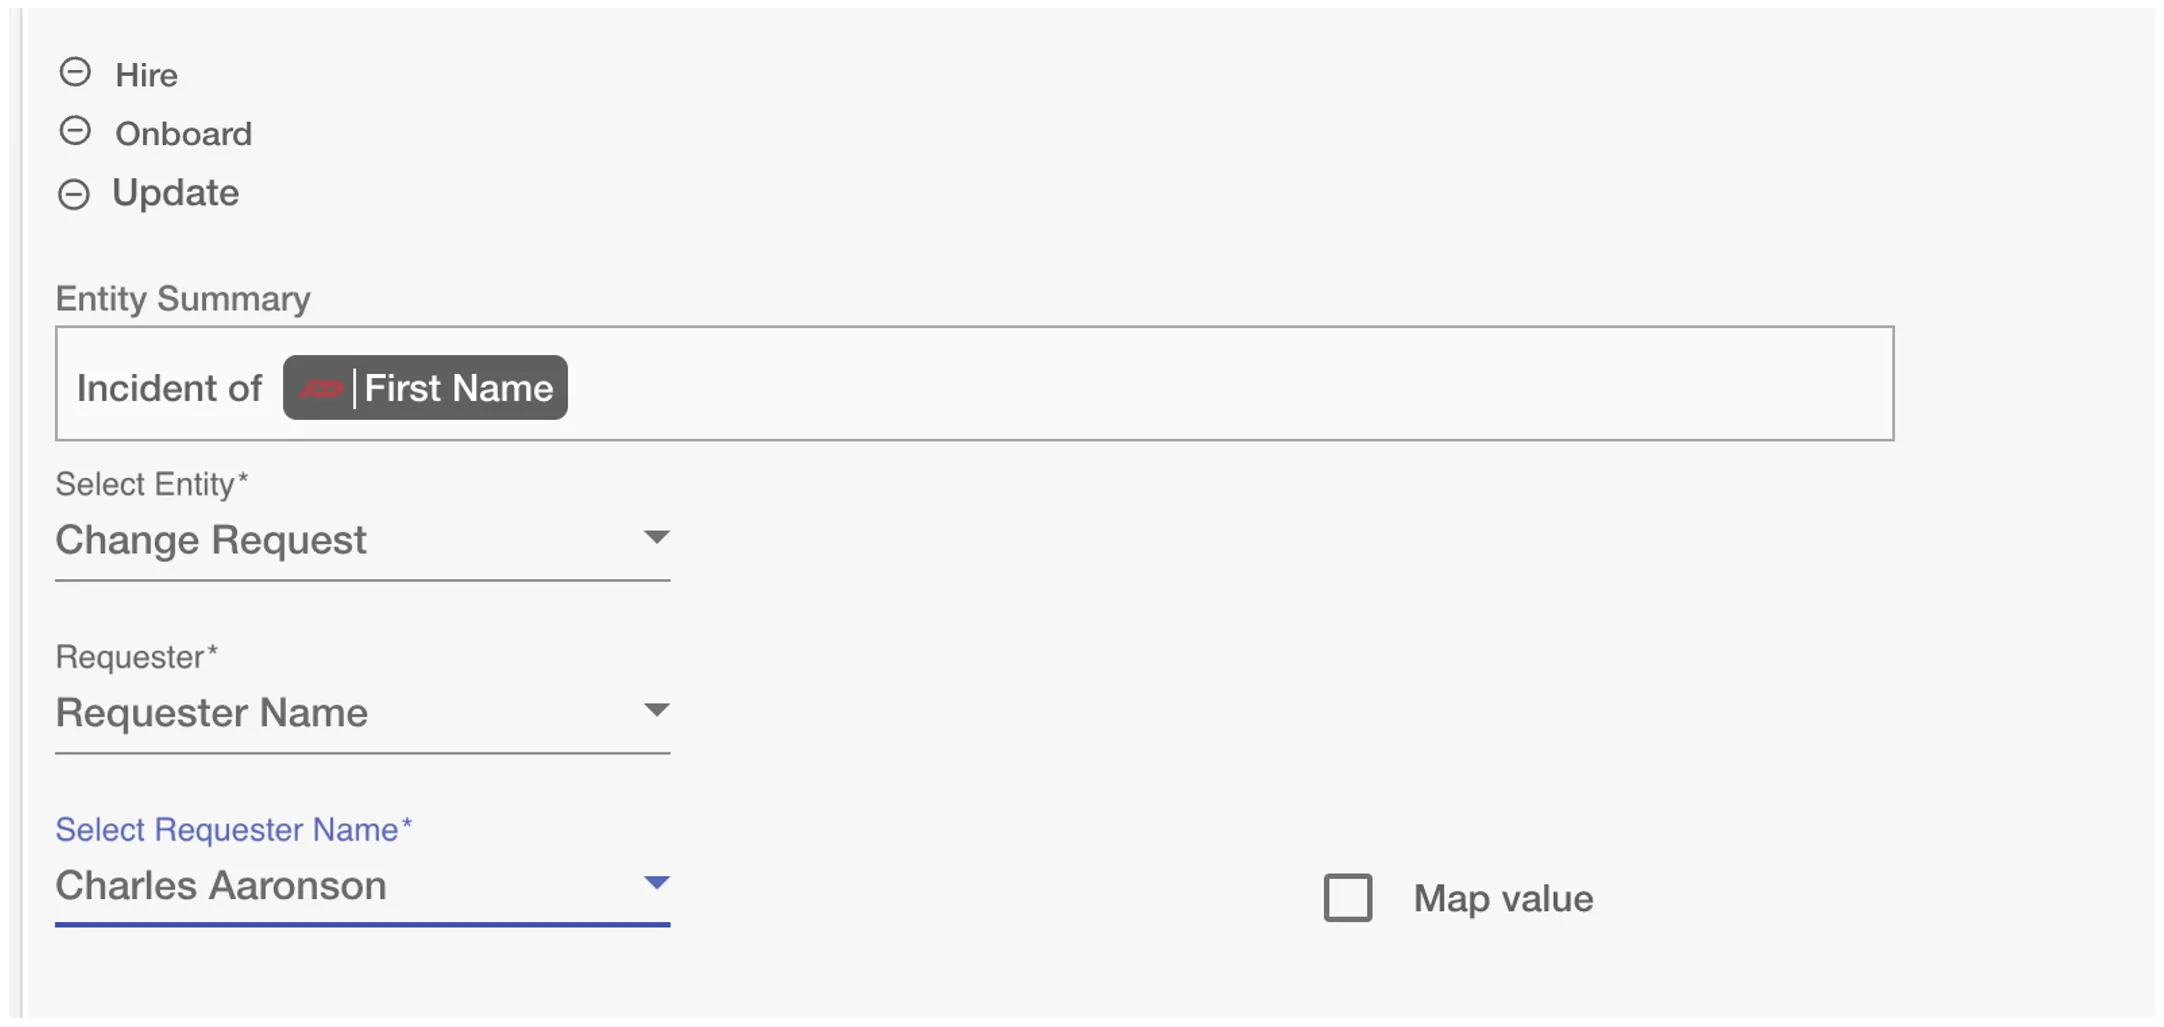
Requester
BMCHelix requires a 'Requester' for change Request entity created. You can select a requester using:
Requester Name
You can select any of the requesters currently present on the BMCHelix.
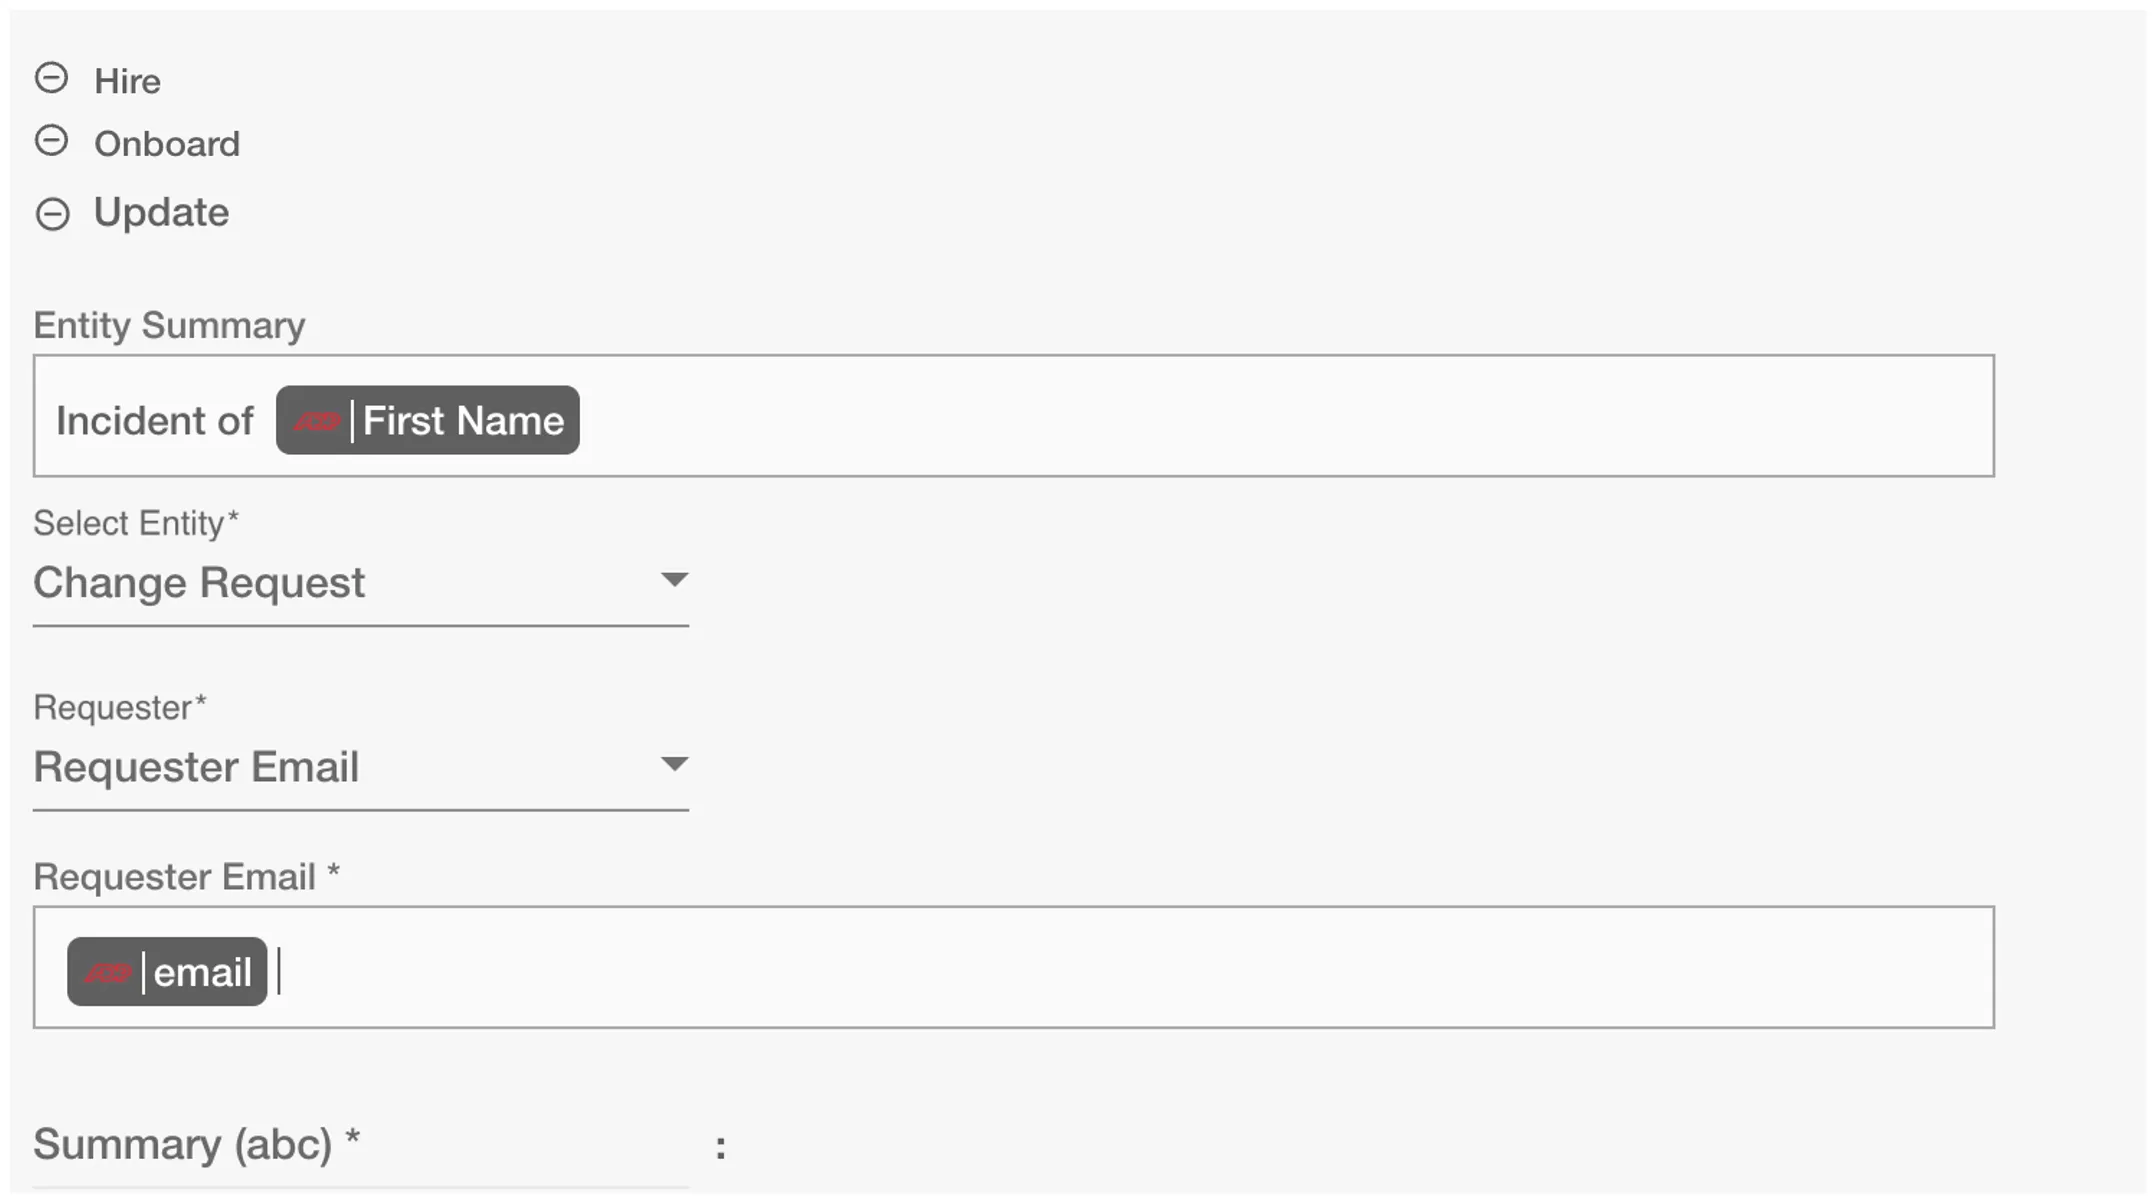
Requester Email You can provide Email of the requester. You can use this option to map the email of the requester.
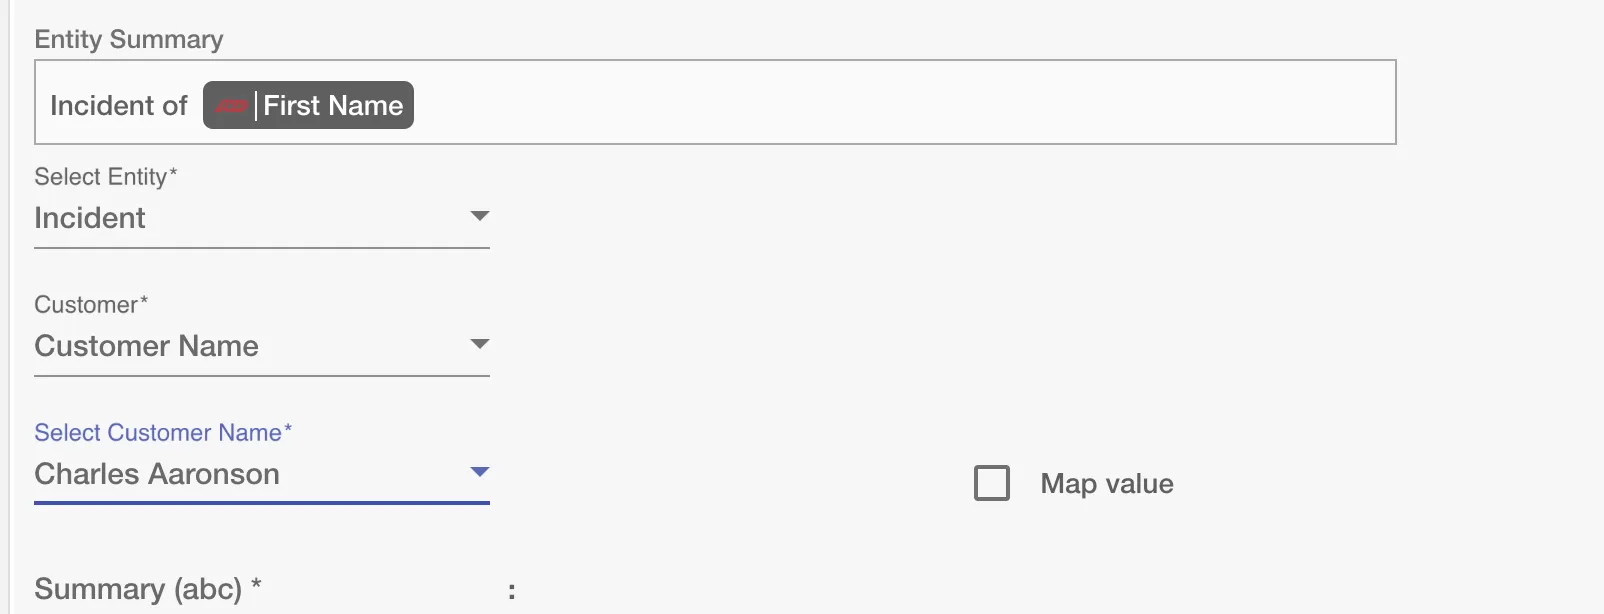
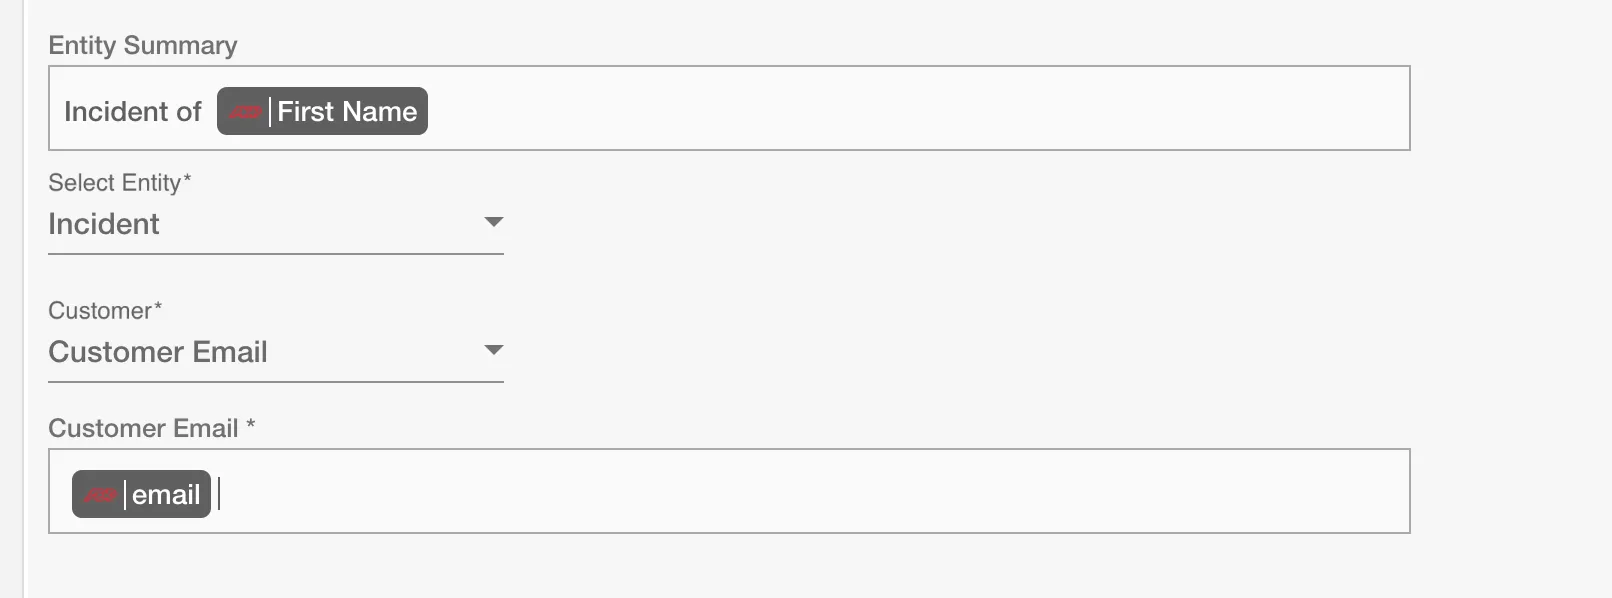
Customer
BMCHelix requires a 'Customer' for incident entity created. You can select a customer using:
Customer Name
You can select any of the customers currently present on the BMCHelix.
Customer Email
You can provide Email of the requester.
Select attributes
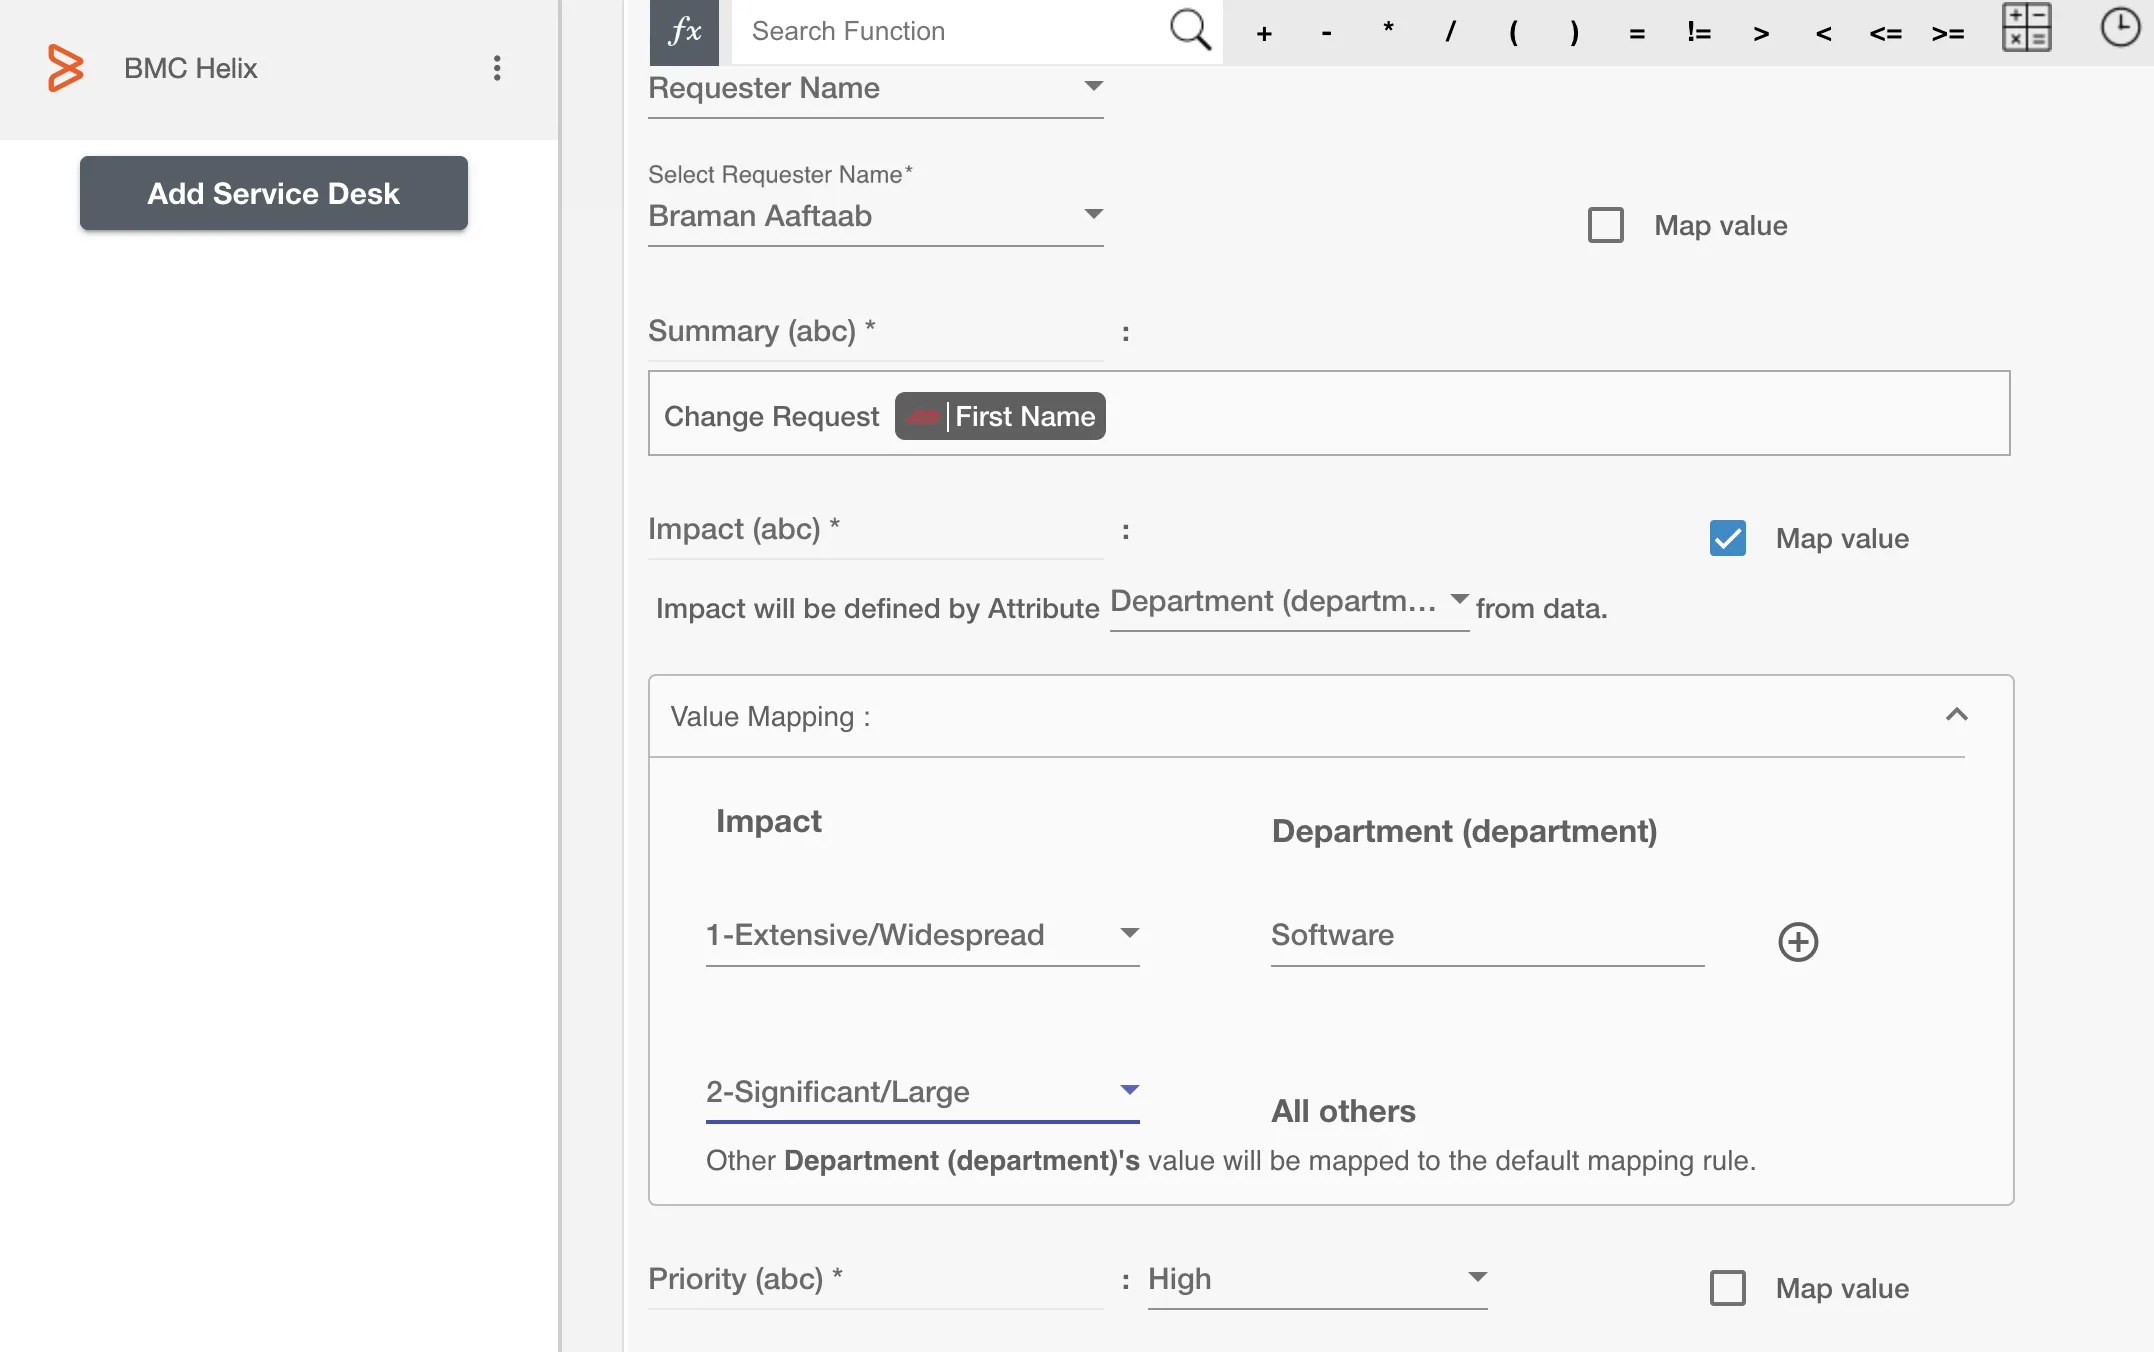
You can select the attributes of the entity(s) that you want to populate. You can map values from the AD to populate these attributes. You can also use Hire2Retire's powerful data transformation capabilities using Excel Style functions. Apart from the default attributes visible on Hire2Retire, if you add any other custom attribute(s) on the BMCHelix portal, it will be visible on the Hire2Retire and you can populate it accordingly.
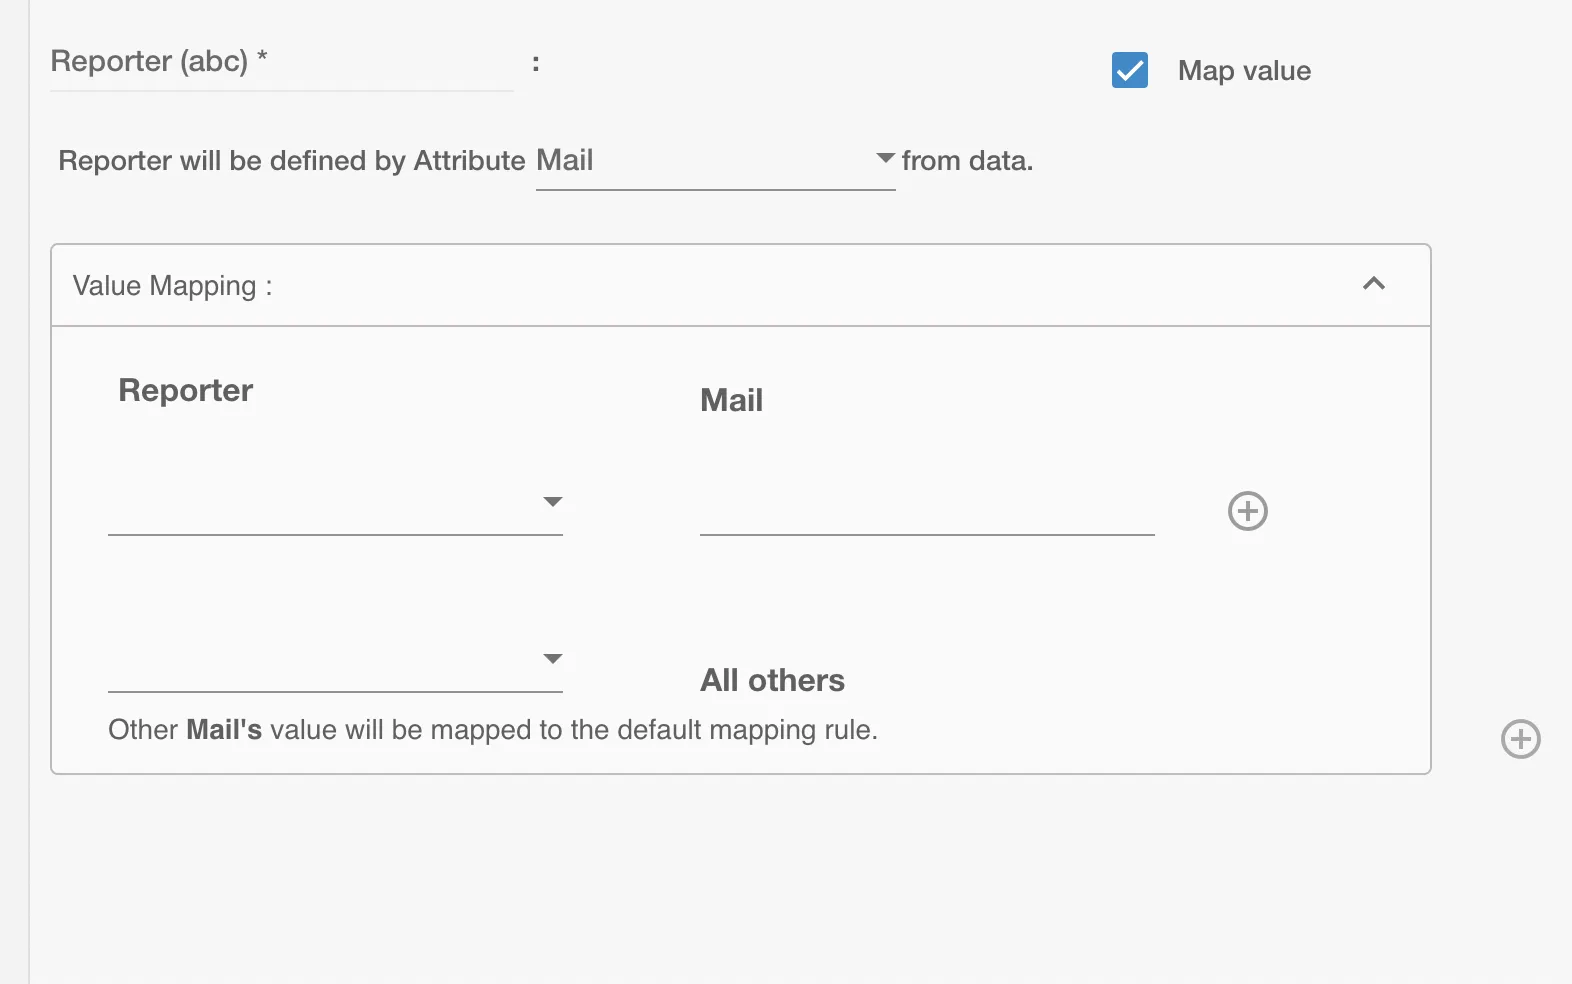
Map Value
You can select Map Value checkbox to map attributes from your Identity Management System to your Service Desk application.
Example
Given below is an example to create entity(s) on BMCHelix using Hire2Retire. In this example, whenever a new employee is onboarded a Request Service is created on BMCHelix to provision them with the necessary hardware essential to perform their job, hence the Hire operation is selected.
You can provide the entity summary and select the available attributes. Here, a custom dropdown attribute named Priority, Location Company,Impact for Change Request and Incident Type, Impact, Urgency for Incident is added on the BMCHelix portal and is populated on Hire2Retire.
The 'Request for someone else' checkbox allows to make this request service for any other existing employee. You can also add any additional attributes apart from the default attributes using '+' sign. Refer to the example workflow images available below.