Oracle
Oracle HCM is a complete cloud solution that connects every human resource process—and every person—across enterprises. Hire2Retire product uses SFTP(Secure File Transfer Protocol) server as the entry point to consume Employee extract files. Oracle HCM need to set up connections with the target SFTP server to send Employee Extract files.
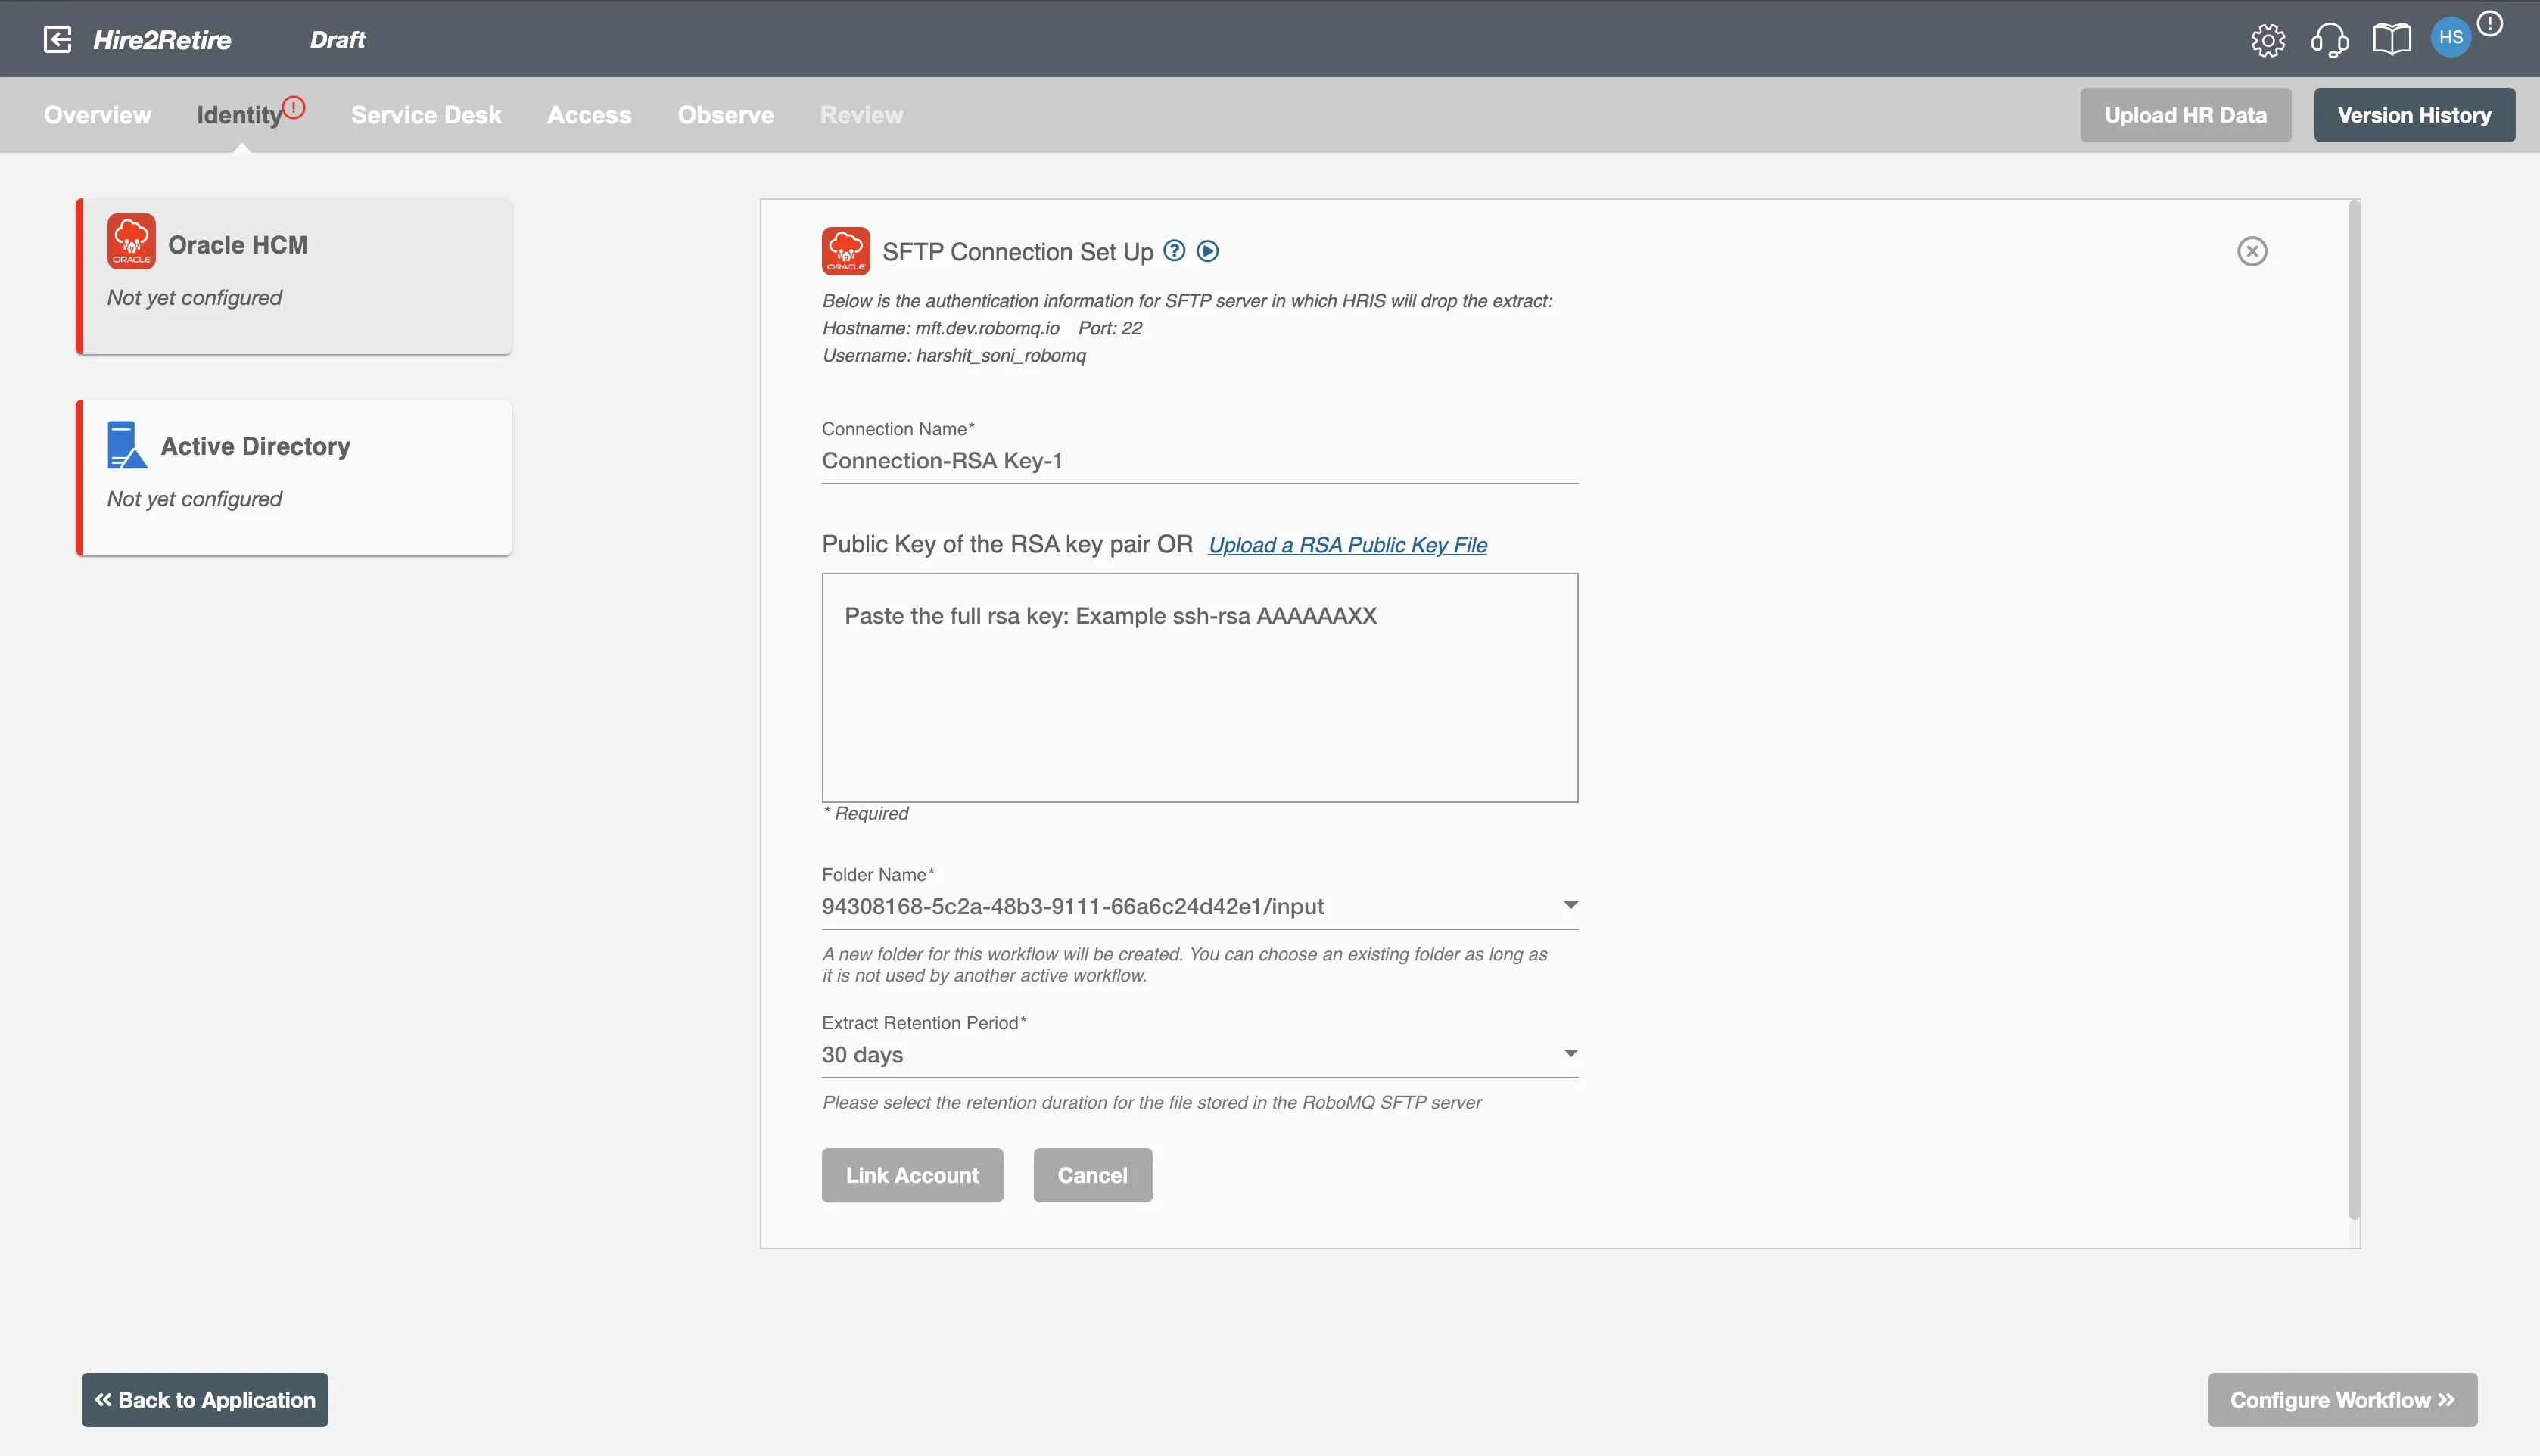
Oracle HCM File Based Extraction Connection Set Up
Oracle HCM features various subscription products supporting either APIs or file export depending on the subscription type as explained in each section below.
One of the easiest ways to get your Oracle HCM data into Hire2Retire is by using Oracle HCM's SFTP export capability. To do this, you will first need to request SFTP Export from the Oracle HCM Reporting tool, which will allow export of files to the Hire2Retire SFTP server.
Hire2Retire requires the following details to create a connection with your Oracle HCM server:
-
Connection Name - A user-defined nomenclature for your connection. By default, the connect name is "Connection-RSA Key", you can change the name as per your preference.
-
Public Key of the RSA key pair - To connect Oracle HCM to SFTP, you must provide the public key of your RSA key pair (SSH key). You can either upload the RSA public key file directly or copy and paste its contents. Learn how to create RSA key pair
-
Folder Name - A new folder for the current workflow will be created by default. You can also select folders using dropdown option from existing workflows.
-
Extract Retention Period - When the files get older than the retention period, they will be removed from the selected folder in the RoboMQ's SFTP server.
Testing your SFTP upload before going live
During the testing phase of your workflow, you can simply upload HR reports directly from your local environment using the private key of your RSA key pair. Learn How to create RSA key pairs on MacOS or Linux
Configuration
Once you have successfully configured the connections, you can continue with the Design section to configure the rest of the workflow following these steps in order.
- HR Data Definition
- HR to AD Profile Map
- Lifecycle Business Rules
- Employment Status
- Organizational Unit Assignment - Only defined in on-premise Active Directory
- Group Memberships
- Security Group Memberships
- Distribution List Memberships
- Microsoft 365 Groups Memberships Only defined in Hybrid (with Exchange Online Services) and Entra ID
- Entra ID Distribution List Memberships Only defined in Entra ID and Hybrid, when Exchange Online Services is configured
- Entra ID Security Groups Only defined in Hybrid (with Enable Entra ID Security Groups) and Entra ID
- Mail Enabled Security Group Memberships Only defined in Entra ID and Hybrid, when Exchange Online Services is configured
- Mailing List Assignment Provided in Google Workspace
- Communication Hub
Deployment
Once your workflow has been setup, you can optionally setup notifications and archival for your workflow.
- Compliance and Audit Trail
- Run Mode
- Error Notifications
- Monitor Receipt of Scheduled HR Extract
- Environment
Otherwise, you can proceed to deploy and test it on the Hire2Retire platform, see Deploy and Test Flow